

Panasonic KX-TC2100NZ, KX-TC2100AL User Manual
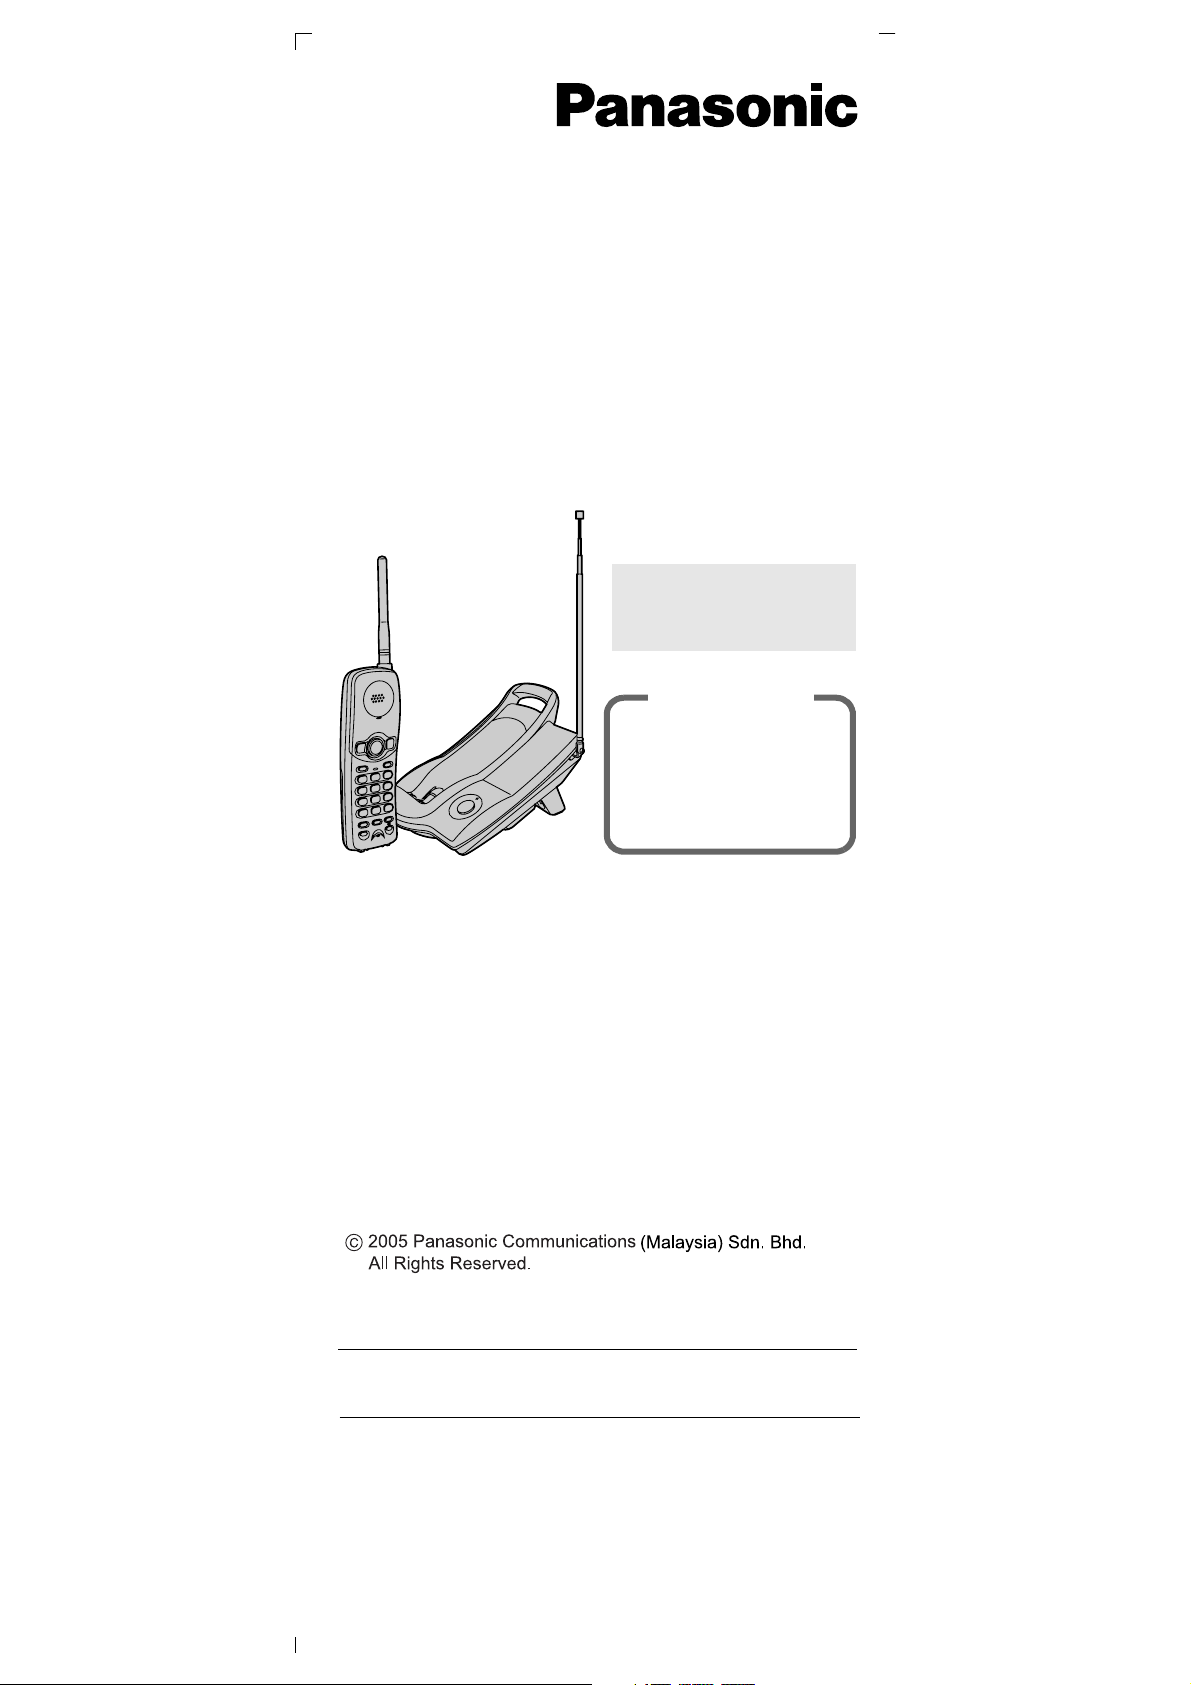
Cordless Phone
Operating Instructions
Model No. KX-TC2100AL
KX-TC2100NZ
PLEASE READ
BEFORE USE AND
SAVE.
Charge the battery for
about 9 hours before
initial use.
Contents by
1 Getting Started
2 Making/Answering Calls
3 Speed Dialler
4 One-Touch Dialler
5 Special Features
6 Things You Should Know
Copyright:
This material is copyrighted by Panasonic Communications (Malaysia)
Sdn. Bhd., and may be reproduced for internal use only. All other
reproduction, in whole or in part, is prohibited without the written consent
of Panasonic Communications (Malaysia) Sdn. Bhd.
For your future reference
Serial No. Date of purchase
(found on the bottom of the unit)
Name and address of dealer
Attach or keep original receipt to assist with any repair under
warranty.
Manufactured by Panasonic Communications (Malaysia) Sdn. Bhd.
Senai Malaysia
PQQX14812ZA F0605HAO
1 Getting Started
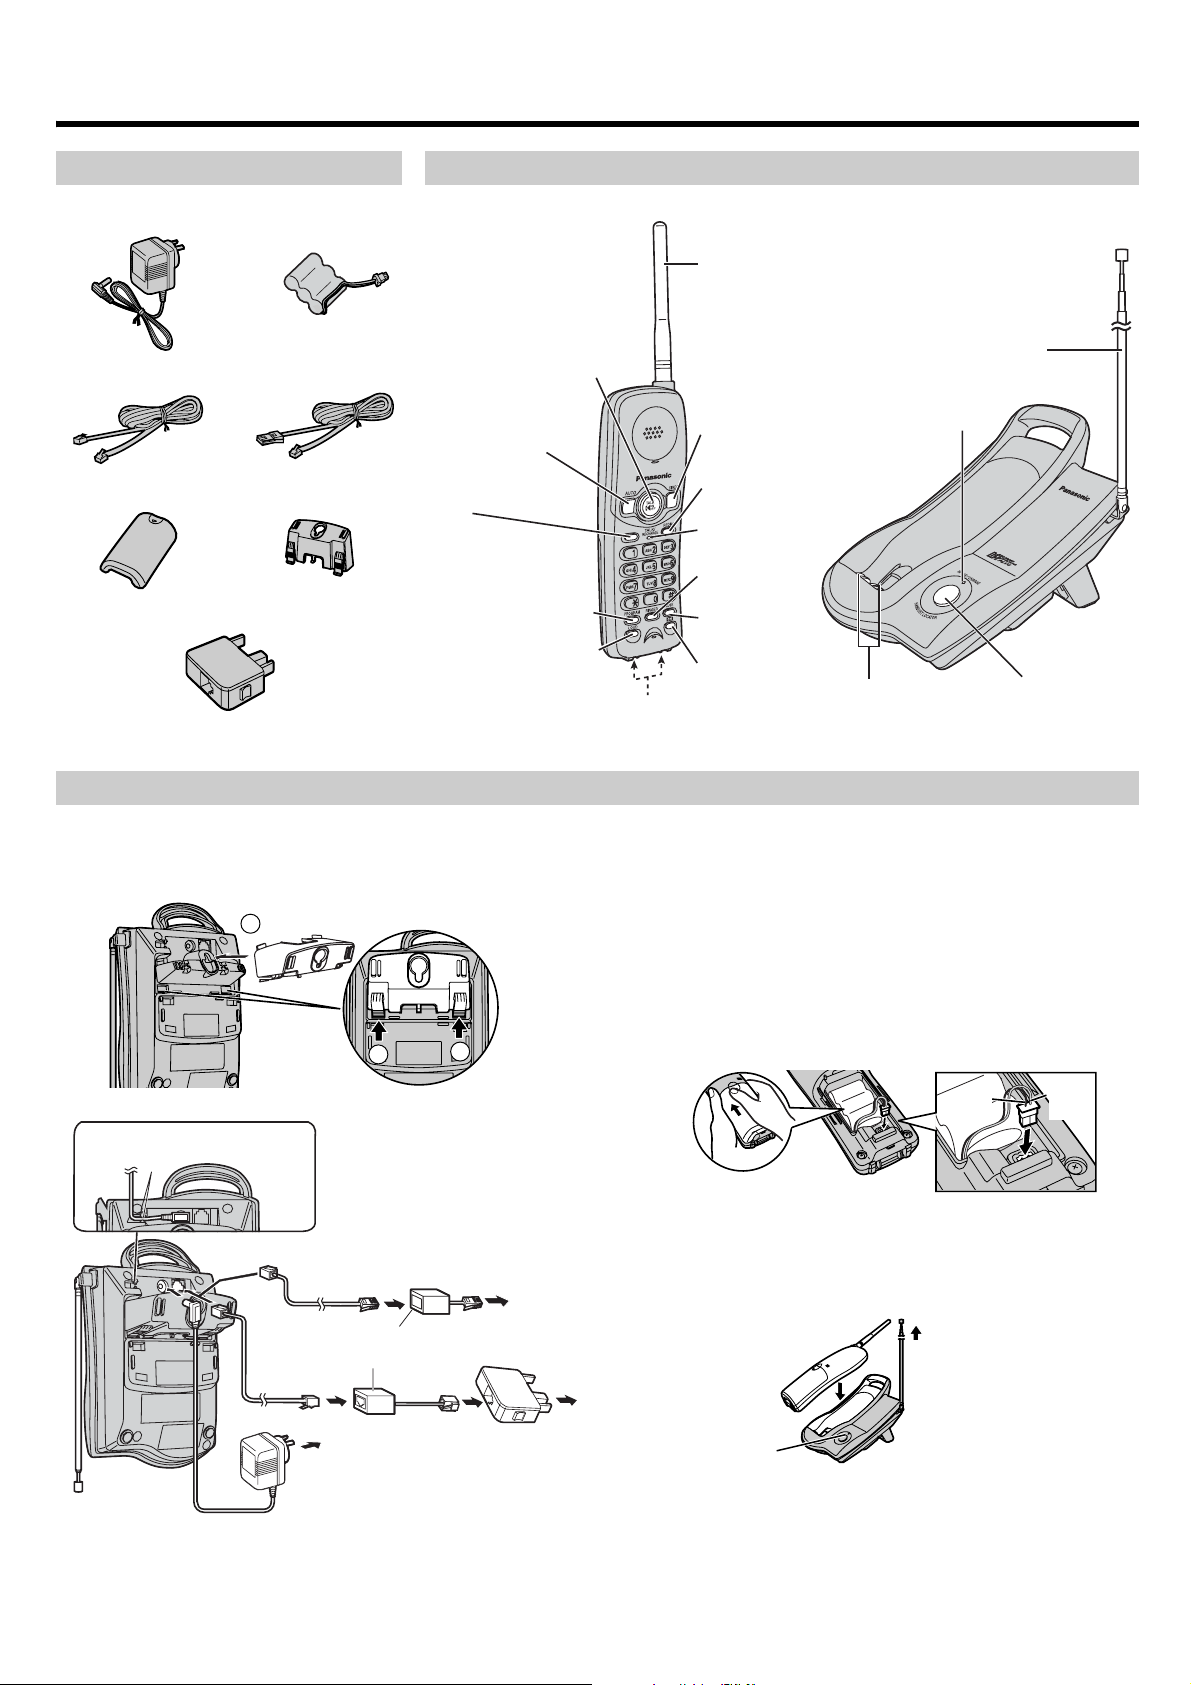
1-A Accessories
A AC Adaptor . one A Battery . . . . . one
A Telephone Line Cord . . . . . . . . . . . . one
A For Australia For New Zealand
A Handset Cover . .
one
For Australia only
A Telephone plug. . . . . . . . . . . . . . . . . one
A Wall/Desk Stand. .
one
1-B Location of Controls
Handset
{TALK} Button (2-A)
{AUTO} Button
(1-C, 3-A, 5-C)
{RECALL} Button
(5-C)
{PROGRAM} Button
(1-C, 3-A, 4-A, 5-C)
{LOUD} Button (2-A)
Charge Contacts (6-A)
RECALL
Antenna
{DIRECT} Button
(4-A)
{REDIAL} Button
(2-A)
TALK/RECHARGE
Indicator (6-A)
{RINGER}
Button (2-B)
{PAUSE}
Button (5-B)
{CH} (Channel)
Button (2-A)
Base unit
Antenna (1-C)
IN USE/CHARGE
Indicator (1-C, 5-A)
Charge
Contacts
(6-A)
{HANDSET LOCATOR}
Button (5-A)
1-C Settings
1 Install the Wall/Desk stand before use.
Insert the hooks in the direction (1) then push the tabs as
shown (2).
• The word “UP DESK” should face upward.
1
2
2
2 Connect as shown.
Fasten the AC adaptor cord.
Hooks
For New Zealand
To Single-Line
Telephone Jack
Telephone
Line Cord
• If you subscribe to an xDSL service
• Please attach a noise filter (contact your xDSL provider) to the telephone
line between the base unit and the telephone line jack or socket in the
event that noise is heard during conversations.
Noise Filter
(For xDSL users)
AC Adaptor
To Power Outlet
(AC 230–240 V, 50/60 Hz)
OR
For Australia
To Socket
• USE ONLY WITH Panasonic AC ADAPTOR PQLV16AL.
• The AC adaptor must remain connected at all times.
(It is normal for the adaptor to feel warm during use.)
• The unit will not work during a power failure. If you want to connect to a
standard telephone on the same line;
—KX-TC2100AL: Use a telephone double adaptor.
—KX-TC2100NZ: Use a T-adaptor.
• KX-TC2100AL and KX-TC2100NZ are not designed to be used with
rotary (pulse dialling) services.
3 Install the battery in the handset, and close the handset cover,
locking it into place.
Black
Lead
Red
Lead
4 Charge the battery for about 9 hours.
• See section 6-A for more details.
• The CHARGE indicator lights.
Extend
the
antenna
CHARGE
Indicator
fully.
To select the dialling mode TONE
The TALK indicator light must be off before programming.
Press {PROGRAM} N {AUTO} N {*} twice (TONE) N
N {PROGRAM}.
• A beep sounds.
• To cancel during programming, press {PROGRAM}.
• If 3 beeps sound during programming, a wrong key was pressed.
Start again from the beginning.
2 Making/Answering Call
2-A Making Calls
{TALK}
{REDIAL}
TALK
Indicator
{RINGER}
{LOUD}
{CH}
1 Press {TALK}.
• The TALK indicator lights.
• If an alarm tone sounds, see section 6-E.
2 Dial a phone number.
3 To hang up,
press {TALK} or place the handset on the base
unit.
• The indicator light goes out.
• For best operating performance, see section 6-C.
• When you make additional dialling after speed dialling
such as AUTO (3-B), DIRECT (4-B) or REDIAL, please
make sure to do it after finishing the speed dialling.
Otherwise, the unit may not dial properly.
2-B Answering Calls
If the handset is off the base unit, press {TAL K}.
• You can also answer a call by pressing any dialling
button {0} to {9}, {*} or {#} (—Any Key Talk).
OR
If on the base unit, just lift up.
To redial the last number dialled
Press {TAL K} N {REDIAL}.
To select the handset receiver volume
Press {LOUD} while talking.
• Each time you press the button, the volume
level will change to LOW (preset) or HIGH.
If noise interferes with the conversation
Press {CH} to select a clearer channel or
move closer to the base unit.
Selecting the ringer volume
The TALK indicator light must be off.
To select HIGH (preset) or LOW,
press {RINGER}.
Each time you press the button, the ringer
volume will change and the selected
volume will ring.
• To turn the ringer OFF,
press and hold {RINGER} until a beep
sounds.
• To turn the ringer ON,
press {RINGER}.
For New Zealand Users Only:
In the event that a call cannot be made from the handset following a power interruption, disconnect
the base unit from the line momentarily then reconnect it. Turn the handset off, and replace it on the
base unit. This will re-establish the security system and the handset can be used as before.
Additional Security Feature
 Loading...