

Page 1
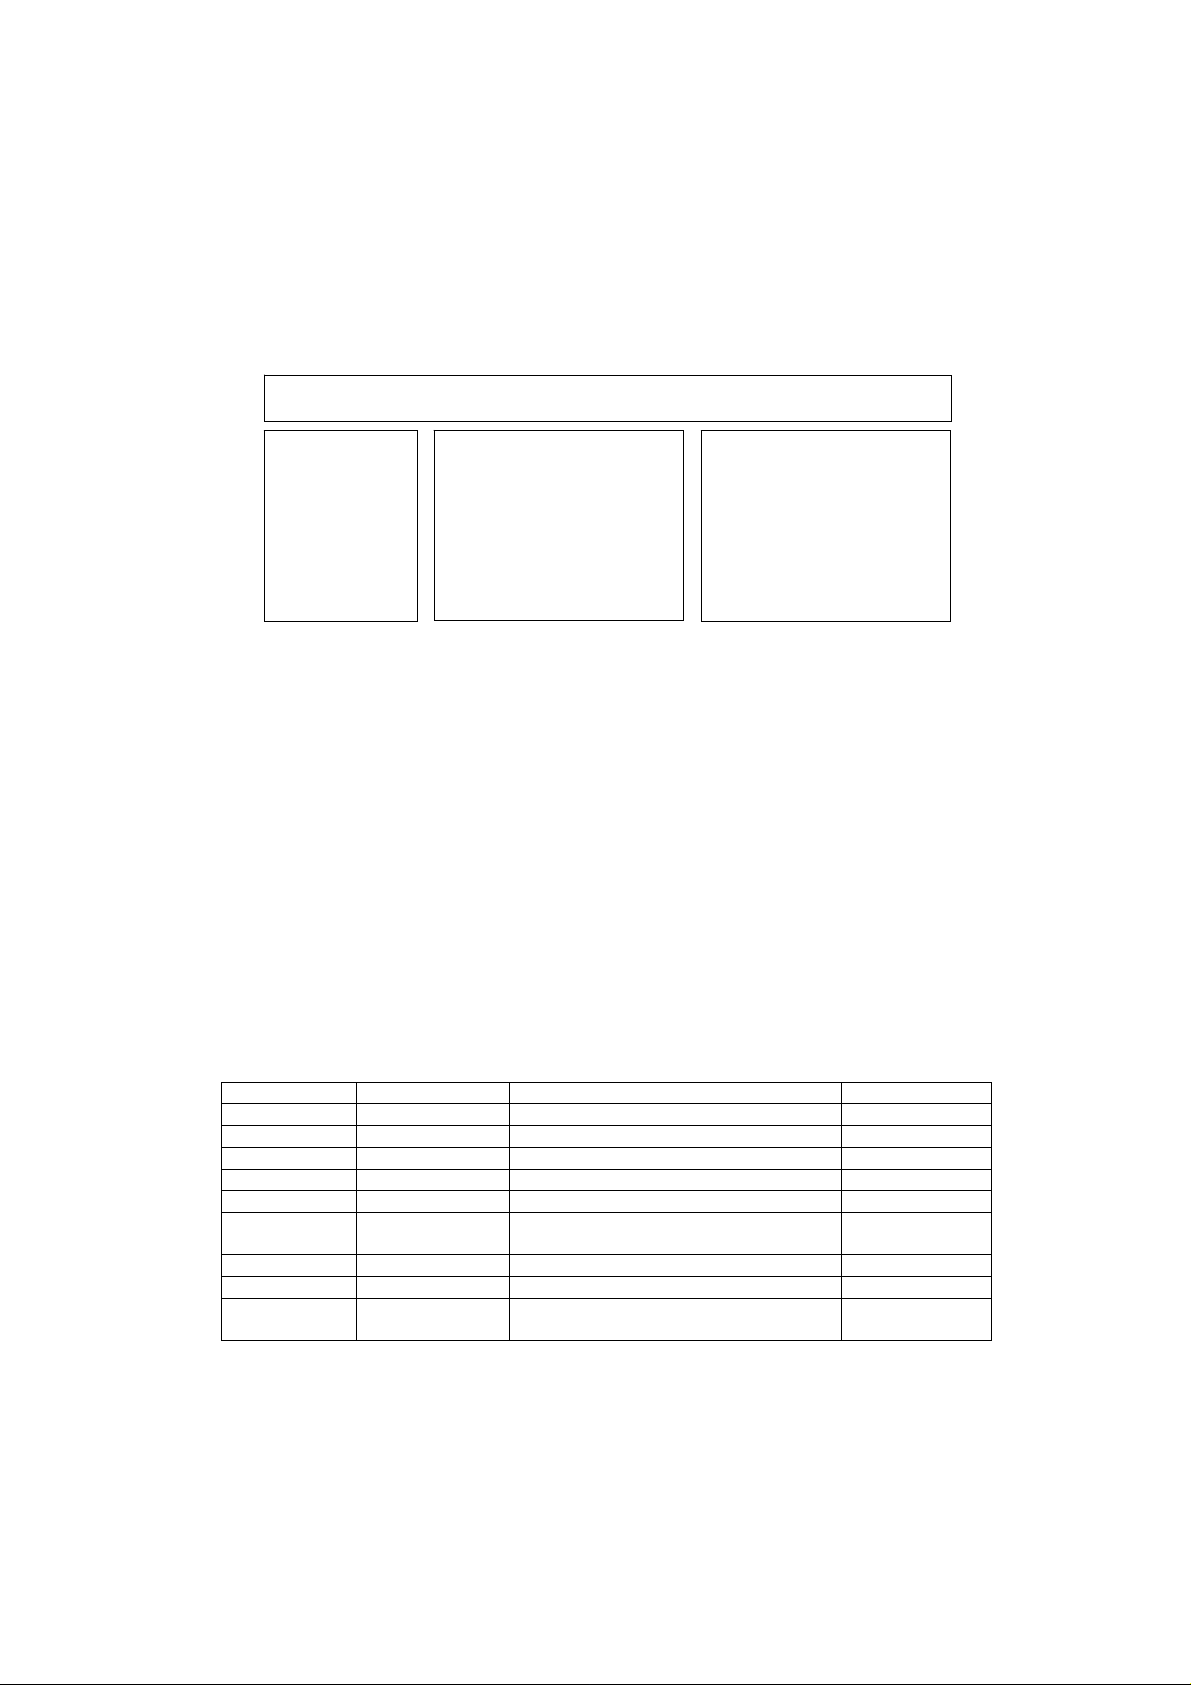
Self Check
p
How to access
Self-check indication only:
While pressing [VOLUME ( - )] button on the main unit, press [OK] button on the remote control.
Self-check indication and forced to factory shipment setting:
While pressing [VOLUME ( - )] button on the main unit, press [MENU] button on the remote control for more than 3 seconds.
How to exit
Switch off the power with the [POWER] button on the main unit.
TX-42AS500E
42FHD
Self Check Com
H14TUN O.K.
H90STBY O.K.
H92MEM1 O.K.
H91MEM2 O.K.
H17LAN O.K.
H71TC-DAC O.K.
H96ID O.K.
H97ID2 O.K.
H42WIFI O.K.
PEAKS-SOFT 3.008
PEAKS-EEP 01.00.0206
LSI-PACKAGE 0.00c
LSI-RELEASE 0.08
STBY-SOFT 1.00.02
STBY-EEP 1.00.0021
lete
MODEL ID 0B
030001B0
00000400
Display Ref. No. Description P.C.B.
H14TUN TU6705
TUNER DVB-A/T/C/
A-Board
H90STBY IC8000 IC Peaks-sLD8A A-Board
H92MEM1 IC8901 EEPROM STM A-Board
H91MEM2 IC8900 Flash Memory A-Board
H17LAN IC8900 MAC A-Board
H71TC-DAC
IC8000
T-Con on Panel
IC Peaks-sLD8A
T-Con on Panel
A-Board
T-Con on Panel
H96ID IC8900 CI+,DTCP-IP A-Board
H97ID2 IC8900 Dimora, HDCP2, Netflix, Widevine, A-Board
H42WIFI
IC8000
N5HBZ0000109
IC Peaks-sLD8A
Wifi Dongle
A-Board
Wifi Dongle
If the CCU ports have been checked and found to be incorrect or not located then " - - " will appear in place of "O.K.".
Page 2
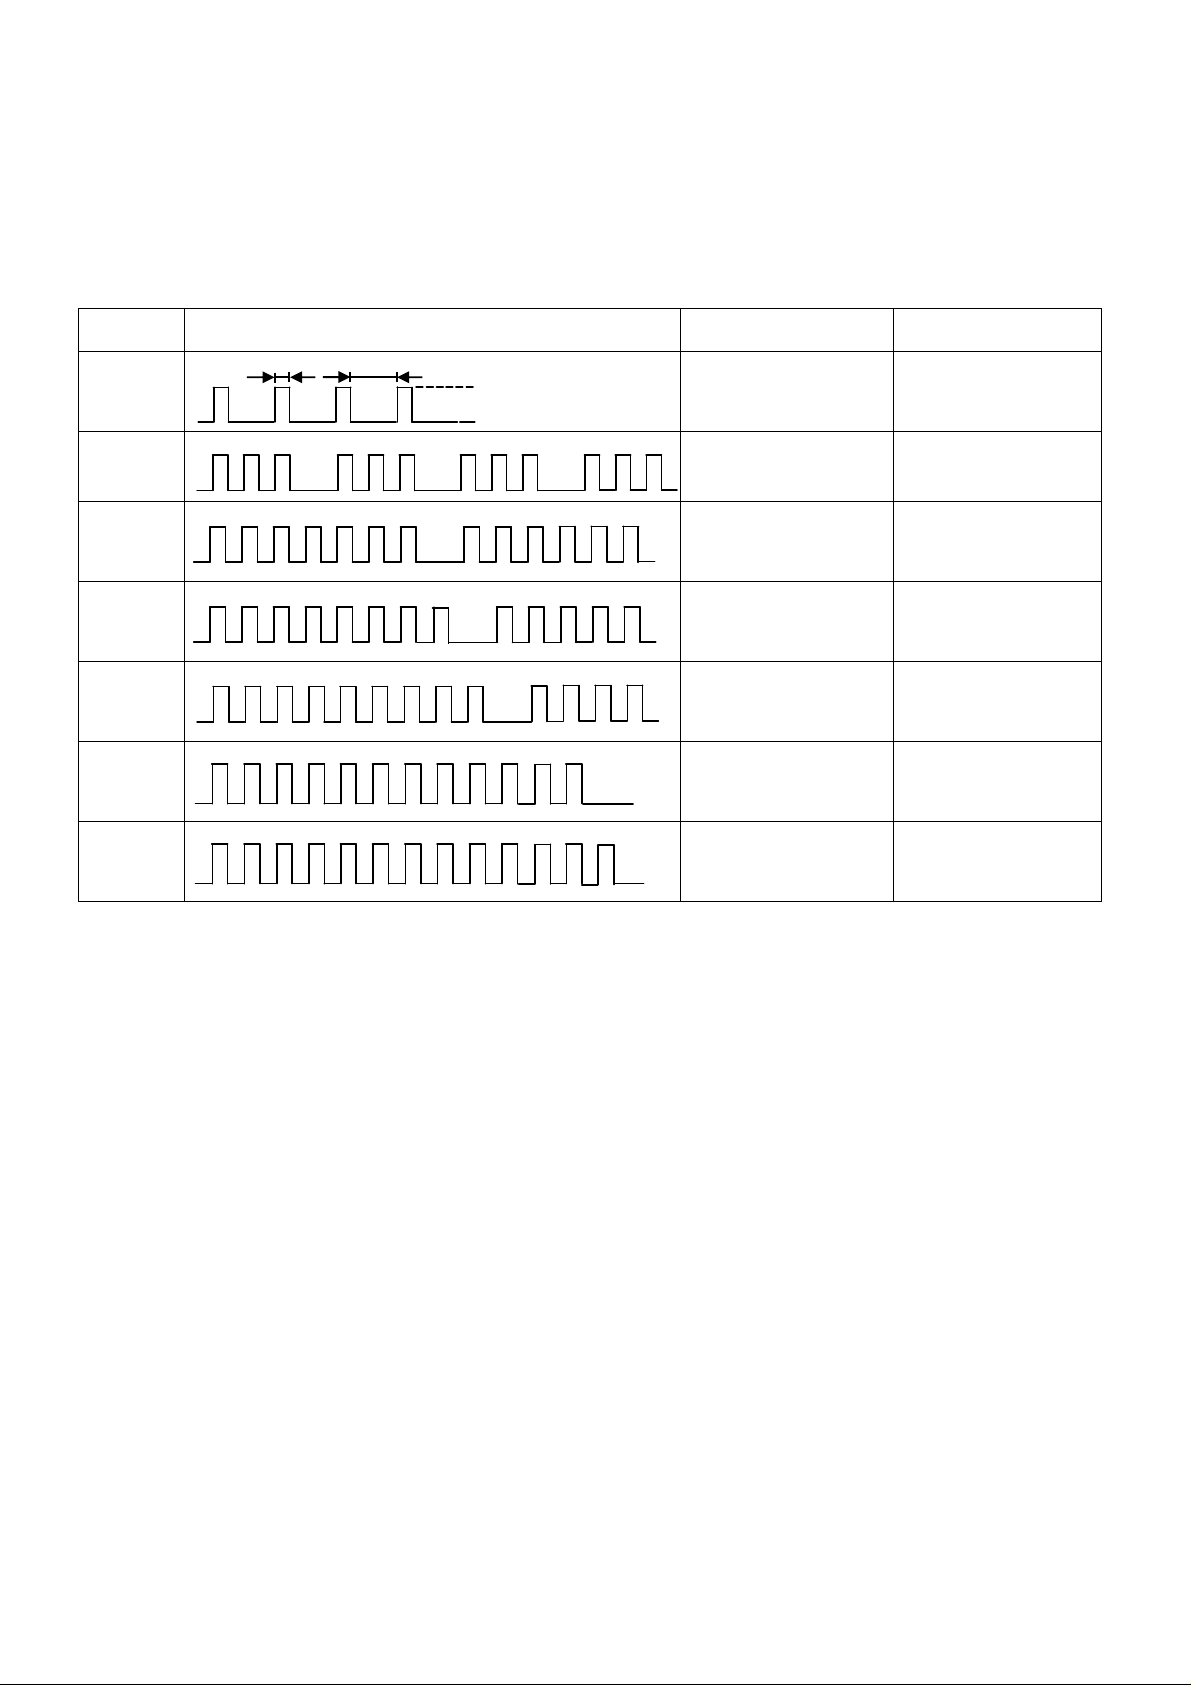
Power LED blinking timing chart
1. Subject
Information of LED Flashing timing chart.
2. Contents
When abnormality has occurred the unit, the protection circuit operates and reset to the stand by mode. At this time, the
defective block can be identified by number of blinking of the Power LED on the front panel of the unit.
Blinking
times
Once
1 BL_SOS
3
7
8
Blinking timing Contents Check point
4 sec
Light
No Light
IROM SOS
SUB3.3V
SOS
A BOARD
LD BOARD
PANEL
A BOARD
A BOARD
A BOARD
PANEL
9
12
13
SOUND_SOS
BE_SOS A BOARD
EMERGENCY A BOARD
A BOARD
LCD Panel Test Mode
Purpose:
To find the possible failure point where in LCD Panel or Printed Circuit Board when the abnormal picture is displaye d.
How to Enter:
While pressing [VOLUME ( - )] button of the main unit, press [YELLOW] button of the remote control three times.
How to Exit:
Switch off the power with the [POWER] button on the main unit or the [POWER] button on the remote control.
How to confirm:
If the abnormal picture is displayed, go into LCD Panel test mode to display the several test patterns.
And then, judge by the following method.
Still abnormal picture is displayed: The cause must be in LCD Panel.
Normal picture is displayed: The cause must be in A board.
Remarks:
The test pattern is created by the circuit in LCD Panel.
In LCD Panel test mode, this test pattern is displayed unaffected by signal processing for RF or input signal.
If the normal picture is displayed, LCD Panel must be okay and the cause of failure must be in A board.
 Loading...