

FIXED LENS
INSTALLATION
GUIDE
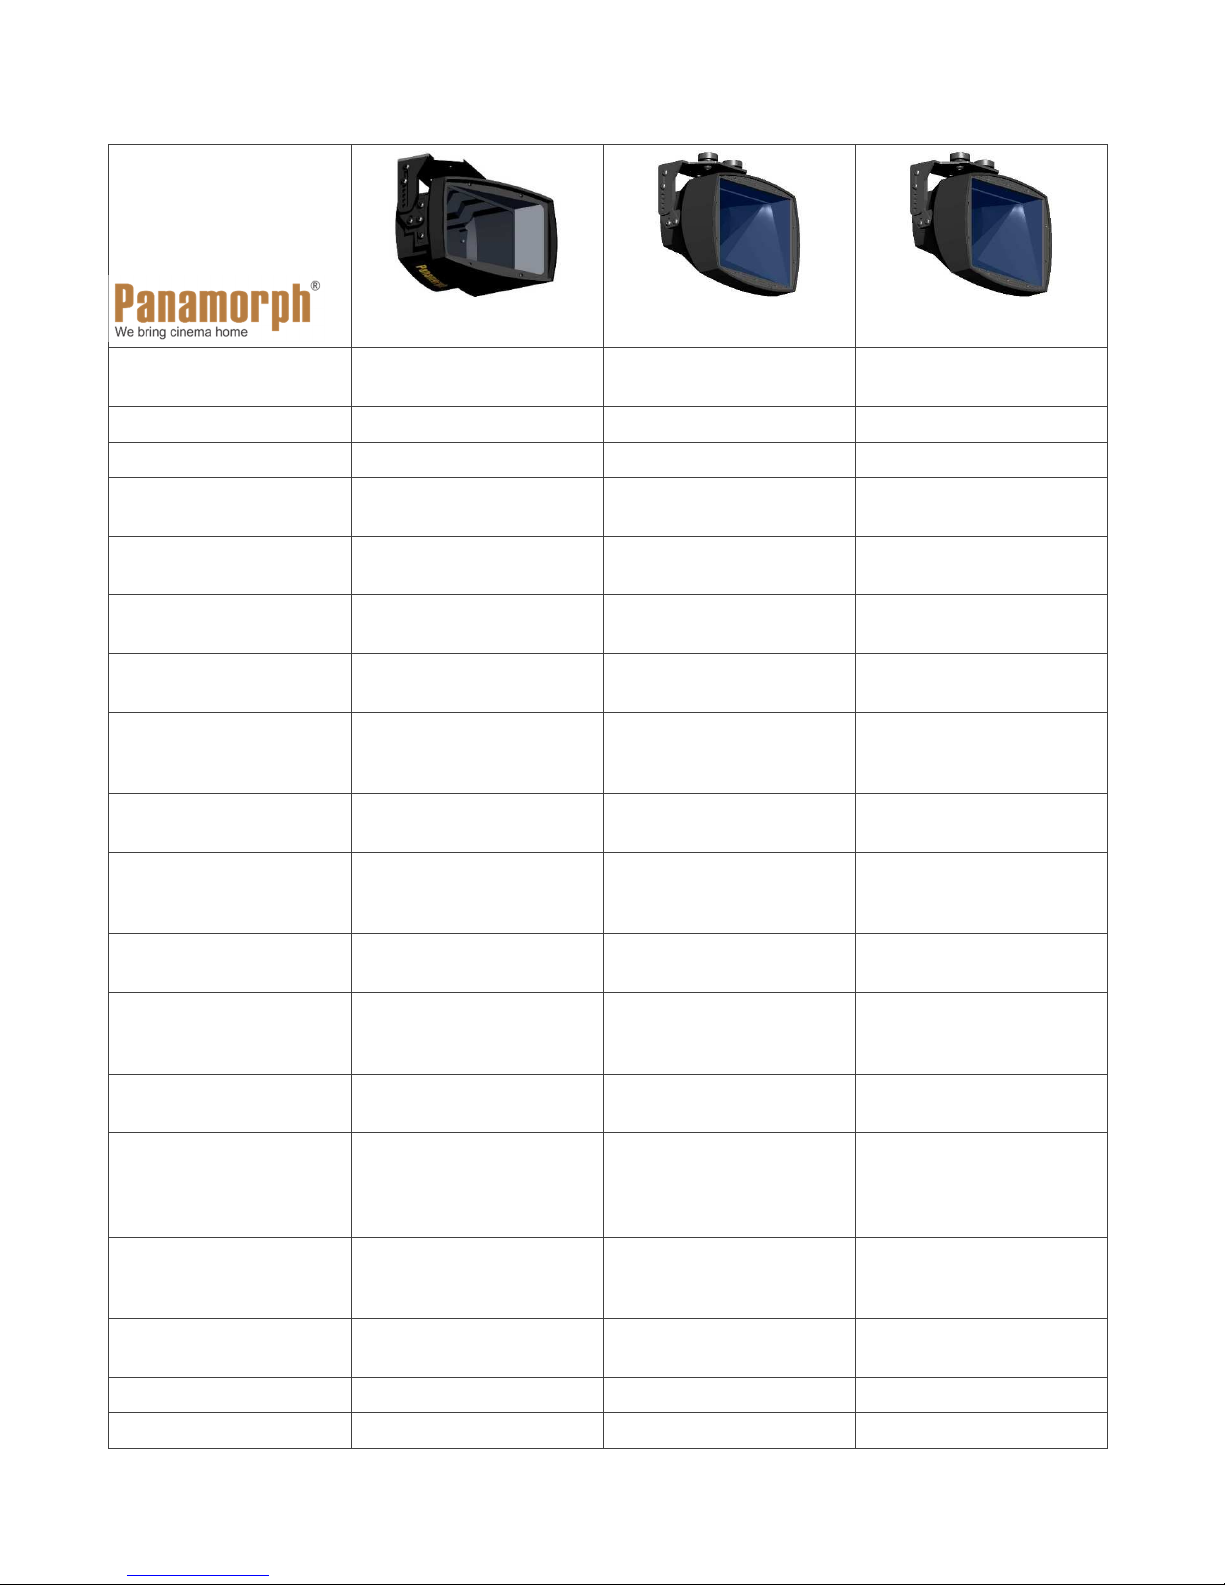
Phoenix
Paladin
Paladin DCR
Patented cylindricalprism technology
1.33x Horizontal
Expansion
0.75x Vertical
Compression
0.80x Vertical
compression
Throw distance range 12′ – 24′ (3.6m – 7.3m) 12′ to 36′ (3.6m – 11m) 12′ to 36′ (3.6m – 11m)
Min throw distance 1.6 x screen width 1.6 x screen width 1.4 x screen width
Vertical projector
position
Horizontal projector
position
Mounting orientation Suspended or shelf
Max edge distortion (at
lowest throw ratio)
Electronic Convergence
Correction (Sony, Epson
and JVC HT projectors)
Optimum screen aspect
ratio
Attachment kit Panamorph standard
Any screen height +/15% of screen height
Centered with minimal or
no horizontal lens shift
Top or bottom of screen
+/ 15% of screen height
Centered with minimal or
no horizontal lens shift
Suspended or shelf
mount
0.005 x screen diag. at
1.6:1 UW throw ratio
Recommended for throw
mount
0.005 x screen diag. at
1.6:1 UW throw ratio
Unnecessary Unnecessary
distance / screen width
ratio under 2.2:1
2.4:1 flat or curved 2.4:1 flat (adjustment for
2.35:1)
Panamorph standard
bracket with XM2 or XMU
kit included
bracket with XM2 or XMU
kit included
Top or bottom of screen
+/ 15% of screen height
Centered with minimal or
no horizontal lens shift
Suspended or shelf
mount
0.005 x screen diag. at
1.4:1 UW throw ratio
2.4:1 flat (adjustment for
2.35:1)
Panamorph standard
bracket with XM2 or XMU
kit included
Projector resolutions
supported
UltraWide UHD movie
enhancement vs. native
letterbox
Mode I required for
UltraWide UHD movies
Mode II required for 16:9
Up to 4K (UHD) in the
16:9 format
20% increase in
brightness from 2+ million
more pixels
4K (UHD) up to 8K in the
16:9 format
29% increase in
brightness from 2+ million
more pixels
4K (4096) to 8K in the
17:9 cinema format
38% increase in
brightness from 2.5+
million more pixels
4/3 vertical stretch 4/3 vertical stretch 4/3 vertical stretch +
16/15 horizontal stretch
3/4 horizontal squeeze 3/4 horizontal squeeze 4/5 horizontal squeeze
and 1.85:1 UHD movies
in native format in center
of screen
Mode for stretching
smaller content to fit
2.4:1 screen
Size (lens only) 5.1″ W x 4.5″ H x 5.8″ D
“off” or “normal” mode
(no anamorphic
conversion)
(129 x 114 x 146 mm)
“off” or “normal” mode
(no anamorphic
conversion)
6.5″ W x 5.7″ H x 4.5″ D
(165 x 145 x 114mm)
16:15 horizontal stretch
6.5″ W x 5.7″ H x 4.13″ D
(165 x 145 x 105mm)
Weight (lens + bracket) 2.8 pounds (1.3 Kg) 3.6 pounds (1.63 Kg) 3.6 pounds (1.63 Kg)
Warranty Two years Two years Two years
Panamorph Paladin and Phoenix Lens Installation Guide, V1.5 Page | 1

BEFORE LENS INSTALLATION
1. Install the Attachment Kit. This is the XM2 or XMU Attachment Kit with hardware and
instructions that are packaged with your Panamorph lens system.
2. Fine tune your projection system now. The projector should be horizontally centered on
the screen and pointing at the screen center with roll, tilt and yaw adjusted so that test
pattern lines are as perpendicular or parallel with the screen edges as possible. Do not try
to make these adjustments later with the anamorphic lens installed.
3. Use an actual 2.4:1 movie for lens installation and set the projector (or processor) to
the vertical stretch mode. Projector test patterns do not typically represent actual movie
aspect ratios so set your theater up with a real movie. Most UltraWide movies since 1971
are in the 2.4:1 (or 2.39:1) aspect ratio but check the back of a Blu-ray movie container to
make sure. If using the Paladin DCR with a full 4096 projector make sure the anamorphic
setting is for the 1.25x, 1.24x (Sony), 0.8X or 4096 mode.
4. Before installing a Paladin Lens, adjust the projector zoom so you can see the left and
right edges of the 2.4:1 movie on the screen slightly inside the screen border. For a 2.4:1
screen adjust the projector’s vertical lens shift to provide about 80% of the overscan above
the screen and about 20% below. For a 2.35:1 screen adjust the vertical lens shift for about
the same overscan above and below. Before installing a Phoenix Lens, adjust the
projector zoom (with vertical lens shift adjustment as needed) so you can see the top and
bottom edges of the 2.4:1 movie on the screen slightly inside the screen border.
INSTALLING THE LENS
1. Find the Lens Bracket which is typically shipped in the Kit Parts box separate from the
Lens. Please leave the protective film on the lens for now.
2. From the Attachment Kit, insert the two 3/4” Bracket Attachment Screws up through the
Lens Bracket and tighten using the included driver (see figure below).
OPTIONAL FOR LARGER PROJECTORS: Instead of the 3/4” screws, use the larger
Bracket Attachment Screws with the Bracket Attachment Spacers if you determine or
desire that the Lens should vertically extend farther from the Attachment Plate to properly
position it in the projector beam. You may wish to preview step 5 below to get a feel for this
vertical positioning to determine the appropriate Attachment Screws and Spacers for your
projection system. Note that ceiling mounted projectors project the beam out of the lower
area of the projection lens so the Panamorph lens will also be aligned lower than the
projection lens to properly pass the beam.
Panamorph Paladin and Phoenix Lens Installation Guide, V1.5 Page | 2

3. Attach the Lens to the Lens Bracket by inserting the four #8-32 Bracket Screws (two on
each side) through the toothed Lens Bracket height-adjustment slots and into the Bracket
Arms. See the “Other Tips” section for inverting the Lens Bracket. NOTE: If the projector
is toward the top of the screen the Paladin lens should have the Panamorph logo
facing down and if at the bottom of the screen the logo should be facing up.
4. Refer to instruction illustrations for your particular Attachment Kit. Attach the Lens Bracket
(now with Lens attached) to the Attachment Plate by directing the Bracket Attachment
Screws (now in the Lens Bracket) up through the slotted holes (XM2) or the horizontal slot
(XMU) and secure using the two Thumb Knobs. NOTE: If the longer Bracket Attachment
Screws are used then the Bracket Attachment Spacer(s) should be between the Lens
Bracket and the Attachment Plate. If using the XMU Plate, loosen the Thumb Knobs and
slide the Lens Bracket horizontally in the slot to center the Lens in front of the projector lens
before retightening the Thumb Knobs.
5. Remove the protective film from the Lens. Turn on the projector, show a 2.4:1 movie and
make adjustments to the lens so the beam passes through onto the screen unuobstructed.
Height adjustments are made by slightly loosening the two Bracket Screws on each side
and then tilting and vertically moving the Bracket Arms attached to the Lens to an
appropriate notch in the toothed slots where the Bracket Arms can settle to align with the
sides of the Lens Bracket. Tilt adjustments are made by slightly loosening the two Lens Tilt
screws on each side connecting the Bracket Arms to the Lens so that it pivots about the
front screw. With these operations in mind:
Panamorph Paladin and Phoenix Lens Installation Guide, V1.5 Page | 3

Paladin Lens Adjustments. Adjust the tilt of the Paladin to vertically position the image
onto the screen then adjust the height of the Paladin so that the entire projector beam
passes through unobstructed.
If the top of the image has significantly different curvature than the bottom of the image
then slightly tilt the Lens to shift the image and then adjust the projector vertical lens shift to
return the image to the screen. In one direction this will increase the curvature of the top
and decrease the curvature of the bottom. In the other direction the reverse will happen.
When the top and bottom curvatures (if any) are even then this will minimize edge
distortion. NOTE: If desired, this operation can also be used to fine tune the aspect ratio (ie
change the image height) although some unequal curvature may result. You may need to
do these steps several times for the best adjustment. After these adjustments adjust the
height of the Paladin Lens as needed to make sure the entire projector beam passes
through. Finally, tighten the Bracket Screws to secure the lens configuration.
Phoenix Lens Adjustments. Adjust the tilt of
the Lens so that the top and bottom edges of the
image have the same amount of curvature and
adjust the height of the Lens so the projector
beam passes through the unobstructed.
Typically this tilt adjustment results in the lens
facing the approximate vertical center of the
screen. Once these adjustments are made,
tighten the Bracket Screws to secure the lens
configuration. Finally, loosen the Thumb Knobs
and rotate the lens about the vertical axis to horizontally re-center the image on the screen.
6. CORRECTING STRANGE GEOMETRIES. If the left / right geometries of a Paladin image
do not appear the same then pivot the Lens Bracket about the vertical axis to correct (yaw
adjustment). For all lens models, if one side of the image appears higher than the other
then the lens must be leveled to correct (roll adjustment). This is most easily done by
adding a washer between the Attachment Plate and the Lens Bracket.
7. Adjust the projector zoom and vertical lens shift to fill the screen with the 2.4:1 movie,
eliminating any residual gaps by slightly overscanning onto the screen border as
necessary. Perform a final focus adjustment.
8. If using the XM2 Attachment Plate, loosen the Thumb Knobs and move the Lens Bracket
toward the projector to minimize the distance between the Lens and projector lens. If using
the XMU Attachment Plate, slightly loosen the RPA000 thumb nuts just enough so that
the Attachment Plate can be slid back to minimize the distance between the Lens and
projector lens. The final distance is not important. Check to make sure the image alignment
on the screen has not changed then tighten all adjustments.
Panamorph Paladin and Phoenix Lens Installation Guide, V1.5 Page | 4

ELECTRONIC CONVERGE CORRECTION
The Phoenix Lens can create color fringing which increases toward the right and left edges of
the image when a projection system has a relatively small ratio of throw distance to screen
width. If noticeable, this color fringing can be corrected by the Electronic Convergence
Correction (ECC) feature currently available in Sony, Epson and JVC projectors, taking
approximately 5 to 30 minutes to adjust depending on the projector model and level of desired
correction. Note that these adjustments are performed only once during lens setup. ECC is
optional for Paladin installations but any color fringing with Paladin lenses is difficult to see.
Epson: Menu -> Extended -> Panel Alignment. See the user manual for more detailed
discussion regarding “Adjusting the Color Convergence”. The first step of Epson’s ECC allows
you to adjust the four image corners to impact the entire image. This very quickly implements
ECC but you may still wish to continue with finer adjustments per the manual.
JVC: Menu -> Installation -> Pixel Adjust. Please refer to the “Zone Adjust Operation
Procedure” in the user manual.
Sony: Menu -> Installation -> Panel Alignment. Please refer to the section on “Panel
Alignment -> Zone” in the user manual.
OTHER TIPS
Watching smaller content. There are three options for watching 1.85:1 movies and 16:9
content. First, Anamorphic Mode II or “TV” will show smaller content in its native aspect ratio in
the center of the UltraWide screen with black on left and right. Second, Anamorphic Mode I or
“UltraWide” will fill the full screen with the top and bottom of smaller content cropped to fit.
Finally, “Full” or “Stretch” turns off the anamorphic modes so the full 1.85:1 or 16:9 content
appears stretched out to fill the screen due to the lens. You can see these three options using
the Panamorph Demo Theater at the Panamorph web site (select and install your lens type,
select a sample from the “TV” content, then cycle through the projector mode options).
However, note that full 16:9 content is somewhat taller than UltraWide movies so a very small
portion of the top and bottom will be overscanned onto the border of
the UltraWide screen. If you are watching sports with scores at the
top and/or bottom you may need to zoom the projector down slightly
to make the scores completely visible.
Inverting the lens bracket for high shelf mounting. The bracket
and bracket arms are shipped to suspend Panamorph lenses from
above – typically attached to XM2 or XMU plate on top of the
projector. The bracket arms can be removed from the lens and
inverted so that the lens is still properly oriented with the bracket
facing down to mount to a shelf. However, note that this typically
Panamorph Paladin and Phoenix Lens Installation Guide, V1.5 Page | 5

restricts how much the lens can be tilted down so the bracket arms may need to be angled
away from the bracket to provide this extra tilt if needed during step 5.
Electronic distortion correction. At the lowest recommended throw ratios Panamorph lenses
may require a border thickness up to 0.005 times the screen diagonal dimension to mask the
distortion from the lens. Once masked this distortion is typically invisible in normal content
inside the screen. However, at these low throw ratios any 16:9 or 1.85 content shown with
black bars on the left and right may show curved sides. While rarely done, you may wish to
consider electronic distortion correction in certain Sony and Digital Projection projector models
to correct for this.
If your projector does not have anamorphic modes. Oppo UDP-203 and UDP-205 Blu-ray
players have Anamorphic I and Anamorphic II modes built-in to support Phoenix and Paladin
(not DCR) lenses both when playing 4K/UHD Blu-ray discs and when playing 4K/UHD external
content through the HDMI input. Lumagen Radiance Pro processors also support all
Panamorph lenses (include the DCR) with all anamorphic modes.
Projector compatibility. Please see the Compatibility Guide under Lens Options at
www.panamorph.com for installation and usage details for specific projector models.
CLEANING
Small amounts of dust are very noticeable with a high brightness projection beam and residual
wipe marks can appear as scratches under that intensity. Minor amounts of this will not impact
your image as much as possible damage from excessive cleaning in pursuit of a “perfect”
optical surface. Occasionally blowing off the lens surfaces with clean air is the best way to
keep long term performance. If you see what appears like a scratch but that scratch changes
with contact cleaning then it’s only a slight cosmetic blemish to the coating made visible by the
intense light and will not impact performance. If there is any excessive residue or build-up then
it is recommended that you clean the optics with professional lens cleaning supplies such as
from a camera store while the lens is in front of the lit beam of the projector. This will allow
you to quickly see your results and if the process is causing any damage.
LIMITED WARRANTY
Panamorph, Inc. warrants this product against any change in performance or functionality for a
period of twenty-four months from our ship date. During this period, a unit may be repaired or
replaced, at the discretion of Panamorph, Inc., by returning it in its original packaging with a
copy of your receipt. This warranty does not cover damage resultant from lack of prudent care,
accident or misuse (including use with other products in ways not intended); any cosmetic
damage not reported within 15 days of purchase; or any performance change caused by the
environment in which it is used. All damages are limited to the cost of the product.
Panamorph Paladin and Phoenix Lens Installation Guide, V1.5 Page | 6
 Loading...