

Page 1
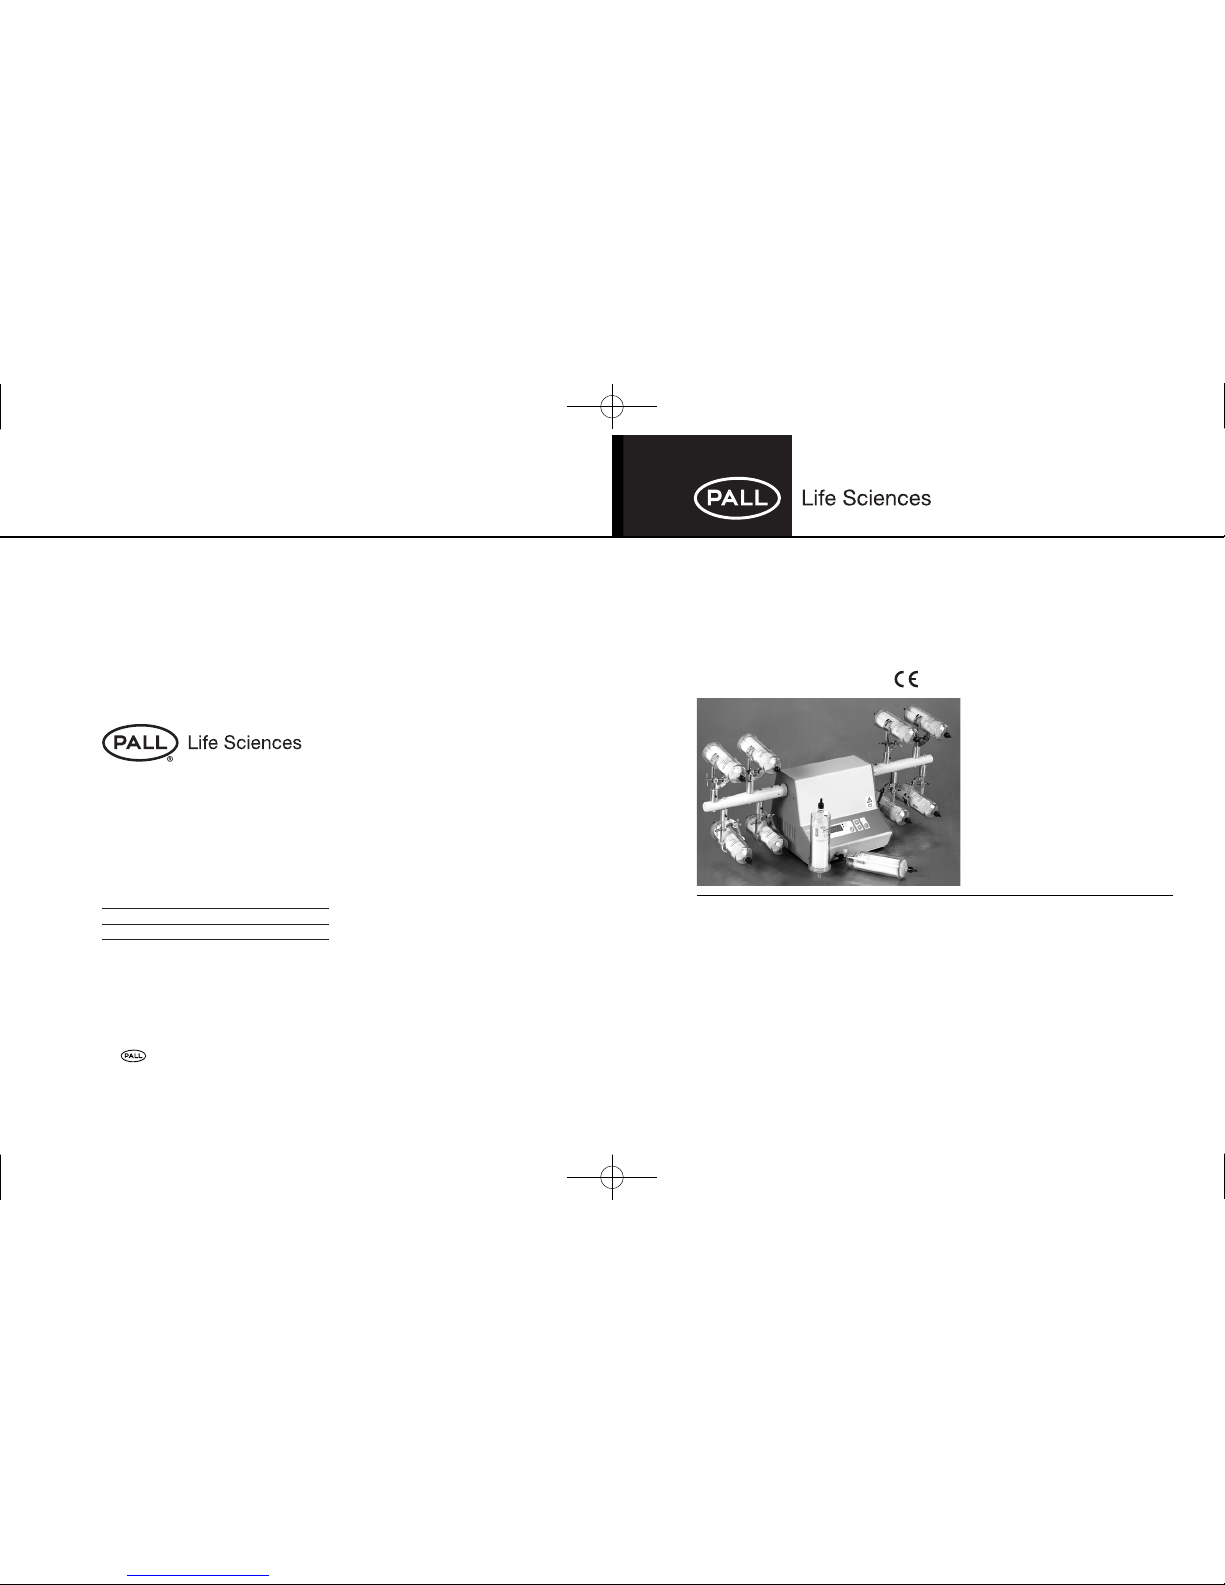
Laboratory Shaker
PN 4821, 115 Volt
PN 4822, 230 Volt
Description
• Easily detachable arms equipped with 8 cork-lined clamps.
• Process up to 8 Envirochek
®
sampling capsules at one time.
• Programmable digital speed and timer.
© 2008, Pall Corporation, 07/08 PN 87333C
Pall Life Sciences
600 South Wagner Road
Ann Arbor, MI 48103-9019 USA
800.521.1520 USA and Canada
(+)800.PALL.LIFE Outside USA and Canada
734.665.0651 phone
734.913.6114 fax
V
isit us on the Web at www.pall.com/lab
E-mail us at LabCustomerSupport@pall.com
Australia, Cheltenham, VIC, 03 9584 8100
Austria, Wien, 00 1 49 192 0
Canada, Ontario, 905-542-0330
Canada, Québec, 514-332-7255
China, P.R., Beijing, 86-10-6780 2288
France, St. Germain-en-Laye, 01 30 61 32 32
Germany, Dreieich, 06103-307 333
India, Mumbai, 91 (0) 22 67995555
Italy, Buccinasco, +3902488870.1
Japan, Tokyo, 03-6901-5800
Korea, Seoul, 82-2-560-8711
Malaysia, Selangor, +60 3 5569 4892
Poland, Warszawa, 22 510 2100
Russia, Moscow, 5 01 787 76 14
Singapore, 65 6 389-6500
South Africa, Johannesburg, +27-11-2662300
Spain, Madrid, 91-657-9876
Sweden, Lund, (0)46 158400
Switzerland, Basel, 061-638 39 00
Taiwan, Taipei, 886 2 2545 5991
Thailand, Bangkok, 66 2937 1055
United Kingdom, Farlington, 02392 302600
Pall, , and Envirochek are trademarks of Pall
Corporation. ® indicates a registered trademark in the USA.
1240_87333C.qxd:1240_87333C.qxd 7/23/08 5:31 PM Page 1
Page 2
General Information
1. Handle the parcel with care. Unpack and check that the contents coincide with
the packing list. If any part is damaged or missing, please advise the distributor
immediately.
2. Do not install or use the equipment without first reading the Product Information
Insert.
3. The manual should be made available for all users.
4. If you have any inquiries, please contact your supplier or Pall Life Sciences
technical service.
5. Do not use the apparatus with liquids which can give off vapors capable of
making explosive mixtures.
Packing List The standard equipment consists of the following components:
Piece Qty
Laboratory Shaker (115 or 230 Volt) 1
Arms 2
Clamps 8
Power Cord 1
Product Information Insert 1
Allen Wrench 3 mm 1
1
Table of Contents
Section Page
General Information 1
Packing List 1
Specifications 2
Installation 2
Instructions for Use 3
Maintenance 8
Replacement Parts 8
Warning 8
Note: The procedures herein are intended only as a guide. Users should always
verify product performance with their specific applications under actual use
conditions. If you have questions about the information presented in this guide,
please contact Pall Life Sciences technical service.
1240_87333C.qxd:1240_87333C.qxd 7/23/08 5:31 PM Page 3
Page 3

CAUTION!!!! IMPORTANT FOR YOUR SAFETY
Be sure that the voltage supply is the same as the one indicated on the
characteristics plate.
Do not use the apparatus to shake products capable of making an explosive
mixture.
Do not use the apparatus if it is not grounded.
If you change the plug, bear in mind the following:
Blue cable: Neutral
Brown cable: Phase
Yellow/green cable: Ground
Instructions for Use
Control Panel:
1. Power Switch 5. Program Button
2. Display – Time, Speed 6. Timer Selector and Decrease Button
3. Timer Mode Lamp () 7. Speed Selector and Increase Button
4. Speed Mode Lamp (U/min.) 8. Start/Stop Button
3
Specifications
Voltage supply 115 V, 50/60 Hz, or 230 V, 50/60 Hz on the characteristics plate.
Part Number 4821 4822
Height 35 cm (13.8 in.) 35 cm (13.8 in.)
Length 77 cm (30.3 in.) 77 cm (30.3 in.)
Width 27 cm (10.6 in.) 27 cm (10.6 in.)
Maximum capacity 4 kg (8.8 lb) 4 kg (8.8 lb)
Oscillations/min. 100–750 rpm 100–920 rpm
Power consumption 80 w 80 w
Weight 11 kg (24.2 lb) 11 kg (24.2 lb)
Voltage 115 V 230 V
Installation
Laboratory Shaker:
• Place the apparatus on a level horizontal surface with sufficient stability to resist
its own vibrations.
• Fit the arms with clamps at the shaker side shaft so that the screws tighten
against the flat side of the shaft.
• If the shaker moves during operation, this can be alleviated by putting a piece of
cushioned rubber between the table and the shaker.
2
U/min
START
STOP
1. 2. 3. 5. 6. 8.
4. 7.
Control Panel Layout
1240_87333C.qxd:1240_87333C.qxd 7/23/08 5:31 PM Page 5
Page 4

3. Press the Timer Selector button. The Timer Mode Lamp will light and the
display will read “000”.
4. Press and hold the Program button to display the current Timer setting.
Decrease time (minutes) using the Decrease button while simultaneously
holding the Program button until “000” minute is reached. Release buttons.
Timer is now adjusted for continuous operation.
5. Press Start/Stop button to start shaking continually. Press Start/Stop button to
stop shaking once samples are thoroughly agitated.
5
Starting Up:
1. Plug shaker into 115V 50/60 Hz or 230 V 50/60 Hz line as indicated on the
characteristics plate located on the back of the instrument.
2. Turn on the main rocker switch located on the back of the instrument. Follow
steps outlined below for Continuous Operation or Timed Operation.
Continuous Operation Example:
To run shaker in continuous (non-timed) operation, the timer must be set to “000”
minutes.
If, for example, the desired shaking speed is 200 undulations (cycles) per minute
(U/min.) for an undefined interval, follow the steps outlined below:
1. Press the Speed Selector button. The Speed Mode Lamp will light and the
display will read “000”.
2. Press and hold the Program button to display the current speed setting. Adjust
speed using the Increase or Decrease buttons while simultaneously holding the
Program button until 200 is reached. Release buttons. Speed is now adjusted
to desired setting.
4
Instructions for Use (continued) Instructions for Use (continued)
U/min
START
STOP
U/min
START
STOP
U/min
START
STOP
U/min
START
STOP
1240_87333C.qxd:1240_87333C.qxd 7/23/08 5:31 PM Page 7
Page 5

7
6
4. Press and hold the Program button to display the current timer setting. Adjust
time (minutes) using the Increase or Decrease buttons while simultaneously
holding the Program button until “060” minutes is reached. Release buttons.
Timer is now programmed for 60 minute interval operation.
5. Press Start/Stop button to run shaker program. Shaker will shut off
automatically after time has expired.
Display:
During operation the display lamp will flash.
• To view the current speed during operation press Speed Selector button.
• To view time remaining during a timed operation press Timer Selector button.
NOTE: If power is turned off using the Power Switch during operation (in both
continuous and timed modes), the shaker will run immediately after power up. Use
Start/Stop button to end a timed program or to stop shaking in continuous mode.
Timed Operation Example:
If, the desired shaking speed is 450 undulations (cycles) per minute (U/min.) for an
interval of 60 minutes, follow the steps outlined below:
1. Press the Speed Selector button to access the speed mode. The Speed Mode
Lamp will light and the display will read “000”.
2. Press and hold the Program button to display the current speed setting. Adjust
speed using the Increase or Decrease buttons while simultaneously holding the
Program button until 450 is reached. Release buttons. Speed is now adjusted
to desired setting.
3. Press the Timer Selector button to access the timer mode. The Timer Mode
Lamp will light and the display will read “000”.
Instructions for Use (continued) Instructions for Use (continued)
U/min
START
STOP
U/min
START
STOP
U/min
START
STOP
U/min
START
STOP
1240_87333C.qxd:1240_87333C.qxd 7/23/08 5:31 PM Page 9
Page 6

ACHTUNG
Der Einsatz dieses Produktes in Anwendungen für die es nicht spezifiziert ist,
oder das Nichtbeachten einiger, in dieser Bedienungsanleitung gegebenen
Hinweise kann zu einem schlechteren Ergebnis, oder Zerstörung des
Produktes oder anderer Dinge oder gar zu Verletzungen führen. Beachten Sie
auch unsere Garantiebedingungen im aktuellen Katalog.
ADVERTENCIA
El uso de este producto en aplicaciones no especificadas o el no considerar
las instrucciones indicadas en la hoja de información del producto puede
ocasionar un mal funcionamiento del producto, daños en las instalaciones o
en el producto y riesgo para el personal del laboratorio. Consulte el apartado
de Garantía en nuestro último catálogo.
ATTENZIONE
L’impiego dei prodotti in applicazioni non specificate, o il mancato rispetto
di tutte le istruzioni contenute nel presente bollettino tecnico, potrebbero
portare ad un utilizzo improprio del prodotto, ferire gli operatori, o
danneggiare le caratteristiche del prodotto stesso. Consultare la
dichiarazione di garanzia pubblicata nel nostro più recente catalogo.
9
8
Maintenance
Before removing the casing, always be sure the shaker is unplugged.
The manipulation of the internal electronic circuits of the apparatus by unauthorized
personnel can cause irreparable damage to the apparatus.
Cleaning:
Cleaning of plastic: alcohol with cotton cloth
Painted metal case: damp cloth and mild soap
Replacement Parts
Part Number Description
89051 Clamp with extension collar
WARNING
Employment of the products in applications not specified, or failure to follow
all instructions contained in this product information insert, may result in
improper functioning of the product, personal injury, or damage to property
or the product. See Statement of Warranty in our most recent catalog.
ATTENTION
L’utilisation de nos produits dans des applications pour lesquelles ils ne
sont pas spécifiés ou le non-respect du mode d’emploi qui figure sur ce
document, peut entrainer un disfonctionnement du produit, endommager le
produit ou d’autres biens matériels ou représenter un risque pour l’utilisateur.
Se référer à la clause de garantie de notre catalogue le plus récent.
1240_87333C.qxd:1240_87333C.qxd 7/23/08 5:31 PM Page 11
 Loading...