

Pacific Drums & Percussion MX SERIES User Manual
This war ranty protects the original retail purchaser only. If a covered product or component fails
To obtain warranty ser vice, return the product to your authorized Pacific Drums dealer along with
your original proof of purchase. In the case that the dealer is unable to cor rect a war ranty defect,
the dealer will then contact Pacific for fur ther instructions and to obtain a Return Authorization
This Warranty does not apply to 1) drums purchased from a source other than an authorized Pacific
ture, extreme temperatures, handling, shipping or use under normal playing conditions, 4) finishes,
drum finishes
drum hardware
3 years
1 year
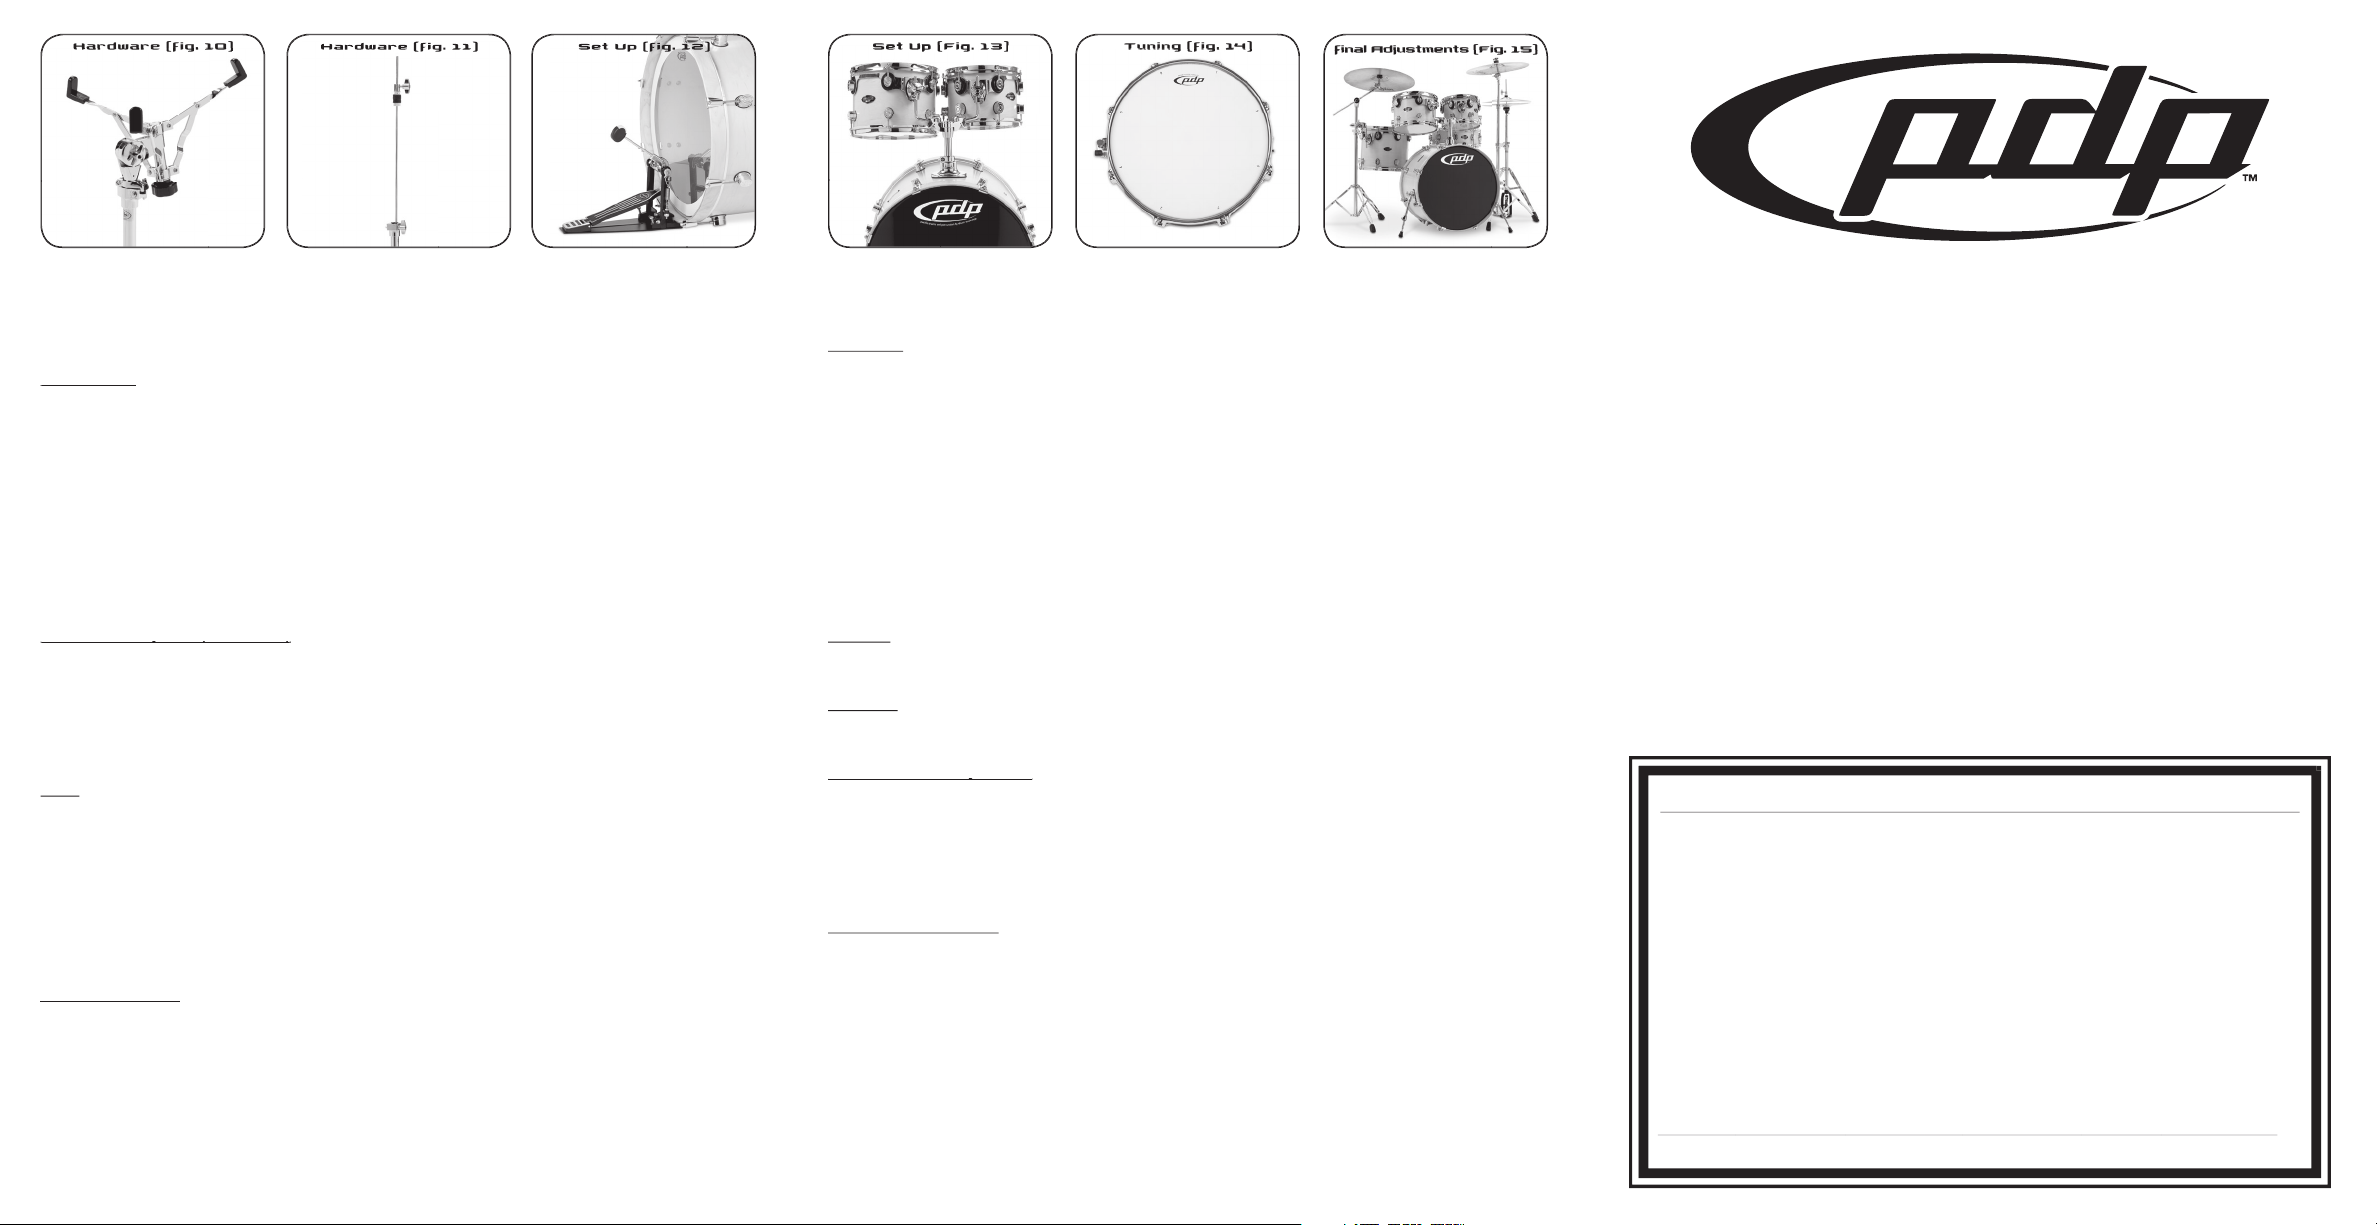
To open or close the arms so that they are snug around the drum, turn the knob located at the base of the bas-
the wingnut.
the medium tom-tom. Make sure all the wingnuts and wingscrews on the stand are securely tightened.
the tube receiver joint. Position the clamp so that the tom arm is directly over a leg and towards the drum kit.
Tighten both sides of the clamp on to the stand evenly, then loosen the ball-in-socket clamp and elevate the tom
the snare dr um.
wingnuts from the stems of the tilters on the stands and placing one cymbal (sold separately) on the top (tilter
washer above and below the cymbal.
to create the desired space between the hi-hat cymbals (sold separately) and then tighten the clutch wingscrew.
Section Three: Tuning
Section Three: Tuning
the head evenly will produce the best sound, stick response and head durability. Each drum will have its own
tions indicated on your snare drum as a guide. (figure 14)
to achieve the desired pitch.
Snare Drum
two inches in front of the tension rod. Using the criss-cross method continue tightening each tension rod while
tapping the drum at each tension point and adjusting it so that it sounds the same as the tension points next to
tions.
your drum to achieve the desired sound and feel.
Tom-Toms
Apply the above tuning techniques and procedures for tuning the tom-toms, keeping the bottom (resonant) head
Apply the above tuning techniques and procedures for tuning the bass drum, keeping the front (resonant) head
Section Four: Final Adjustments
Section Four: Final Adjustments
Section Five: Maintenance
7) Consult your authorized Pacific Drums dealer for genuine replacement parts and further information.
www.pacificdrums.com

Section One: Assembly
Section One: Assembly
will find a smaller box labeled “Accessor y Kit”. Open this box and remove the plastic bag containing two sizes of
tension rods. Separate the rods into two groups: long (bass drum) and short (tom-tom). Next remove the drumkey
from the Accessor y Kit. This is the only tool you’ll need to complete the assembly, set-up and tuning of your new
These drums come completely assembled. Set them aside until you are ready for set-up and final tuning.
the metal hoop of the head and the seam at the bottom of the dr um.
tighten it by hand until they are “finger-tight”. You will fully tighten and tune the drum later.
front and back flaps will lightly touch both the front and back heads when the drum is fully assembled. Once you
A. Straight Cymbal Stand
tion. (figure 8) Tighten the wing screw.
the base section and tighten the tube receiver wingscrew. Adjust the stand sections so that 9-12” of each tube is
tion. Then tighten the wingnut.
tion. Tighten the wing screw.
tube receiver.
the straight/boom casting at the end of the upper tube section, pull the boom arm outward until the casting is
to secure the position.
tion. Then tighten the wingnut. (figure 9)
the base section and tighten the tube receiver wingscrew. Adjust the stand so that 2-3” of the upper tube is above
the tube receiver.
tion is stable and vertical. Tighten the wing screw.
the sides of the base casting. Adjust the built-in spurs to prevent hi-hat crawl by turning them clockwise or coun-
terclockwise to achieve the desired position. Be careful when using this feature so as not damage the surface of
the floor.
tion of the stand into the base section and adjust the stand so that 12-15” of the upper tube is above the tube
Section Two: Set-Up
Section Two: Set-Up
A. Bass Drum Spurs
the drum.
towards the front of the bass drum. Tighten the wingnuts.
the 2 ball-in-socket clamps towards the front of the drum and the ar ms on the outside of the clamps. Position the
the wingscrews.
Small and Medium Tom-Toms
Tighten the bracket wing screw and interlocking memory lock.
the kit as desired. Tighten the wingnut.
the center of the kit. (figure 13)
Snare Drum
 Loading...