

Pacer Single, Dual Owner's Manual
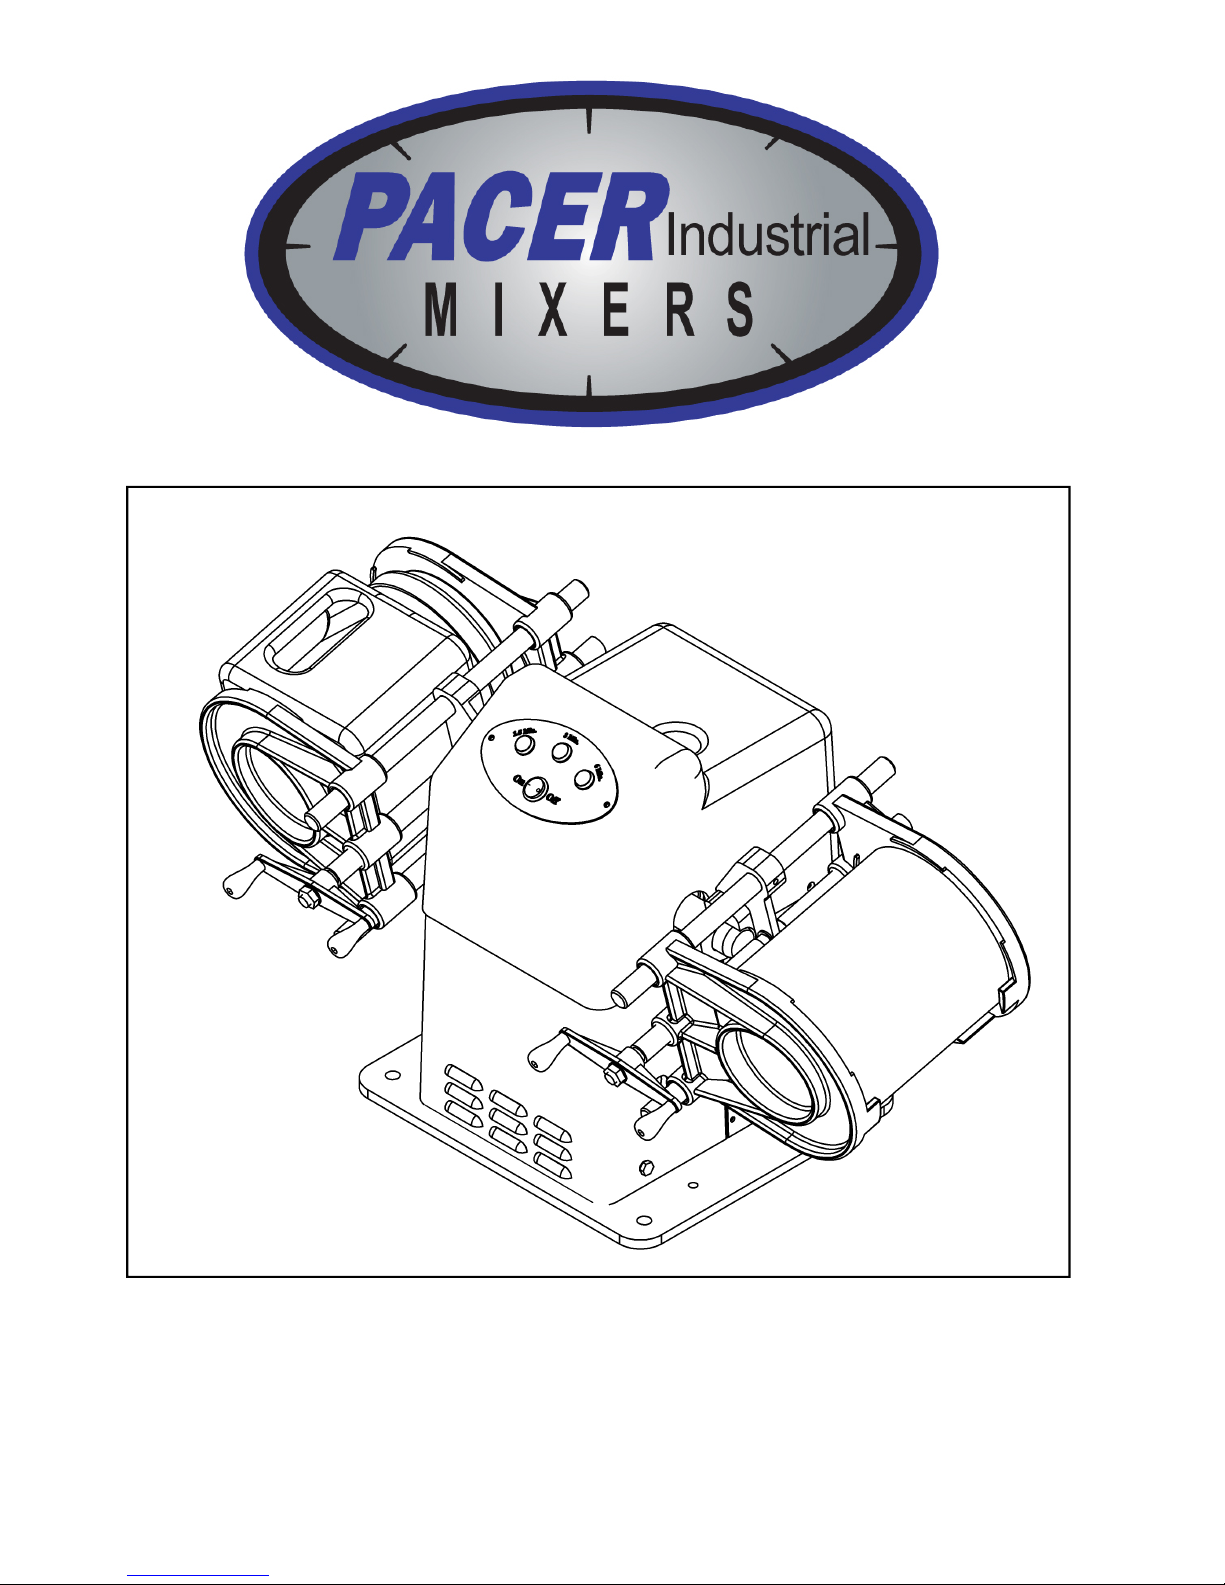
Pacer Dual & Pacer Single Arm Mixers
Owner’s Manual

Introduction…………………3
Safety Precautions…………..4
Installation Instructions……..5
Electrical Connections………7
Operating Instructions………8
Air-driven models…………..9
Troubleshooting…………….10
Wiring Diagrams…………...11
Parts list…………………….13
Ordering Replacement Parts..20
2
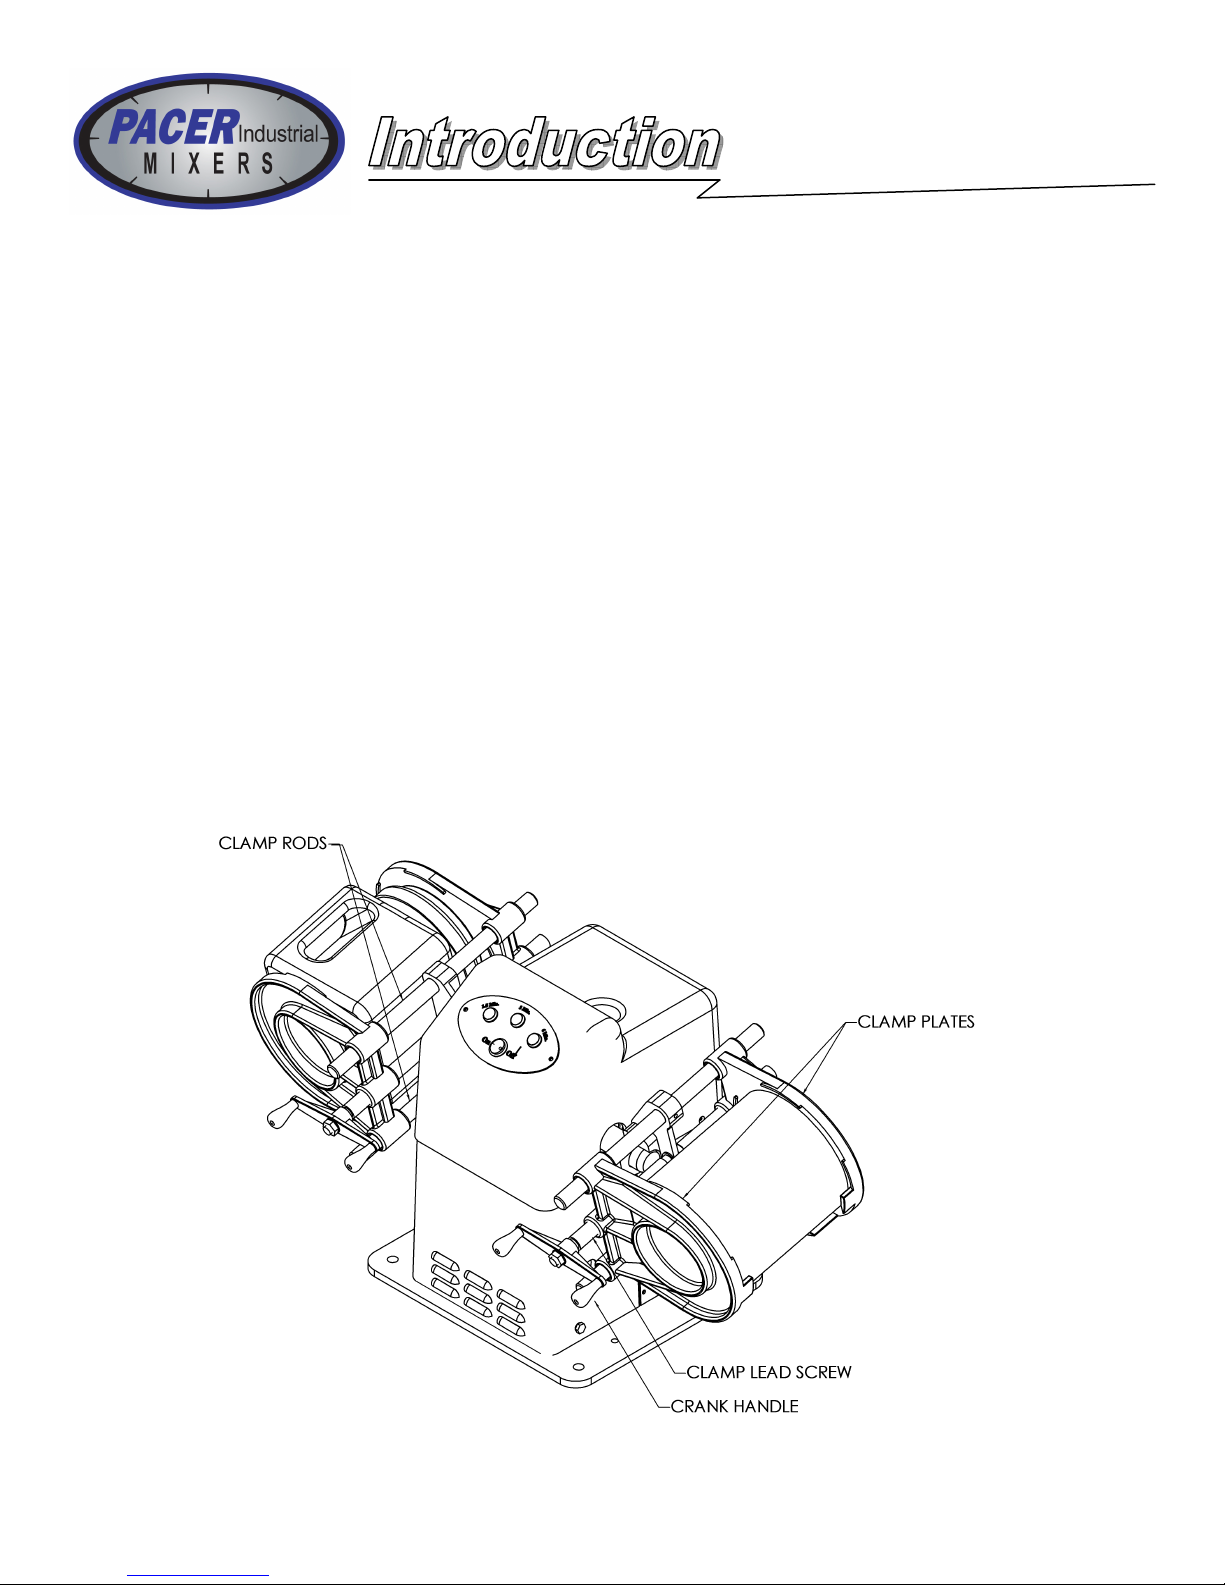
The PACER INDUSTRIAL MIXERS Dual arm and Single arm mixers are heavy duty quality built machines
that offer dependable operation throughout their lifetime.
To take full advantage of your mixer’s capabilities, you should understand its features and proper operation.
Before operating mixer read this manual completely and save for future reference.
Machine Models
This manual includes instructions and replacement parts information on all models PACER INDUSTRIAL
MIXERS Dual arm and Single arm mixers.
•
115V 60 Hz and 230V 50Hz mixers.
•
Mounting bases: Counter-stand, Floor-stand.
•
Clamp safety covers.
-Left arm safety cover for Single arm mixers.
-Left and right arm safety covers for Dual arm mixers.
•
Standard and explosion proof.
•
15 min., 30 min. and 60 min. dial timers. 6 minute pushbutton timer. Explosion proof model: no timer.
3
Follow these safety precautions when operating the PACER INDUSTRIAL MIXERS Dual arm or Single arm
mixers.
Installation
1. Before operating the machine, read this Owner’s manual carefully.
2. Ground the machine properly. Be sure to follow proper grounding and electrical procedures.
3. Avoid dangerous environments. Do not use the machine in a damp or wet environment.
4. Use the proper power source. Refer to the machines designation label located on the back of the machine.
If it is unreadable call our customer service department (1-888-236-1143) before connection the mixer to a
power source.
5. Avoid extension cords. To minimize the risk of circuit overload, or improper electrical grounding do not
use extension cords.
Operation
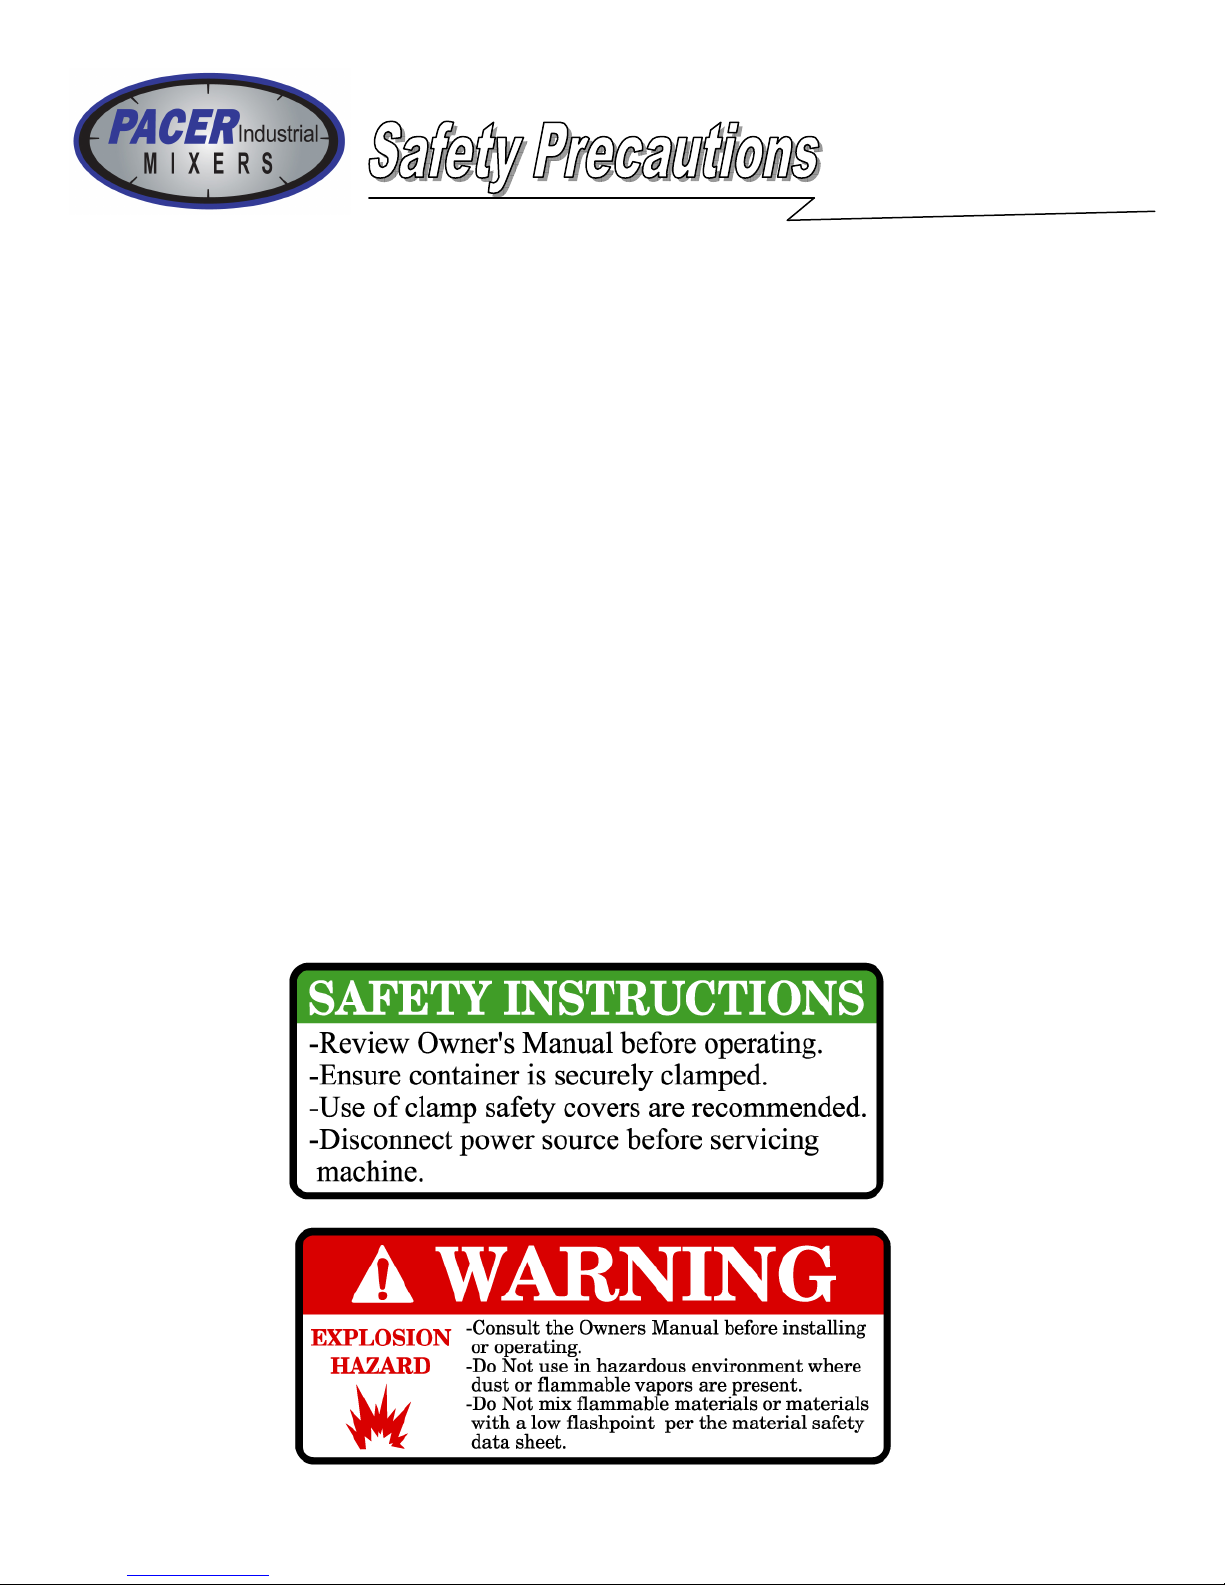
6. Ensure the can being mixed is securely clamped.
7. Keep customers away from mixing area. Only trained personnel should operate the mixer.
Maintenance
8. Do not get the timer, control panel or wiring wet. Failure to do so could result in electric shock.
9. Clean all surfaces of the machine with soap and water. Do not use any solvent-based cleaners or thinners.
10. Disconnect machine from power source before cleaning or servicing mixer.
11. Be sure to maintain the mixer on a regular basis. Follow the maintenance procedures on page 8.
4
The PACER INDUSTRIAL MIXERS Dual arm and Single arm mixers are shipped fully assembled. The machine must be mounted to the PACER INDUSTRIAL MIXERS Floor Stand or Counter Stand. Failure to do so
will void the warranty. Refer to the instructions below.
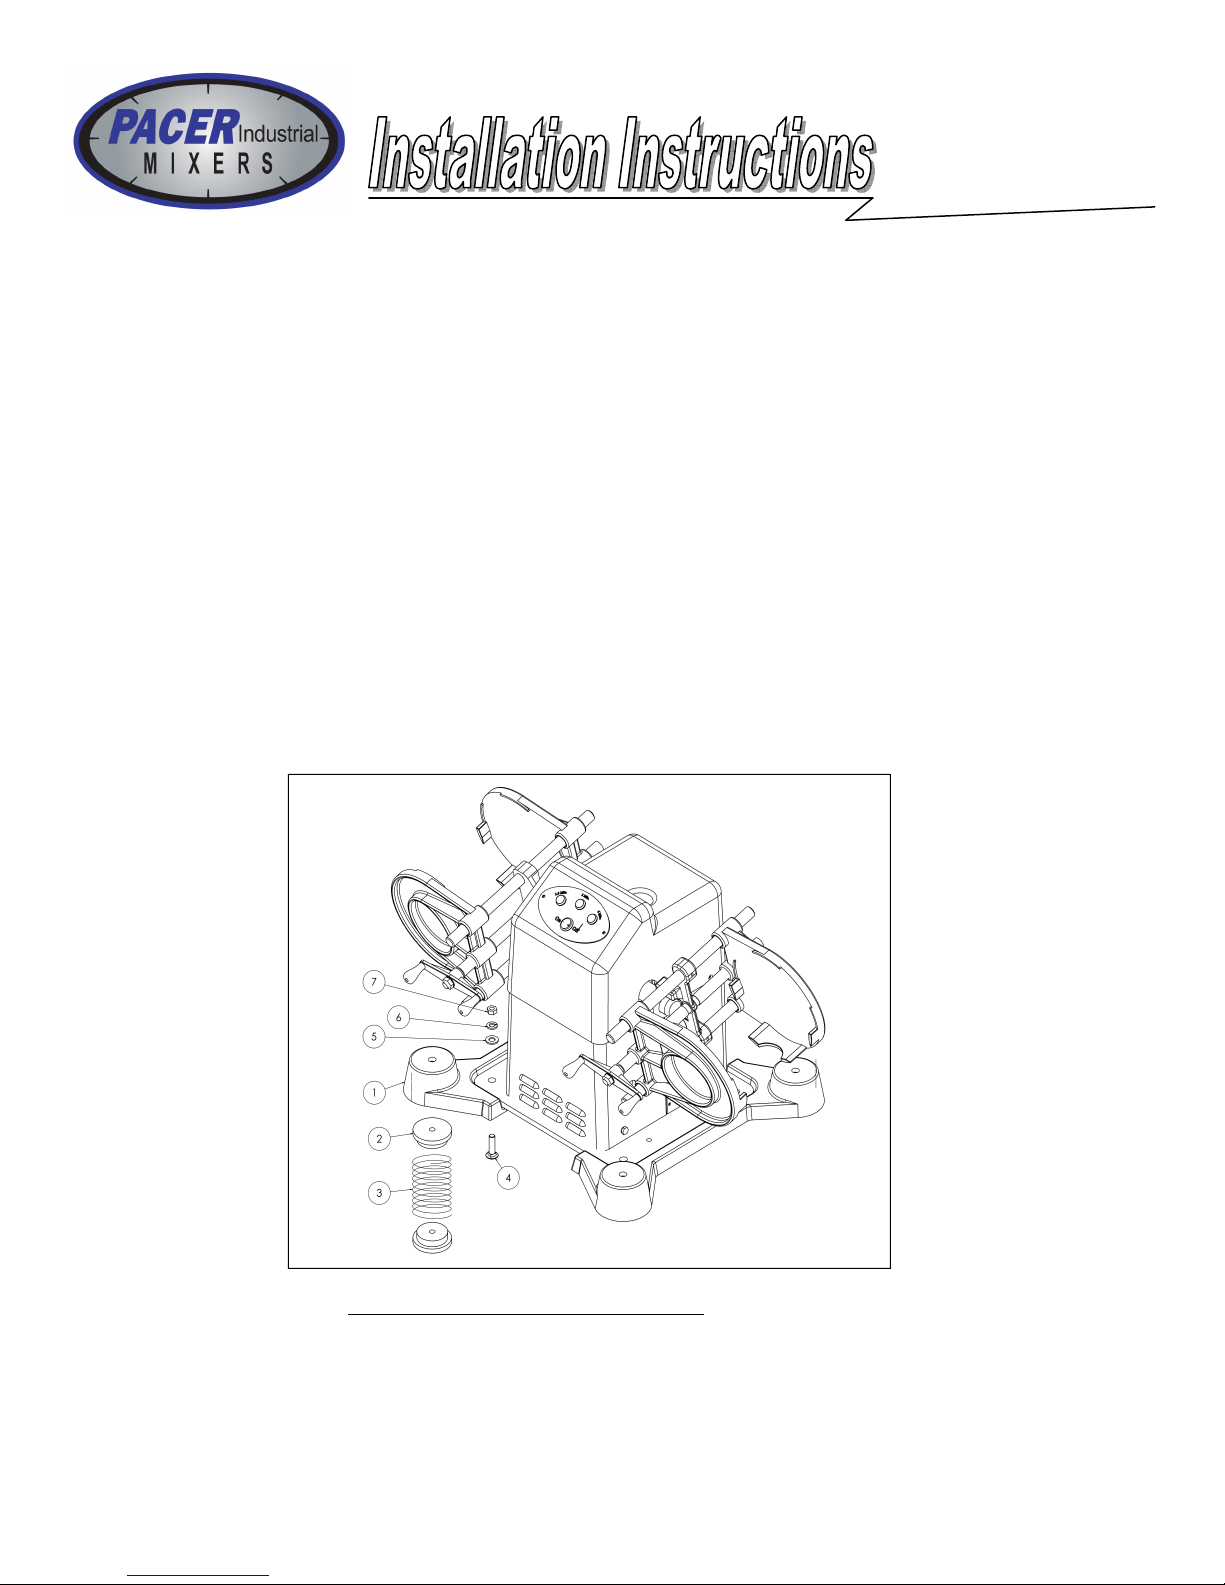
Installing the mixer on the Counter Stand.
1. Assemble the Counter Stand castings to the mixer using the hardware provided.
2. Insert a rubber foot into the top and bottom of each spring.
3. Insert a spring and foot assembly into the recess in the bottom of each corner of the Counter Stand castings.
4. Plug the power cord into a grounded receptacle (see page 7).
Note: Explosion proof models are not furnished with a power cord. The machine must be hard wired to
the power source by a qualified electrician.
Item Qty. Part Number / Description
1 2 PIM-00060 Counter stand casting
2 8 PIM-10063 Rubber bumper
3 4 PIM-10064 Spring
4 4 PIM-10114 Carriage bolt, 3/8-16 x 1.50
5 4 PIM-10119 Flat washer, 3/8
6 4 PIM-10172 Lock washer, split 3/8
7 4 PIM-10127 Nut, hex 3/8-16
5
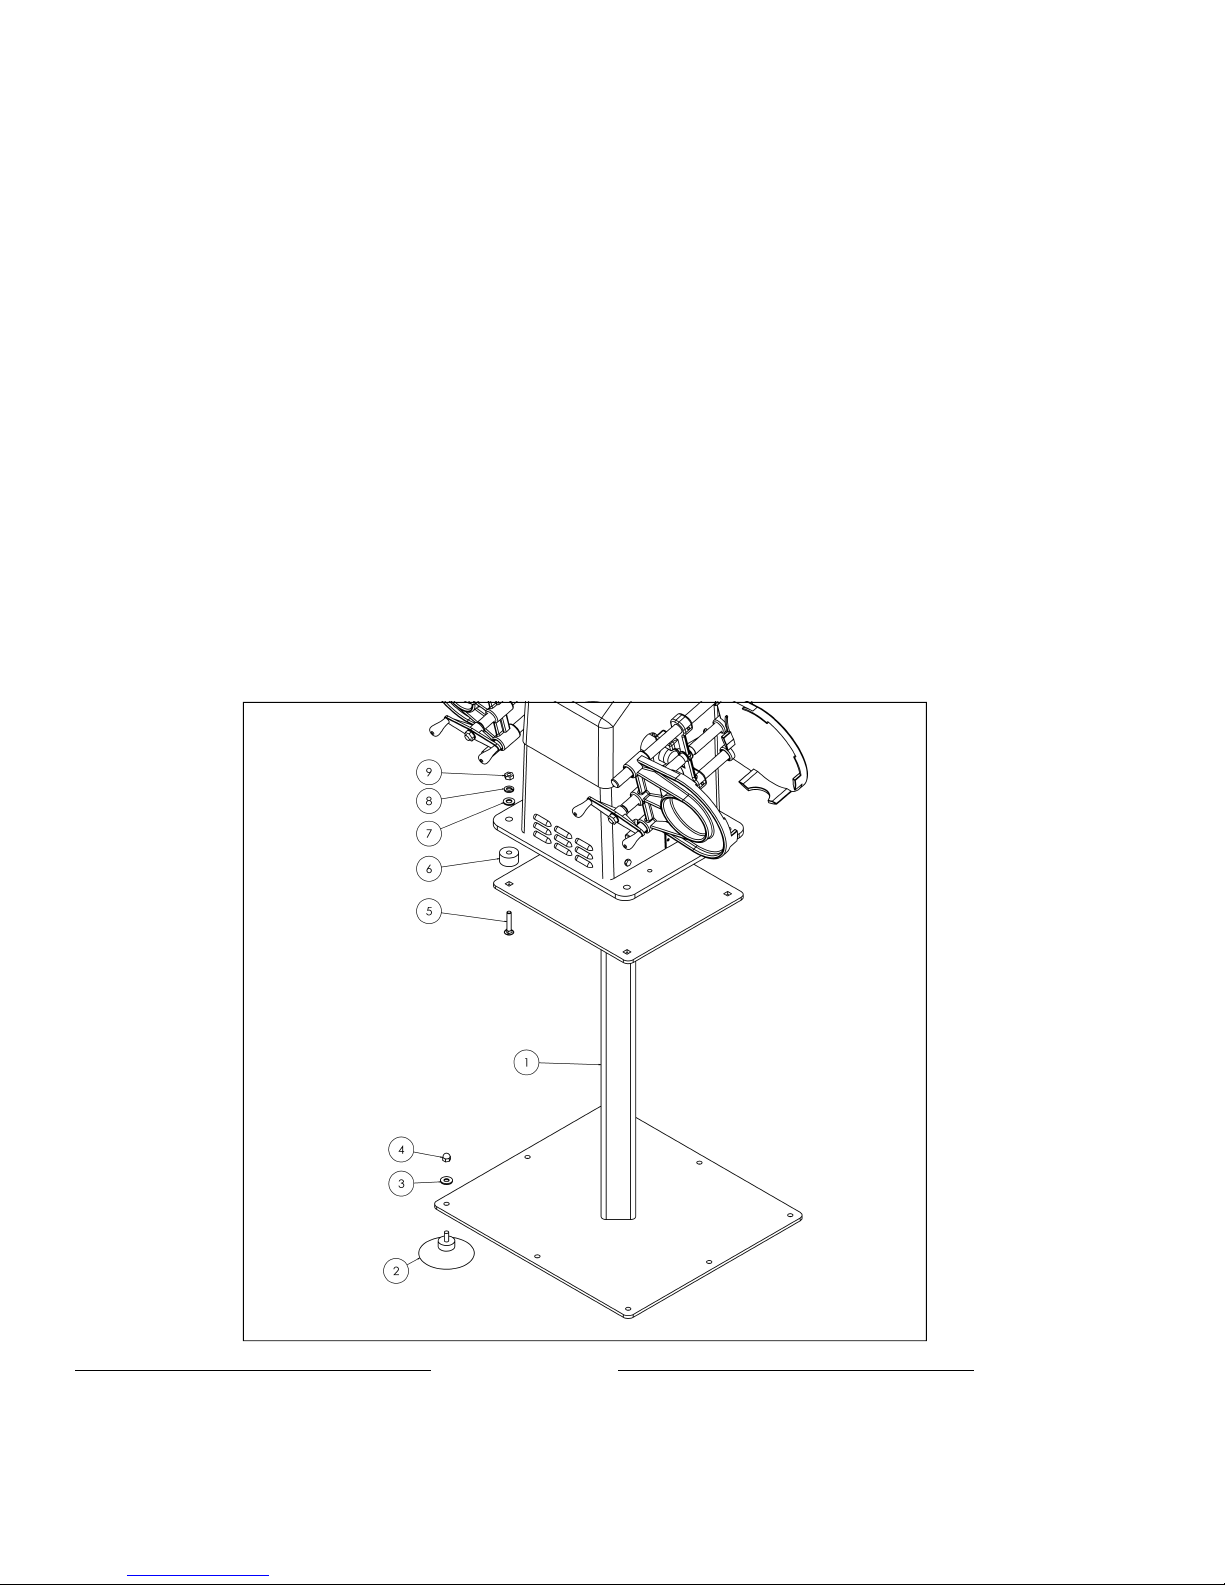
Installing the mixer on the Floor Stand.
1. Assemble (8) suction cups to the bottom of the floor stand using the hardware provided.
2. Assemble the mixer and (4) isolators (provided with the mixer) to the Floor Stand using the hardware provided.
3. Plug the power cord into a grounded receptacle (see page 7).
Note: Explosion proof models are not furnished with a power cord. The machine must be hard wired to
the power source by a qualified electrician.
4. If the suction cups do not grip the floor properly the base may creep while the mixer is operating. If this
does occur, anchor the base to the floor with rubber cement:
A. Tilt the mixer and floor stand until you can fit two 2” x 4” boards under the floor stand. This will lift
the suction cups far enough off the floor to apply rubber cement. Make sure the boards do not touch the
suction cups.
B. Clean the floor directly under the suction cups. Clean the contacting surface of the suction cups.
C. Apply rubber cement to the contacting surface of the suction cups and the floor directly under the suc-
tion cups.
D. Allow the rubber cement to dry until it becomes tacky. Remove the boards and lower the floor stand to
the floor.
E. Allow the rubber cement to dry overnight before running the mixer.
If you ever need to move the mixer, you can break the bond by inserting a wall scraper between the suction cup
and the floor.
Item Qty. Part Number / Description
1 1 PIM-10108 Floor stand
2 8 PIM-10069 Suction cup
3 8 PIM-10120 Flat washer, 5/16
4 8 PIM-10126 Acorn nut, 5/16-18
5 4 PIM-10115 Carriage bolt, 3/8-16 x 2.50
Item Qty. Part Number / Description
6 4 PIM-10049 Isolator
7 4 PIM-10119 Flat washer, 3/8
8 4 PIM-10172 Lock washer, split 3/8
9 4 PIM-10127 Nut, hex 3/8-16
6
 Loading...