

Pace-Edwards JR Series Honda Ridgeline User Manual
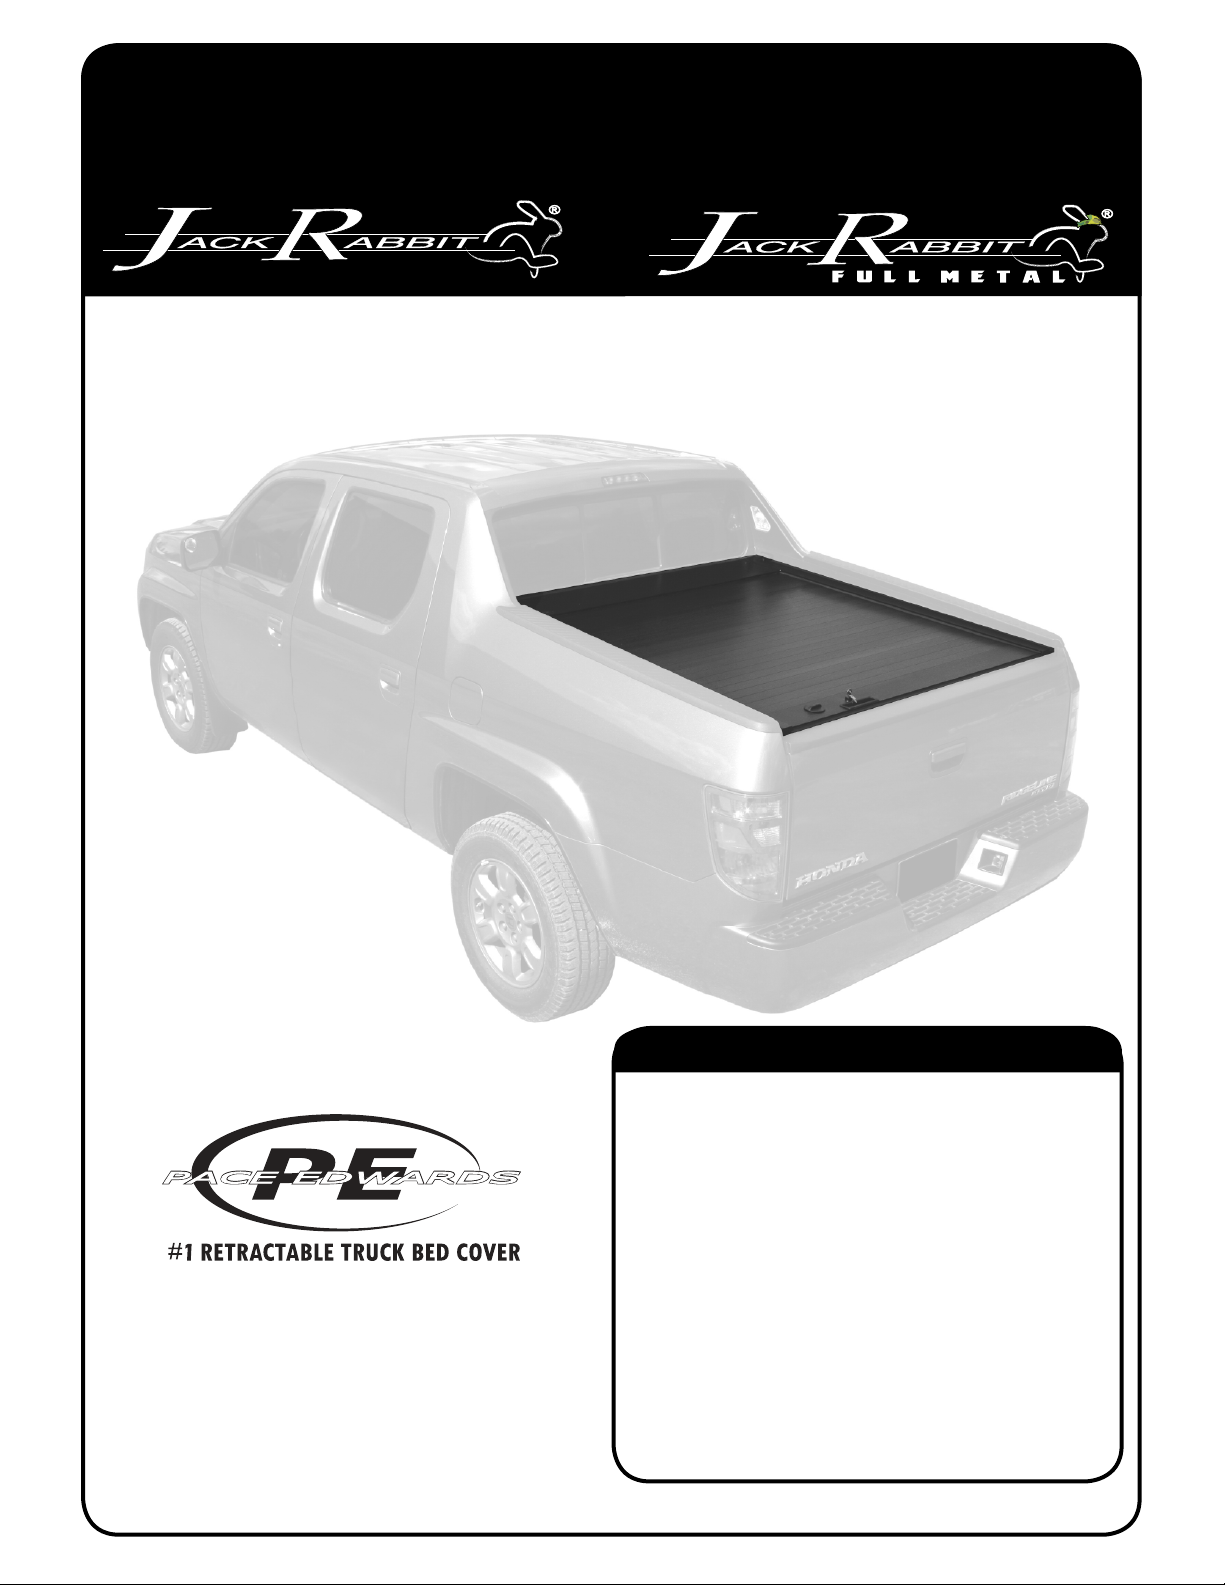
JACKRABBIT SERIES
RETRACTABLE HARD TRUCK BED COVERS
HONDA RIDGELINE
INSTALLATION INSTRUCTIONS
(SP13)
(800) 338-3697
www.paceedwards.com
Pace Edwards Company
2400 Commercial Blvd.
Centralia WA 98531
Tools Required for Assembly .................................. 2
Before You Start ...................................................... 2
Packaging Contents ................................................. 2
STEP 1: Remove Plywood & Inventory parts.......... 2
STEP 2: Attach Rail Brackets & Rails to Canister...3
STEP 3: Install Cab End Rail Brackets.................... 4
STEP 4: Install Cover in Truck Bed.........................4
STEP 5: Install Tailgate End of Pull Strap ............... 5
STEP 6: Lubricating & Placing Sweep Seals .......... 5
STEP 7: Installing Drain Tubes................................ 5
STEP 8: Install Top Cover & Velcro......................... 6
Operating Instructions .............................................. 6
Helpful Maintenance Hints ...................................... 7
Warranty Statement.................................................. 8
TABLE OF CONTENTS
Part #: JR-SERIES Honda Rdgln Install -0611
CANISTER PART # TR2060 & FM2060
TOOLS REQUIRED FOR ASSEMBLY:
3/8” wrench or socket
#2 Phillips screwdriver
Wire Cutters
Razor box Knife
#40 Torx wrench
#50 Torx wrench
Drill w/ 3/4” taper drill or step drill bit
BEFORE YOU START:
Read the instructions carefully before you start. Due to the custom fi t of this truck bed cover the installation will
require a second person to help in placing the canister in the truck bed. If you have questions regarding the
installation please call our Technical Support Line at (800) 338-3697.
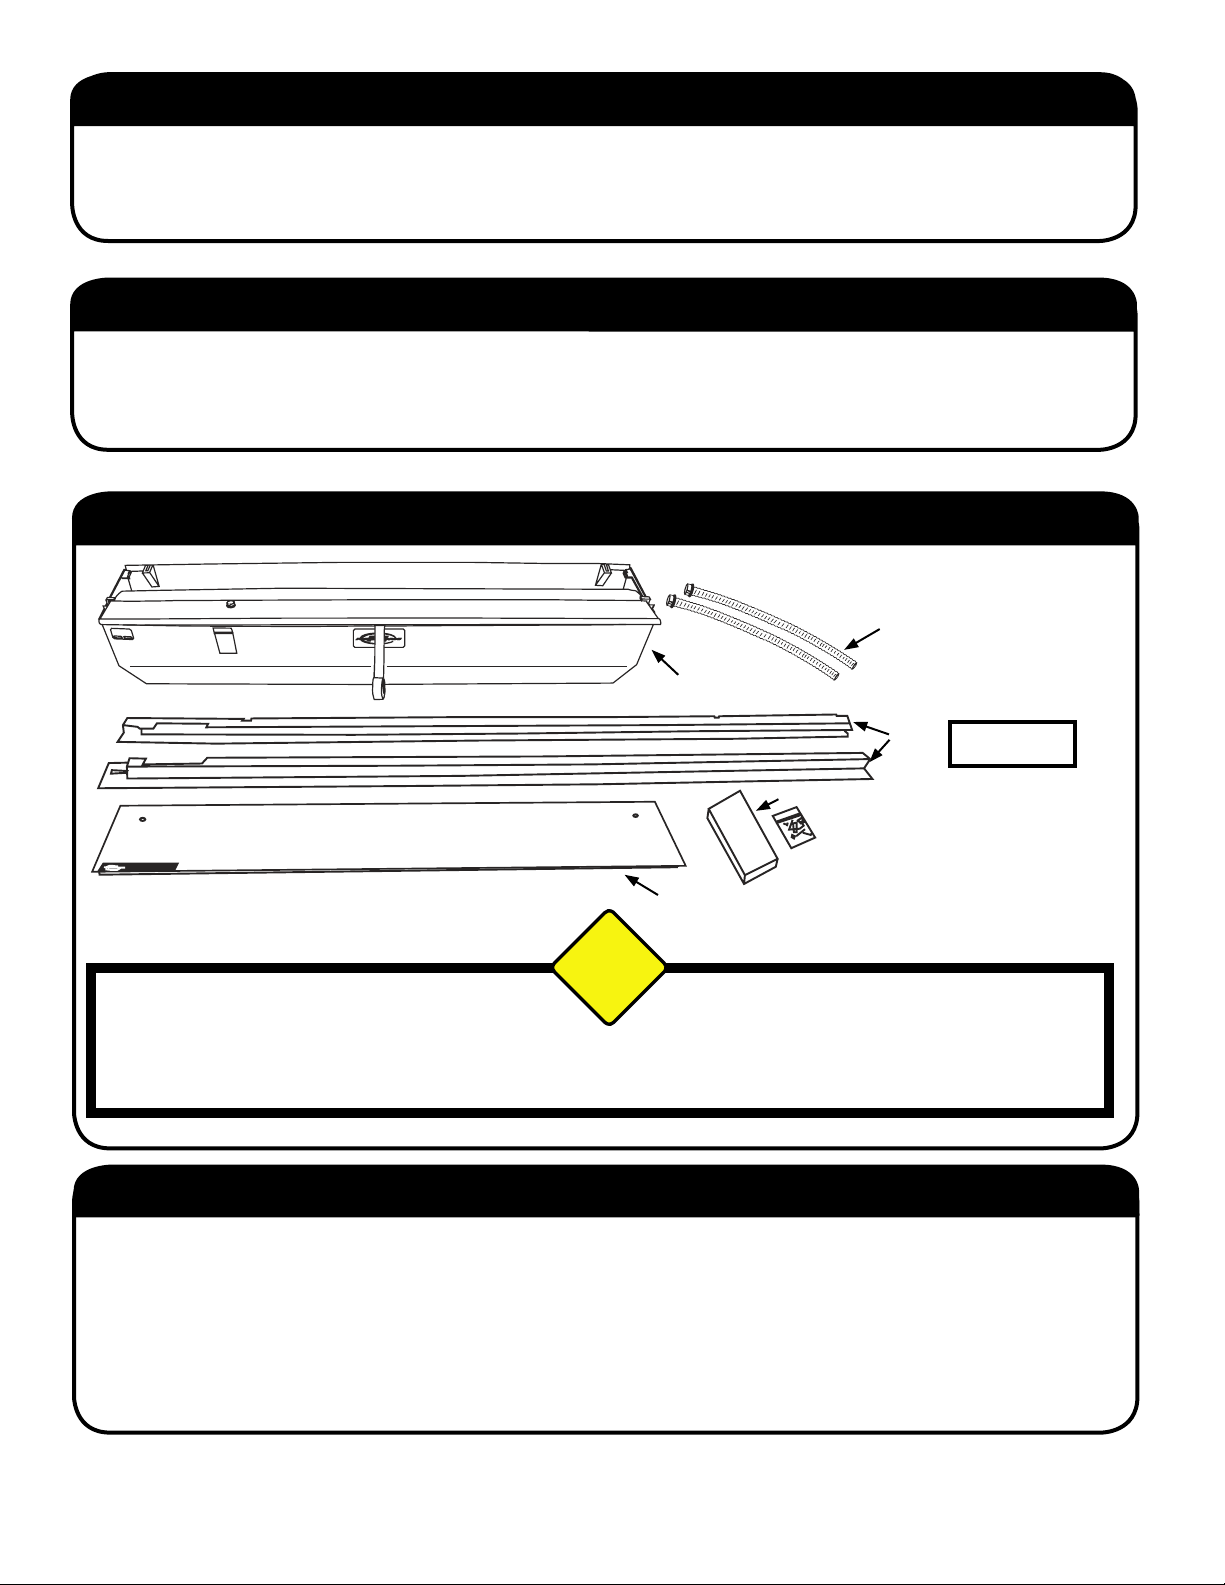
PACKAGING CONTENTS:
Drain Tubes
Canister
Rails
(Left &
Right)
Rails Come in a
separate Box.
Hardware kit
Top Cover
CAUTION!
DO NOT USE A KNIFE TO OPEN THE RAIL BOX.
OPEN THE RAIL BOX ALONG THE LENGTH OF THE BOX AND LIFT RAILS OUT TO AVOID SCRATCHING THE SURFACE OF THE
RAILS ON THE PACKAGE STAPLES.
STEP 1: REMOVE PLYWOOD & INVENTORY CONTENTS
Remove the top cover from the canister box and set it aside for later installation.
Remove the canister from the box. Using the 3/8” wrench or socket remove the 2 bolts holding the plywood on the
ends of the canister. Use Side Cut Pliers to cut handle retaining straps.
DISCARD PLYWOOD PACKAGING AND BOLTS!
Perform a quick inventory to insure all parts are there. Be sure to check inside the small cardboard box for parts.
2
JACKRABBIT® SERIES RIDGELINE
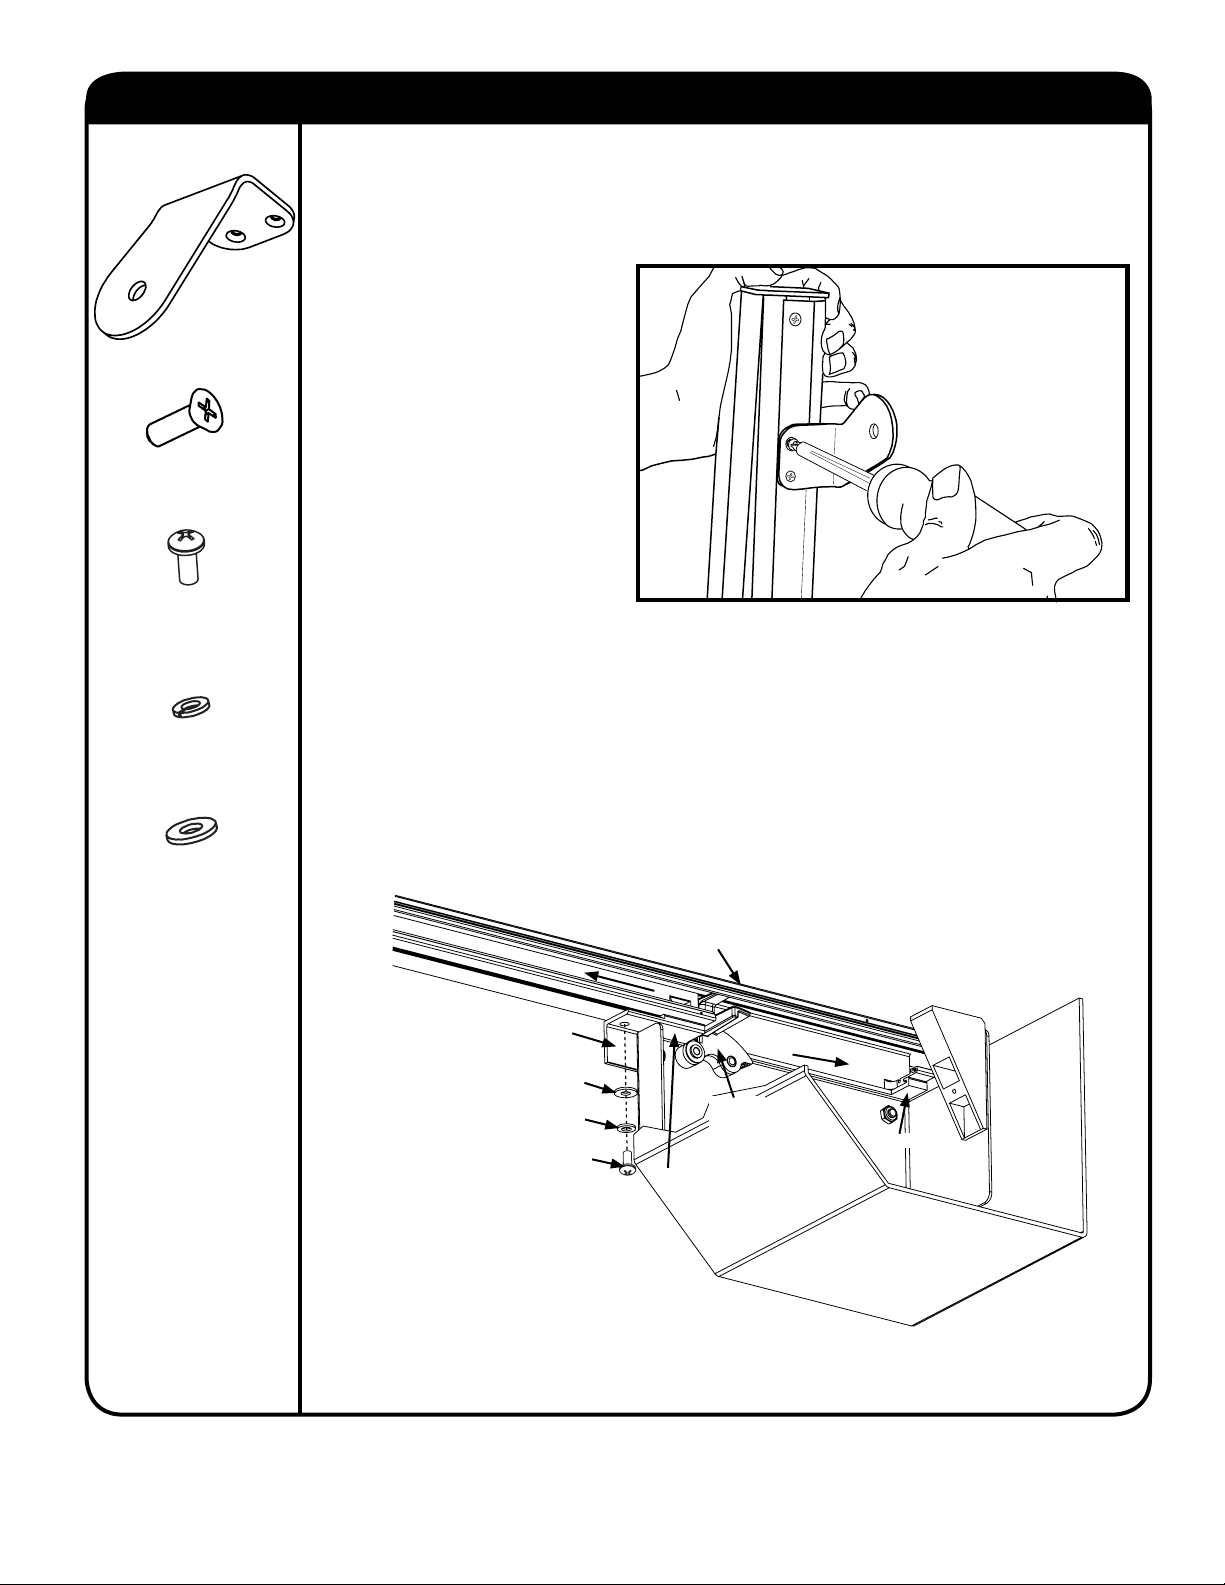
STEP 2: ATTACH RAIL BRACKET & RAILS TO THE CANISTER
HARDWARE USED:
REAR RAIL BRACKET x 2
#8-32 x1/2” SCREWS x 4
1/4-20 x 3/4” BOLT x 2
1/4” LOCK WASHER x 2
Open the rail box along the length of the box; lift rails out to avoid scratching the rail surface
on the package staples.
REMOVE PROTECTIVE P APER ON UNDERSIDE OF RAILS. THIS IS FOR P ACKAGING
PURPOSES ONLY.
Find the two rear rail bracket’s and
four of the #8–32 X ½” countersunk
screws in the hardware kit and
attach them to each of the rails
at the tailgate end. (Notice that
there is a Left hand side and a
FIG. 2a
Attach the rear rail
bracket to the end
of the rails with the
screws provided.
Right hand side bracket) (Figure
2a)
Install the rails by anglling them
around the attached blanket
guides on the canister, threading
the blanket in the rails, and sliding
the rails into the rail grips that
are attached on the inside of the
canister.
Then slide the rails forward, towards the truck cab making sure that both of the rail grips
are engaged.
Secure the rail by installing the hardware (Bolt, Lock Washer , Flat W asher) through the Rail
Grip Attachment and predrilled hole in the rail.
Complete for both left and right rails. (Figure 2b)
1/4” FLAT W ASHER x 2
Thread Blanket in Rail her
Rail Grip
Attachment
Flat Washer
Lock Washer
Rail Bolt
Left Rail
FIG. 2b
e
Forward
Blanket
Guide
Rail Grip
Rail Grip
Canister
INSTALLATION INSTRUCTIONS
3
 Loading...