

Ozone Neon X40 User Manual [nl]

neON 40
optical pro rgb mouse

neON
Buttons layout
Default button assignment
Software overview
Software basics
Sensor settings
Button settings
Legal Notice
Warranty
Lighting settings
40
INDEX
System requirements
Software installation
System Requirements
01. Operating System:
Windows 7 / Windows 8 / Windows 8.1 / Windows 10
02. Free USB 1.1/ 2.0 port.
03. 50 MB free hard disk space.
SOFTWARE INSTALLATION
01. Plug NEON X40 USB connector to a USB port of your PC.
02. Download the driver from www.ozonegaming.com
03. Double click “Setup.exe” to start the installation program. Click “Next” to continue.
04. Select the folder to save the driver and click “Next” to continue.
05. Installation runs automatically. Click “Finish” to complete the installation.
neON
System requirements
Software installation
Software overview
Software basics
Sensor settings
Button settings
Lighting settings
Legal Notice
Warranty
40
INDEX
Buttons layout
Default button assignment
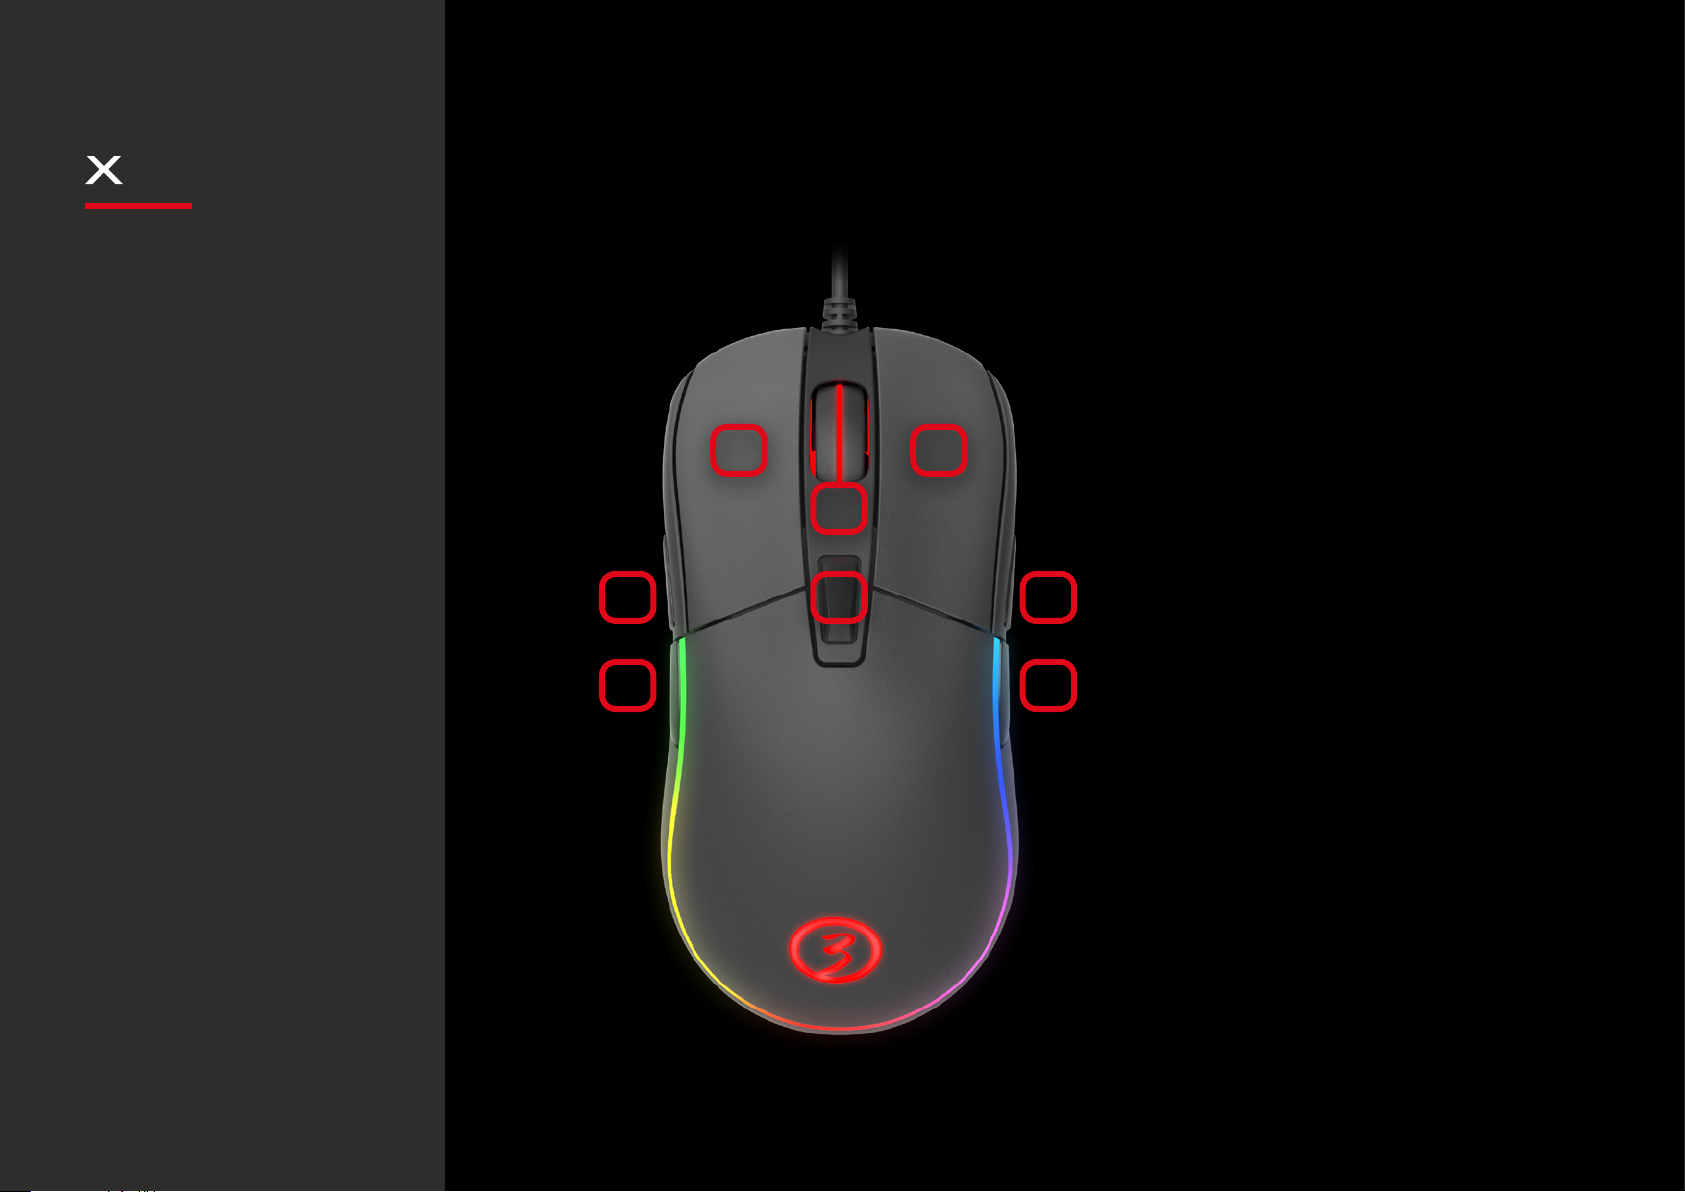
BUTTONS LAYOUT DEFAULT
BUTTON
ASSIGNMENT
01. Click
02. Menu
03. Wheel Click
04. CPI Cycle
06
01 02
03
0405
07
08
05. Browser Forward
06. Browser Backward
07. Scroll Up
08. Scroll Down

neON
02. SENSOR SETTINGS
System requirements
Software installation
Buttons layout
Default button assignment
01. SOFTWARE BASICS
03. BUTTONS SETTINGS
04. LIGHTING SETTINGS
Software basics
Sensor settings
Button settings
Lighting settings
Legal Notice
Warranty
40
INDEX
Software overview
SOFTWARE overview
3
1
2
4
Pressing any title takes you to its thread
neON
System requirements
Software installation
Buttons layout
Default button assignment
Software overview
Sensor settings
Button settings
Legal Notice
Warranty
Lighting settings
40
INDEX
Software basics
· Reset to default
configuration
· Profiles
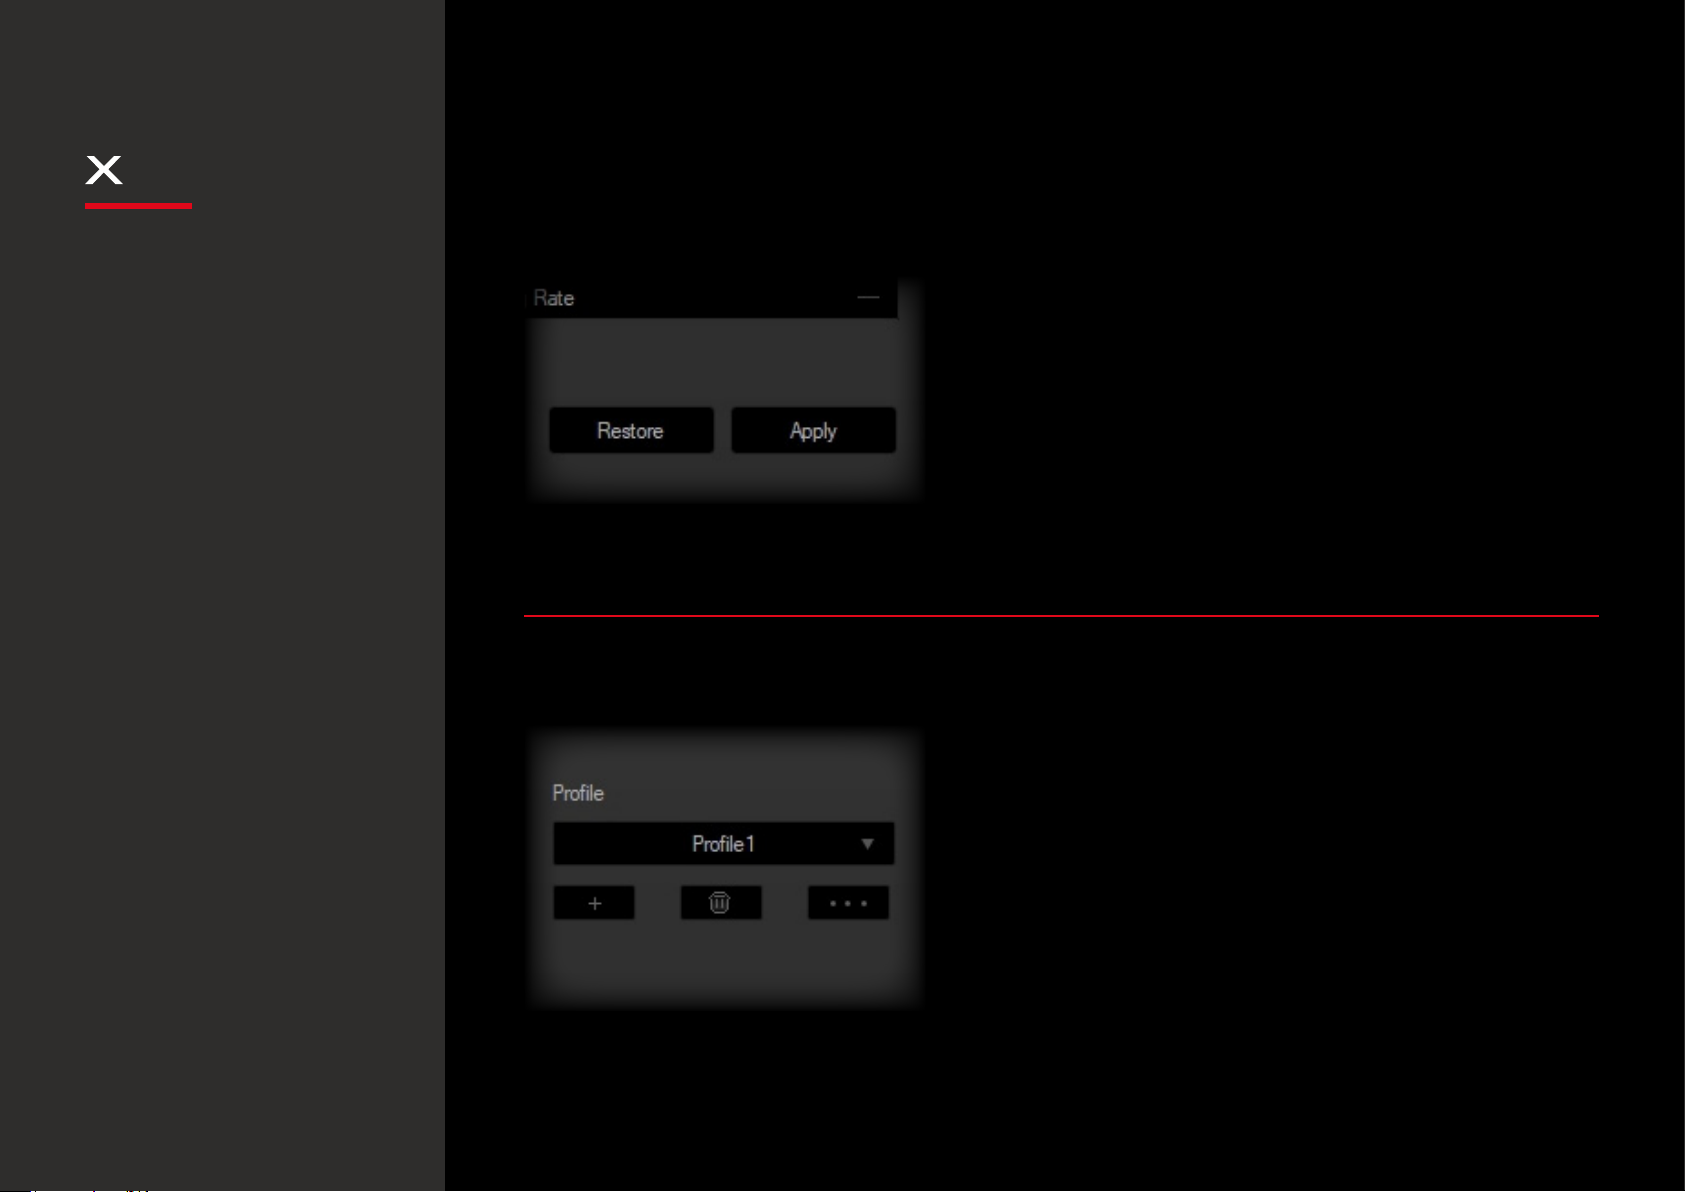
01. SOFTWARE BASICS
1. Reset to default configuration
Hit Apply to store any settings customization you make.
Hit Restore to discard every settings customization
you previously made and saved. This will restore your
Neon X40 to its default configuration.
2. Profiles
Before start editing your mouse configuration, select
a Profile to store all settings.
Although Neon X40 comes with 3 default profiles, you
can add and save as many as you want.
 Loading...