

Ozito VWD-1220PT Instruction Manual
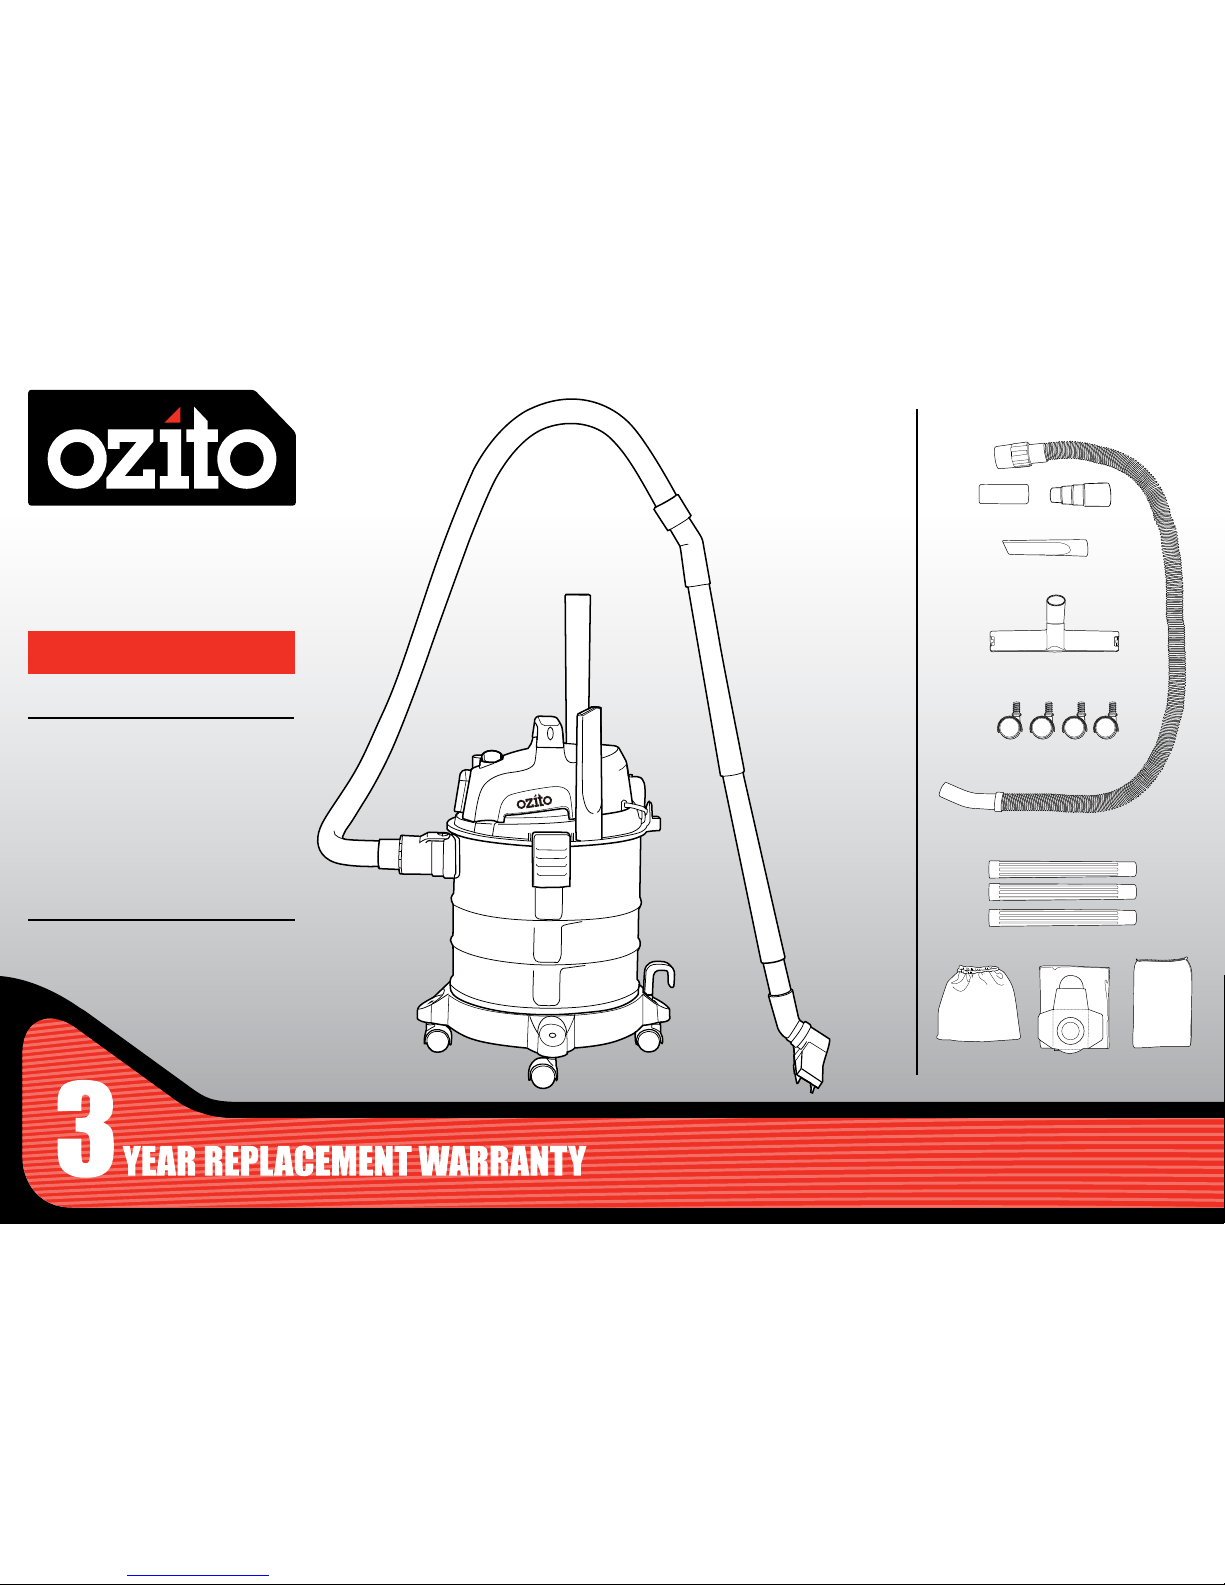
WET & DRY
VACUUM
1250W 20L
INSTRUCTION MANUAL
SPECIFICATIONS
Mains Voltage: 230 – 240V ~ 50Hz
Input Power: 1250W
Suction Power Max.: 180 mbar
Air Flow: 68 l/s
Tank Capacity: 20 l
Power Outlet Max.: 1150W
Psum: 2400W
IP Rating: IP24
Product weight: 4.7 kg
VWD-1220PT
WHAT’S IN THE BOX
ozito.com.au
Suction Hose Ø36mm x 1.5m
Extension Tubes x 3
Crevice Tool
Castors x 4
Adapters
Floor Tool
Foam
Filter
Dust Bag
Filter Bag
3
ONLINE MANUAL
Scan this QR Code with your
mobile device to take you to
the online manual.
WET & DRY VACUUM
ACCESSORIES
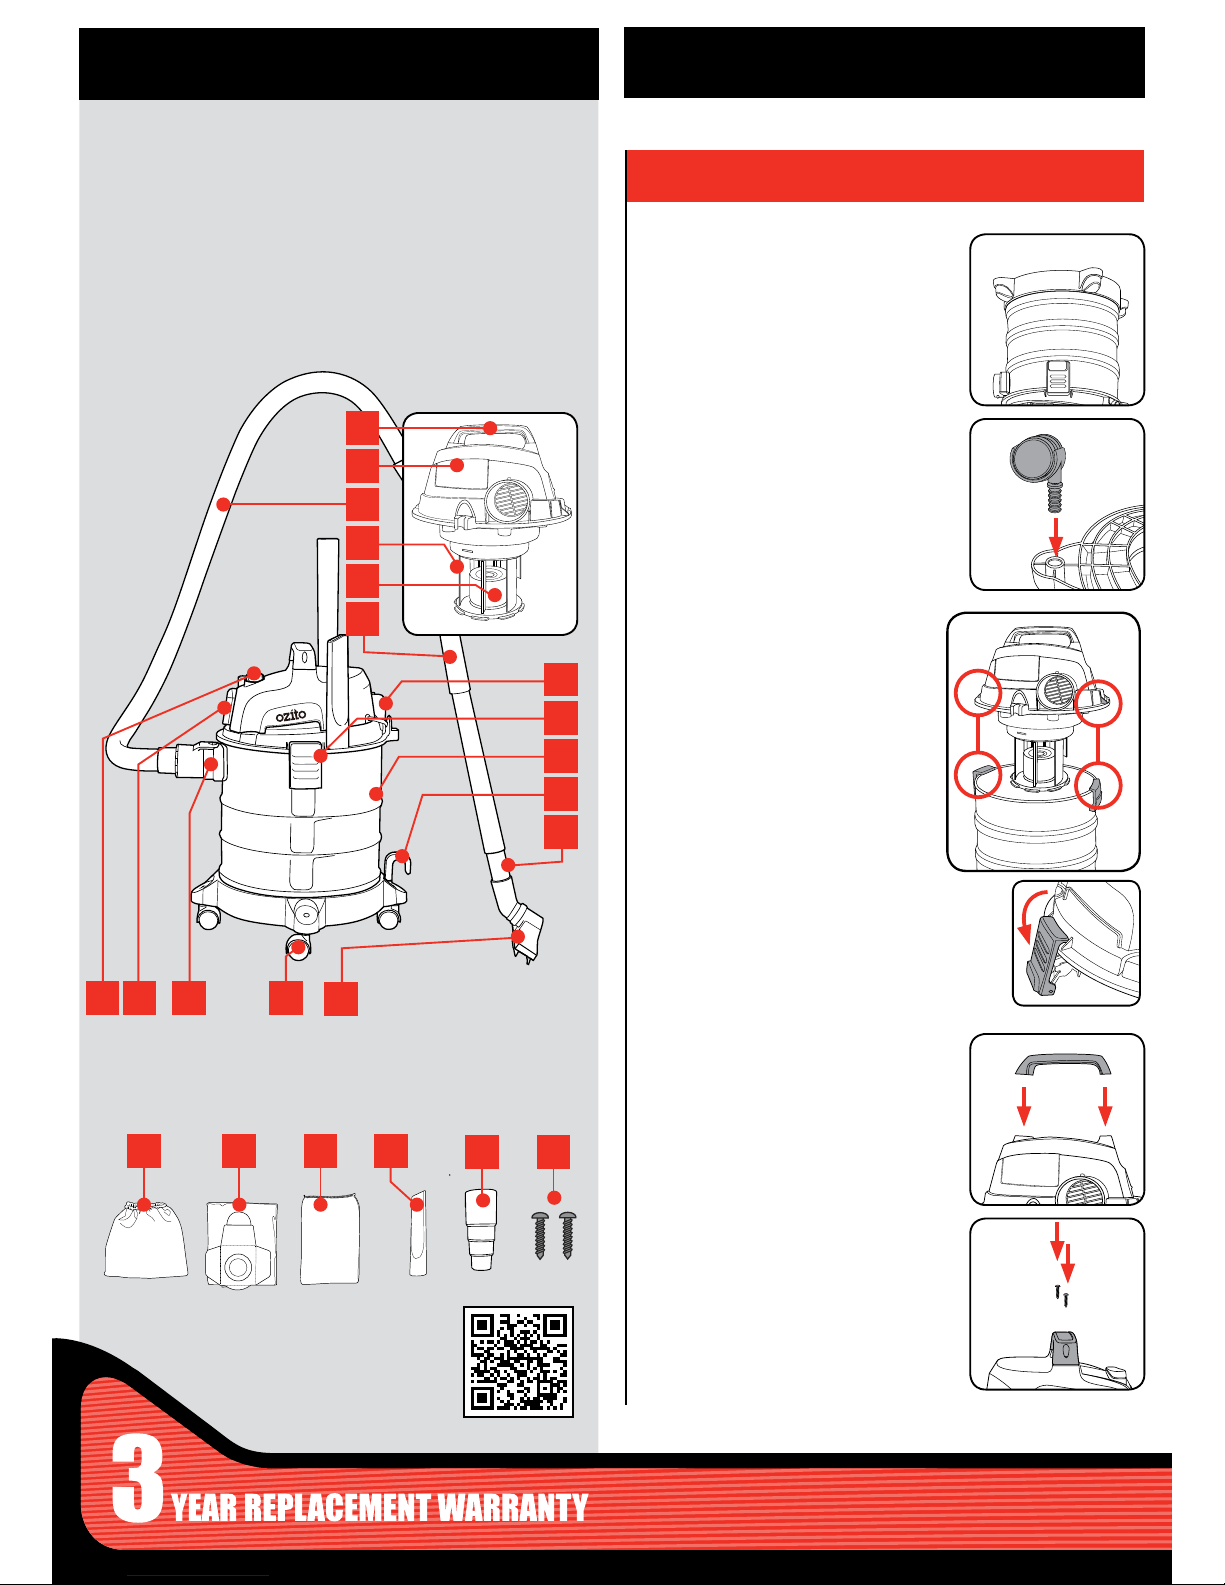
KNOW YOUR PRODUCT
1. ASSEMBLY
SETUP & PREPARATION
Assembling the Castors
1. Turn the container upside down.
2. Insert the castor assemblies into
the base of the tank. Use rm hand
pressure. Use of a hammer may damage
the castor.
Fitting the Motor
1. When tting the motor to the tank,
position it so that the motor securing
clips on the tank align with the
fastening points on the motor.
2. Fasten the motor securing clips to the
motor, making sure that they
lock into place correctly.
3. To remove the motor, open the
motor securing clip and lift the motor out
of the tank.
Fitting the Handle
1. Align the holes on either side of the
handle with the holes in the top side
of the motor.
2. Insert two screws (supplied) into the
handle and tighten with a screwdriver (not
supplied).
1. Handle
2. Motor
3. Suction Hose
4. Filter Basket
5. Safety Float
6. Extension Tubes
7. Blow Outlet
8. Motor Securing Clips
9. Tank
10. Cable Hook
11. Adapter
12. On/Off/Auto Switch
13. Auto Power-Outlet
14. Vacuum Inlet
15. Castors
16. Floor Tool
17. Filter Bag
18. Dust Bag
19. Foam Filter
20. Crevice Tool
21. Electric Tool Adaptor
22. Handle Screws
1
2
3
4
5
6
7
8
9
10
11
13 14
16
17 18 19 20
1512
2221
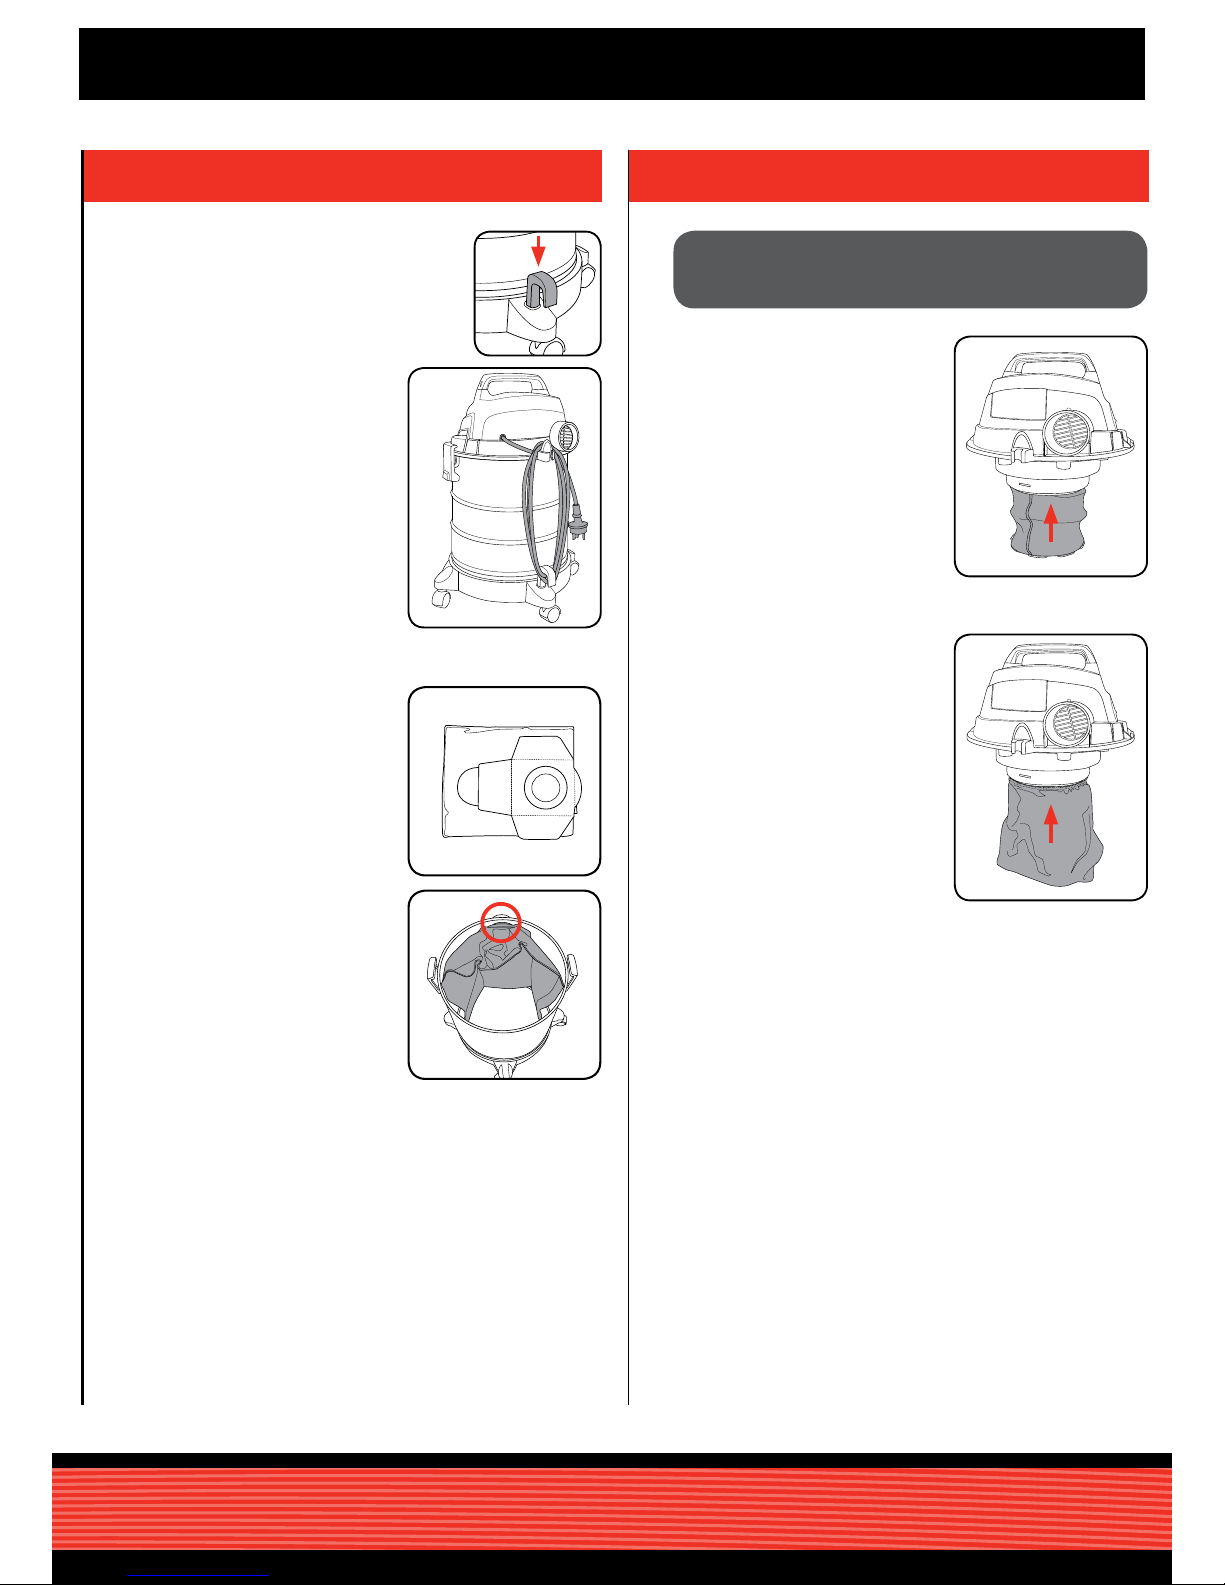
Mounting the Cable Hook
1. Press the cable hook for the cable store
into the mount on the base of the unit.
2. After use, the power cable can
be conveniently wound onto the
cable hooks.
Fitting the Dust Bag
1. For vacuuming ne, dry dirt it is
recommended that you t the dust
bag. The dust bag is suitable for dry
vacuuming only. Using the dust bag
makes it easier to dispose of the
dust that has been collected.
2. To attach, slip the dust bag over
the vacuum inlet.
NOTE: Do not use the dust bag when
vacuuming liquid.
Fitting the Foam Filter Vacuuming Liquid
For wet-vacuuming, slip the supplied
foam lter over the lter basket.
NOTE: Do not use the lter bag and/or
dust bag when vacuuming liquid
Fitting the Filter Bag Vacuuming Dry Matter
For dry vacuum cleaning always use the
lter bag. Mount the lter bag, so that
no air is sucked through the lter cage
without being ltered.
NOTE: Do not use the foam lter when
vacuuming dry matter.
2. FITTING THE FILTER
IMPORTANT! NEVER USE THE WET AND DRY VACUUM
CLEANER WITHOUT A FILTER! ALWAYS ENSURE THAT
THE FILTERS ARE PERFECTLY SECURE!
 Loading...