

Ozito SHD-3100 Instruction Manual
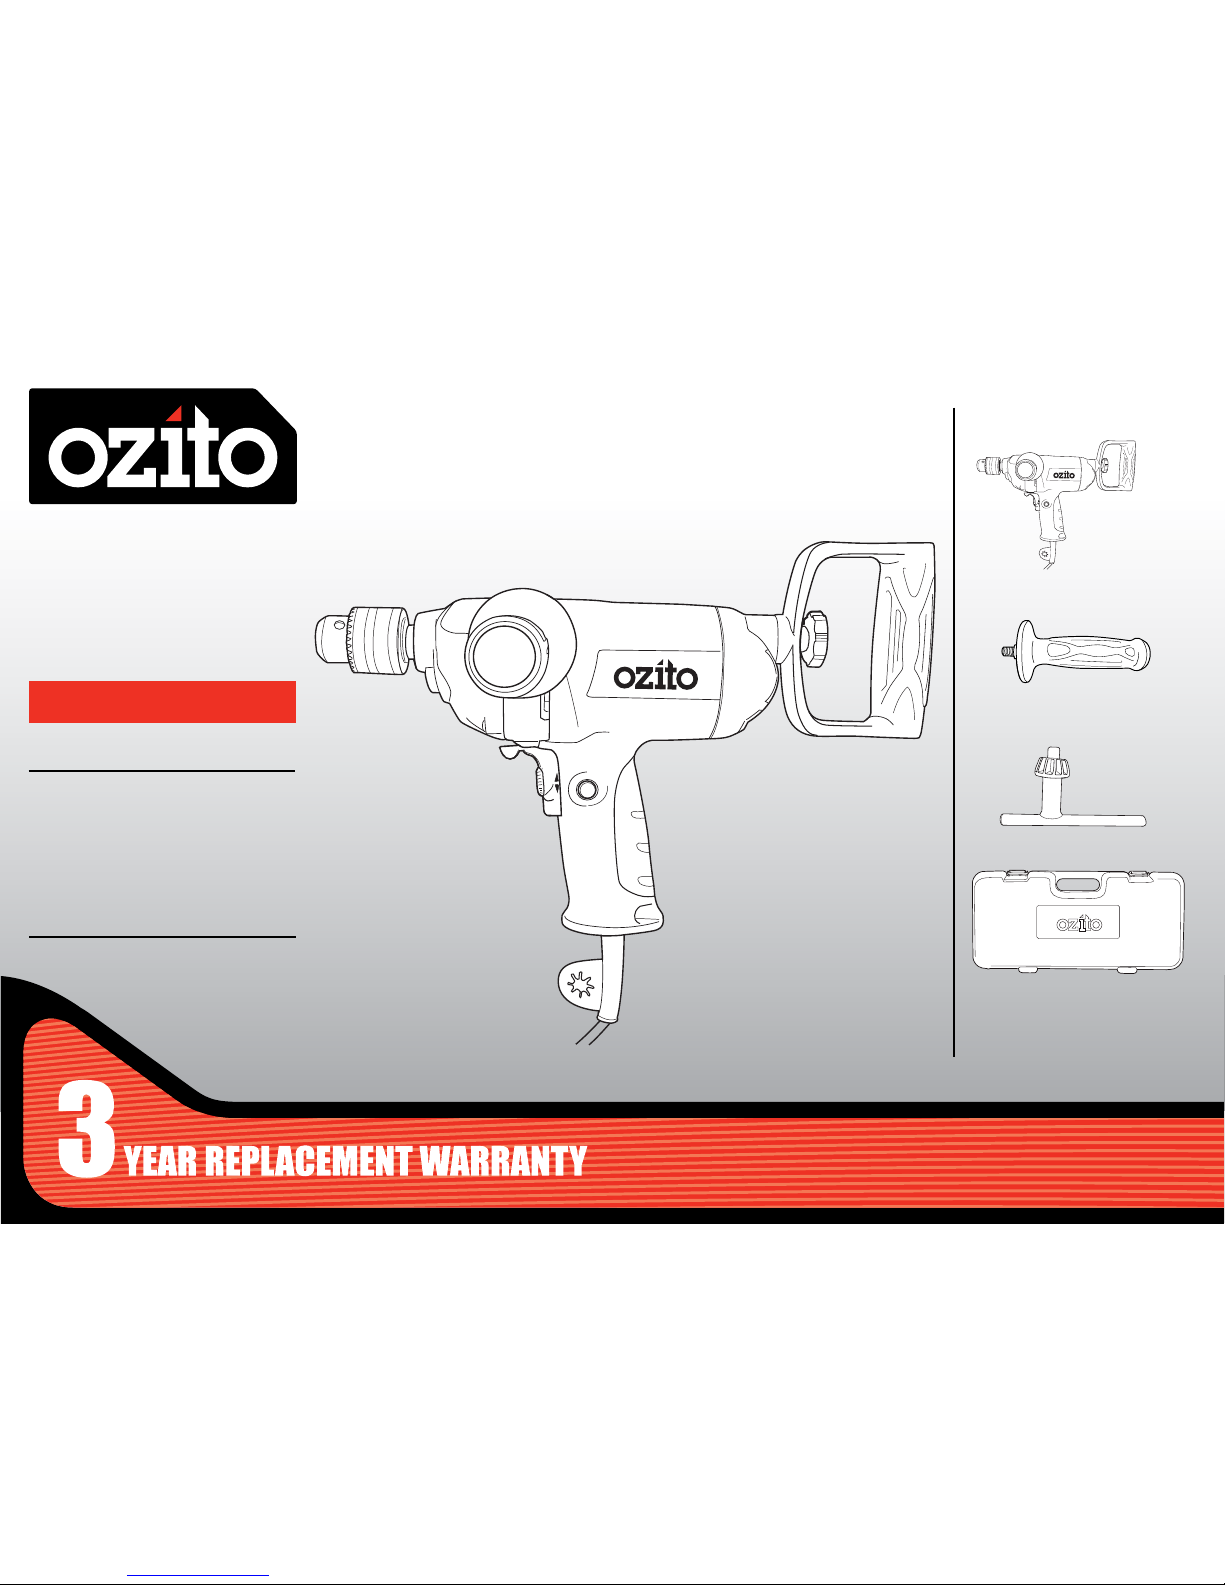
SPADE
HANDLE
DRILL
1050W
INSTRUCTION MANUAL
SPECIFICATIONS
Motor: 1050W
Input: 230-240V ~ 50Hz
Chuck Size: 13mm (
1
/2”) Keyed
No Load Speed: 0-550/min
Drilling Capacities: Timber 50mm
Steel 13mm
Weight: 3kg
SHD-3100
WHAT’S IN THE BOX
Spade Handle Drill
ozito.com.au
Side Handle
Chuck Key
Kit Box
ONLINE MANUAL
Scan this QR Code with your
mobile device to take you to
the online manual.
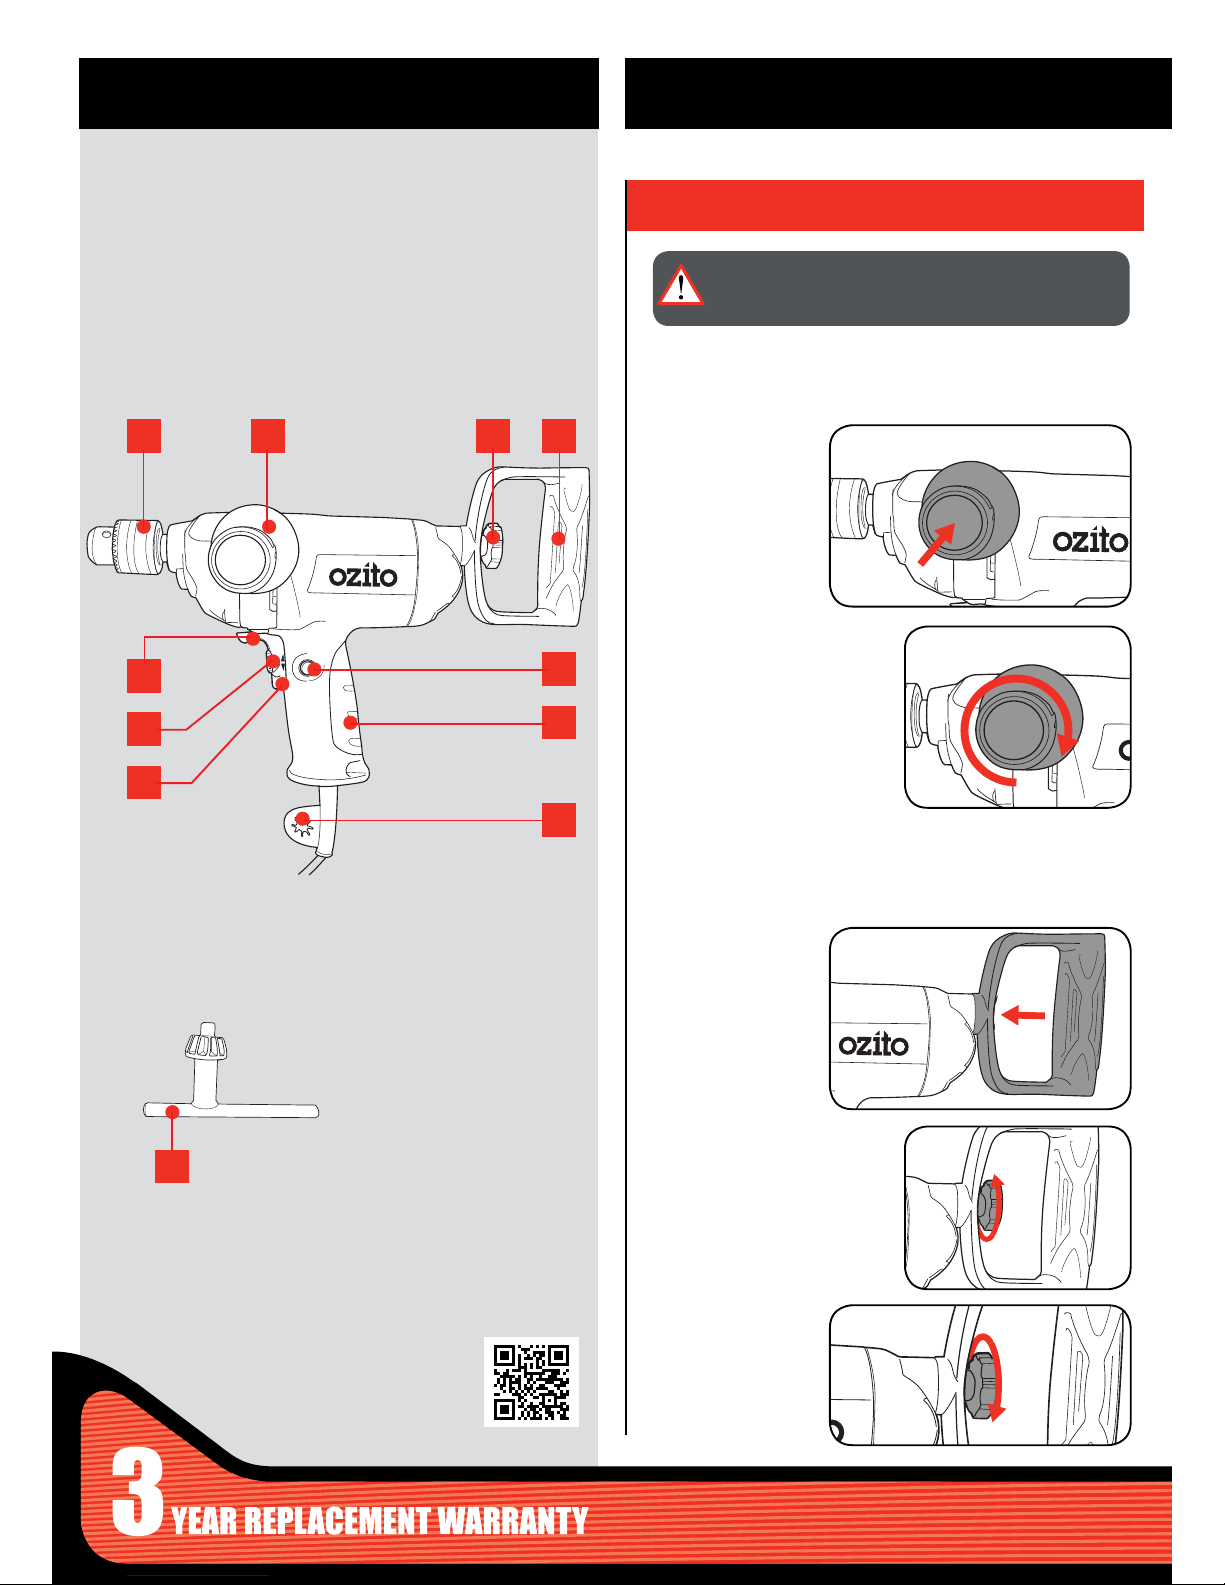
KNOW YOUR PRODUCT SETUP & PREPARATION
1. HANDLES
1 Chuck
2 Side Handle
3 Securing Knob
4 Rear Spade Handle
5 Forward / Reverse Lever
6 Variable Speed Dial
7 On/Off Trigger
8 Lock-On Button
9 Mid Handle
10 Chuck Key Holder
SPADE HANDLE DRILL
1
5
6
7
2 3 4
8
9
10
11
11 Chuck Key
ACCESSORIES
WARNING! ENSURE THE TOOL IS SWITCHED OFF AND
DISCONNECTED FROM THE POWER SUPPLY BEFORE
PERFORMING ANY OF THE FOLLOWING ASSEMBLY.
Side Handle
Spade Handle
2 Rotate the handle in a
clockwise direction to secure
in place.
2 Screw the securing knob into
clockwise into the recess to
secure in place.
1 Align the side handle
with 1 of the 3 hole
position in the drill
housing.
The side handle provides additional comfort, control, and guidance for
the drill. The handle can be tted in 3 positions to suit the user.
The rear spade handle provides additional control and support when
using the tool. It can be attached either horizontally, vertically or should
you require it, diagonally.
1 Place the spade
handle into the
locating boss at the
angle you desire.
3 To change the angle,
loosen the securing
knob. Adjust the
handle angle
and retighten the
securing knob.

2. FITTING & REMOVING ACCESSORIES 3. ON/OFF SWITCH
OPERATION
On/Off Trigger
Lock-On Button
2 To stop the drill, release the
on/off trigger.
1 To start the drill, squeeze the
on/off trigger.
2 To unlock the drill, squeeze the
on/off trigger and then release.
2 Insert the drill bit, making sure
it is centred in the jaws.
4 To ensure the bit is securely
fastened, insert the chuck
key into 1 of the 3 holes on
the chuck. Turn chuck key
clockwise.
Repeat with the remaining 2
holes on the chuck.
1 To lock the drill on,
squeeze the on/off
trigger then depress
the lock-on button.
1 Open the chuck jaws
slightly larger than
the bit you wish to
insert.
3 Hand tighten the
chuck jaws.
5 To remove the
accessory, loosen
the chuck with the
chuck key and
remove the drill bit.
The tool has a variable speed trigger, the further you depress the on/off
trigger the higher the speed of the drill.
CAUTION! TO REDUCE THE RISK OF ELECTRICAL
SHOCK, THE USE OF A RESIDUAL CURRENT DEVICE
(RATED 30mA OR LESS) IS RECOMMENDED.
 Loading...