

Ozito SBP- 012 Instruction Manual
12V SUBMERSIBLE
WATER PUMP
6,750 L/H FLOW
INSTRUCTION MANUAL
SPECIFICATIONS
Voltage: 12V DC
Rated Input Power:84 Watt
Current: 9Amp
Max. Flow Rate: 6,750 litres/hour
Max. Head: 5 meters
Size of Outlet: ø29mm
Power Cord: 5m
Weight: 1.4kgs
SBP- 012
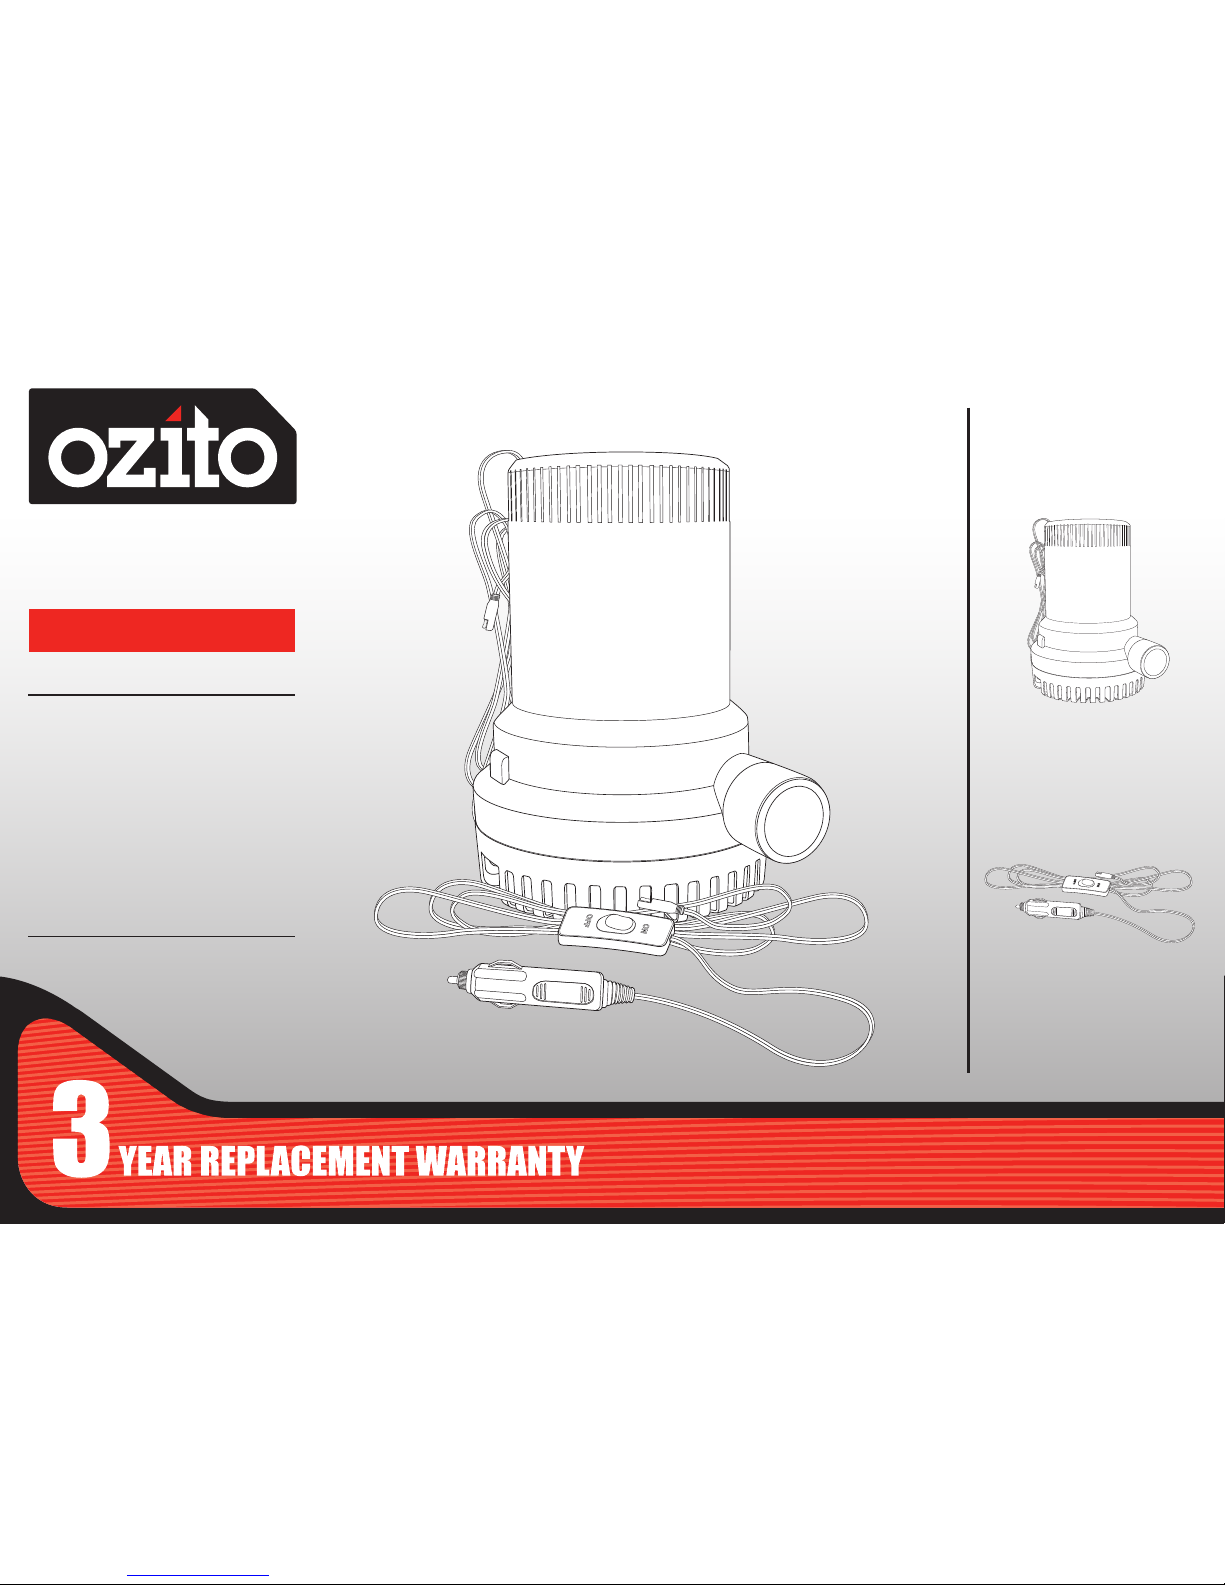
WHAT’S IN THE BOX
ozito.com.au
12V Submersible Pump
Auxiliary Cable - 2.1m
Cord with On/Off
Switch & 12V DC Plug
ONLINE MANUAL
Scan this QR Code with your
mobile device to take you to
the online manual.
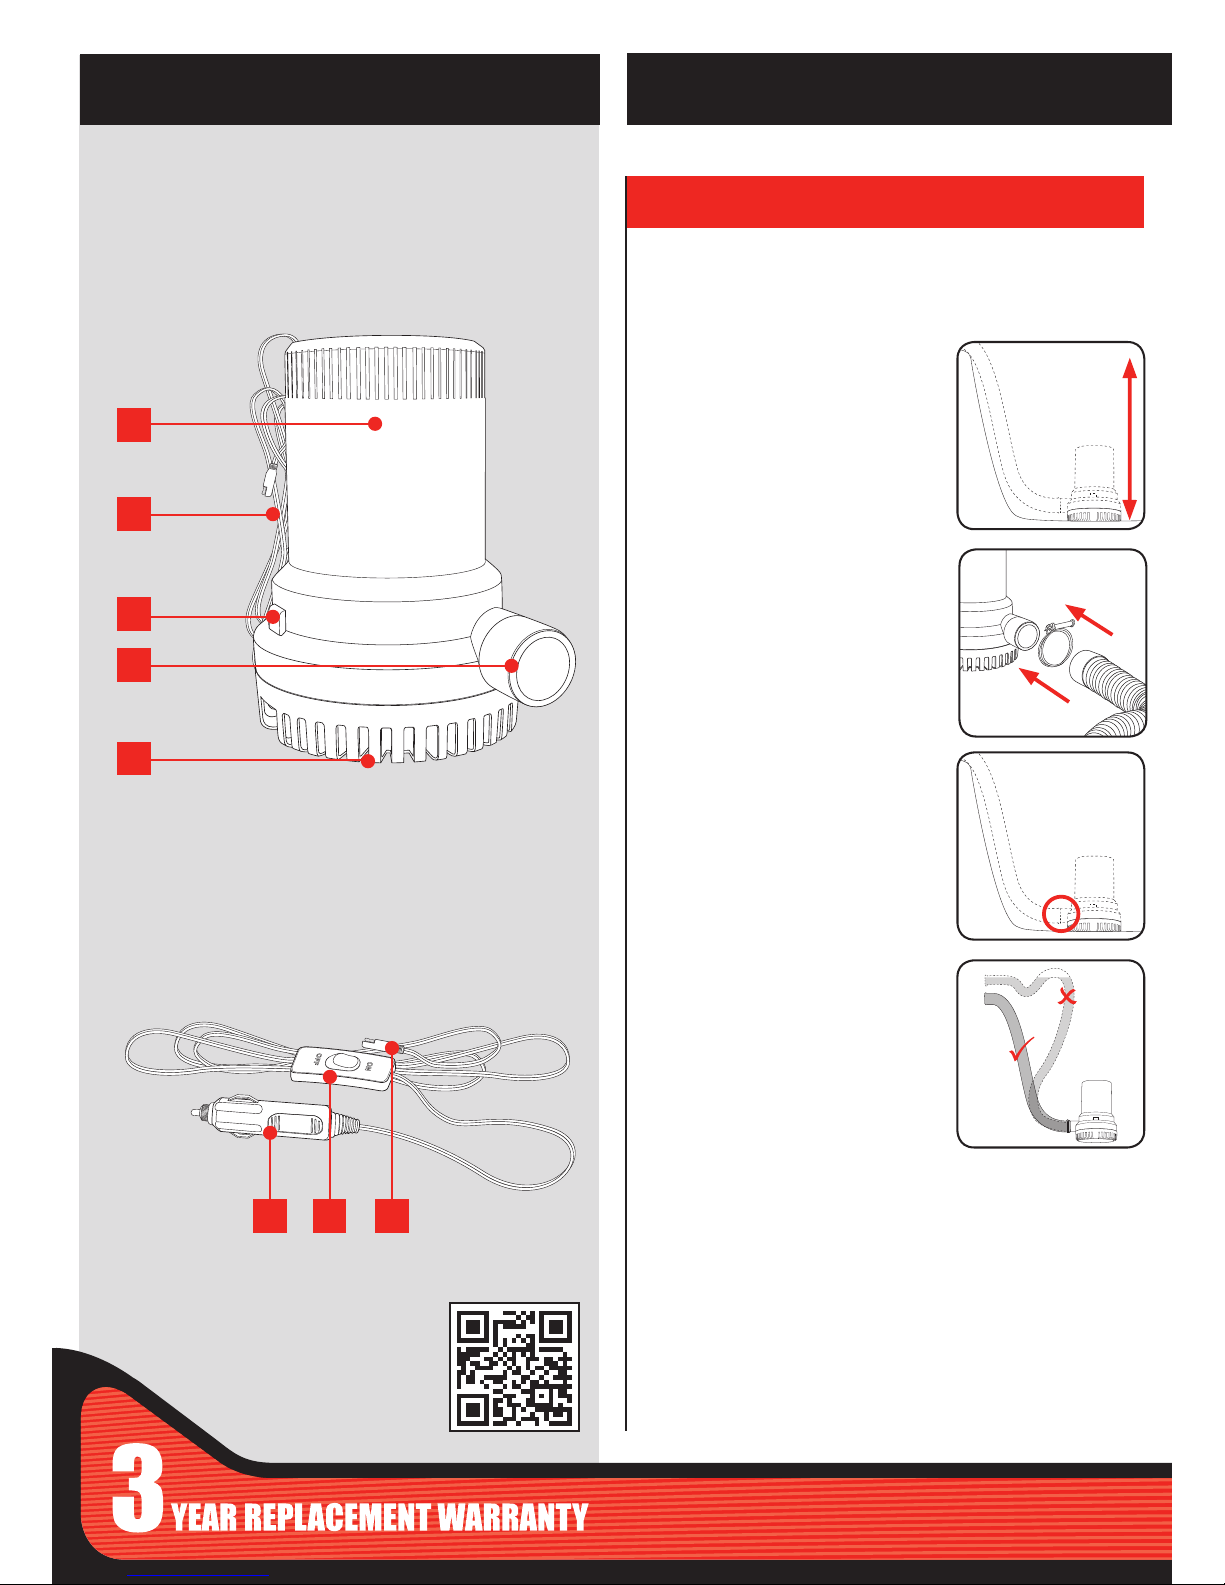
6. 12V DC Plug
7. On/Off Switch
8. Power Cord Connector
6 7 8
1. Pump Housing
2. Power Cord
3. Strainer Tabs
4. Discharge Outlet
5. Strainer
SUBMERSIBLE PUMP
AUXILIARY CABLE
KNOW YOUR PRODUCT
1. INSTALLATION GUIDE
• Pump is suitable for use with fresh and salt water applications.
• The pump can be used for portable or permanent applications
Portable Applications
1. Prior to immersing the pump in water
determine the depth of water for the
length of hose required.
Note: Calculate overall hose length to
pump to the desired location
2. Attach a ø29mm hose (ø25mm min.
hose recommended) (not supplied) to
the discharge outlet and fasten with a
stainless steel clamp (not supplied). It
is recommended that you use a good
quality hose that will not kink when
making sharp bends.
3 Determine the desired location for the
pump. It is best located where the water
is potentially deepest, ie., at the lowest
possible level of the area to be drained
4. Ensure that the hose is positioned in
a way that runs level or continuously
upward. This will eliminate the chance of
air pockets developing.
Note: Restricting the ow from the pump by
using a smaller hose does not damage the
pump however, it will reduce the ow.
SETUP & PREPARATION
1
2
3
4
5

Permanent Applications
1. Determine the desired location and position for the pump. Refer
“Portable Applications”.
2. Remove the strainer from the
bottom of the pump by depressing
the strainer tabs, on both sides of
the pump.
3. Mount the pump on the strainer so
that both lock tabs snap into place.
(the pump may be reversed on these
tabs if so desired).
4. Attach hose. Refer “Portable Applications”
Wiring
• The submersible pump comes
supplied with an auxiliary
cable. The 12V DC plug on
the auxiliary cable enables
the pump to be powered from
a standard 12V power outlet
found in cars, boats and some
generators.
• The power cord of the
submersible pump also comes
with power cord connectors on
both the pump cord and the
auxiliary cable. This enables
the wires to be connected
quickly and accurately with less
chance of a need for stripping
or cutting.
• The auxiliary cable has a ON/
OFF switch which can be
used to manually control the
submersible pump.
2. WIRING
IMPORTANT!: ENSURE THAT ALL ELECTRICAL WIRING
IS SECURED IN PLACE WITH THE CONNECTIONS WELL
ABOVE THE POTENTIAL WATER LEVEL.
• If attaching the strainer to
metal or breglass, rst
mount a wooden block to
the surface, and then fasten
the strainer to the wooden
block.
CAUTION: THE STRAINER MUST ALWAYS BE
PROPERLY INSTALLED BEFORE ATTACHING AND
RUNNING PUMP.
• If attaching the strainer to
wood, fasten with stainless
steel screws.
 Loading...