

Ozito 850W, 1500W, RHD-4100 Instruction Manual
1
ROTARY
HAMMER
DRILL KIT
850W
INSTRUCTION MANUAL
SPECIFICATIONS
Motor: 850W
Impact Rate: 3,000 bpm
Impact Energy: 3.8 Joule
Accessory Fitment: SDS+
Drilling Capacities: Timber 40mm
Steel 13mm
Masonry 28mm
RHD-4100
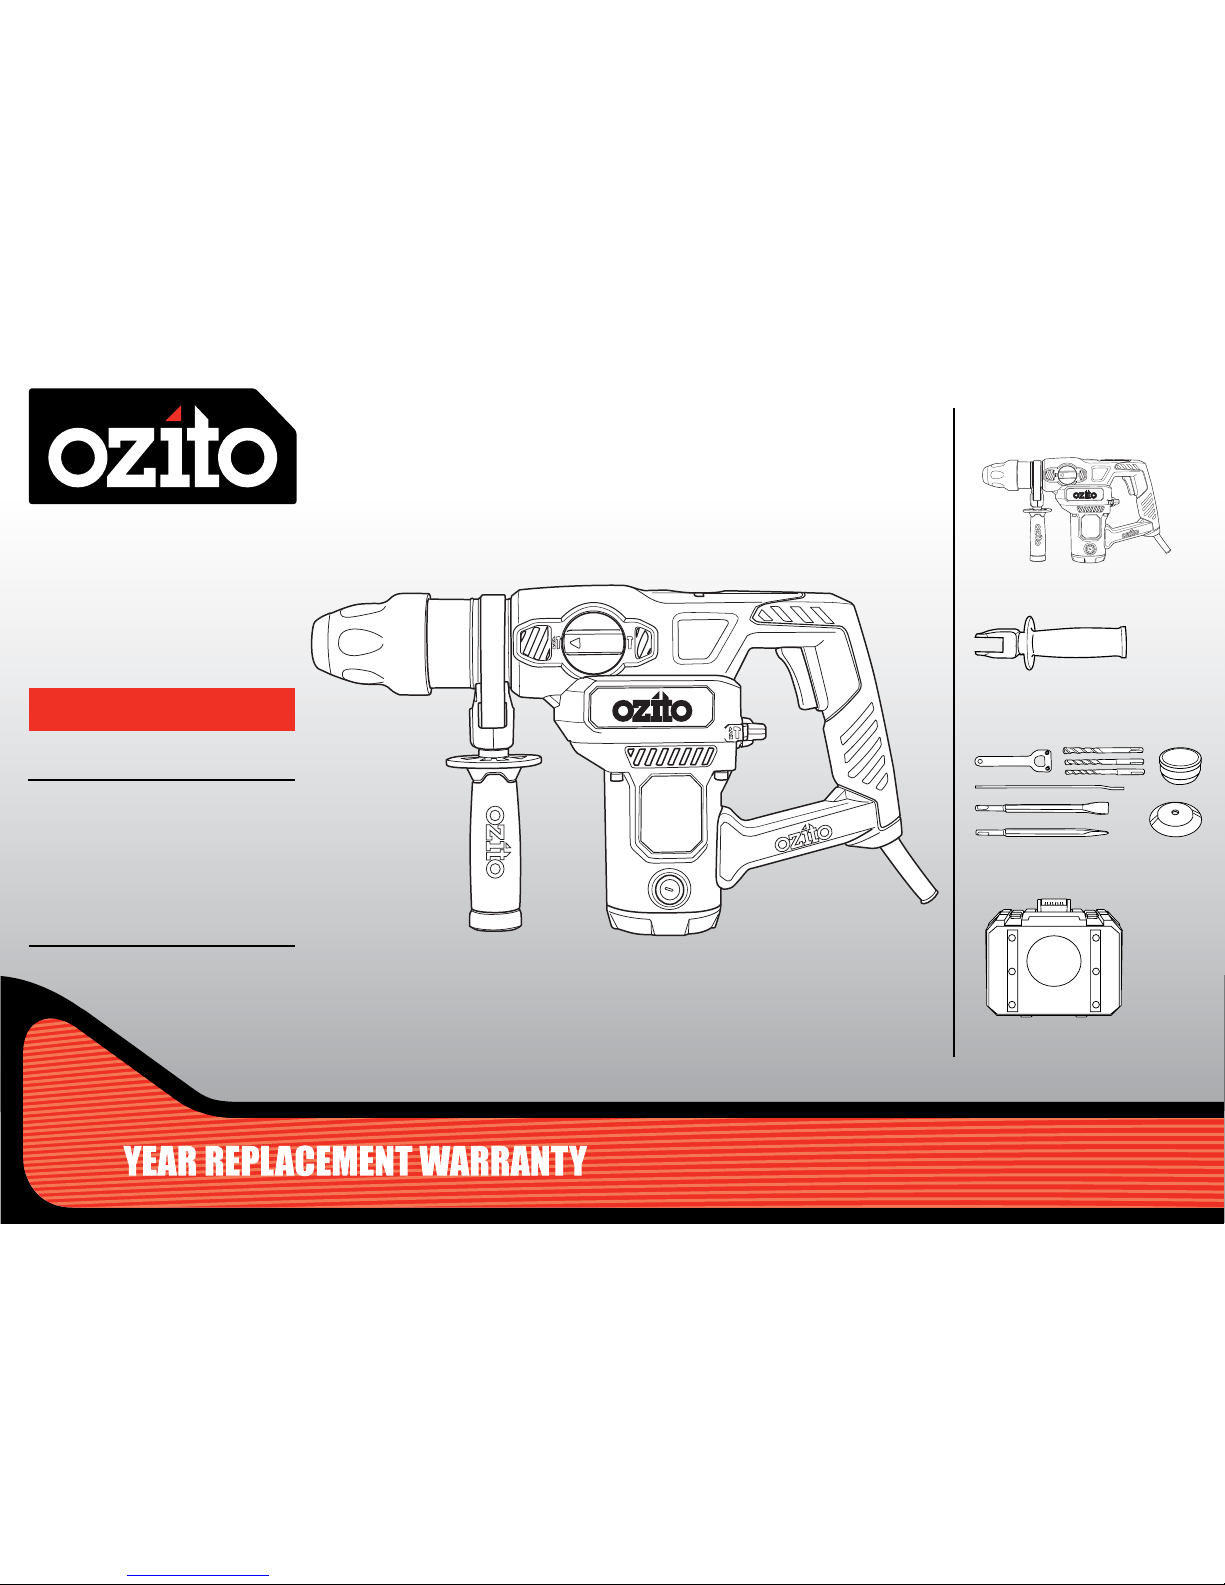
WHAT’S IN THE BOX
Kit Box
Rotary Hammer Drill
Side Handle
Accessories
ozito.com.au
1
ONLINE MANUAL
Scan this QR Code with your
mobile device to take you to
the online manual.
required
drilling
depth
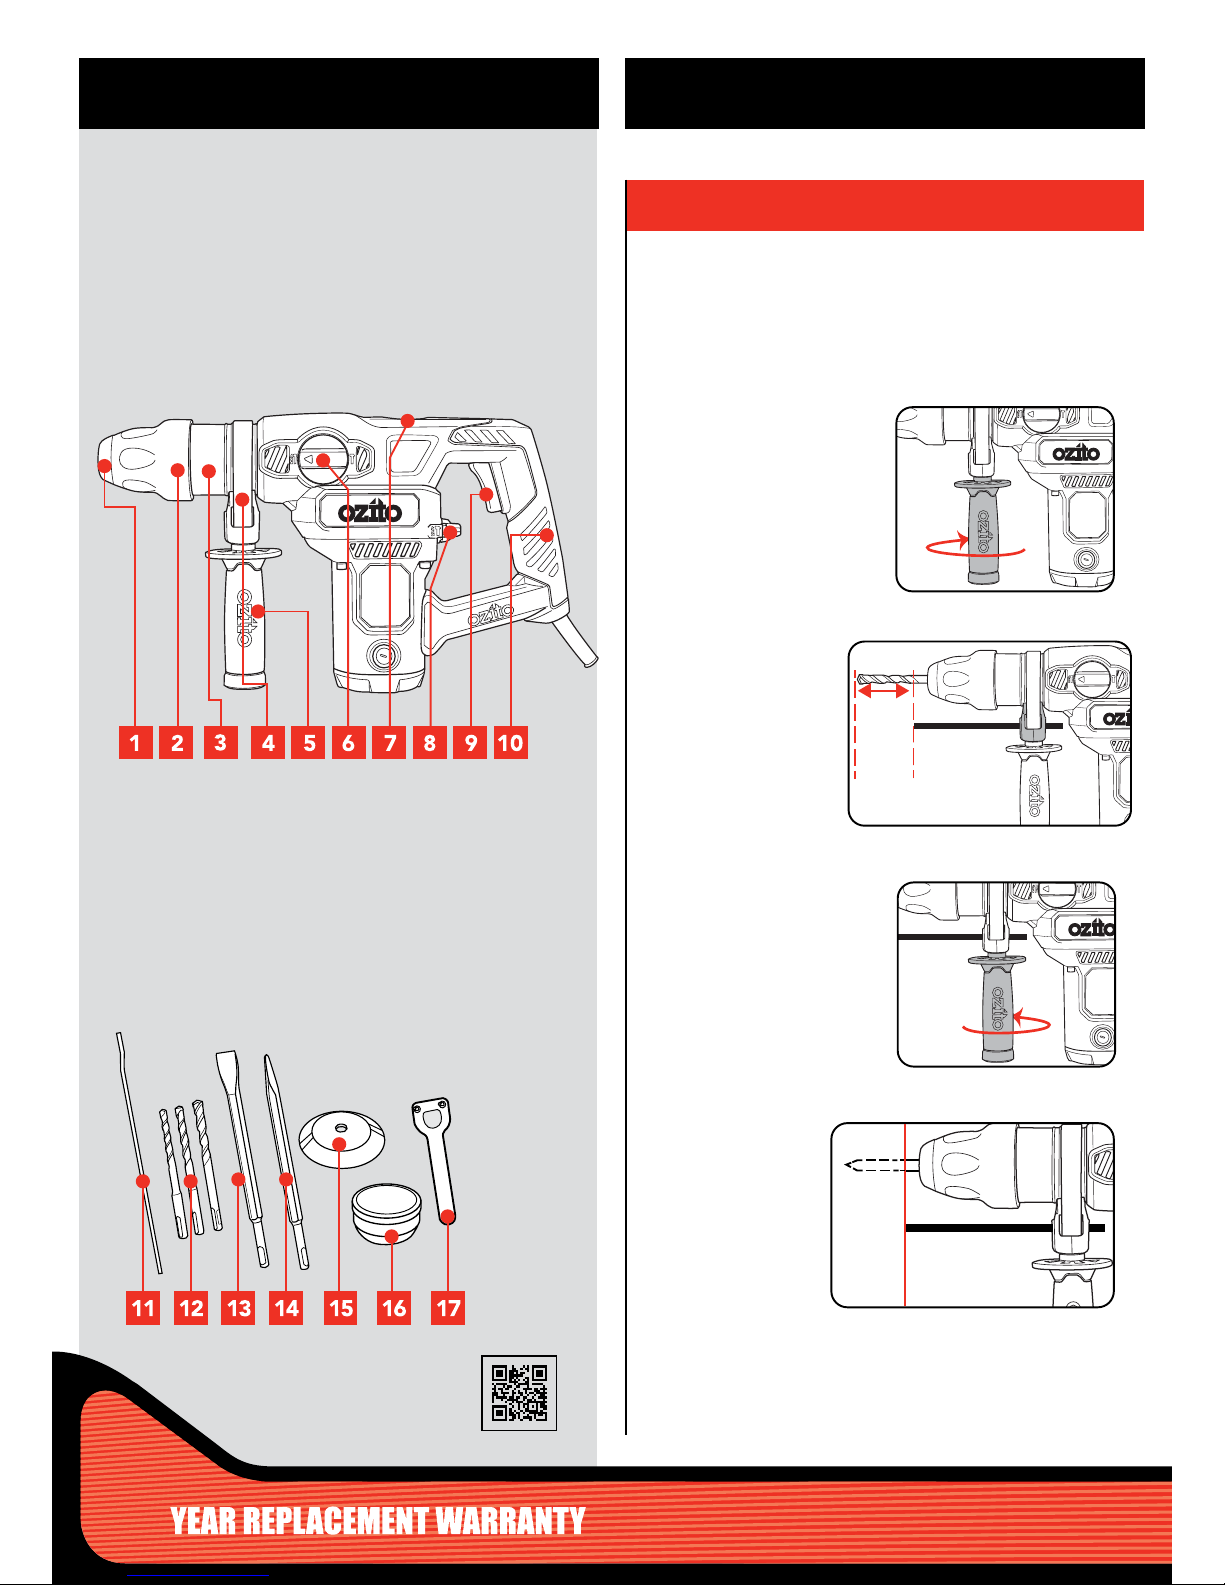
KNOW YOUR PRODUCT
1. USING THE DEPTH ROD
The depth rod allows you to drill to a predetermined depth.
1. Loosen the side handle
by turning as shown.
2. Drill the hole until
the end of the
depth rod touches
the workpiece.
3. To secure the
depth rod in
position, tighten
the side handle by
turning as shown.
2. Adjust the depth
rod so the drill bit
extends beyond the
end of the depth
rod to the required
drilling depth.
1 SDS
+
Accessory Holder
2 Accessory Locking Sleeve
3 Magnesium Gear Case
4 Depth Rod Locking Hole
5 Side Handle
6 Side Mode Selector
7 Grease Cap
8 Rear Mode Selector
9 On/Off Switch
10 Soft Grip Rear Handle
HAMMER DRILL
11 Depth Rod
12 3 x SDS
+
150mm Drill Bits
13 1 x SDS
+
Flat Chisel
14 x 250mm
14 1 x SDS
+
Point Chisel
14 x 250mm
15 Dust Cover
16 Tub of Grease
17 Pin Spanner
ACCESSORIES
SETUP & PREPARATION
Ensure the tool is disconnected from the power supply before
performing any of the following operations.
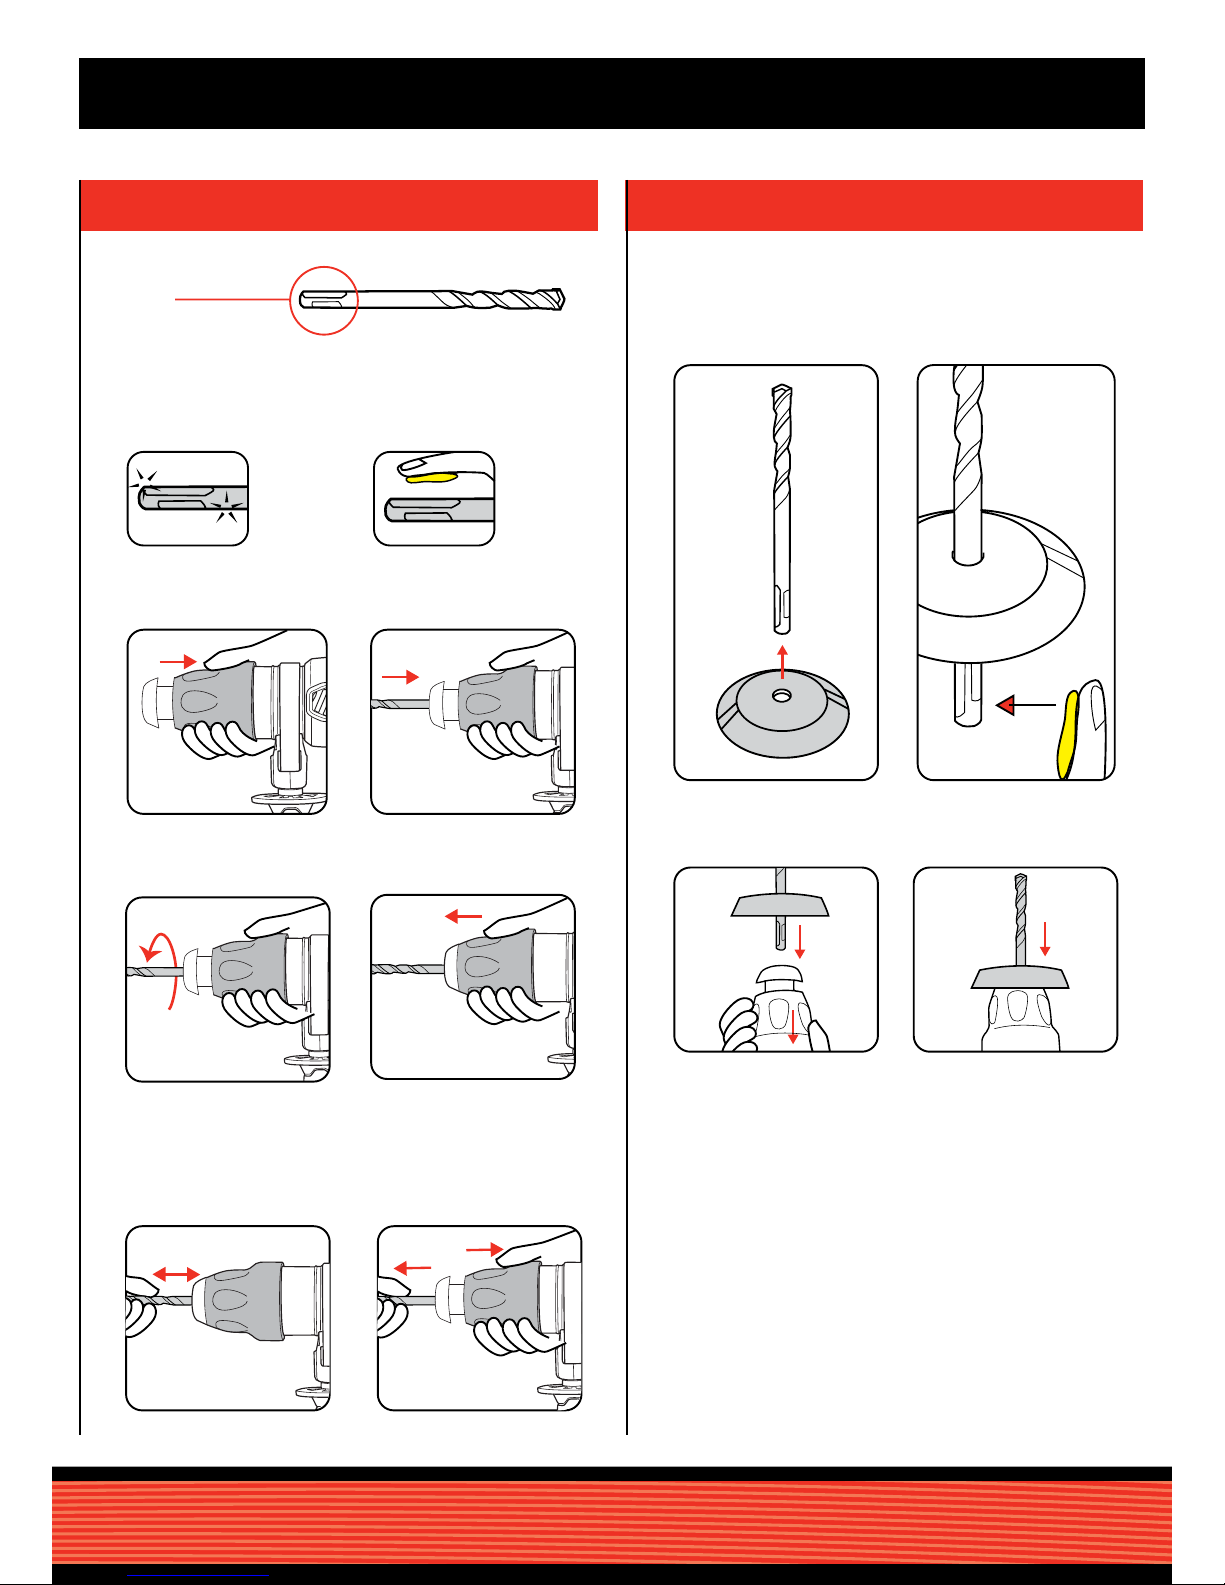
2. SDS+ ACCESSORIES 3.
FITTING AND USING THE DUST COVER
1. Prior to insertion into
chuck, ensure the SDS+
accessory is clear of
dust and debris.
1. Slide dust cover over
accessory.
3. Insert drill bit in locking
sleeve.
4. Press dust cover to the
end of locking sleeve.
2. Add lubrication grease.
3. Pull locking sleeve back
and hold.
5. Rotate and continue to
insert as far as possible.
7. Checked SDS
+
accessory
is locked. Try to pull it out.
Note: It should have approx
10 – 20mm movement. This
is normal.
2. Prior to insertion into
drill add supplied
lubricant to the SDS
+
accessory.
4. Insert SDS
+
Accessory.
6. Release locking sleeve.
8. To remove the SDS
+
accessory pull back the
locking sleeve and pull
accessory out.
Accessory
SDS
+
The cover catches dust and debris - while using the drill upright or
overhead - to avoid dust entering the air vents.
 Loading...