

User Manual
USER MANUAL Model No: 4018, 4019
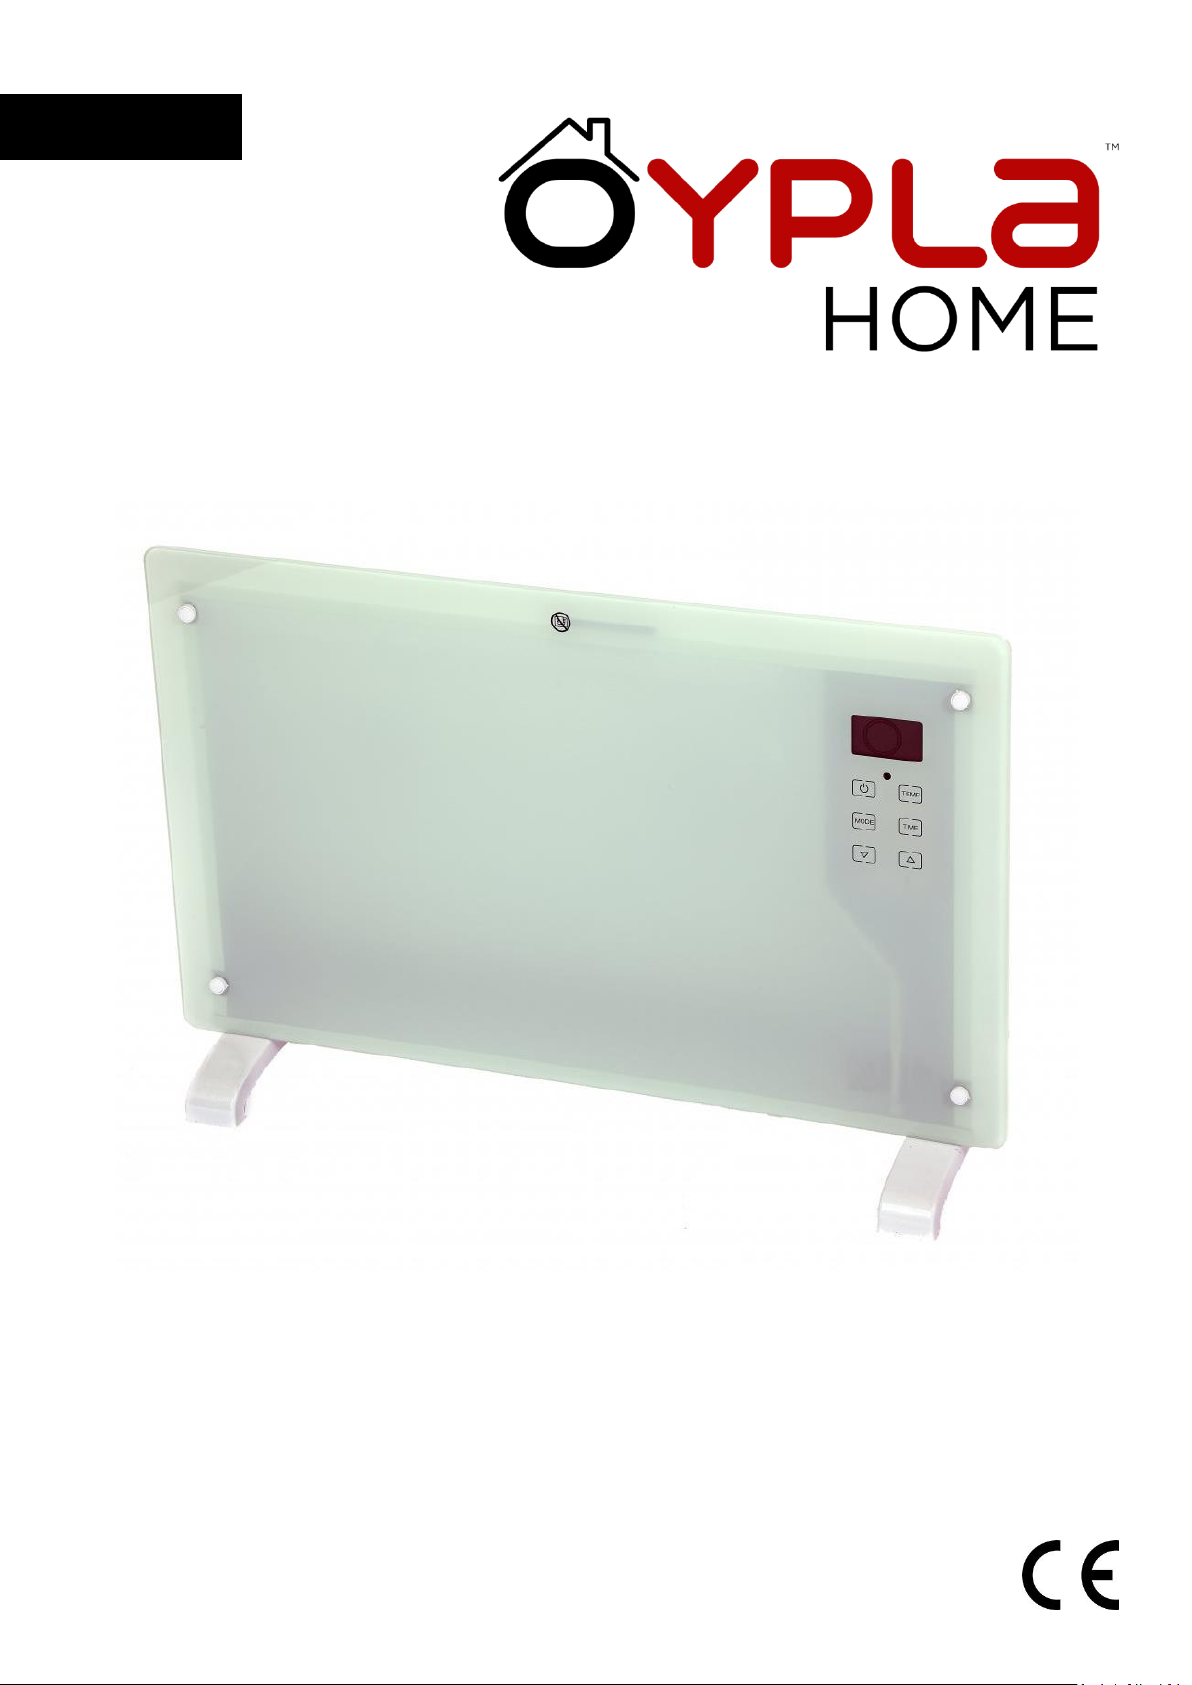
Glass Panel Heater
*COLOUR MAY VARY*

• Never carry out any alterations or modifications to this product.
• This product is not a toy, and is only to be used for its designated purpose.
• This product is intended for indoor use only.
• Never leave the product unattended whilst it is switched on. If you have to leave
the product unattended, even for a short while, always switch it off.
• Keep the product out of children’s reach and do not allow children to use it.
• The product is only intended for domestic use and only in the manner described
in this instruction manual.
• Do not place the mains lead on or near any hot surface.
• Do not touch the product if your hands are moist or wet.
• Do not attempt to move the product by pulling on the power cord.
• Only mount the product indoors in a clean and dry environment.
• Do not place the heater next to, or above, an electrical socket.
• Do not cover the heater in any way.
• Do not place the heater close to flammable materials or explosive gasses or
liquids.
• Only place the heater in a position that will allow for the flow of hot air to not be
blocked.
• Always unplug the heater when it is not in use. Even at the lowest setting, the
heater is still operating (making it a potential fire hazard).
• Clean only with a damp cloth. Do not use strong industrial cleaning substances or
abrasive materials as these will damage the product. Make sure the product is
off, unplugged from the socket and been left for five minutes to remove the risk
of electrical shock.
• If the product is damaged or has any defects, please contact cservice@oypla.com
USER MANUAL Model No: 4018, 4019
Safety Instructions
Notice: Ensure you read and fully understand instructions before use
While every attempt is made to ensure the highest degree of protection in all equipment, we cannot
guarantee freedom from injury. The user assumes all risk of injury due to use. All merchandise is sold on
this condition, which no representative of the company can waive or change.

USER MANUAL Model No: 4018, 4019
Operating Instructions
Free Standing
Wall Mounted
1. Turn the heater upside down on a soft cotton cloth or
carpet.
2. Mount the feet in the corresponding location of the
bottom of the heater shown above, Fix the feet to the
bottom of the heater and ensure the screws are tight
before standing the heater back up.
1. Drill 6 holes in the wall that match with the holes in the bracket and insert the 6 expansion
screws. Use the diagram above to help with the spacing. Attach the brackets using the 6 screws.
2. Fix the other 2 brackets onto the bottom of the product as shown in the picture below.
3. Hold the sides of the product. Line up the brackets on the back of the product with the bracket on
the wall and slide the wall bracket lock piece on to the back of the heater.

USER MANUAL Model No: 4018, 4019
How to Use
1. Press the on/off button and the product will
switch to standby with the screen showing the
current ambient temperature.
2. In standby mode, press the temperature button
to set the temperature using the up and down
buttons. Press the time button to set the
power-on time using the up and down buttons.
(Note: In the timing mode, the timing icon will
keep flashing.)
3. In standby mode, press the power button to
switch between comfort mode , economical
mode and frost-free mode . While heating,
the heating icon is shown and the border of
the comfort icon will flash, showing that the heater
is heating to a high level. Press the power button
again to switch to the low-level heating mode
indicated by the flashing border of the economical
mode icon.
4. Press the power button again to switch to frost-free
mode. The frost-free mode will prevent the
temperature dropping under approximately 5°C.
5. In the heating mode, press the temperature button
and the temperature number will flash. Set the
desired temperature using the up and down
arrows; the heater will then heat to, and maintain
this temperature. Press the timing button to set the
shut down time using the up and down buttons;
the display time will count down. (Note: in timing
mode, the timing icon will flash. When timing is not
set, the time is shown as 00:00.)
Care and Maintenance
Before cleaning the product, disconnect the
plug from the power supply and allow it to cool
down fully.
Clean the casing with a damp cloth. Do not use
any strong cleaning materials. Do not allow
water to reach any internal parts.
Imported into the EU by Oypla.com LLP, Uxbridge, UB8 2FX
Environmental Protection
Products bearing the symbol shown above means that used electrical and electronic equipment (WEEE) should not be mixed with general
household waste. For proper treatment, recovery and recycling, please take this product(s) to designated collection points where it will be
accepted free of charge. Disposing of this product correctly will help save valuable resources and prevent any potential negative effects on
human health and the environment, which could otherwise arise from inappropriate waste handling. Please contact your local authority for
further details of your nearest designated collection point. Penalties may be applicable for incorrect disposal of this waste, in accordance with
your national legislation.
 Loading...