

OXO Barista Brain Instruction Manual
Barista Brain
9-CUP COFFEE MAKER
INSTRUCTIONS FOR USE

Don’t forget to register your product
at OXO.com/registration.aspx
for updates and other relevant information.
Although g reatly appreci ated, product r egistration is n ot required to acti vate any warranty.
The art of perfect coffee,
down to an exact science
A delicious cup of coffee is art and science combined; the art
of extracting rich avors and aromas from coffee grounds, and
the science of time and temperature colliding in just the right
way, at just the right moment.
The OXO Barista Brain Coffee Maker heats water to the optimal
temperature to help your favorite roast reach its full potential,
and precisely maintains that temperature throughout the
entire brewing process. Water is pumped to the brew basket
in perfectly timed cycles, starting with a short cycle that
allows coffee to bloom for full avor extraction. The intelligent
microprocessor monitors time, temperature and volume from
start to nish, ensuring the precision of hand-crafted coffee
with the ease of ordering at your favorite local coffee shop.
You choose the number of cups and we’ll do the rest, creating
a pot of perfection every time.
A Note About Safety ....................3
Before We Begin ............................... 5
Quick Start Guide ..............................6
Meet Your Coffee Maker ..............7
The Particulars of Brewing ............ 9
Troubleshooting ............................11
Cleaning, Care and Storage
......... 13
Descaling
........................................14
Our Guarantee .............................. 15
Registration Info .......................... 15
CON G R ATU L ATI ON S
on your new OXO On appliance!
2
• Read All Instructions. Use th is product only as des cribed in
this manual.
• Keep the packa ging material (cardboard , plastic, etc.) out of
the reach of chil dren (danger of asphyxiatio n or injury).
• Do not to uch hot surfaces. U se handles or knobs . Care must
be taken, as bu rns can occur from touch ing hot parts or from
spilled, hot liquid.
• To protect a gainst fire, electr ic shock and injury to pe rsons
do not imme rse cord, plu gs or Coffee Make r in water or
other liquid.
• Clos e supervision is nece ssary when any app liance is used by
or near children.
• Un plug Coffee Ma ker from outlet wh en not in use and
before cl eaning. All ow to cool before put ting on or taki ng
off parts and before cleaning the appliance.
• To prevent sc alding, do not open br ew basket lid, attempt to
dislodge a po tential clog, or otherw ise touch the brew basket
area until Cof fee Maker has suffici ently cooled. Scaldi ng may
occur if the lid is r emoved during brewing cycl es.
• Cof fee Maker must be operate d on a flat surface away from
the edge of coun ter to prevent accidental tipp ing.
• Do not o perate any appliance wit h a damaged cord or
plug, or af ter the appliance malf unctions or is droppe d or
damaged in a ny manner. Contact OXO Custome r Service at
(800) 545-4 411. Do not return to store.
• The u se of accessory att achments not recomm ended by OXO
may result in fir e, electric shock or inj ury to persons.
• Use o nly the carafe provided wit h the Coffee Maker to
capture brewed coffee.
• Do not l et cord hand over edge of tabl e or counter or touch
hot surfaces.
• Do not p lace on or near a hot gas or e lectric burner, or in a
heated oven.
• Always a ttach plug to applian ce first, then plug cor d into
the wall outlet . To disconnect, turn any con trol to “off,” then
remove plug from w all outlet.
• The co ffee carafe is design ed for use with this applia nce. It
must never be us ed on a range top or in a microwave oven.
• Do not p ut any substances oth er than water, descaling
product s or coffee grounds into th e Coffee Maker. Do not use
Coffee Maker to co ok or prepare other liqu ids or foods.
• Do not use appliance without lid properly placed on carafe.
• Do not to uch internal parts w hile Coffee Maker is brewin g.
• Do not r otate or remove carafe or brew ba sket while brewing
coffee.
WARNING! To reduce the risk of fire or el ectric shock,
do not remove t he bottom cover. Doing s o will void warranty.
No user ser viceable parts ar e inside. Repair should b e done
by authorized service personnel only.
• Thi s appliance i s intended fo r household u se only. Do not use
appliance for other than intended use. Do not use outdoors.
WARNING! Shock Hazard: This appliance has a
polarized pl ug (one wide blad e) that reduces th e risk of
electric sh ock. The plug fits onl y one way into a polarized
outlet. Do not d efeat the safety purpos e of the plug by
modifyin g the plug in any way or using an ada ptor. If the
plug does no t fit, reverse the plug. If it st ill does not fit,
have an electr ician replace the outlet. Do n ot plug this
appliance in to an outlet with a voltage other th an specified
on the bottom of t his appliance.
SHORT CORD STATEMENT
The length of t he cord used on this applian ce was selected
to reduce the haz ards of becoming tangle d in, or tripping
over a longer cord . If a longer cord is necess ary, an
approved exten sion cord may be used. The el ectrical rating
of the extensio n cord must be equal to or greate r than the
rating of this appliance.
Care must be t aken to arrange the extensio n cord so that it
will not drape ove r the countertop or tabletop wh ere it can
be pulled on by ch ildren or tripped over.
To avoid an electric al circuit overload, do not us e any high
wattage appliance on the same circuit as this appliance.
A Note About Safety
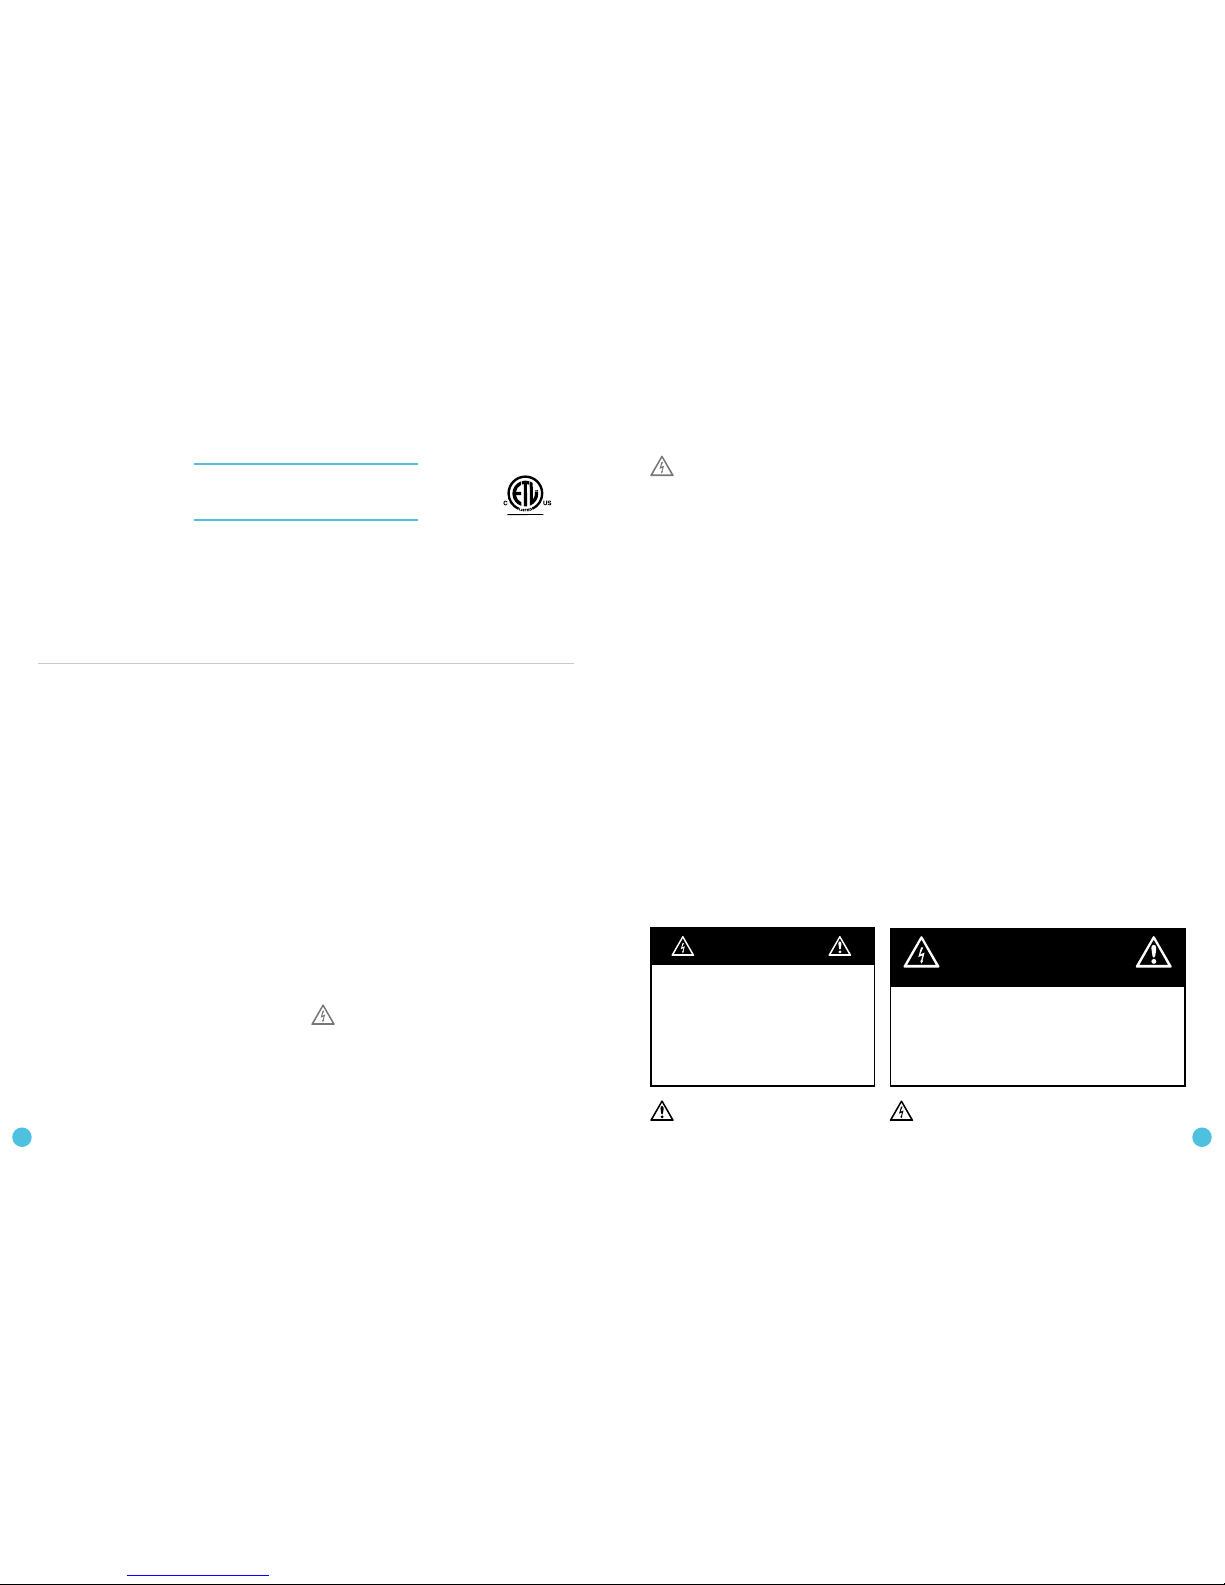
SHOCK HAZARD
ONLY FOR USE WITH 110V AC OUTLET.
DO NOT USE ADAPTER.
FAILURE TO FOLLOW THESE INSTRUCTIONS CAN
RESULT IN DEATH, FIRE OR ELECTRICAL SHOCK.
WARNING!
WARNING, TO REDUCE THE RISK OF FIRE OR ELECTRIC SHOCK,
DO NOT REMOVE COVER (OR BACK)
NO USER-SERVICEABLE PARTS INSIDE
REPAIR SHOULD BE DONE BY AUTHORIZED SERVICE PERSONNEL ONLY
WARNING!
RISK OF FIRE OR ELECTRIC SHOCK
DO NOT OPEN
This symbol alerts you to important operating
and service instructions.
This sym bol alerts you t o the risk of fire o r electric
shock in the accompanying message.
IMPORTANT SAFEGUARDS
Read all instructions.
When using electrical appliances, basic safety precautions should
always be followed to reduce the risk of re, electric shock, and/or
injury to persons, including the following:
SAVE THESE INSTRUCTIONS.
43

1. Remove and recycle or discard all stickers,
descriptive labels, cable ties and packing
materials, including static stickers and hangtags
with ties
.
2.
Wipe all parts with a damp cloth. Wash carafe,
carafe lid, brew basket, silicone internal mixing
tube and scoop with soap and water.
CAUTION: Do not p ut carafe in dishwashe r. Do not use abrasive pads , harsh
chemicals or spray cleaner chemicals to clean. These may damage the surface
of the appliance.
3.
Install silicone internal mixing tube in
carafe lid. Screw on lid and place empty
carafe below brew basket.
4.
Plug cord into 110V outlet.
5.
Twist dial and press OXO button to set clock.
6.
Fill water reservoir to “MAX” ll line and run
one 5-9 cup brew cycle without ground coffee
following the steps to the right.
1.
Fill water reservoir according to the number of
cups you want to make.
2.
Place paper lter in brew basket, add ground
coffee, then close lid.
3.
Press the OXO button to enter cup
setting menu. Twist dial to choose
2-4 or 5-9 cups setting and press
OXO button to start brewing. The
icon indicates coffee is brewing.
4.
When the brew cycle is complete,
the icon will appear. Remove
the carafe and pour a delicious
cup of coffee.
5.
To learn more about how to use your Coffee Maker,
check out “The Particulars of Brewing” on pg. 9.
See pg. 14 to learn how to descale your OXO Coffee Maker,
as well as get other use and care information.
(Descaling is a simple process required for all cof fee
makers to maintain long-term heating efficiency.)
Before We Begin Quick Start Guide
cup range
65
 Loading...