

Oxford Instruments W2CBW003 User Manual
1
12
11
10
9
8
7
6
5
4
3
2
13
X-MET8000 Series User Manual
8
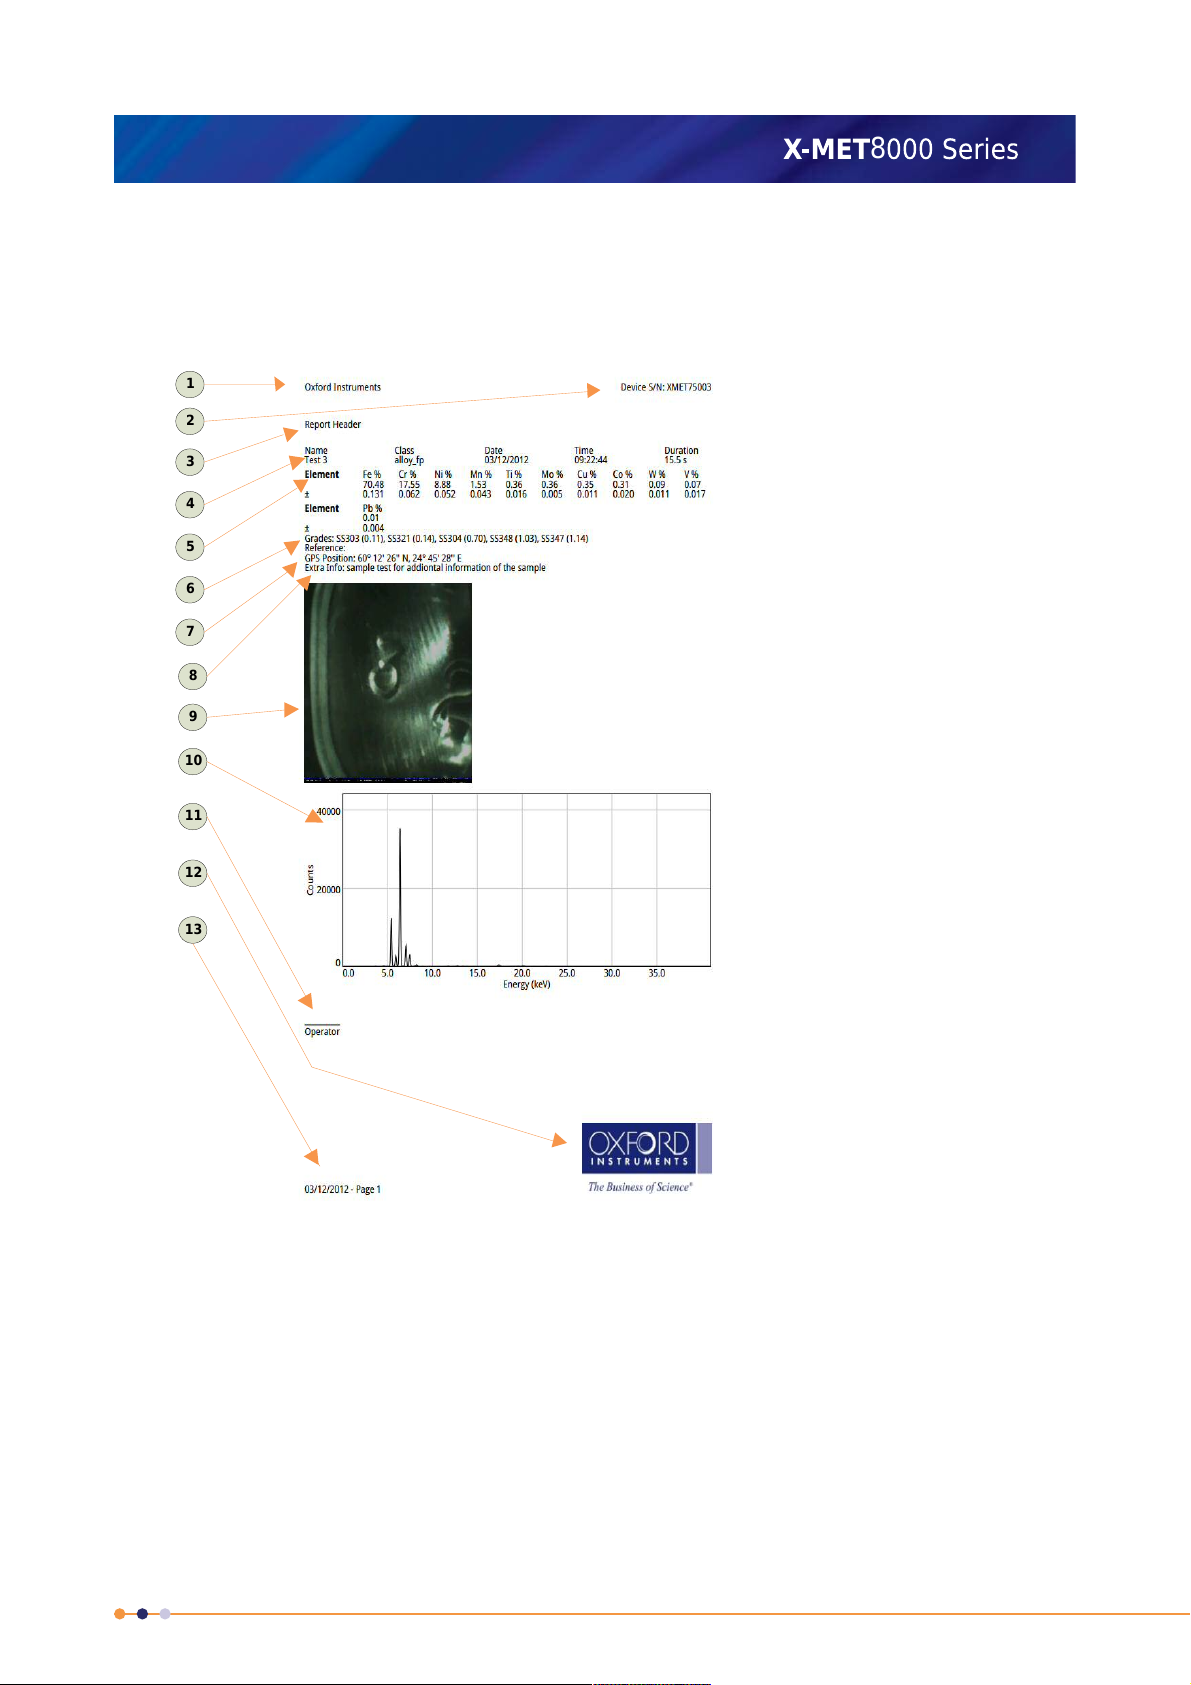
A Custom Report
This is a typical custom report. The report template provides full control of all these aspects of the
report.
1. Margin: company
information
2. Margin: serial number
3. Report header
4. Sample information
5. Element: concentration and
+/-
6. Grade
7. GPS Position
8. Additional Information
9. Camera Image
10. Spectra
11. Operator information
12. Margin: logo
13. Margin: date and page
number
The margins can include:Margins
• Company information
• Company logo
• The device serial number
• The date and page number.
It is possible to place these items in any of the four margins.
The report can start with an introduction.Report header
Sample information includes:Sample information
• The sample name
201
X-MET8000 Series User Manual
8
• The mode or method
• The date and time
• The measurement time.
Element information
Create A Report
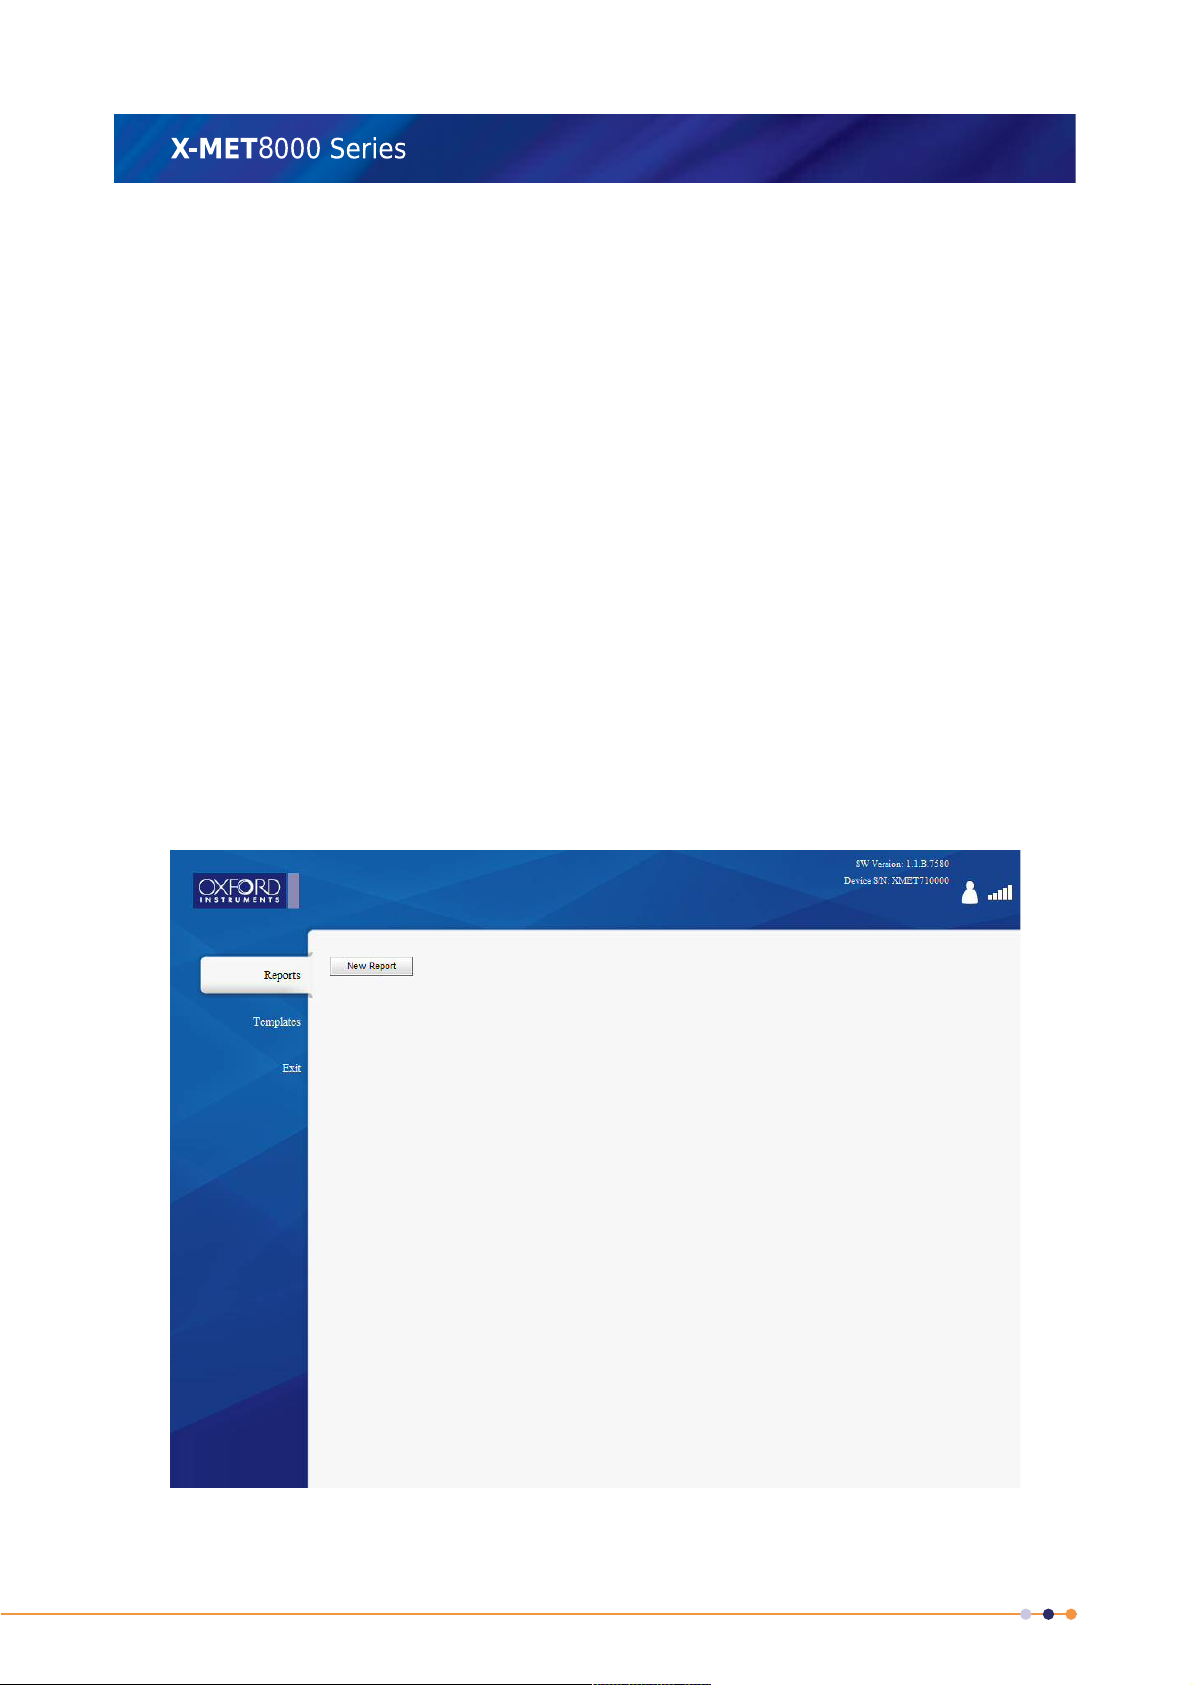
It is necessary to have a report template to create a report. Follow these steps to create a report.
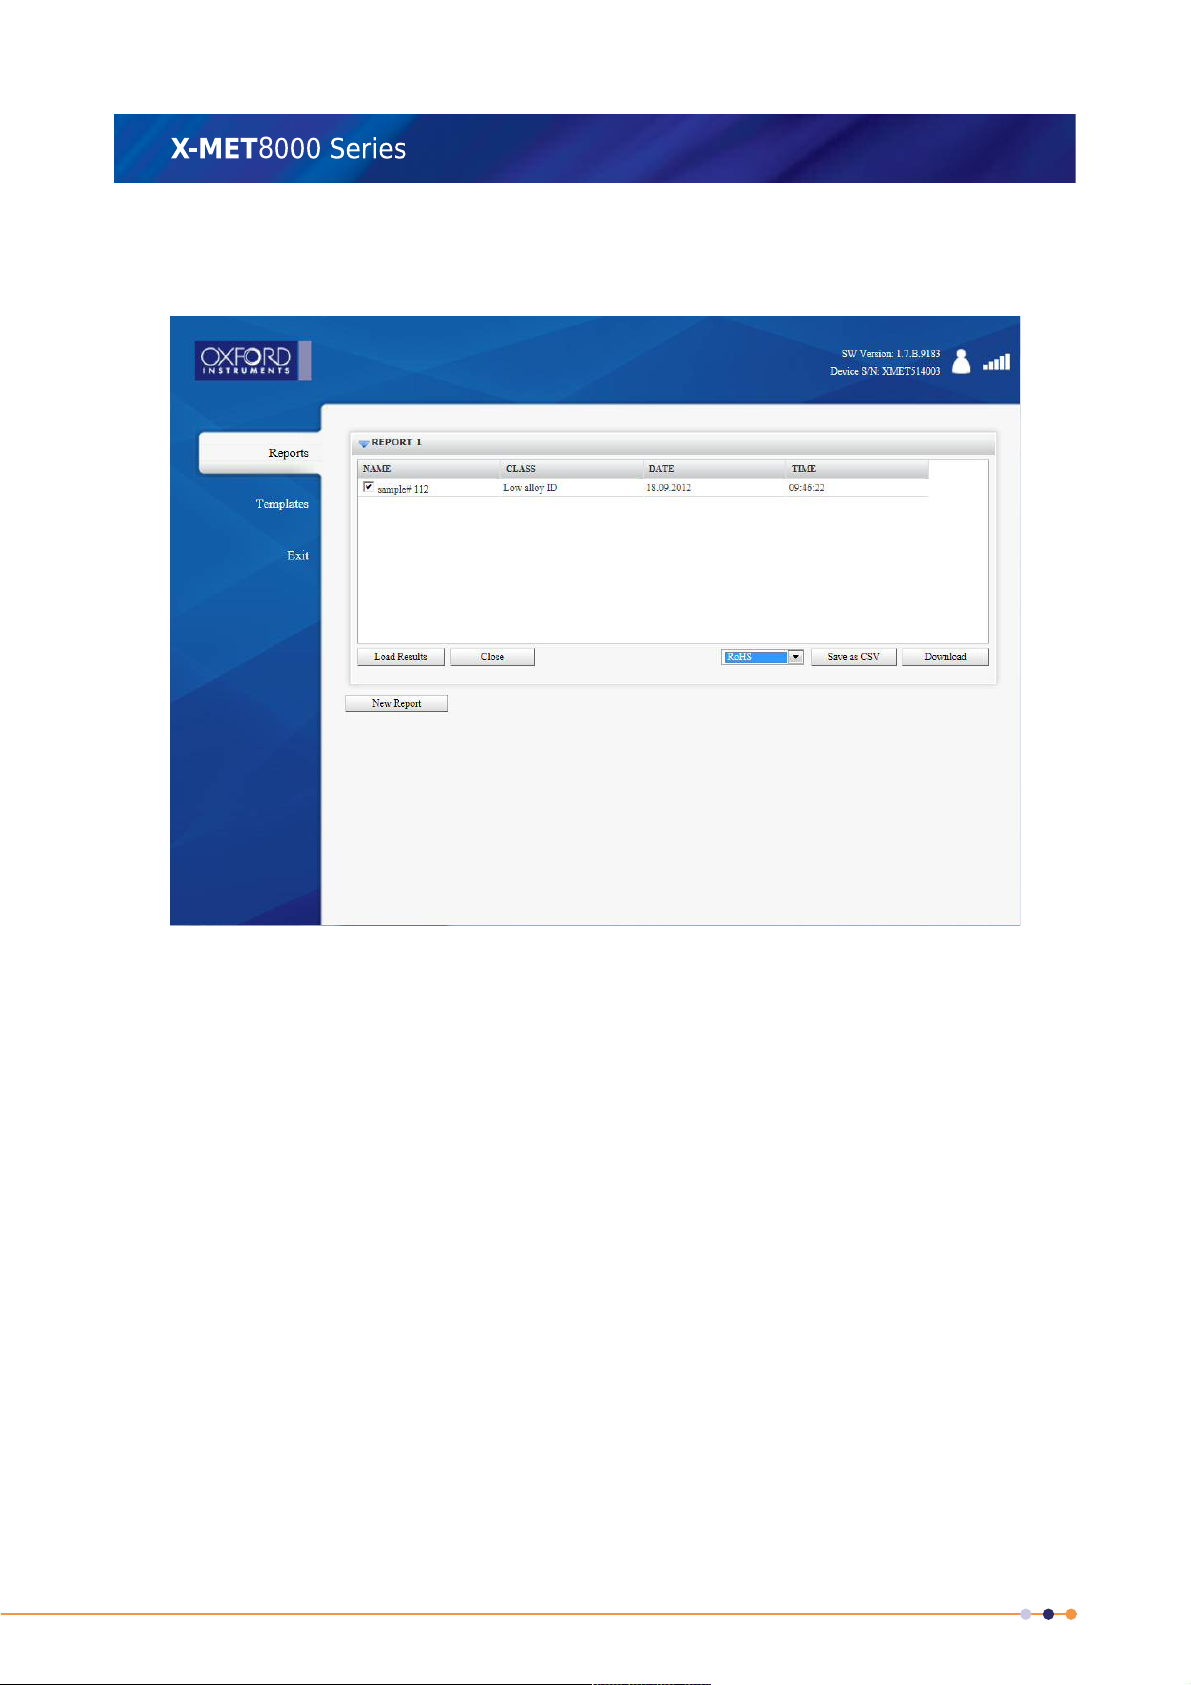
1. From the PC main screen, click Report Generator.
The Reports screen appears.
It is necessary to select the elements to appear in the report. Chosen
elements that are not present in the sample donot appear in the report
unless All The Elements From The Result option is selected .
Element information can include the concentration and +/- value.
The report can include the grade information.Grade
The report can include the GPS information.GPS Position
The report can include the additional information for the sample.Additional Information
The report can include the camera image of the sample.Camera Image
The report can include the spectra for the sample.Spectra
The report can include information about the operator.Operator information
202
2. Click New Report.
8
The Reports screen has a new report.
X-MET8000 Series User Manual
203
X-MET8000 Series User Manual
8
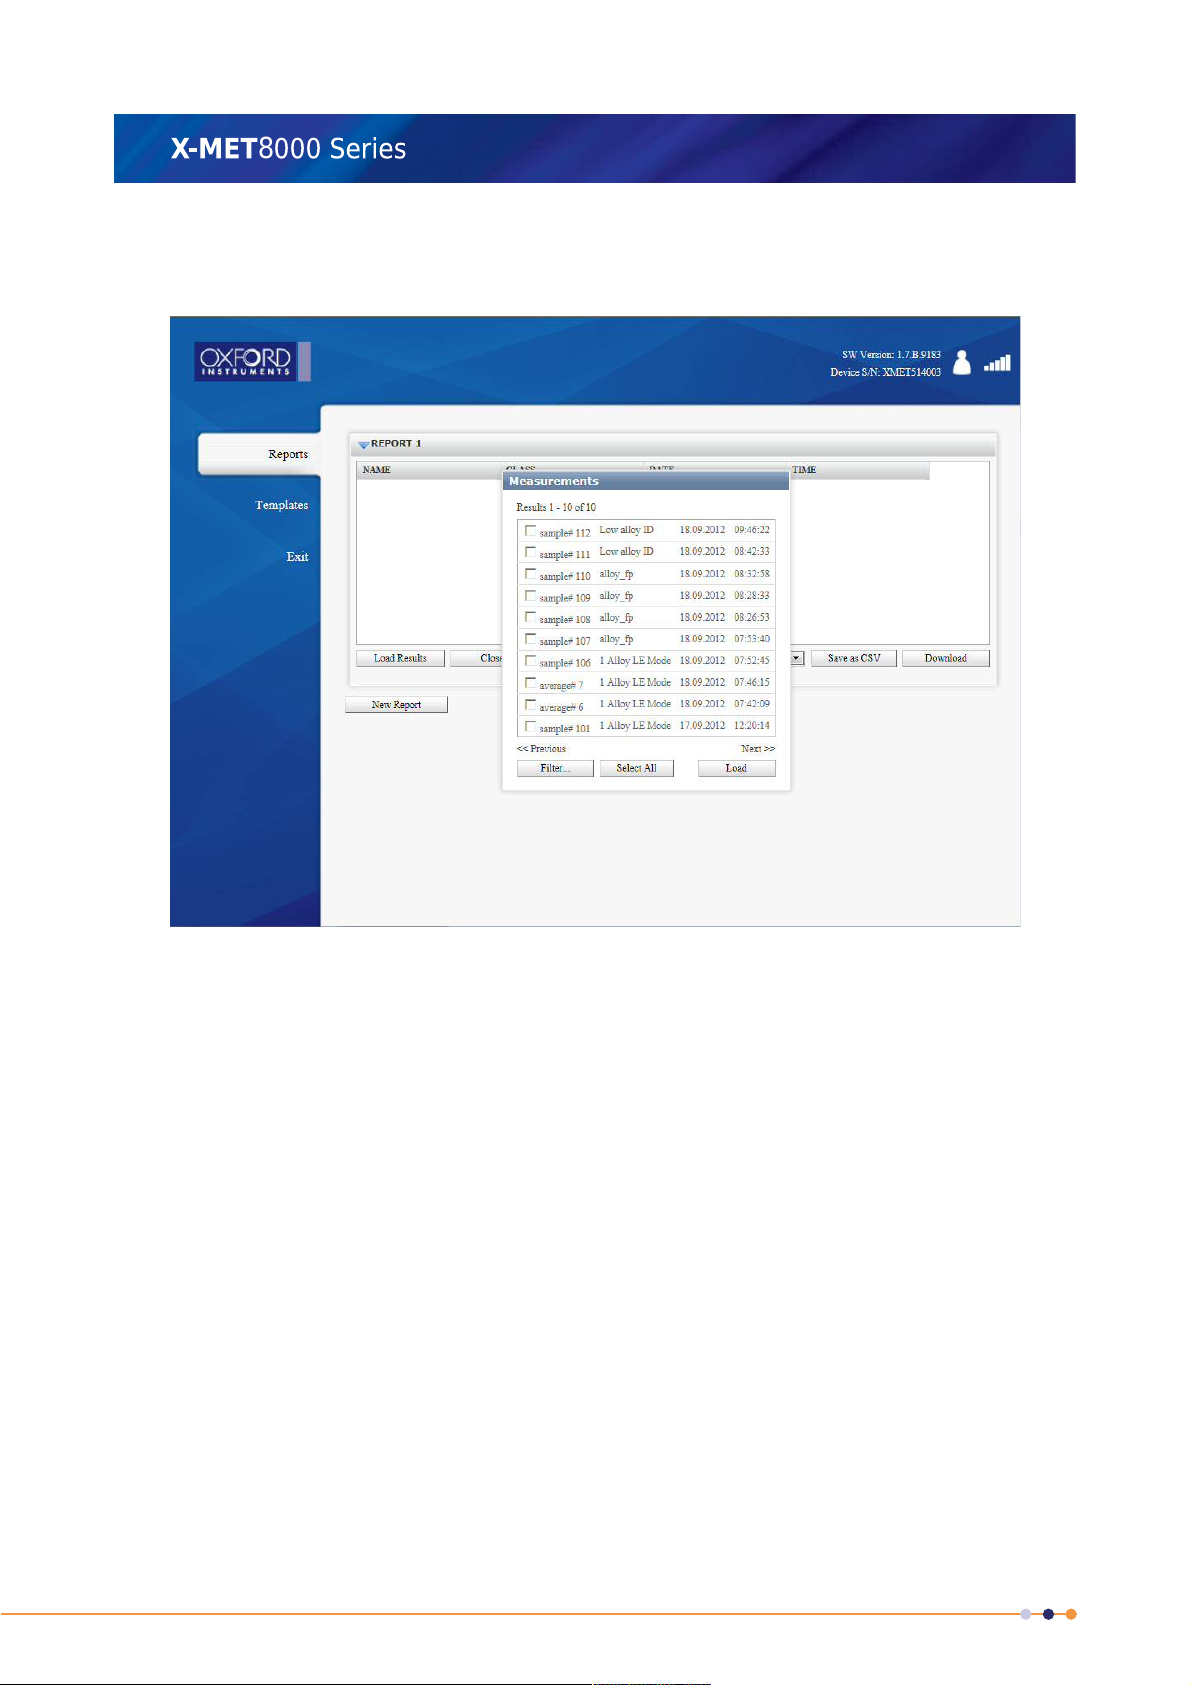
3. Click Load Results.
The Measurements dialog box appears.
204

4. If required, click Filter ....
8
The Filter by dialog box appears.
X-MET8000 Series User Manual
5. To use the filter, do one or more of the following, as required:
• Click the Start Date tick box, and use the calendar to choose a date.
• Click the End Date tick box, and use the calendar to choose a date.
• Click the Sample Name tick box, and type all or part of the sample name.
• Click the Method tick box, and type all or part of the Method name.
6. Click OK to return to the Measurements dialog box, with filtered results.
205
X-MET8000 Series User Manual
8
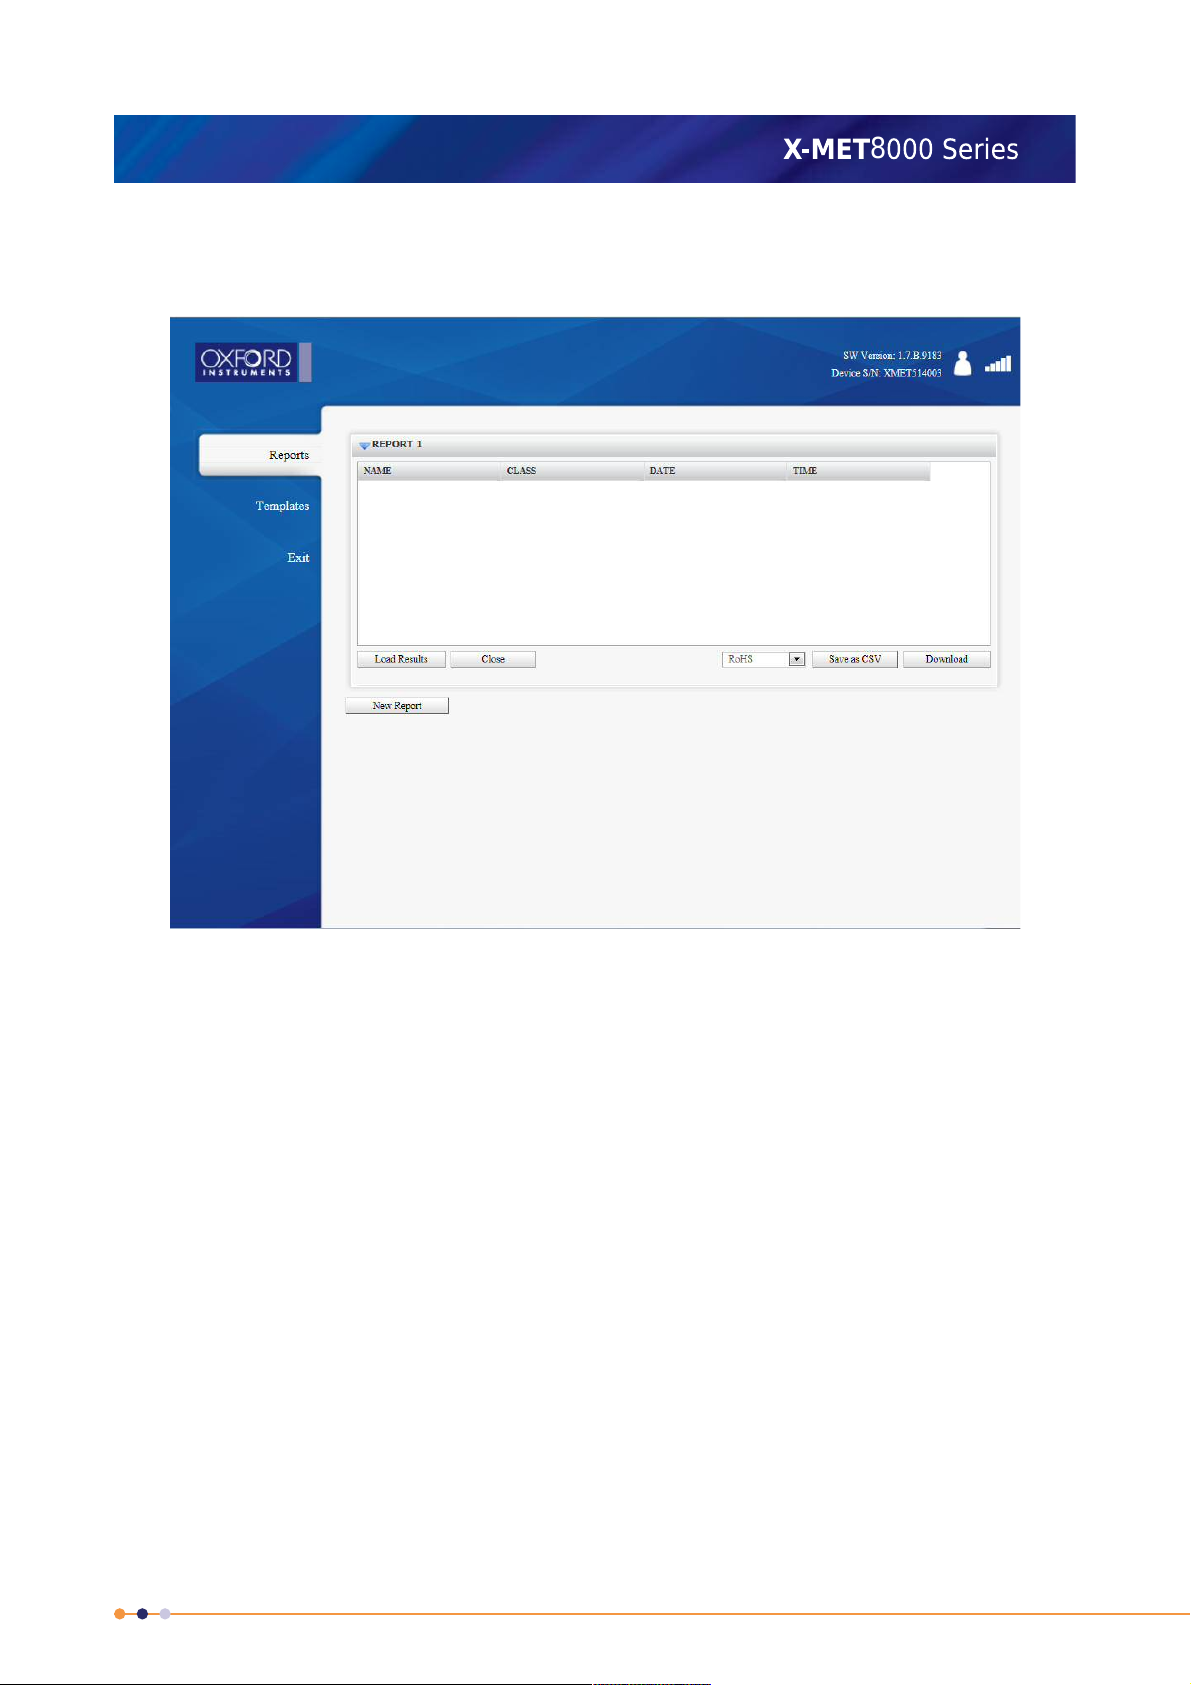
7. If required click Select All to select all the results for the report, and then click Load.
The Reports screen shows the result or results for the report.
8. Select the required template for the report from the Report Template drop down list.
9. Do one of the following
• Click Save As CSV
• Click Download to download a PDF file.
The File Download dialog box appears.
206

10. Click Save to save the file.
8
The Zip file contains the report PDF file or the excel file(csv).
Note: In MS excel 2007 or older versions, it may be difficult to open csv files in the readable
format as csv file uses UTF-8 character encoding. In such cases follow the below steps
• Open Microsoft Excel.
• Click the Data tab on menu bar.
• Click the From Text option
• Browse to the saved csv file to be imported, select it and click the import button.
• Follow the 3 steps of Text import Wizard which opens to your screen.
• On Wizard first choose the file type that describes your data best. Usually in case of X-MET
that is Delimited.
• Select the format 65001: Unicode(UTF-8) from the File origin drop down list. When done
click Next.
• On the second Text Import Wizard step check whatever delimiters your data may have.
Data preview shows how the data will appear on spread sheet. When done click Next.
• Continue to last Text Import Wizard step and modify any columns data format, or deselect
the unnecessary columns if any.
• Click Finish and the imported file opens into MS spread sheet.
X-MET8000 Series User Manual
11. Click Exit to return to the PC main screen.
207

X-MET8000 Series User Manual
8
Add A Report Template
Follow these steps to add a report template.
1. From the PC main screen, click Report Generator, and then click Templates.
The Templates screen appears.
208
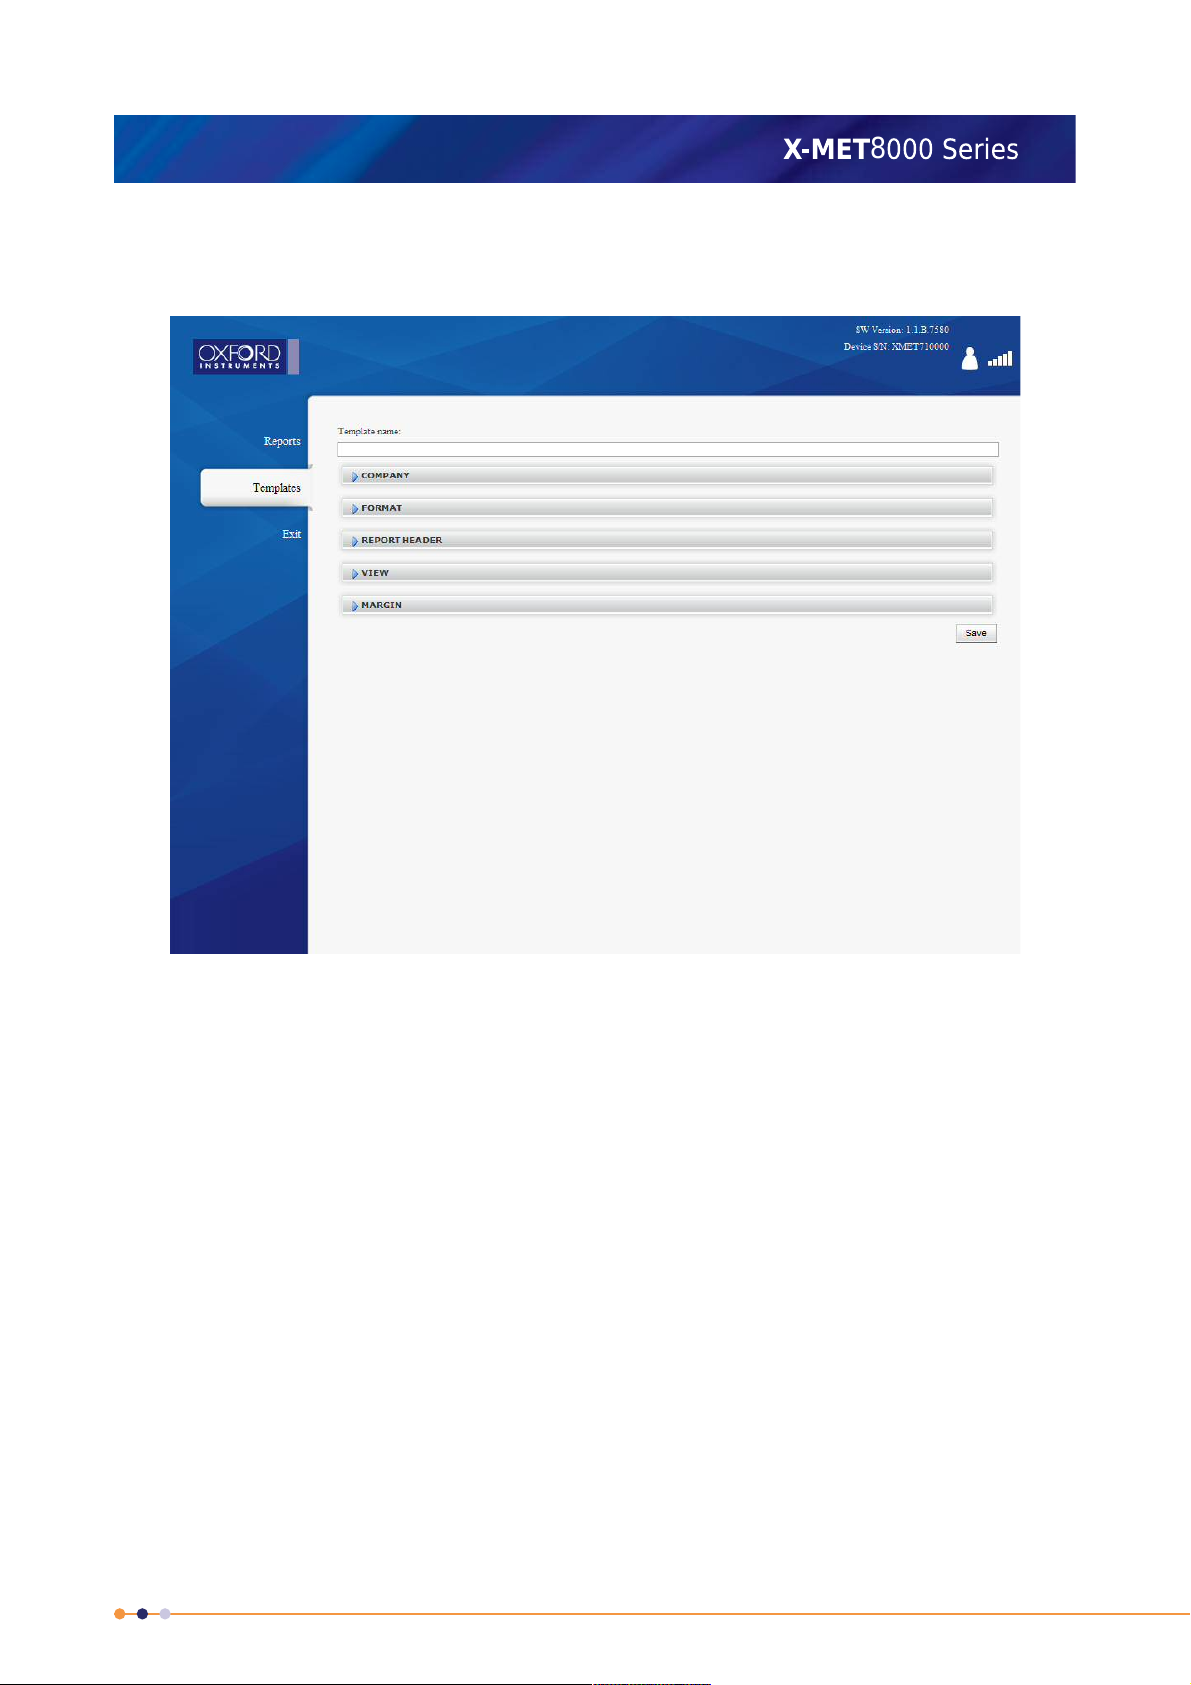
2. Click Add.
8
The Template Design screen appears.
X-MET8000 Series User Manual
3. Type a name for the report into the Template Name text box.
209
X-MET8000 Series User Manual
8
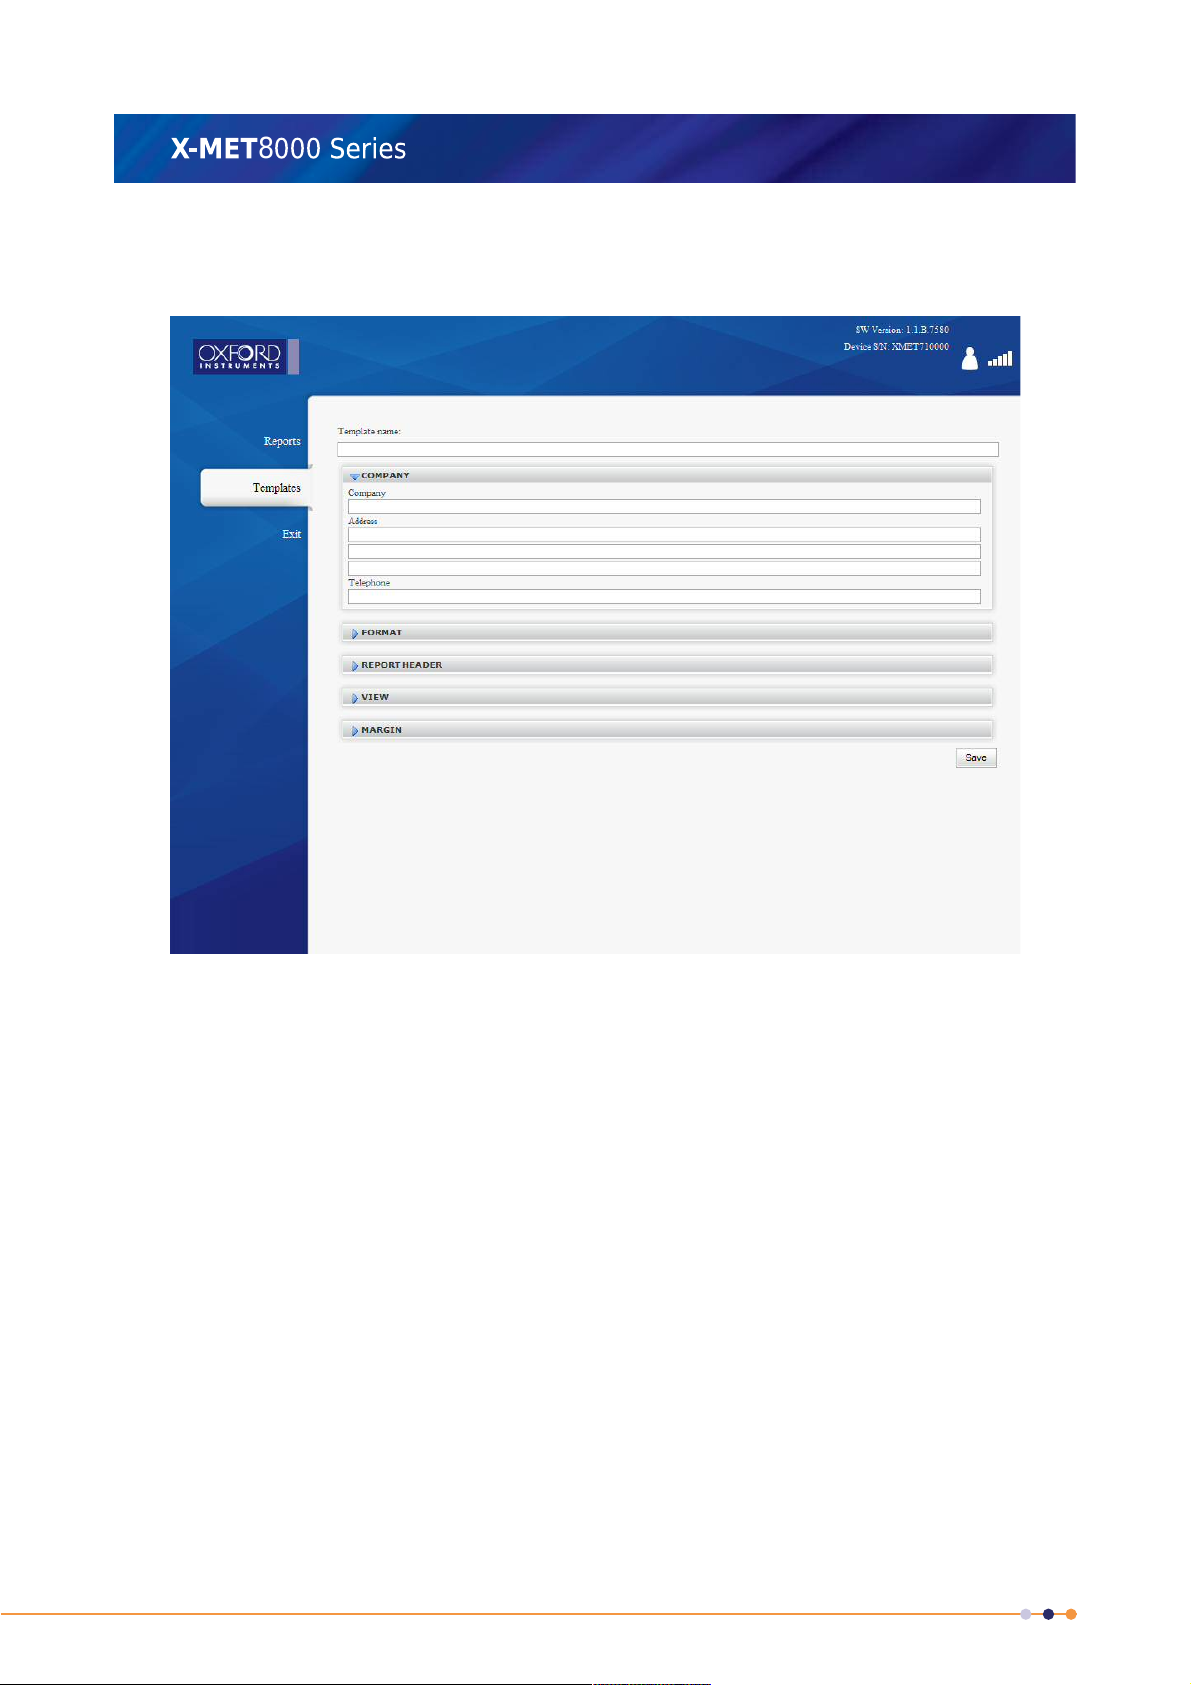
4. Click Company.
The Company pane appears.
5. Enter the company information into the applicable text box.
6. Click Company to close the Company pane.
210
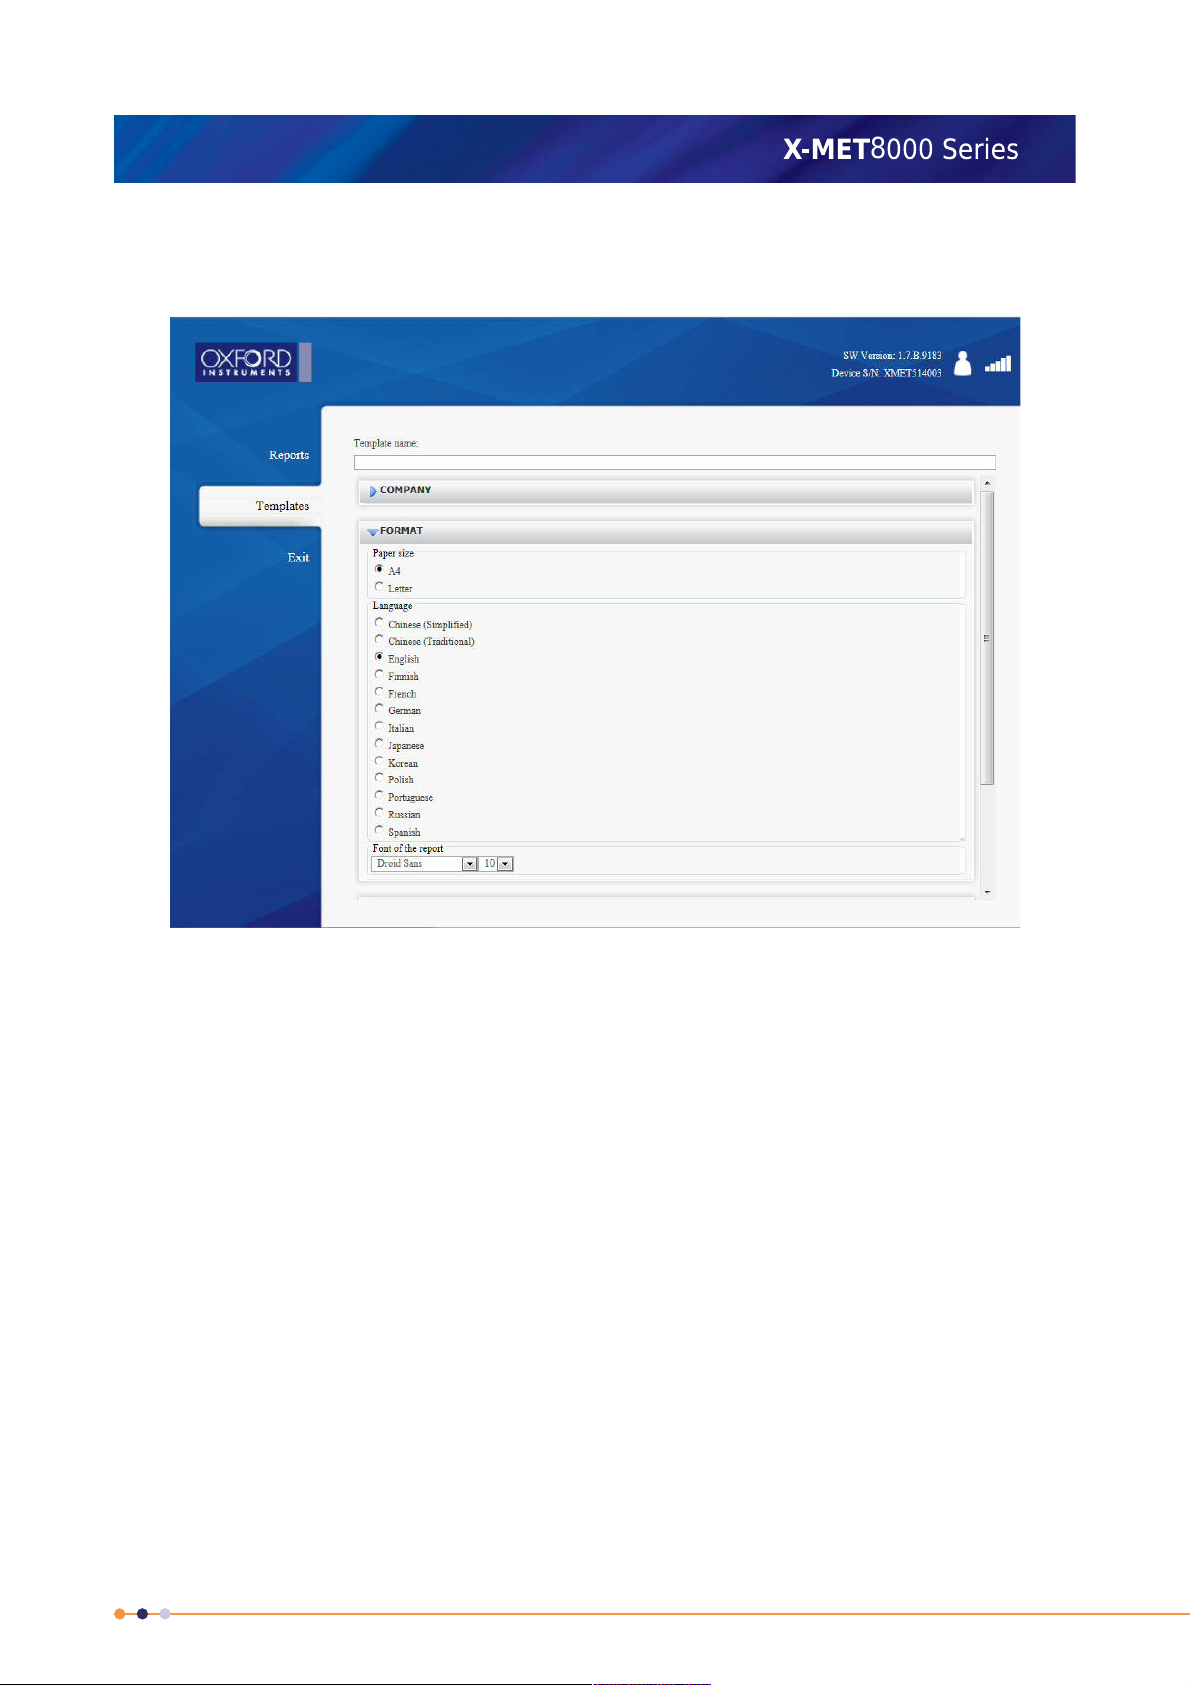
7. Click Format.
8
The Format pane appears.
X-MET8000 Series User Manual
8. Click the applicable Page Size, select a Language and choose a Font from the drop down list.
Droid Sans Fallback font should be used for Chinese , Japanese and Korean languages.
9. Click Format to close the Format pane.
211

X-MET8000 Series User Manual
8
10. Click Report Header.
The Report Header pane appears.
11. Type the report header into the text box.
12. Click Report Header to close the Report Header pane.
212

13. Click View.
8
The View pane appears.
X-MET8000 Series User Manual
14. Click the applicable tick box to select the items to appear on the report.
15. Type the operator information into the Operator text box.
16. Select the number of decimal places for the element concentrations from Decimals.
17. Click the applicable tick box to select the elements to appear on the report. The order in which the
elements appear in the report can be changed by selecting Move Down and Move Up buttons.
18. Click View to close the View pane.
213

X-MET8000 Series User Manual
8
19. Click Margin.
The Margin pane appears.
20. Click the applicable Corner Contents drop down list to choose the item to appear in that corner
of the report.
21. To upload a logo file, do the following:
a) Click Browse to search for the file on the PC.
b) Click Upload Logo to upload the logo.
The logo file appears on the Margin pane.
22. Click Margin to close the Margin pane.
23. When the report template is complete, click Save to save it and return to the Templates screen.
24. Click Exit to return to the PC main screen.
Software Installation
No application specific software is required to use a PC with the X-MET8000 series. An Internet browser
is the only software requirement to control the X-MET8000 series. However, a software driver is
required for a PC operating system to control an application through a USB interface.
Software driver requirements by operating system:
• Windows XP: the USB memory device contains driver software to install, and a Microsoft Hotfix is
available.
214
X-MET8000 Series User Manual
8
• Windows Vista and Windows 7: driver software loads automatically through Plug and Play.
• Linux and Mac OS X: driver software is part of the operating system.
Installation On Windows XP
Driver software does not load automatically. Follow these steps to install the driver software. It is
necessary to have administrator privileges to install driver software.
A Hotfix is available from Microsoft to make sure that the USB interface operates correctly:
http://support.microsoft.com/kb/959765.
1. Plug the USB memory device with the driver software into the PC.
2. Connect the X-MET8000 series to the PC. Refer to Connect To A PC And Login on page 40.
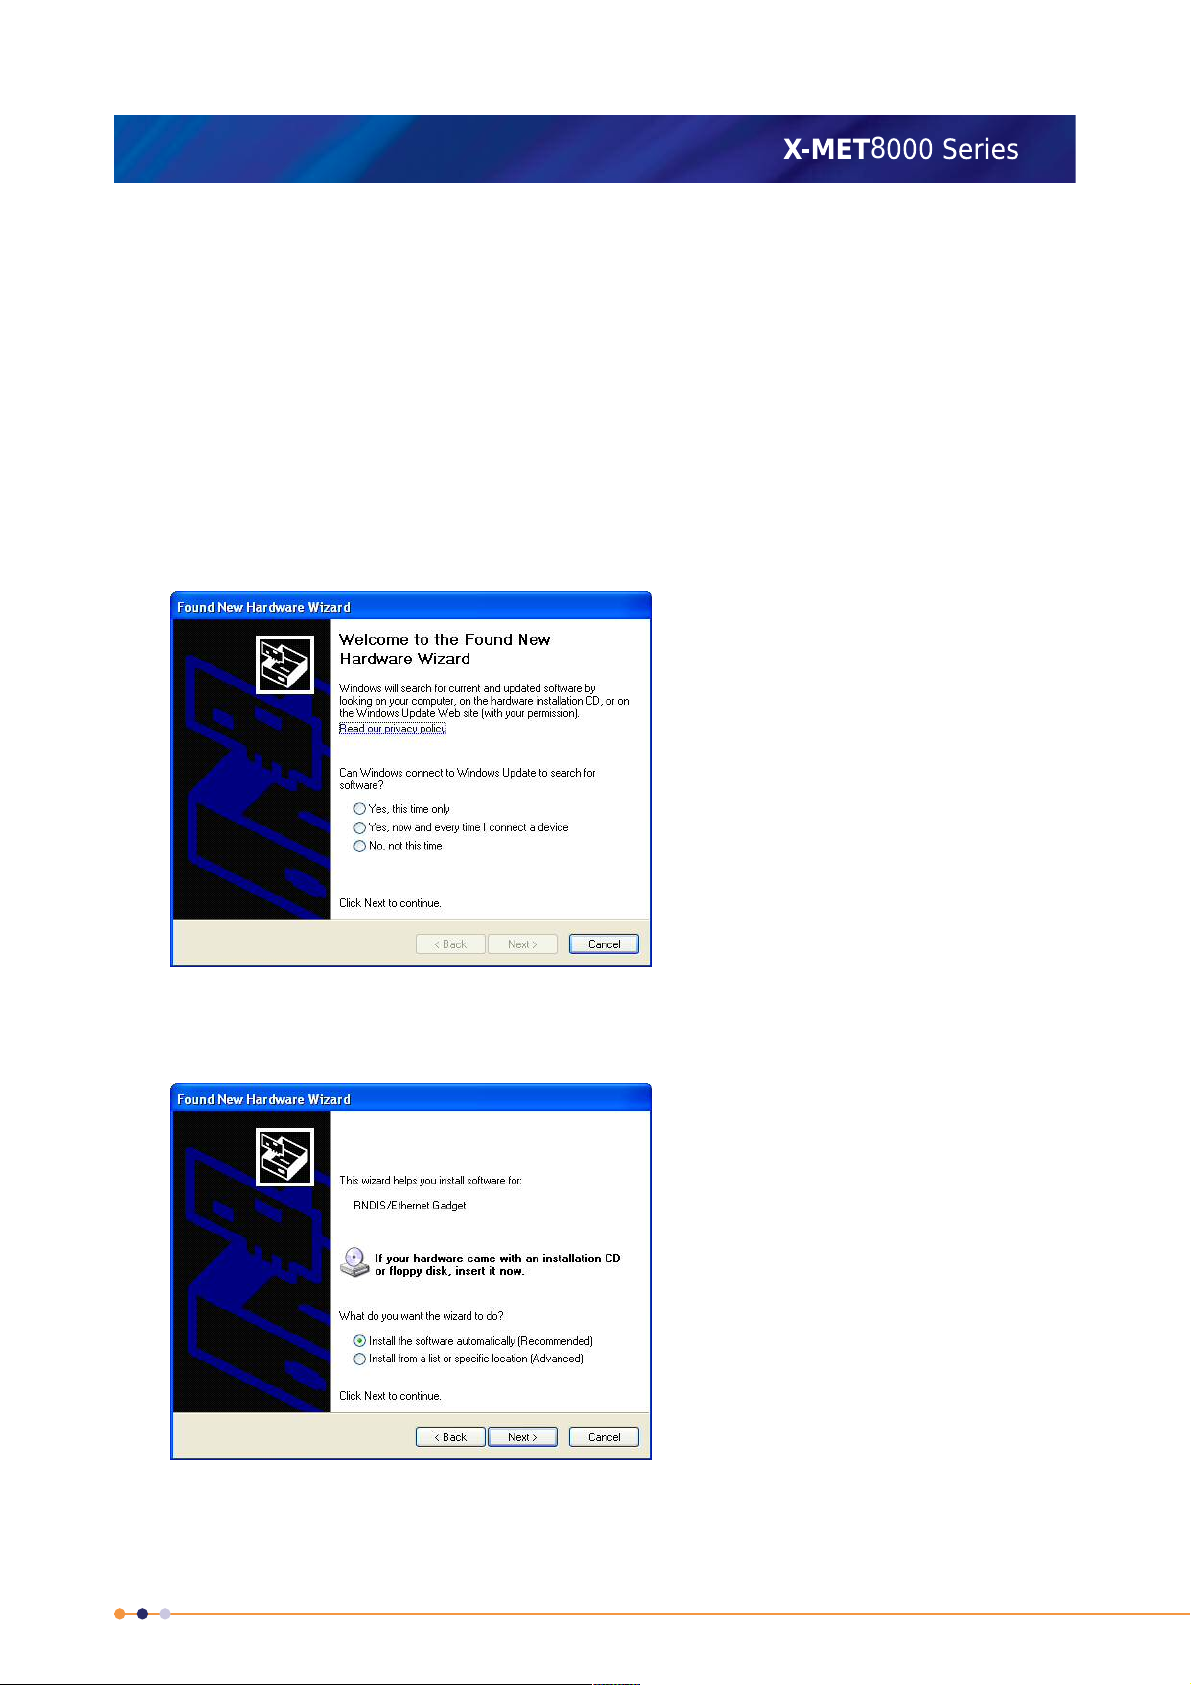
The Found New Hardware Wizard screen appears.
3. Click No, not this time, and then click Next.
The Found New Hardware Wizard screen changes.
215
X-MET8000 Series User Manual
8
4. Click Install from a list or specific location (Advanced), and then click Next.
The Found New Hardware Wizard screen changes.
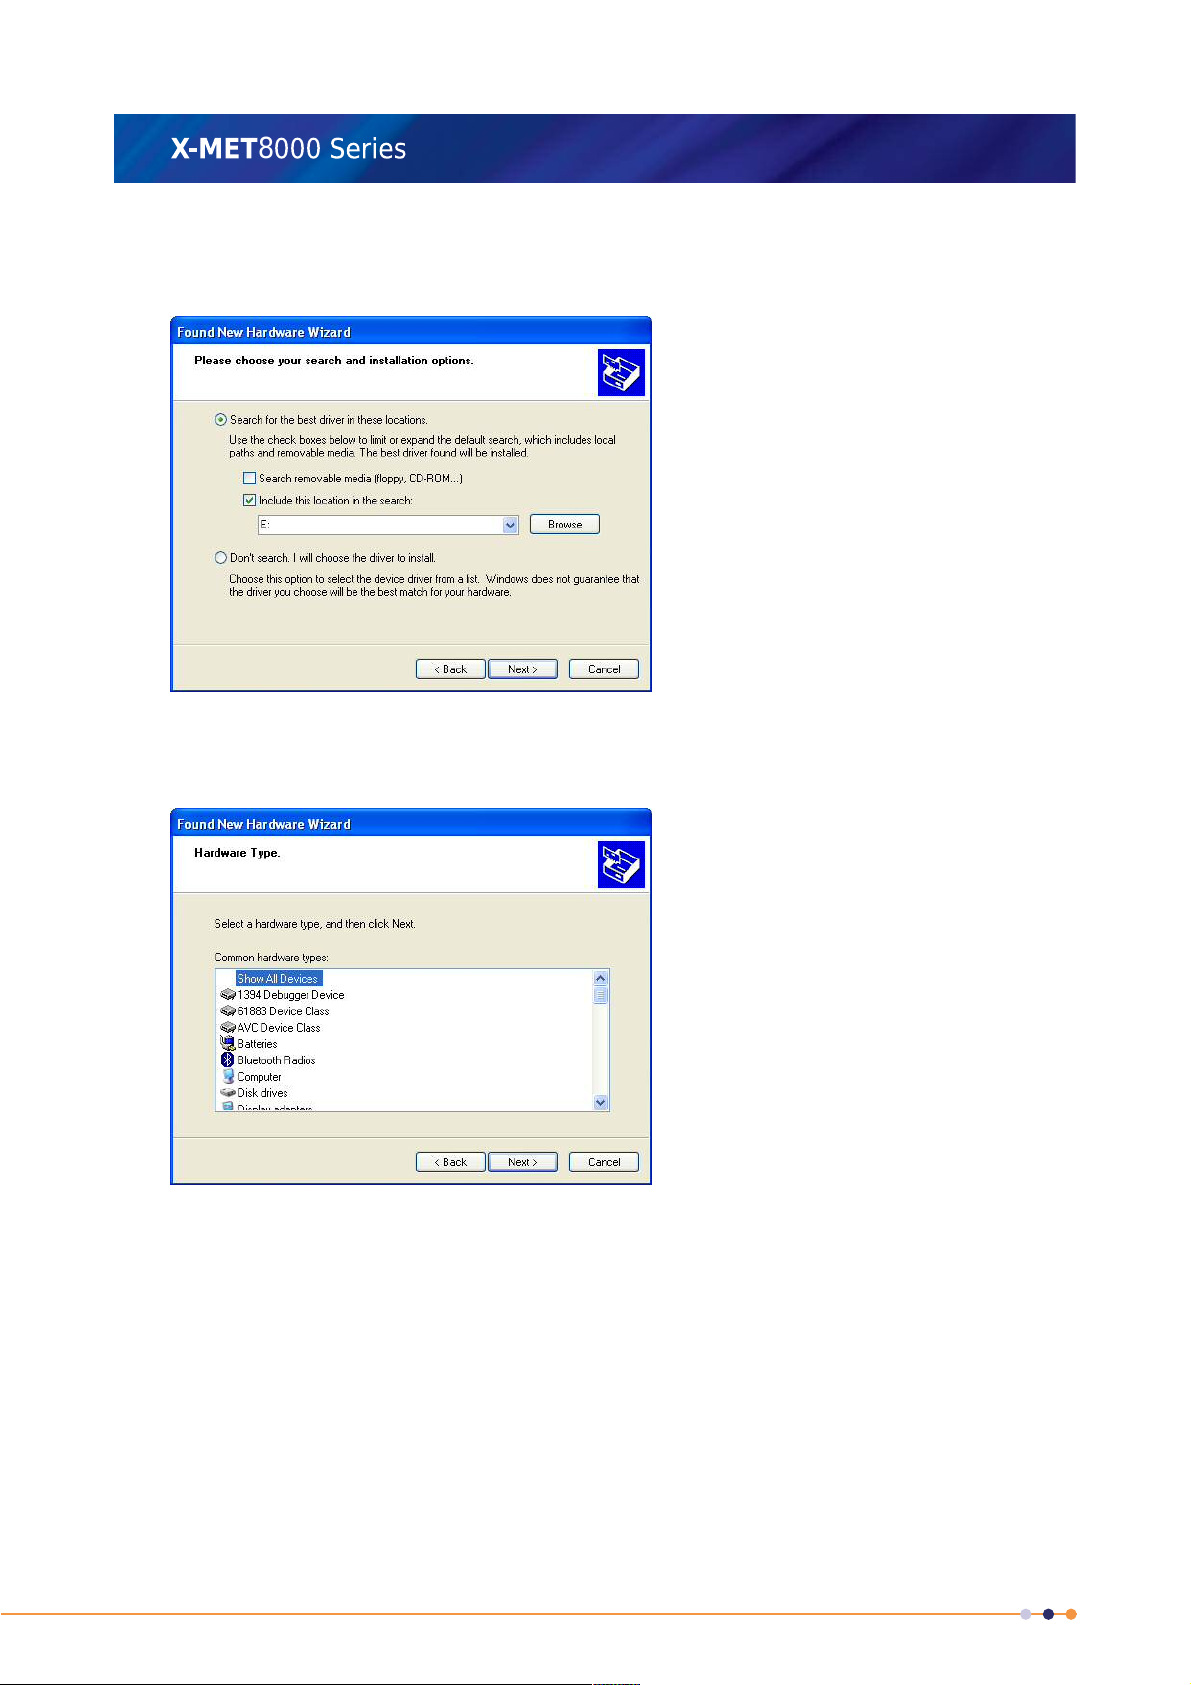
5. Click Don’t search. I will choose the driver to install., and then click Next.
The Found New Hardware Wizard screen changes.
216
6. Click Network adapters, and then click Next.
8
The Found New Hardware Wizard screen changes.
X-MET8000 Series User Manual
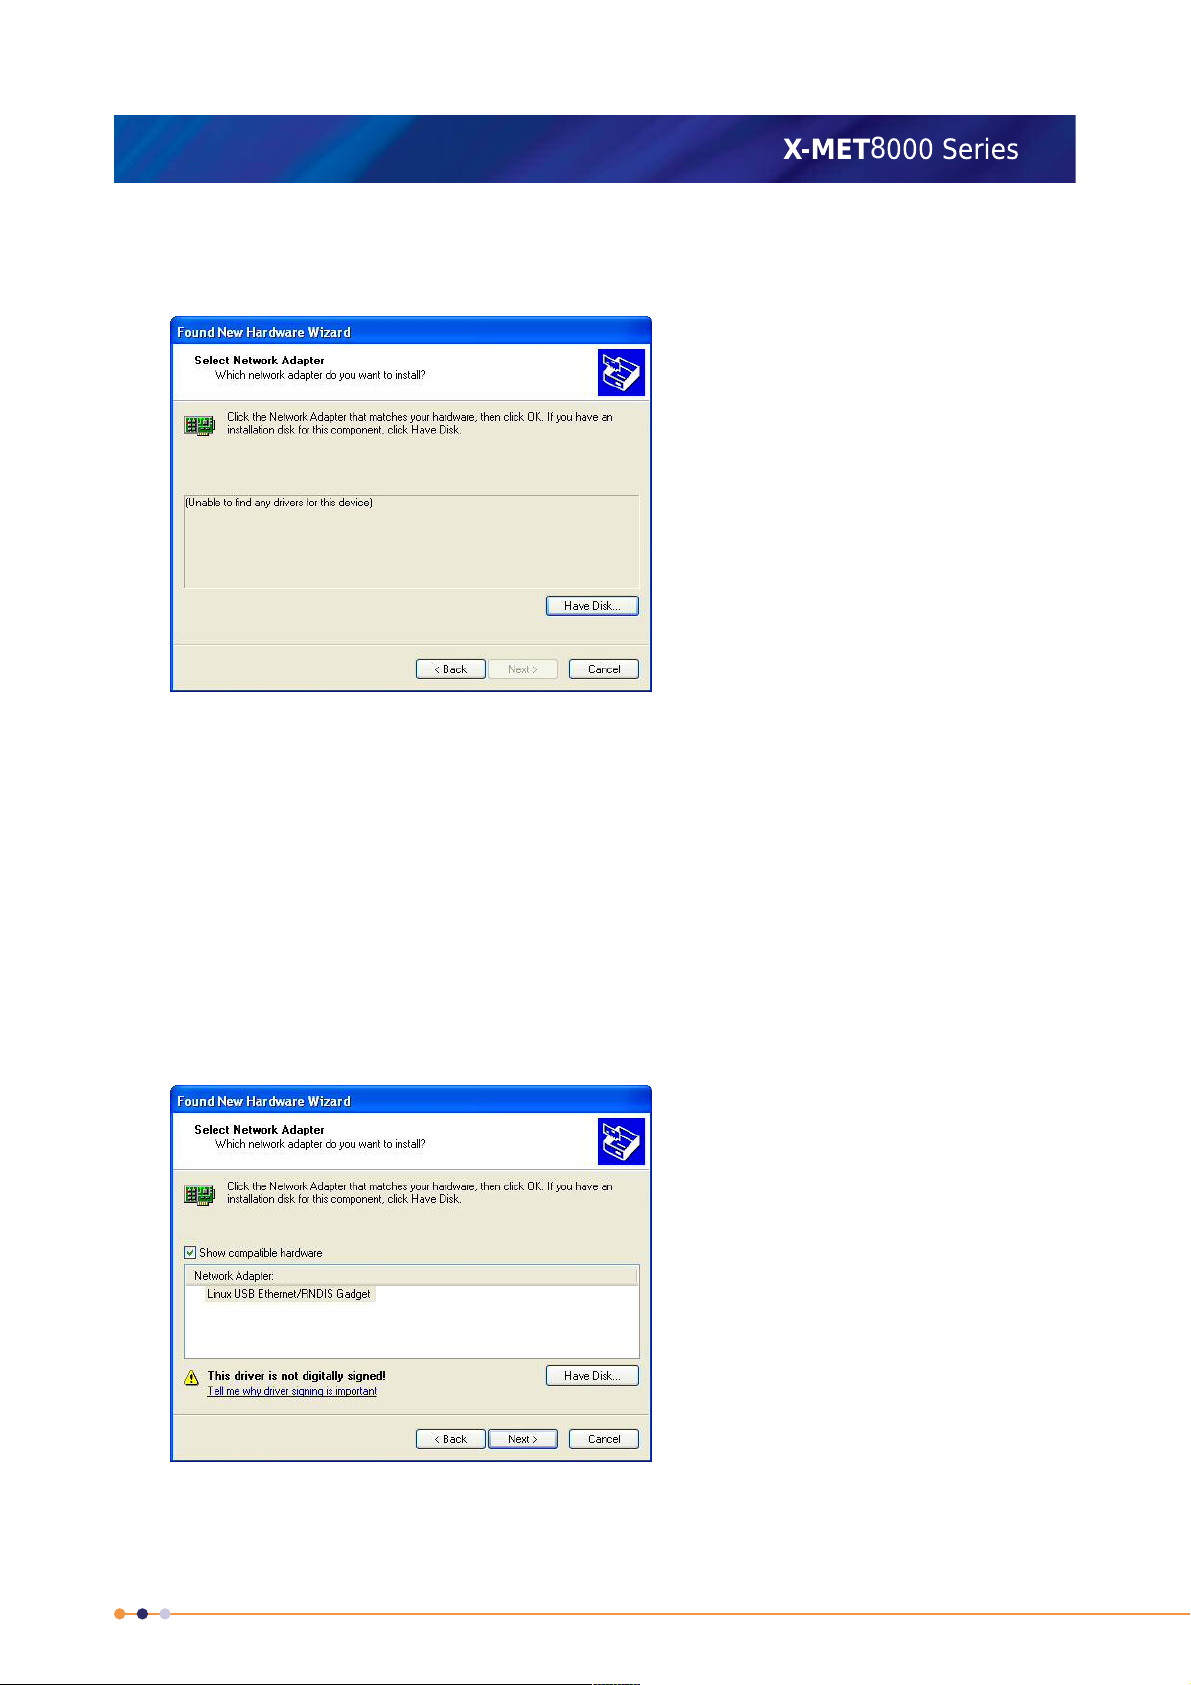
7. Click Have Disk..., and then click Next.
An Install From Disk dialog box appears.
8. Click Browse....
An Install From Disk dialog box appears.
9. Select the USB memory device drive from the Locate File dialog box.
10. Select one of the following, as applicable for the operating system:
• Windows XP 32 driver
• Windows XP 64 driver
11. Click Open to return to the Install From Disk dialog box.
12. Click OK to return to the Found New Hardware Wizard screen.
217
 Loading...