

Oxford E2002, E3002, E30001, E12001, E6000 Instruction Manual
Oxford
E Series
Instruction Manual

E Series User Manual
1. Introduction . . . . . . . . . . . . . . . . . . . . . . . . . . . . . . . . . . . . . . . . . . . . . . . . . . . . . . . . . . . . . . . . . .1
2. Unpacking . . . . . . . . . . . . . . . . . . . . . . . . . . . . . . . . . . . . . . . . . . . . . . . . . . . . . . . . . . . . . . . . . . .1
3. Parts name and function . . . . . . . . . . . . . . . . . . . . . . . . . . . . . . . . . . . . . . . . . . . . . . . . . . . . . . .1
4. Setting up . . . . . . . . . . . . . . . . . . . . . . . . . . . . . . . . . . . . . . . . . . . . . . . . . . . . . . . . . . . . . . . . . . .3
4-1. Setting up your balance . . . . . . . . . . . . . . . . . . . . . . . . . . . . . . . . . . . . . . . . . . . . . . . . . . . . . . . .3
4-2. Power source . . . . . . . . . . . . . . . . . . . . . . . . . . . . . . . . . . . . . . . . . . . . . . . . . . . . . . . . . . . . . . . .3
5. Operation . . . . . . . . . . . . . . . . . . . . . . . . . . . . . . . . . . . . . . . . . . . . . . . . . . . . . . . . . . . . . . . . . . . .4
5-1. Turning the power ON and OFF . . . . . . . . . . . . . . . . . . . . . . . . . . . . . . . . . . . . . . . . . . . . . . . . . .4
5-2. LCD backlight . . . . . . . . . . . . . . . . . . . . . . . . . . . . . . . . . . . . . . . . . . . . . . . . . . . . . . . . . . . . . . . .4
5-3. Units . . . . . . . . . . . . . . . . . . . . . . . . . . . . . . . . . . . . . . . . . . . . . . . . . . . . . . . . . . . . . . . . . . . . . . .5
5-4. Selecting a weighing unit . . . . . . . . . . . . . . . . . . . . . . . . . . . . . . . . . . . . . . . . . . . . . . . . . . . . . . .6
5-5. Basic operation . . . . . . . . . . . . . . . . . . . . . . . . . . . . . . . . . . . . . . . . . . . . . . . . . . . . . . . . . . . . . . .6
5-6. Weighing range for the EW-i series . . . . . . . . . . . . . . . . . . . . . . . . . . . . . . . . . . . . . . . . . . . . . . . .7
5-7. Counting mode (pcs) . . . . . . . . . . . . . . . . . . . . . . . . . . . . . . . . . . . . . . . . . . . . . . . . . . . . . . . . . 8
5-8. Percent mode (%) . . . . . . . . . . . . . . . . . . . . . . . . . . . . . . . . . . . . . . . . . . . . . . . . . . . . . . . . . . . . 9
6. Calibration . . . . . . . . . . . . . . . . . . . . . . . . . . . . . . . . . . . . . . . . . . . . . . . . . . . . . . . . . . . . . . . . . .10
6-1. Calibration using a weight . . . . . . . . . . . . . . . . . . . . . . . . . . . . . . . . . . . . . . . . . . . . . . . . . . . . . .11
7. Functions . . . . . . . . . . . . . . . . . . . . . . . . . . . . . . . . . . . . . . . . . . . . . . . . . . . . . . . . . . . . . . . . . . .12
7-1. Key operation . . . . . . . . . . . . . . . . . . . . . . . . . . . . . . . . . . . . . . . . . . . . . . . . . . . . . . . . . . . 12
7-2. Entering the function setting mode . . . . . . . . . . . . . . . . . . . . . . . . . . . . . . . . . . . . . . . . . . . . 13/14
7-3. Function List . . . . . . . . . . . . . . . . . . . . . . . . . . . . . . . . . . . . . . . . . . . . . . . . . . . . . . . . . .15/16
8. Specifications . . . . . . . . . . . . . . . . . . . . . . . . . . . . . . . . . . . . . . . . . . . . . . . . . . . . . . . . . . .17
8-1. E series . . . . . . . . . . . . . . . . . . . . . . . . . . . . . . . . . . . . . . . . . . . . . . . . . . . . . . . .17
8-2. Dimensions . . . . . . . . . . . . . . . . . . . . . . . . . . . . . . . . . . . . . . . . . . . . . . . . . . . . . . . . . . . . . . . .18
Contents
E Series User Manual
GB 4
This manual describes how this balance works and how to get the most out of it in terms of
performance.
All E series balances have the following features:
• The E series are high resolution type electronic balances having a resolution of 1/6,000 ~ 1/30,000.
• Both series have almost same functions like counting function, % function and comparator function.
• The backlight LCD will help in low light conditions
• The standard serial interface of RS-232C can be connected with a printer or personal computer.
• Using the serial interface, Good Laboratory Practice (GLP) data can be obtained.
• With the optional rechargeable battery pack (OP-09), the balance can be used for cordless operation.
Introduction
1
Unpacking
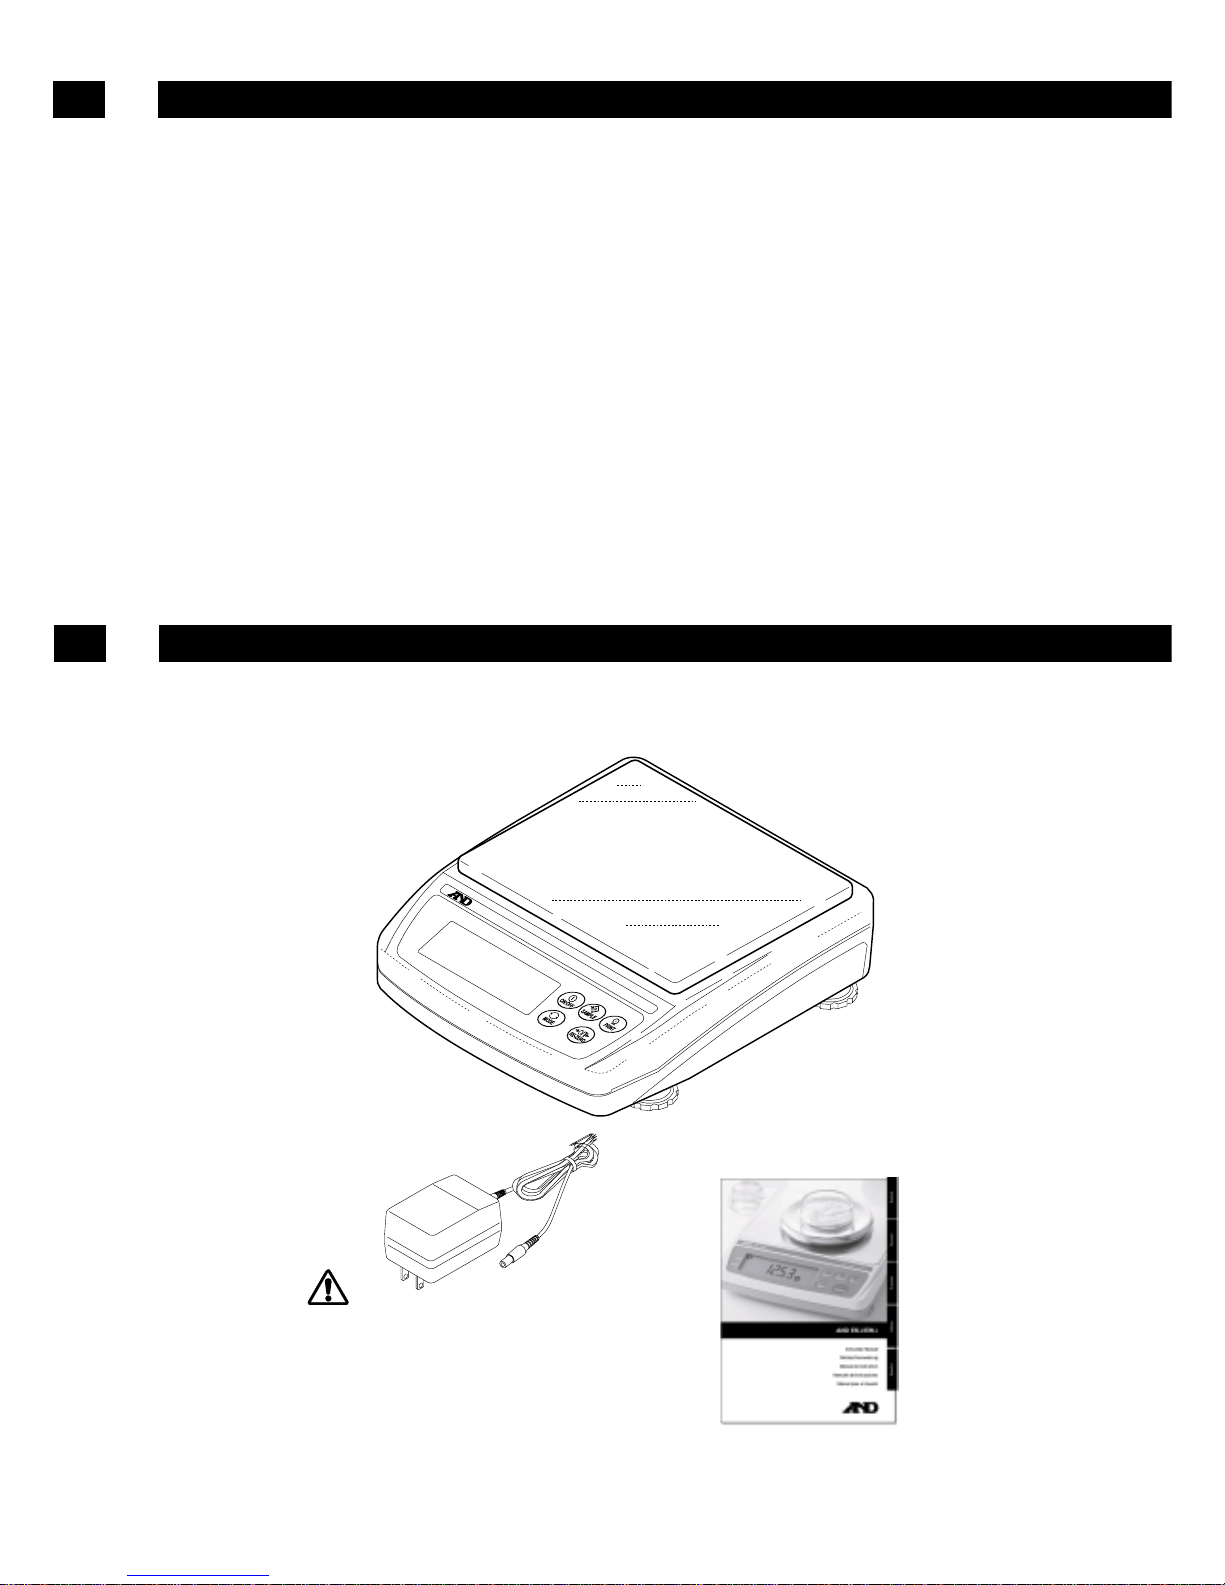
2
Instruction manual
AC adapter
Please confirm that the AC adapter type is
correct for your local voltage and receptacle
type.
Main unit
NET
ZERO
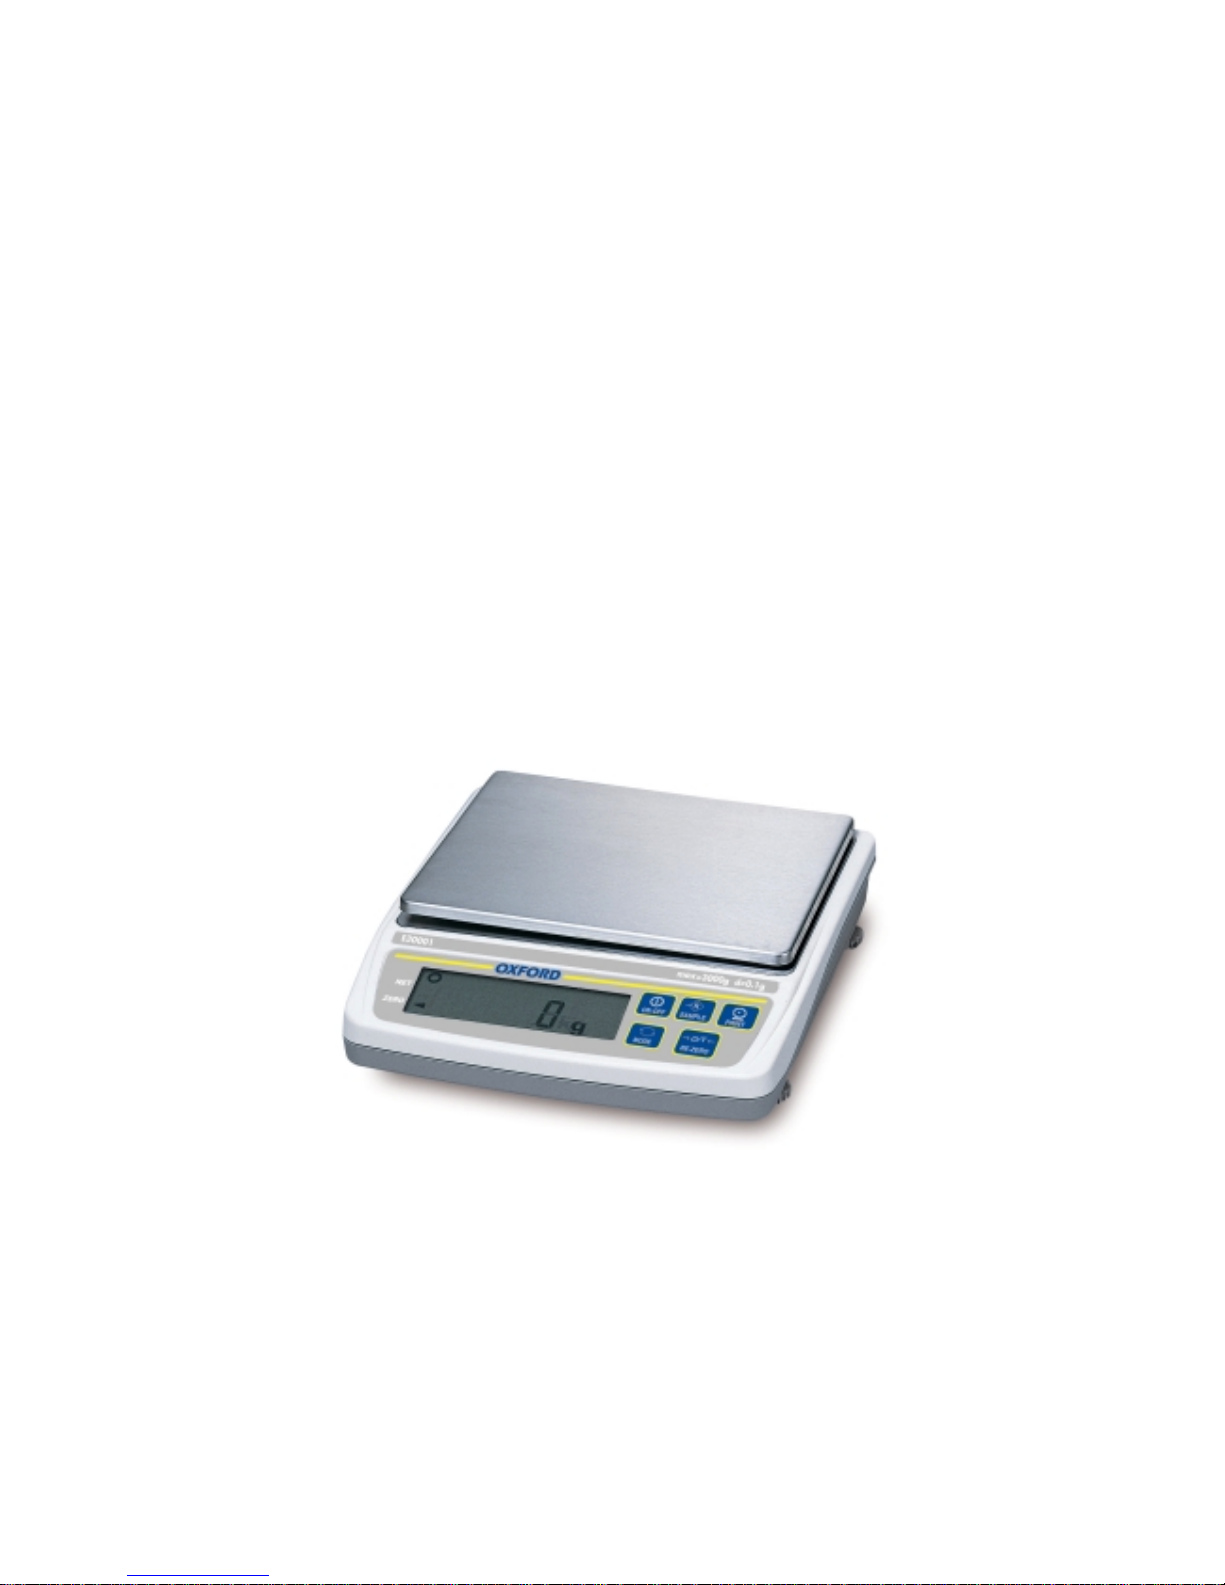
Max 1200g d=0.1g
English
2
Parts name and function
3
Used to turn the power on or off.
Hold down to enter the function
setting mode.
Weighing mode (EW-i only):
Changes the weighing range
(when rng 0 is selected).
pcs mode:
Enters the sample unit weight
storing mode.
% mode:
Enters the 100% weight
storing mode.
Outputs the weight value to a
printer.
Switches the weighing unit
(the weighing mode).
Clears the display to zero.
NET
ZERO
Max 1200g d=0.1g
Weighing range indicator
ACAI mark
Comparator results
Units
Stability mark
LCD display
ON/OFF key
MODE key
RE-ZERO key
PRINT key
SAMPLE key
Weighing pan
Leveling foot
Spirit level
OP-04/09 slot
AC adapter jack
RS-232C
Calibration
switch cover

E Series User Manual
3
Setting up
4
4-1. Setting up your balance
1. Place the weighing pan on the main unit as shown on the previous page.
2. Adjust the level of the balance using the leveling feet. Use the spirit level to confirm. The bubble should
be in the center of the circle.
3. Calibrate your balance before use. (See “6. Calibration”)
Balance location
To measure correctly, to keep the balance in good conditions, and to prevent hazards, observe the
following
• Do not install the balance in locations that are subject to dust, breeze, vibration, large temperature
fluctuations, condensation or that may have a magnetic field.
• Do not install the balance on a surface that is soft or that may cause the balance level to shift.
• Do not install the balance in direct sunshine.
• Do not install the balance near heaters or air conditioners.
• Do not use an unstable AC power source.
• Do not install the balance in a place where combustible or corrosive gases may exist.
• Allow the balance to reach equilibrium with the ambient temperature before use.
• Switch the power ON at least half an hour before use so that the balance can warm up.
• When the balance is installed for the first time, or the balance has been moved, carry out calibration
as described in “7. Calibration.”
4-2. Power source
For the power source, the AC adapter or the rechargeable battery pack (OP09-i Optional item)
is available.
When using the AC adapter
Use a stable power source. To use the AC adapter, insert the AC adapter plug into the AC adapter jack
When using the rechargeable battery pack (OP-09)
Insert the rechargeable battery pack into the main unit.
The balance can be used continuously for about 9 hours using the battery pack.
• If “Lb0” is displayed when using the battery pack, immediately stop using it, and recharge
the battery pack or use the AC adapter.
• Be sure to charge the battery pack before using it for the first time.
4
Operation
5
5-1. Turning the power ON and OFF
1. Press the ON/OFF key to turn the power ON.
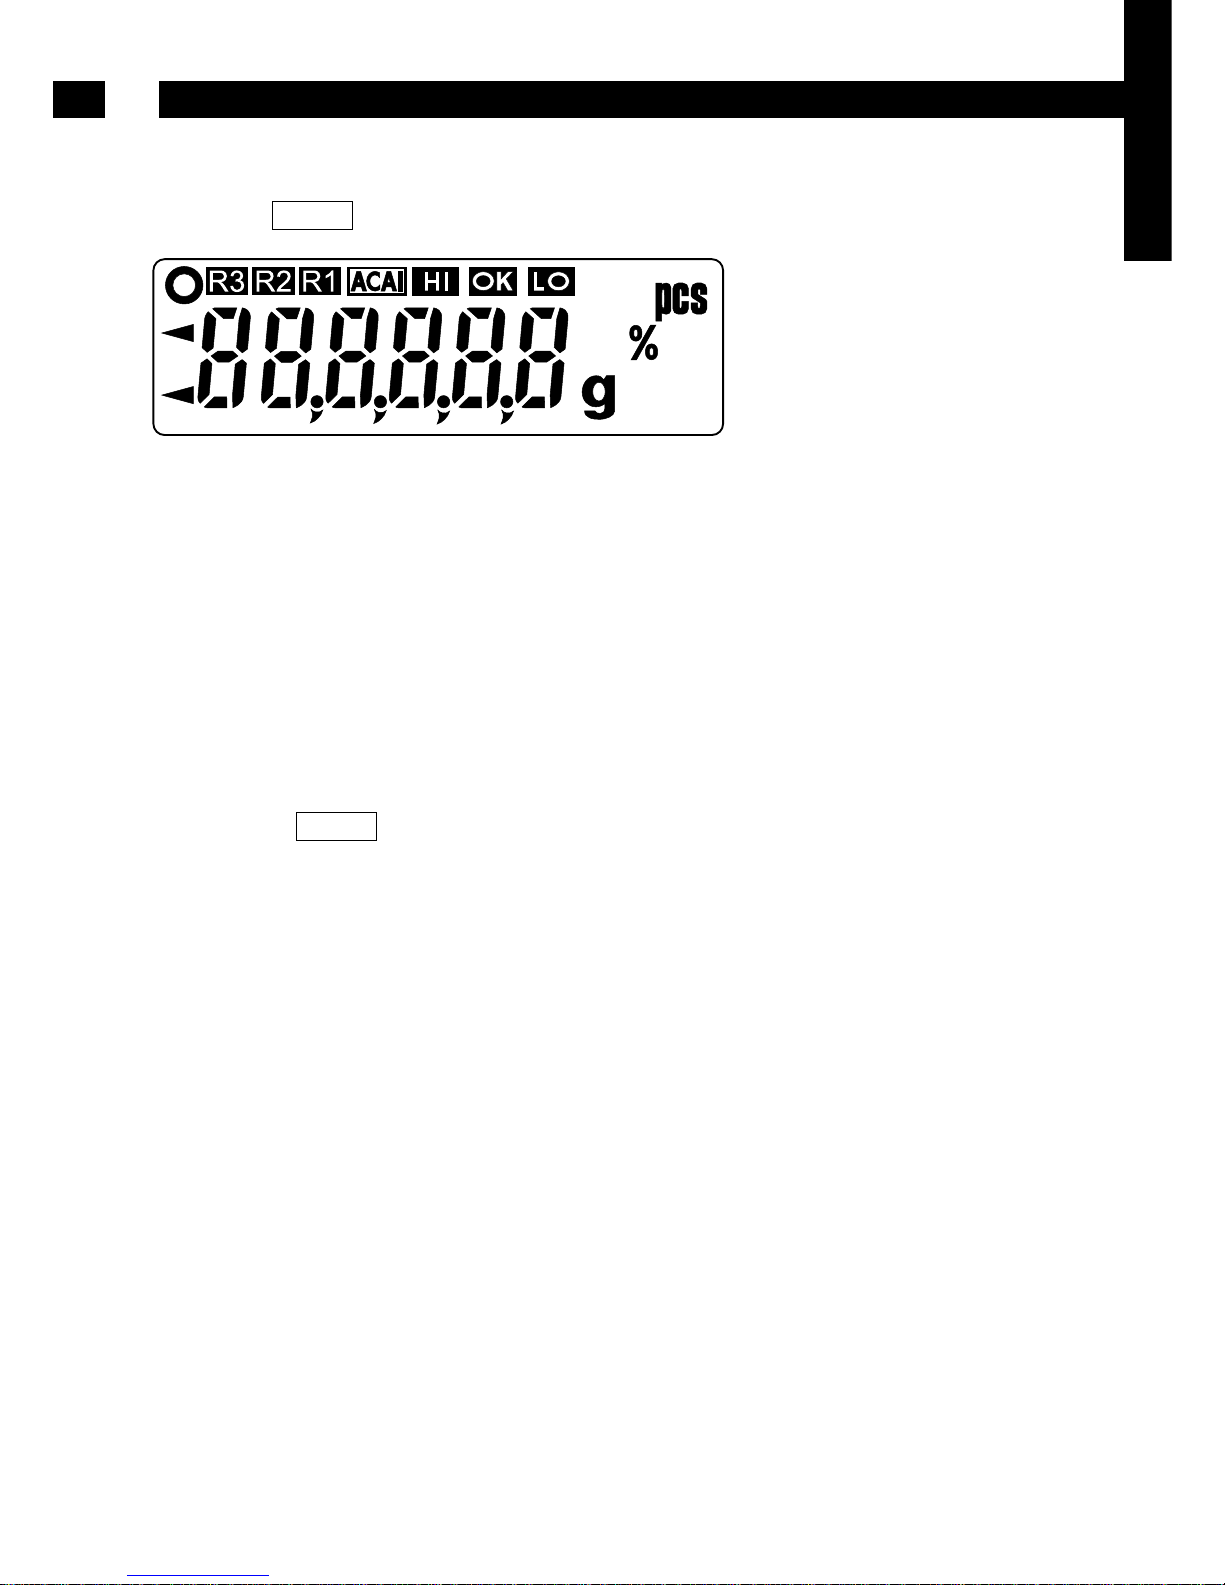
All the display symbols are displayed as shown above.
(About units: Only the units available illuminate.)
When the weighing value internally becomes stable, the display turns off except for a weighing unit and a
decimal point.
The balance waits for the weighing data to become stable, and zero will be shown with the ZERO mark
(power-on zero).
The range for power-on zero is within ±10% of the weighing capacity around the calibrated zero point.
If the power is switched ON while there is a load beyond this range, the balance is tared to zero and the
NET mark and the ZERO mark turn on.
2. Pressing the ON/OFF key again, and the power will be switched OFF.
• Auto-power off function
It is possible to have the power automatically switched OFF, if zero is displayed for
approximately 5 minutes. See “8-5. Function list” and set the function “poff”.
5-2. LCD backlight
The LCD backlight will turn on when the weight value changes more than 4 display digits or any key
operation is done. When the weight data becomes and stays stable for some time, it will automatically
turn off. There is also a setting that will make the backlight always stay on or off. For details, see the
function setting “Ltup” of “Function list”.
 Loading...