

Page 1
INSTALLATION INSTRUCTIONS
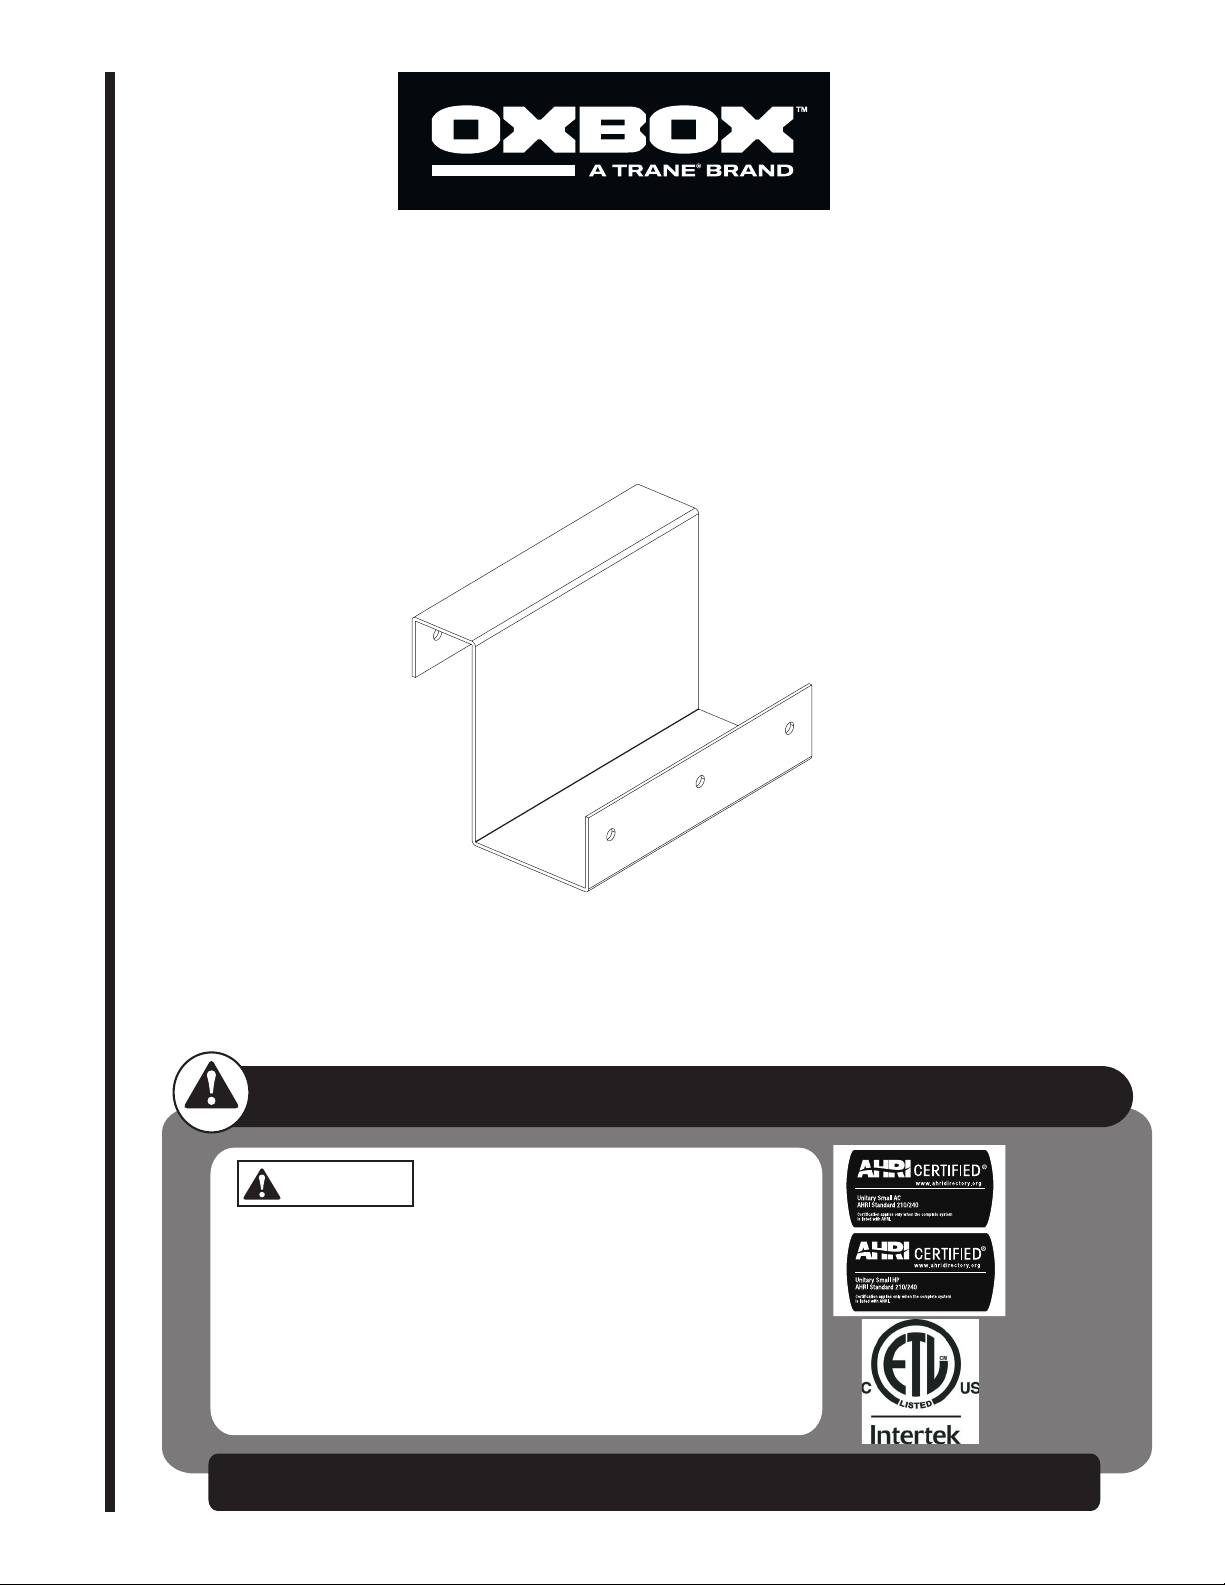
Extreme Condition Curb Mounting Kit
JAYEXMK001A For Mounting on Full Perimeter Curbs
BX-SVN-JAYEXMK001-1A-EN
RECOGNIZE THIS SYMBOL AS AN INDICATION OF IMPORTANT SAFETY INFORMATION
WARNING
These instructions are intended as an aid to qualified licensed
service personnel for proper installation, adjustment and
operation of this unit. Read these instructions thoroughly before
attempting installation or operation. Failure to follow these
instruction may result in improper installation, adjustment,
service or maintenance possibly resulting in fire, electrical
shock, property damage, personal injury or death.
DO NOT DESTROY THIS MANUAL
Please read carefully and keep in a safe place for future reference by a serviceman.
Page 2
Installer's Guide
WARNING
s
!
CAUTION
Safety Section
HAZARDOUS VOLTAGE!
Failure to follow this Warning could result in property
damage, severe personal injury, or death.
Disconnect all electric power, including remote disconnects before servicing. Follow proper lockout/tagout
procedures to ensure the power cannot be inadvertently energized.
General Data
!
!
s
SHARP EDGE HAZARD!
Failure to follow this Caution could result in personal
injury.
Be careful of sharp edges on equipment or any cuts
made on sheet metal while installing or servicing.
Personal injury may result.
Kit Contents
Items Quantity
Bracket 8
Self drilling #12-3/4 Screws 48
Inspection
Check carefully for any shipping damage. This must be
reported to and claims made against the transportation
company immediately. Any missing parts should be
reported to your supplier at once and replaced with
authorized parts only.
2 BX-SVN-JAYEXMK001-1A-EN
Page 3
Installation Instructions
Packaged Unit
ong Drill Screws
#12 x 3/4”
Drill Screws
Kit provided
(3 per bracket
connec
JAYCURB001A
BRACKETS
Installer's Guide
These instructions are organized for an easy step-by
step procedure.
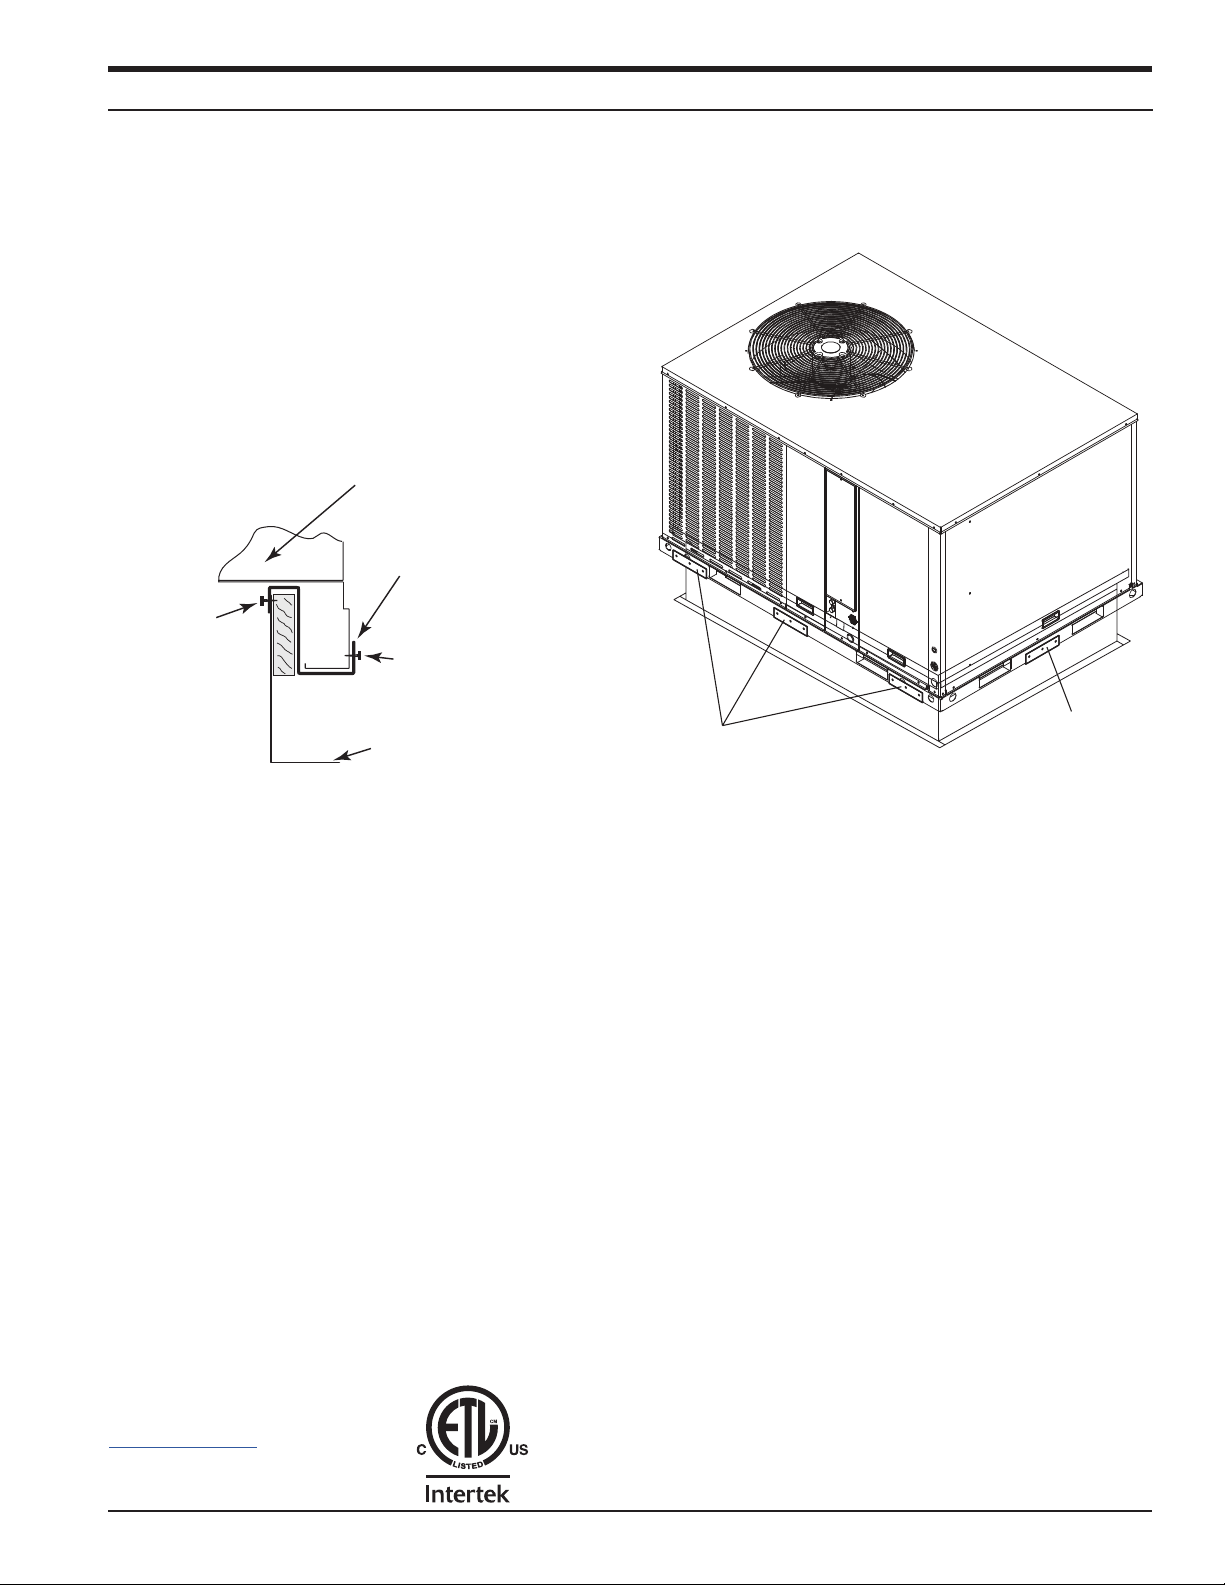
1. Prior to setting the packaged unit onto the curb,
attach the eight (8) brackets to the curb flange.
There will be three (3) brackets on each of the
long sides of the unit and one (1) bracket on each
of the short sides of the unit. Each bracket will
require three (3) of the #12 x 3/4” self drilling screws
supplied in the kit and attach to the curb flange as
shown in Figures 1 and 2.
Figure 1. JAYEXMK001A Installation
Unit Mounted To Full Perimeter Curb
(JAYCURB)
Kit Hold-Down Bracket
(8 places)
Long
#12 x 3/4” L
ting to curb)
Kit provided (3 per bracket
connecting to unit)
Roof Curb
2. Place the packaged unit on top of the curb. Using
three (3) additional #12x3/4” self drilling screws per
bracket, attach the brackets to the unit base rail.
Figure 2. JAYEXMK001A Bracket Locations
HOLD DOWN
HOLD DOWN
BRACKET
NOTE: 3 brackets on each of the long sides and 1
bracket on each of the short sides.
TwentyThreeC, LLC
800 Beaty Street,
Davidson, NC 28036
www.oxboxhvac.com
For more information contact
your local dealer (distributor).
BX-SVN-JAYEXMK001-1A-EN 3
Since the manufacturer has a policy of continuous product and product data
improvement, it reserves the right to change the design and specification
without notice.
© 2019 TwentyThreeC, LLC 03/19
 Loading...