

Page 1
OWC “Value Line” Slim External Optical Enclosure
Assembly Guide
Page 2
Thank you for purchasing your new OWC “Value Line” Slim External Optical
enclosure! This assembly guide will explain how to install your own optical
drive mechanism in just a few easy steps.
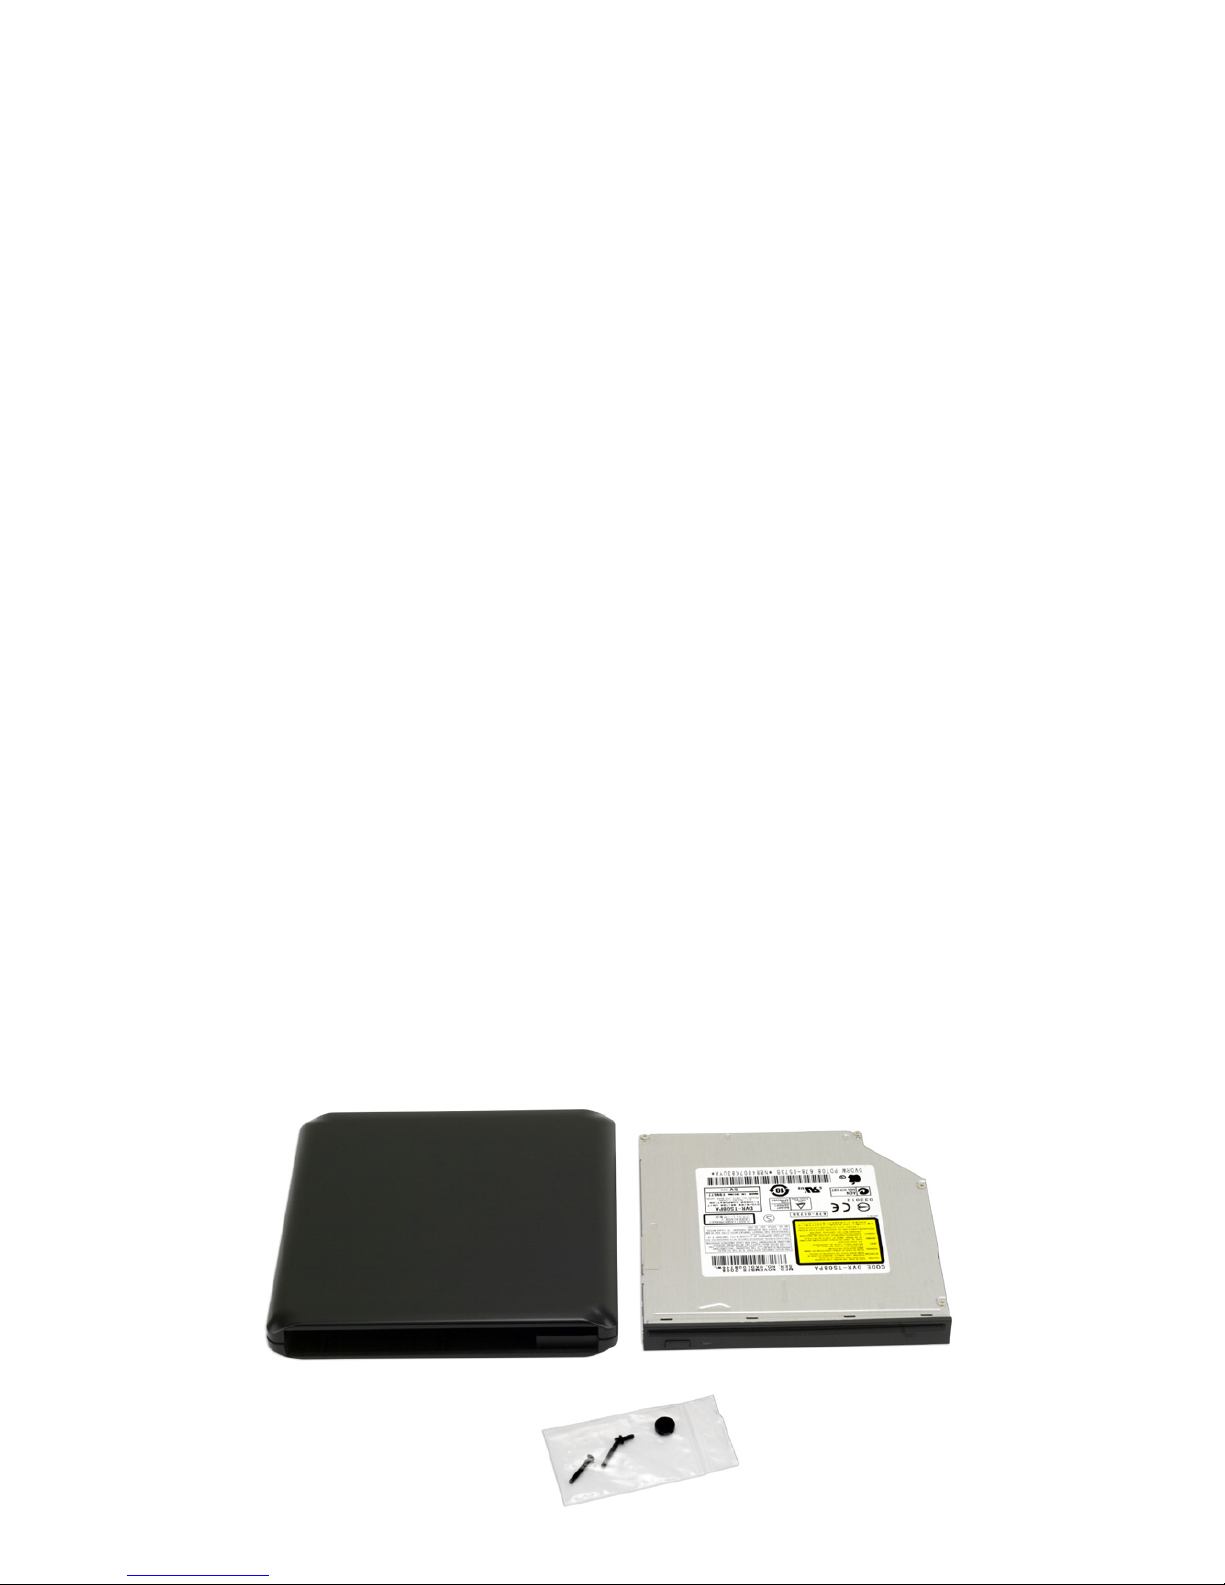
Overview of included items:
• Enclosure body
• USB 2.0 “Y” Cable (not pictured)
• 2 Phillips machine thread screws to attach the drive to the case
• 1 Phillips coarse thread screw to attach the top case to the bottom case
• 4 Rubber feet w/ adhesive
You will need your own 12.7mm slimline optical drive, either a slot loading
mechanism or a tray loading model. The mechanism shown below is a slot
loading unit, along with it’s front bezel. Assembly of the slot loading mechanism is more involved than tray loading models, instructions for slot loading
mechanism are below. If you have a tray loading model, you can skip the next
2 paragraphs as there is no bezel to install.
Attachment of the front bezel will dier depending on the model of optical
drive you install, but most simply snap onto the front of the optical drive, using a series of clips to lock onto the drive mechanism. Use care when attaching
the bezel, it is very easy to accidentally misalign one of the locking clips and
you can bend or break them.
Before continuing, make sure that the front bezel is fully attached and centered on the drive mechanism. There should be at least 2 attachment points
on the top, bottom, and sides each, either in the form of clips or indentations
that hold the bezel centered on the mechanism.
Page 3

Remove the top cover of the enclosure by sliding it towards the rear - it will
unlock and lift o.
Slide the drive mechanism through the front opening of the bottom enclosure
until it is fully inserted into the bridge card and is ush with the front of the
drive opening.
Assembly Instructions:
Place the top of the enclosure back onto the bottom, and sliding from the rear,
lock it in place to the bottom of the enclosure.
Page 4

Place the top of the enclosure on the bottom, and sliding from the rear, lock it
in place to the bottom of the enclosure.
Insert the 2 long screws through the back of the enclosure, and while holding
the drive mechanism in from the front, tighten the screws fully to secure the
drive mechanism into the enclosure.
Turn the enclosure over so you can see the bottom side. Insert the short Phillips screws through the enclosure, into the top cover you just installed, and
tighten. Finally, place the included rubber feet on the bottom of the enclosure.
To connect the external optical enclosure to your computer, attach the
included USB “Y” cable to the USB mini B port and the USB A connector to your
computer. Depending on the drive mechanism you installed, and the power of
your USB port, you may need to connect the second USB A connector from the
included USB “Y” cable to another USB port on your computer. A second option would be to purchase a separate standalone power supply - available at:
http://eshop.macsales.com/search/OWCMOTGPWR
Most customers will not need either the “Y” cable or a standalone power cable
but will be able to use the enclosure with any mini B USB to standard A USB
cable.
We hope you enjoy your new external storage device!
Copyright ®2010 Other World Computing All Rights Reserved. Other World Computing’s 1 year Limited Warranty is not transferable and subject to limitations.
OWCMANVLS2ASY
 Loading...