

MERCURY HELIOS 3
Assembly Manual & User Guide

CONTENTS
Introduction
1.1 Minimum System Requirements ............................................1
1.1.1 Apple Mac Requirements
1.1.2 PC Requirements
1.1.3 PCIe Card Drivers
1.2 Package Contents .................................................................1
1.3 About This Manual .................................................................1
1.4 Front View ..............................................................................3
1.5 Rear View ...............................................................................3
1.6 Usage Notes ..........................................................................4
Device Setup
2.1 Assembly ...............................................................................5
Support Resources
3.1 Troubleshooting .....................................................................8
3.2 Contacting Technical Support ...............................................8
OWC Mercury Helios 3
OWC Mercury Helios 3
Table of Contents
INTRODUCTION
1.1 Minimum System Requirements
1.1.1 Apple Mac Requirements
• Any Mac with a Thunderbolt ™ 3 host port *
• macOS 10.12.1 or later
Note: Mac computers with Thunderbolt or Thunderbolt 2 host ports can connect to the Helios 3 using the
Thunderbolt 3 to Thunderbolt 2 adapter from Apple.
1.1.2 PC Requirements
• Any PC with a Thunderbolt 3 host port
• Windows 10 or later
• (Boot Camp supported)
1.1.3 PCIe Card Drivers
• PCIe card must operate without a driver or have a Thunderbolt-aware driver. Please visit the manufacturer
web site for driver information. GPUs not supported.
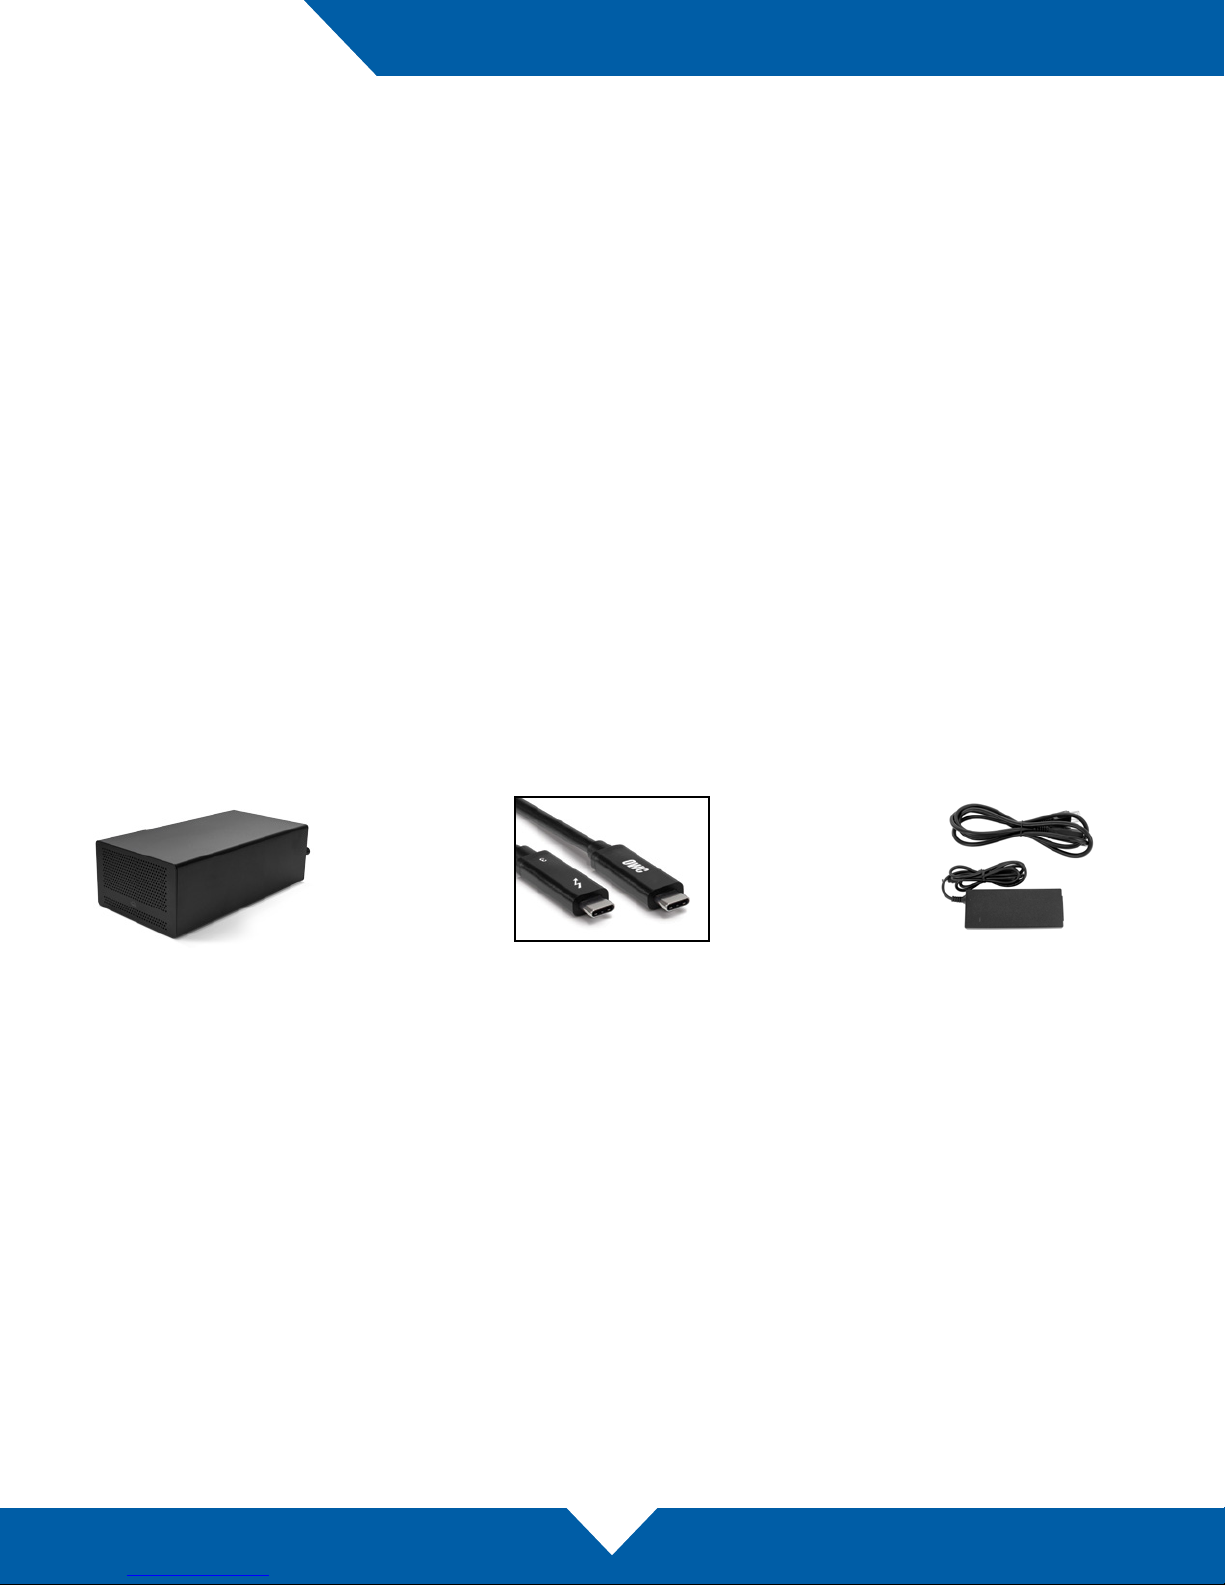
1.2 Package Contents
OWC Mercury Helios 3 Power Supply
Thunderbolt 3 cable
and cable
1.3 About This Manual
The images and descriptions may vary slightly between this manual and the unit shipped. Functions and
features may change depending on the rmware version. The latest product details and warranty information
can be found on the product web page. OWC’s Limited Warranty is not transferable and subject to limitations.
OWC Mercury Helios 3
1
Introduction
General Use Precautions
To avoid damage, do not expose the device to temperatures outside: 32º — 95º F
(operating) or -40º — 149º F (non-operating)
Always unplug the device from the electrical outlet if there is a risk of lightning or if it will
be
unused for an extended period of time. Otherwise, there is an increased risk of electrical
shock, short-circuiting or re.
Do not use the device near other electrical appliances such as televisions, radios or
speakers. Doing so may cause interference which will adversely aect the operation of
the other products.
Do not place objects on top of the device.
Protect your device from excessive exposure to dust during use or storage. Dust can
build up inside the device, increasing the risk of damage or malfunction.
Do not block any ventilation openings on the device. These help to keep the device cool
during operation. Blocking the ventilation openings may cause damage to the device and
cause an increased risk of short-circuiting or re.
Safety Precautions
Read this user guide carefully and follow the recommended steps for assembly.
Use proper anti-static precautions while installing the PCIe card into this drive enclosure.
Failure to do so can cause damage to the card and/or the chassis.
Do not attempt to modify the device. To avoid any risk of electrical shock, re, short-
circuiting or dangerous emissions, never insert any metallic object into the device. If it
appears to be malfunctioning, please contact technical support.
Never expose your device to rain, or use it near water or in damp or wet conditions.
Never place objects containing liquids on the drive, as they may spill into its openings.
Doing so increases the risk of electrical shock, short-circuiting, re or personal injury.
OWC Mercury Helios 3
2
Introduction

1.4 Front View
1. Power LED — emits a solid white light when the
Mercury Helios 3 is powered on.
1.5 Rear View
1
1. DC IN — connect the included power supply here.
2. Mini DisplayPort — connect a compatible
display to this port (including displays with a Mini
DisplayPort adapter).
3. Thunderbolt 3 ports — attach the included
Thunderbolt 3 cable to one of these ports.
Connect a daisy-chained Thunderbolt 3 device
(including a second display) to the other port as
needed.
1
2 3
OWC Mercury Helios 3
3
Introduction

1.4 Usage Notes
• The OWC Mercury Helios 3 is designed to support PCIe cards with the following maximum dimensions:
• Half Length (HL)
• Full Height (FH)
• Double Width (DW)
• The Helios 3 is not compatible with OWC Mercury Accelsior Pro Q SSDs.
• Supports PCIe 3.0 x16 cards (x4 link speed)
• Backward-compatible with PCIe 2.0 or 1.x cards
• PCIe card must operate without a driver or have a Thunderbolt-aware driver.
• Graphics cards (GPUs) are not supported.
• The auxiliary power connector (mounted on the back of the circuit board, right side), provides up to 30W
additional power for cards that require it.
• Supports single or dual display congurations via Thunderbolt 3 and/or mini DisplayPort
• When using dual displays: supports one display up to 4K @ 60Hz and a second display up to 1080p
@ 60Hz
• Mini DisplayPort does not support DP++. An active adapter is required for use with HDMI and DVI
displays.
OWC Mercury Helios 3
4
Introduction

DEVICE SETUP
2.1 Assembly
Please follow the steps below to install a PCIe card in the OWC Mercury Helios 3.
The Helios 3 and your PCIe card are static-sensitive devices.
They are susceptible to invisible damage if not protected during
installation. For proper grounding, we recommend using a grounding
strap. Work in a clean, static-free area, and avoid wearing clothing
that retains static charges. Please visit this URL for more information:
www.owcdigital.com/anti-static
1. Loosen the thumbscrews on the rear panel
until they spin freely. These are captive screws;
they cannot be removed.
2. Set the Helios 3 on its side, then grip the front
grill and pull the inner-chassis so that it slides
out of the outer-enclosure.
3. Set the inner chassis on a working surface, with
the rear ports oriented to the left, as shown.
OWC Mercury Helios 3
5
Device Setup

4. Remove the screw (shown at right) which holds the
PCIe slot cover in place, then remove the PCIe slot
cover and set both items aside. Remove both slot
covers if the PCIe card is a double-width card.
5. Install the PCIe card. Line up the connectors on
the card with the PCIe slot (highlighted in red), and
make sure that the edge of the metal bracket on
the PCIe card lines up with the slot in the bottom
of the Helios 3. The card shown is an example of
a single-width, half-length, half-height card. Your
card’s dimensions and appearance may dier.
6. Once the PCIe card is fully seated, the PCIe
bracket will sit ush with the opening on the back
of the inner-chassis. Take the screw you removed
in Step 4 and secure the PCIe card bracket to the
Helios 3.
OWC Mercury Helios 3
6
Device Setup

7. Slide the inner-chassis back into the outerenclosure as shown above.
8. When the inner-chassis is fully seated into the
outer-enclosure, tighten the thumbscrews on
the rear panel. Press each screw in toward the
enclosure, then twist clockwise while still applying
pressure. Keep twisting until you feel increased
resistance. This completes the assembly process.
OWC Mercury Helios 3
7
Device Setup

SUPPORT RESOURCES
3.1 Troubleshooting
Many problems can be traced back to an improperly seated PCIe card or card compatibility issues (such as
those which are not supported by the operating systems required by the OWC Mercury Helios 3, or cards which
have drivers that are not Thunderbolt 3 aware).
First disconnect the power and any connected data or display cables, then open the Helios and check the
seating of the PCIe card. Make sure it sits ush in the PCIe slot. If the card is seated properly, the issue may be
related to the Thunderbolt 3 cable. Try using the Helios 3 with a dierent Thunderbolt 3 cable.
If you’re still having trouble, please contact technical support.
3.2 Contacting Technical Support
Phone: M–F, 8am–5pm CST
(866) 692-7100 (N. America) | +1 (815) 338-4751 (Int’l)
Chat: M–F, 8am–8pm CST
www.owcdigital.com/support
Email: Answered within 48 hours
www.owcdigital.com/support
OWC Mercury Helios 3
8
Support Resources

Changes:
The material in this document is for information purposes only and subject to change without notice. While reasonable eorts have been made in the
preparation of this document to assure its accuracy, OWC, its parent, partners, aliates, ocers, employees, and agents assume no liability resulting
from errors or omissions in this document, or from the use of the information contained herein. OWC reserves the right to make changes or revisions
in the product design or the product manual without reservation and without obligation to notify any person of such revisions and changes.
FCC Statement:
Warning! Modications not authorized by the manufacturer may void the user’s authority to operate this device.
NOTE: This equipment has been tested and found to comply with the limits for a Class B digital device, pursuant to Part 15 of the FCC Rules.
These limits are designed to provide reasonable protection against harmful interference in a residential installation. This equipment generates, uses
and can radiate radio frequency energy and, if not installed and used in accordance with the instructions, may cause harmful interference to radio
communications. However, there is no guarantee that interference will not occur in a particular installation. If this equipment does cause harmful
interference with radio or television reception, which can be determined by turning the equipment o and on, the user is encouraged to try to correct
the interference by one or more of the following measures:
• Reorient or relocate the receiving antenna.
• Increase the separation between the equipment and receiver.
• Connect the equipment to an outlet on a circuit dierent from that to which the receiver is connected.
The OWC Mercury Helios 3 is covered by a 3 Year OWC Limited Warranty. For up-to-date product and warranty information, please visit the product
web page.
Copyright and Trademarks:
No part of this publication may be reproduced, stored in a retrieval system, or transmitted in any form or by any means, electronic, mechanical,
photocopying, recording or otherwise, without the prior written consent of OWC.
© 2017 OWC. All rights reserved.
OWC, Mercury Helios, and Mercury Accelsior are trademarks of New Concepts Development Corporation, registered in the U.S. Patent and Trademark Oce and/or in
Canada. The OWC logo is a trademark of New Concepts Development Corporation. Apple, Boot Camp, macOS, and Mac are trademarks of Apple Inc., registered in
the U.S. and other countries. Thunderbolt and the Thunderbolt logo are trademarks of Intel Corporation or its subsidiaries in the U.S. and/or other countries. Microsoft
and Windows are either registered trademarks or trademarks of Microsoft Corporation in the United States and/or other countries. Other marks may be the trademark or
registered trademark property of their owners.
OWC’s Limited Warranty is not transferable and subject to limitations.
Copyright 2017 OWC. All Rights Reserved.
OWCMANHELIOS3R3 07/24/17 DM
 Loading...