

Outdoor GreatRoom Company montego MG-1242-BLSM-K, montego MG-1242-BLK-K Installation Instructions Manual
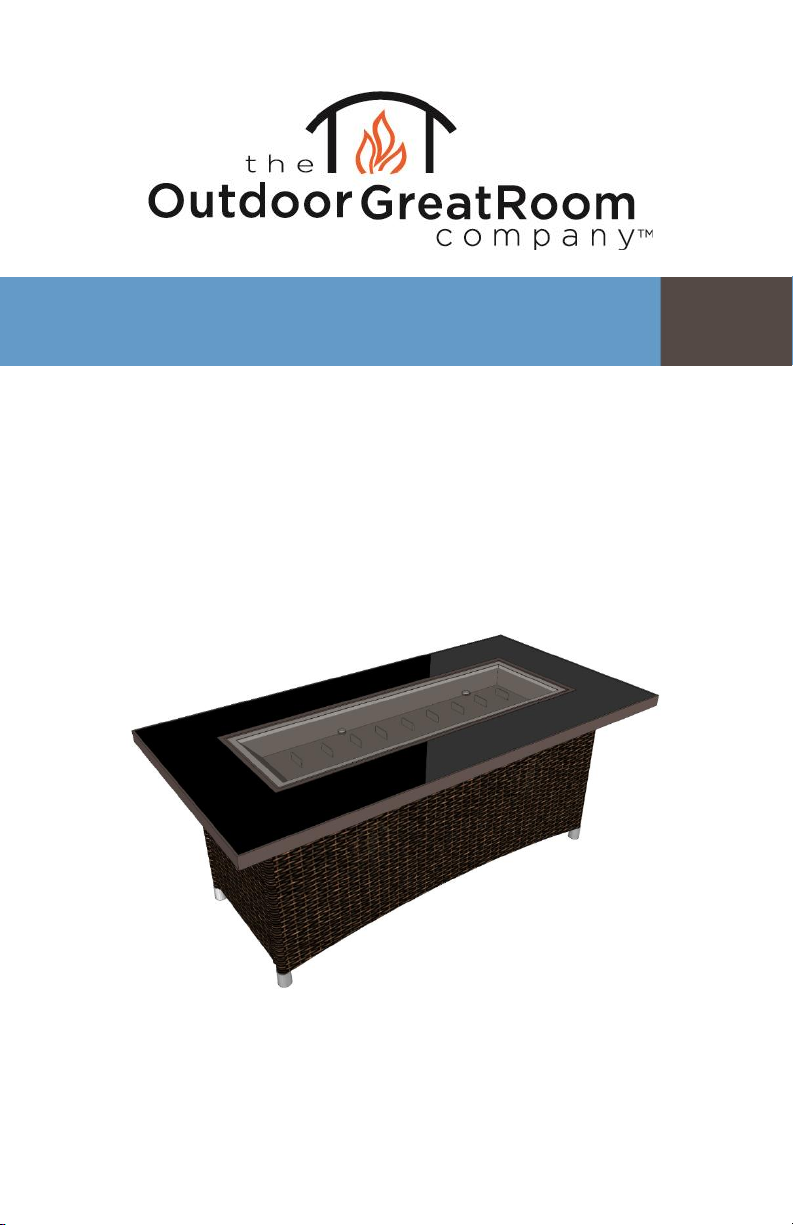
Montego Fire Pit Table
Installation Instructions for Montego Fire Pit Models
MG-1242-BLSM-K and MG-1242-BLK-K
1

Contents
Required Tools
Utility Knife
To cut and remove packaging
2 Open Ended Wrenches
To secure gas connections
Leather Gloves
To protect hands from glass and sharp edges during install
One AAA Battery (not included)
Required for electric spark igniter installation
Two people are required for this
installation
Contents
Required Tools………………………………….........2
Included with your Fire Pit………………………..3
Assembly Instructions……………………………….4
Gas Connections……………………………………….6
Igniter Installation…………………………………….8
Glass Installation………………………………………9
Position Your Tank…………………………………..10
IMPORTANT
Please consult your Crystal Fire instruction manual for detailed
instructions and important information related to hooking up your
linear burner, including safety information, proper tightening of
connections with two wrenches and full burner setup and lighting
instructions.
DO NOT ATTEMPT TO INSTALL CF-1242 BURNER WITHOUT FIRST
CONSULTING THE CRYSTAL FIRE OWNER’S MANUAL.
42449 REV A 11.17.15
Required Tools…………………………….…..2
Included with your Fire Pit……………….3
Assembly Instructions………………….………4
Gas Connections………………………….…….6
Igniter Installation…………….……………...8
Position Your Tank………………………7
Finishing Touches……………………………7
Required Tools
Utility Knife
To cut and remove packaging
2 Open Ended Wrenches
2
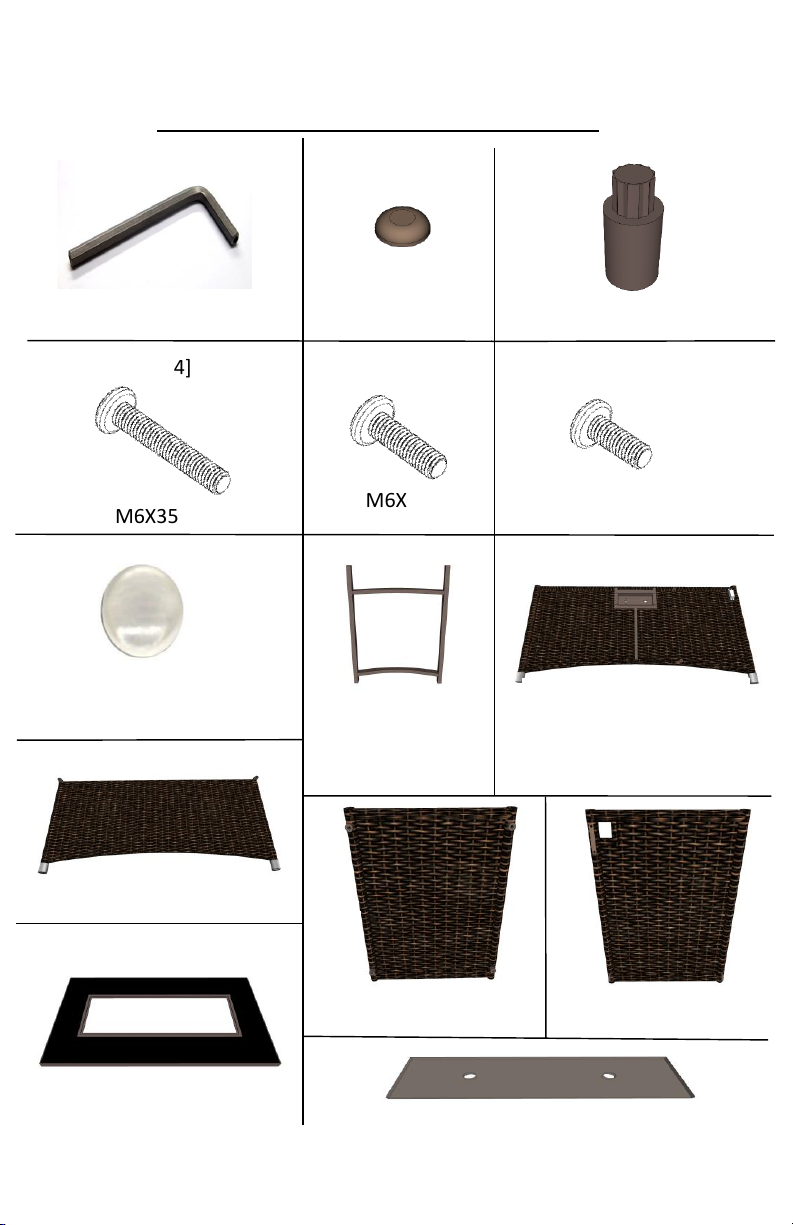
Included with your Fire Pit
Panel C [X 1]
M6 Allen Wrench [X 1]
Bolt Caps [X 4]
TOUCH
UP
PAINT
Touch- Up Paint Bottle [X 1]
M6X35
M6X20
M6X16
Clear Silicone Pads
[X 6]
Center Support
[X 1]
Bottom
Top
Panel A [X 1]
Panel B [X 1]
Access Door [X 1]
Glass Top
Glass Cover
Bolt A [X 4]
Bolt B [X 4]
Bolt C [X 4]
3

Included with your Fire Pit
1. Unpack contents from box, and remove individual packaging from each
piece.
2. Lay Side Panel with Control Panel on soft, flat surface.
3. Position Support Piece on the Side Panel. NOTE: It is very important to
positon the Support Piece as shown in the picture below, to ensure that
your burner and propane tank fit correctly with your fire pit table base.
Assembly Instructions
1. Unpack the fire pit table contents from the box, and remove individual
packaging from each piece.
2. Lay Panel A on soft, flat surface.
3. Position Center Support on Panel A.
NOTE: it is very important to place the Center Support exactly as shown in
the picture below. This will ensure that your burner (and propane tank, if
applicable) will fit correctly with your fire pit table base. (Refer to “Included
with Your Fire Pit” for component details).
NOTE: curve facing
inward toward
Control Panel.
4. Attach Center Support with Bolt A (x2).
A
A
Panel A
A. 4 Fasteners
B. 4 B-Bolts
C. 4 C-Bolts
D. 4 Bolt Caps
E. Touch-Up Paint Bottle
Assembly Instructions
55
4
 Loading...