

Outback TV RV85A, RV60A User Manual
1. Before you begin, please read the following guide lines.
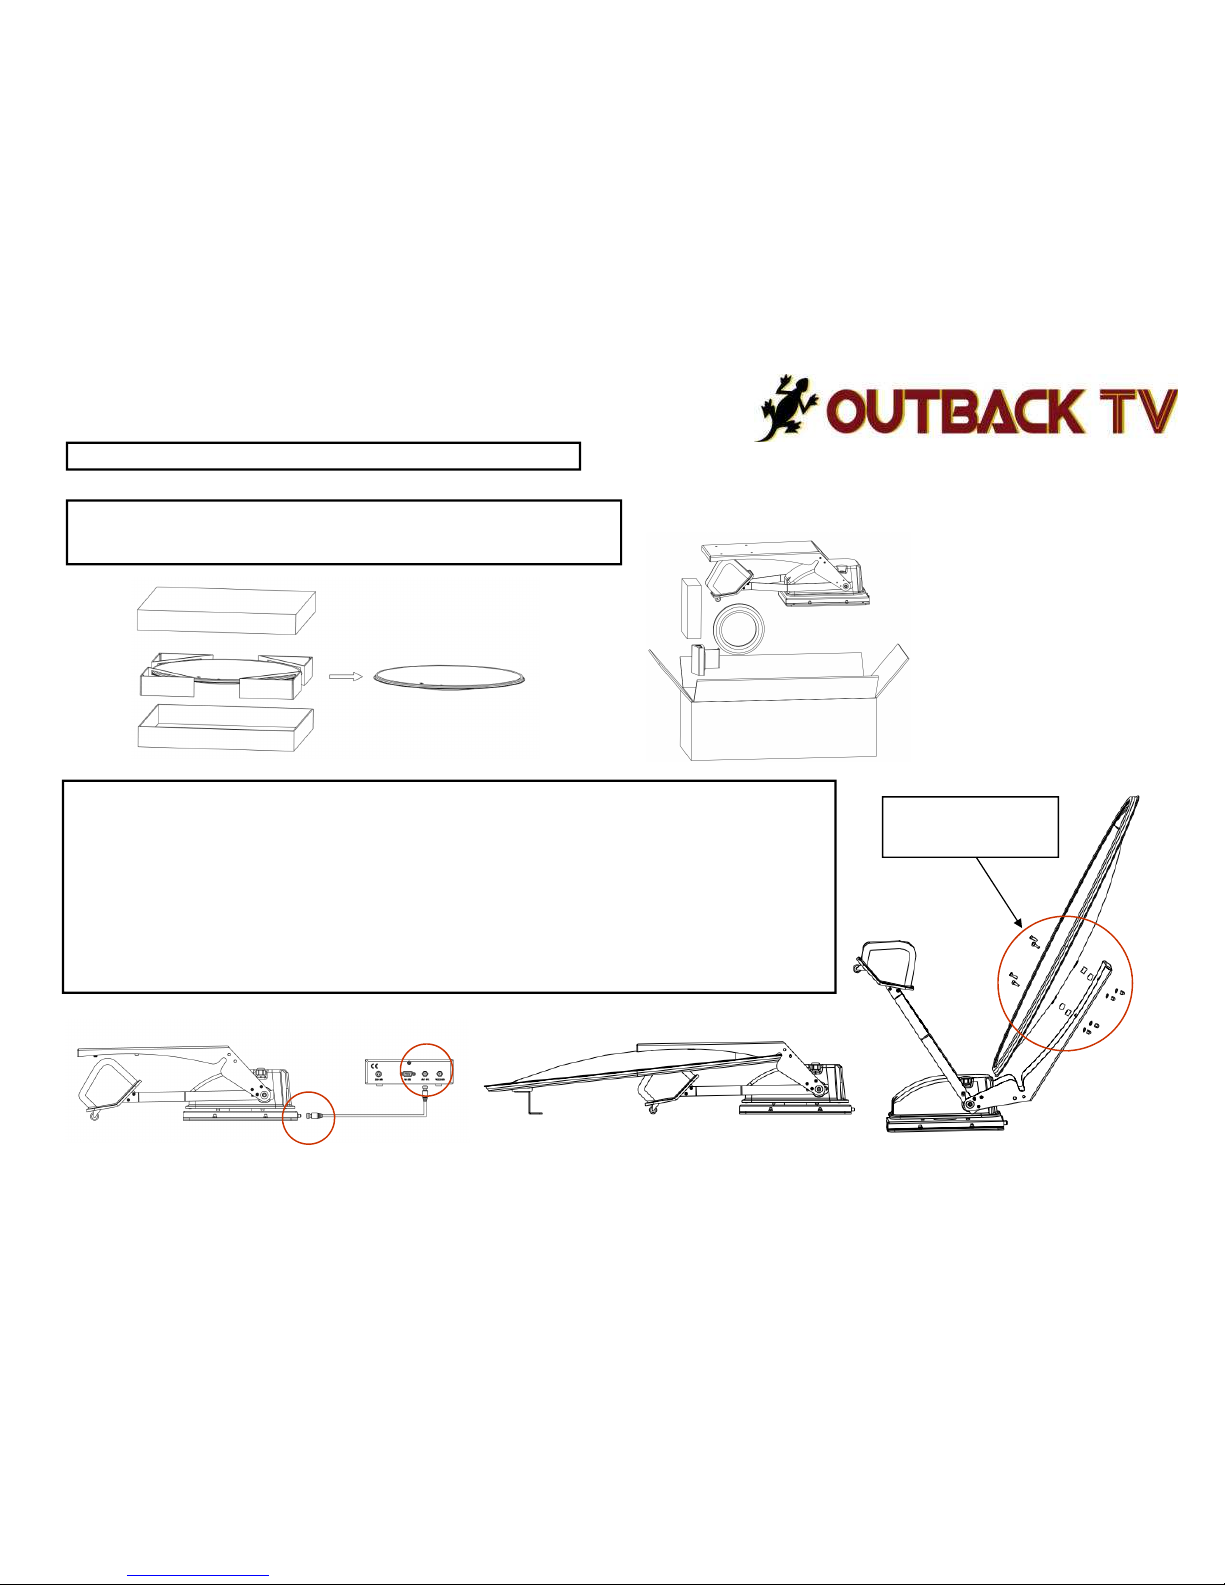
2. Open the Two Boxes
A. Unpack the two boxes carefully.
B. Take out all accessories and check everything is included.
3. Setting up the Antenna.
A. If you have not installed an Outback TV before, it is suggested you setup the system before doing
the final install.
B. Connect the ODU RF1(Out Door Unit) to the IDU RF1 (Indoor Unit) with 8m RG6 Antenna Cable.
C. Connect the Power Cable Red and Black wires, Red + Positive, Black - Negative, to 12/24vDC
D. Power up the antenna and then press DEPLOY.
E. When the bracket is open at a slight angle backwards press PAUSE.
F. Install the Dish using the Allen Key supplied. Making sure the longer bolts and spacers are used
on the top two connections.
G. Press RUN and the antenna will now search and lock on. The northern sky needs to be clear.
Please make sure the base is either screwed down or supported to stop it tilting over.
1
Bolts and Spacers
Longer Bolts and Spacers
on Top two connections
RF1
RF1
2
1. Installation
Once you are confident of the wiring and how the antenna works, it is now time to install
2. Location
Carefully pick an area of the RV roof that is strong and will allow the Antenna to be mounted
as flat and as level as possible. A plate may be needed to be used to strength the area.
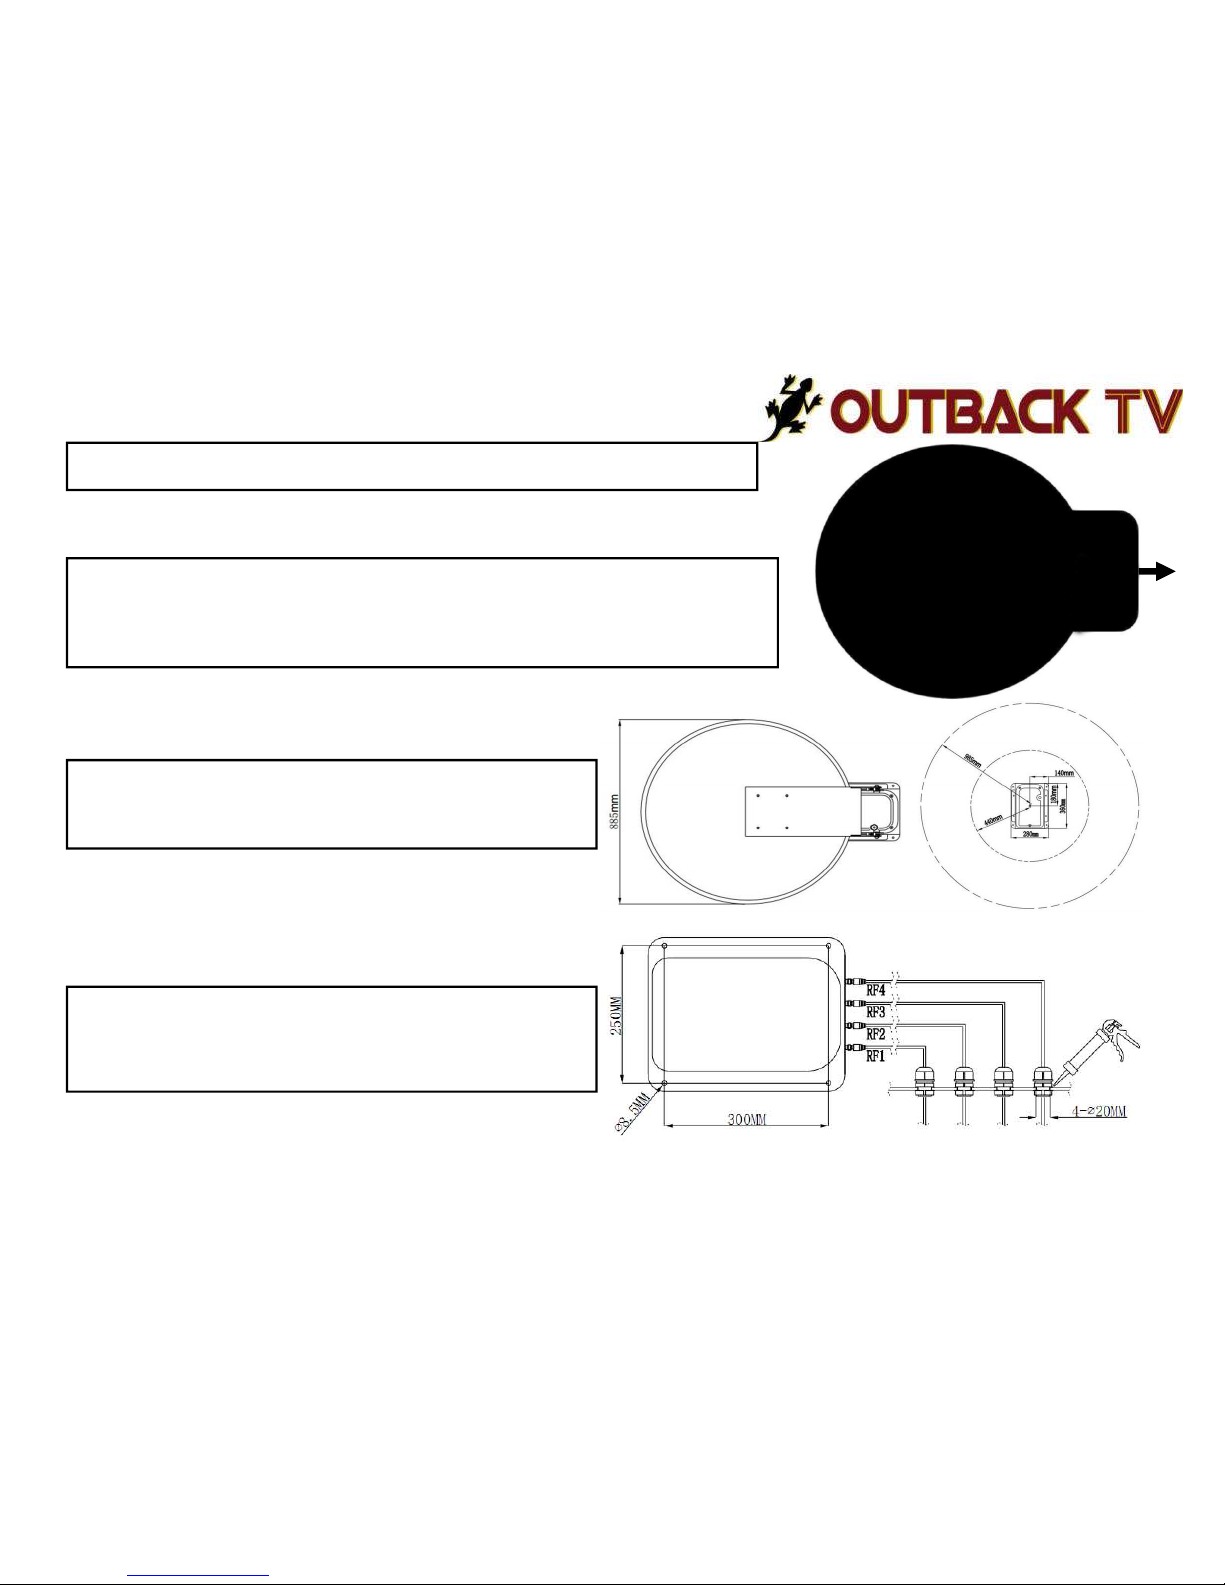
Please note the Direction of Travel, the antenna when stowed must face backwards.
The ODU Antenna needs to
face “Backwards” when
stowed.
Front of RV
3. Clearance of Antenna
The area will need to be large enough to allow full 360 degree rotation
and elevation range, when the antenna is Deployed in the upright position. Clear of all Hatches, Air Conditioners, etc
4. Mounting the Antenna (ODU)
A. Drill the cable access holes and mounting holes to prepare the
site for Installation.
B. Please ensure all screw holes and fixings are sealed with a good
quality sealant to prevent water leaks etc.
 Loading...