

Page 1
Technical Information - ProSeal
ᆼ
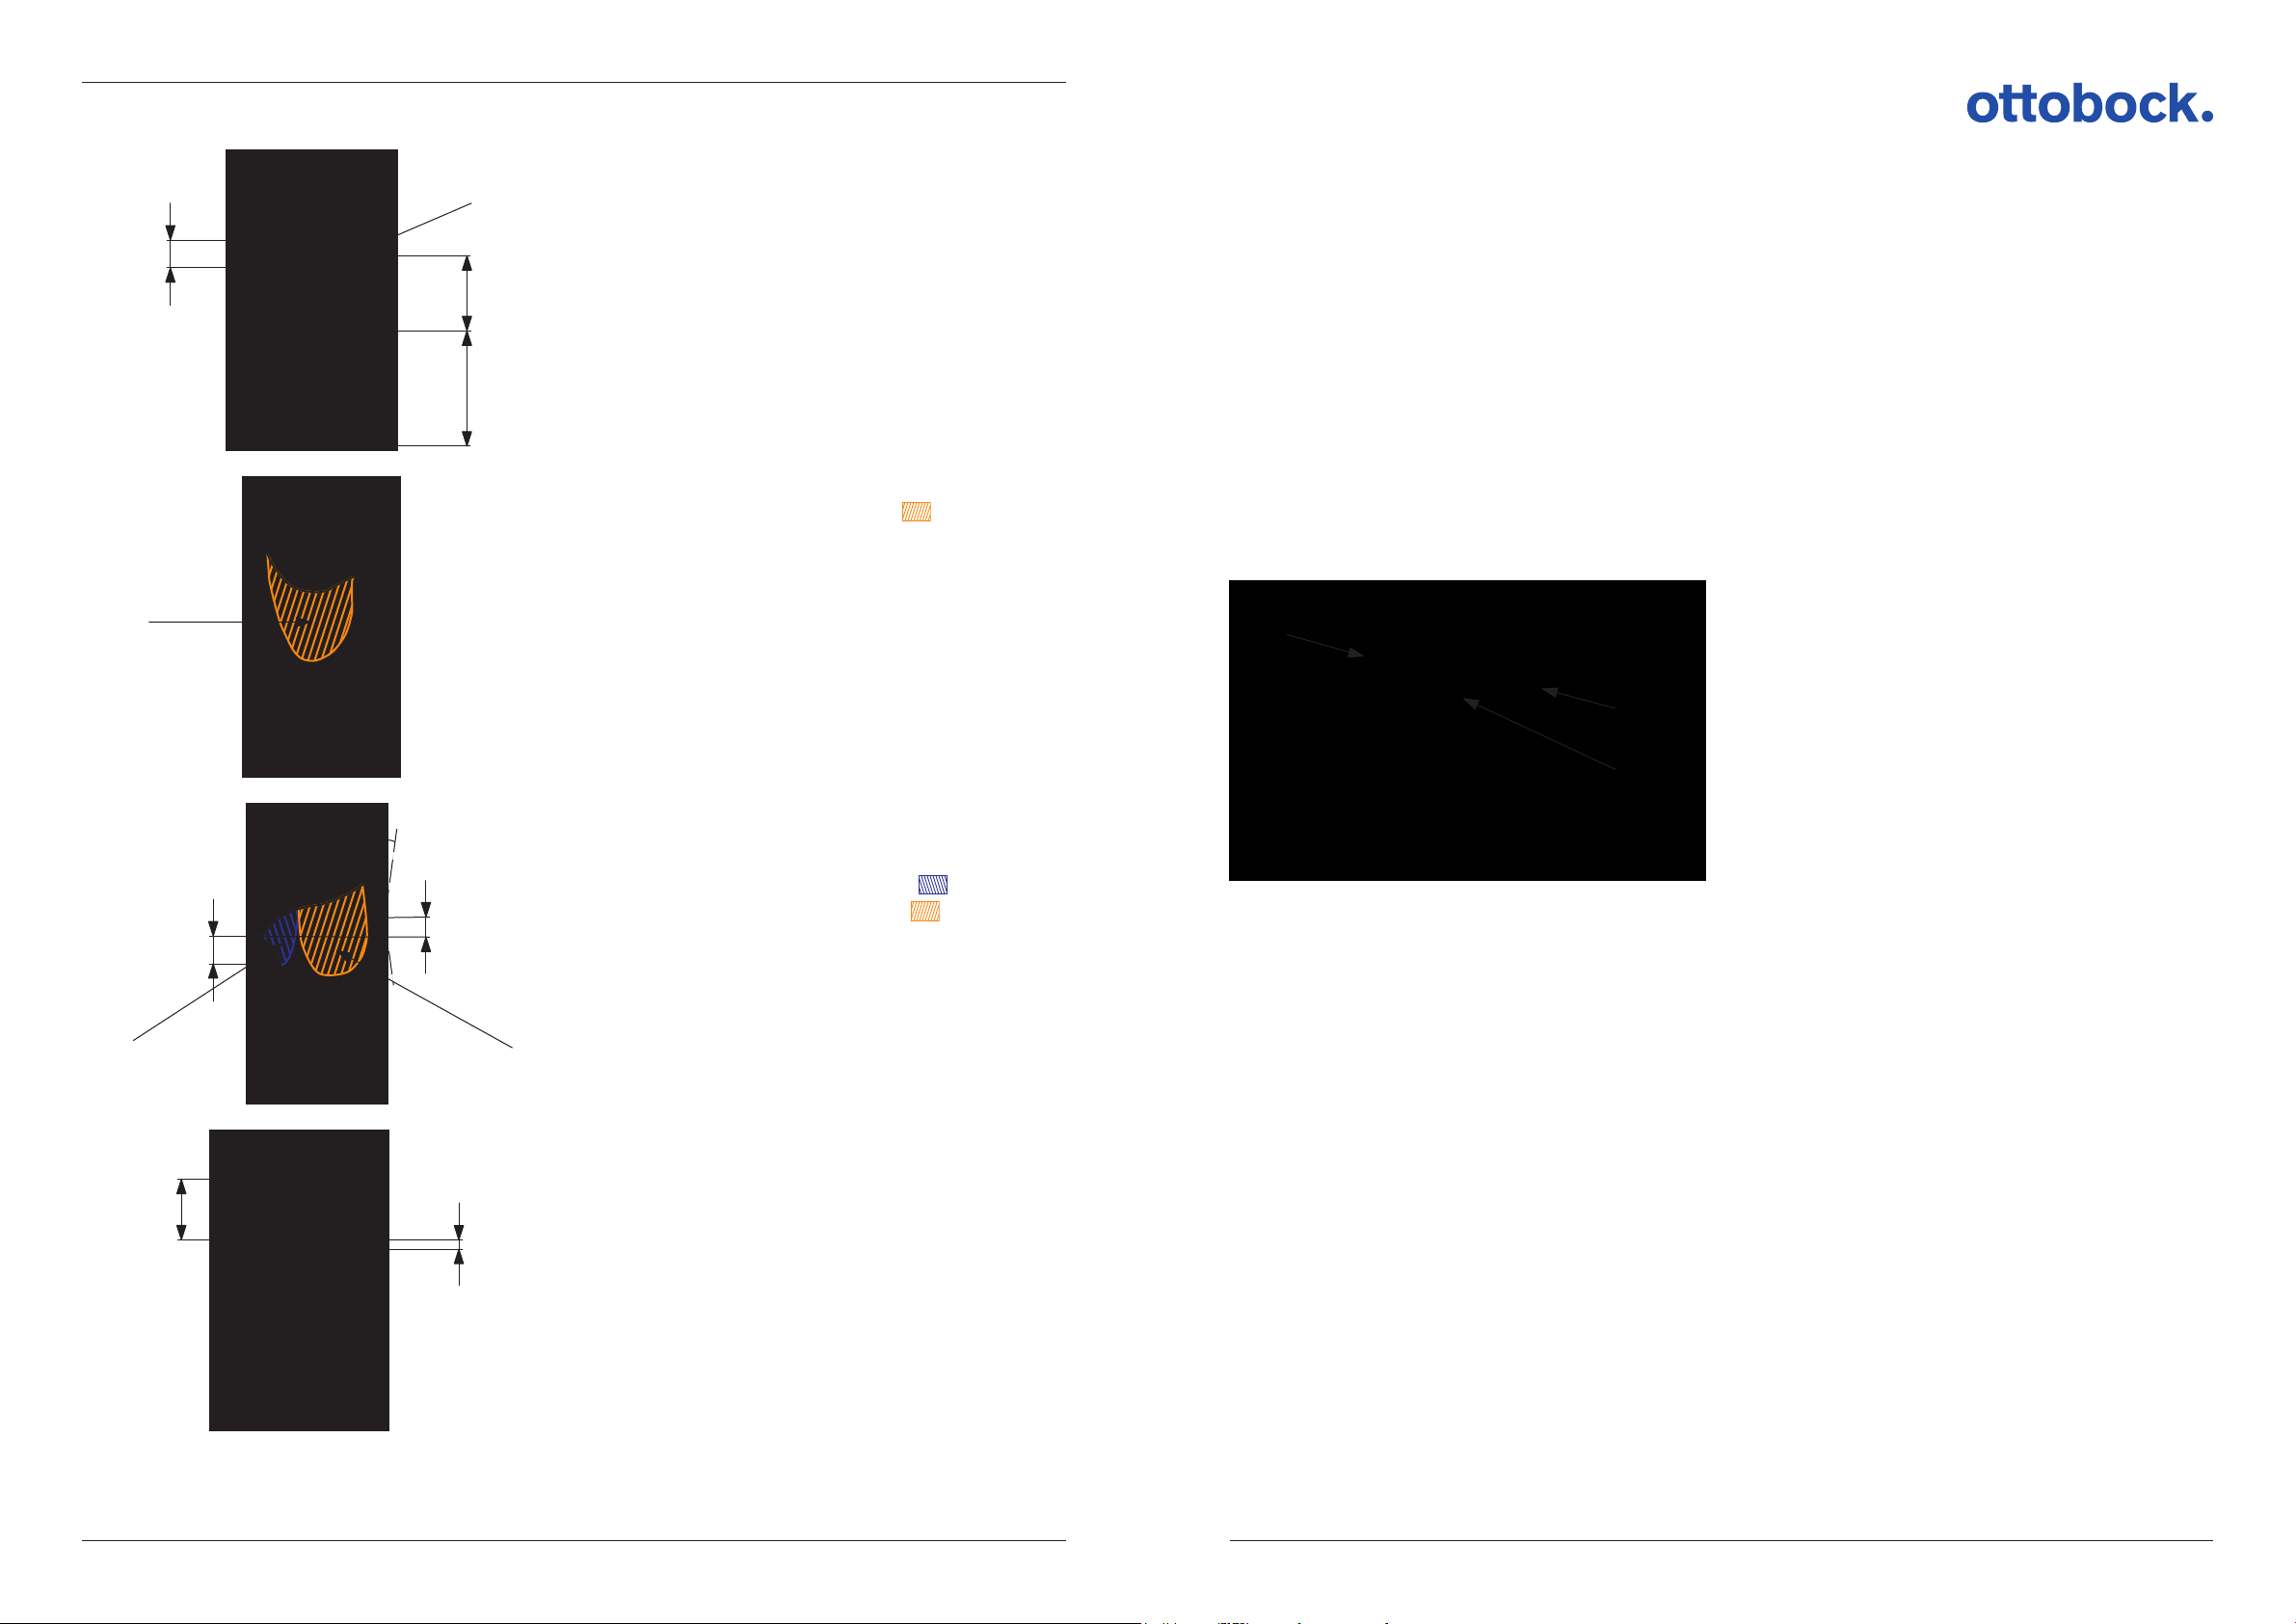
1.2 Modification of the Plaster Model
anteriorposterior
≤ 3 cm
lateral medial
ᆺ
ᆺ
15°
3,5 cm
lateralmedial
≤ 2 cm
ᆼ
anterior posterior
≤ 8 cm
ᆺ
ᆻ
ᆼ
ᆻ
ᆽ
≈ 2 cm
Go through the guidelines listed below:
View from medial:
Socket brim for embedding the ramus and the adductor
tendon is on one level (ᆺ).
Rectify the circumference below the medial socket brim
as described below:
• Proximal area (ᆻ):
Residual limb circumference – max.1cm
• Distal area (ᆼ):
No rectification based on the residual limb meas
urements
View from posterior:
Grind the posterior socket area (ᆺ - ), so that it runs
nearly parallel to the anterior socket area.
View from anterior:
For easy donning of the socket a flat moulding of the
medial socket brim is important (ᆺ - height 3.5cm).
Apply plaster as required accordingly ( ).
Flatten the anterior support area (ᆽ - ).
To protect the end of the femur keep the shape to later
al and posterior done during the 1st stage of the cast.
Max. 2cm between the medial socket brim and the top
of the greater trochanter (ᆻ).
View from lateral:
The anterior shape and posterior shape should be par
allel.
1 Technical Information - ProSeal
1.1 Plaster Cast for a ProSeal Socket
ᆺ
ᆻ
ᆼ
Materials:
• Water basin (754W5)
• Scissors (719G1 or 719G2)
• Copying pencil
• Cotton stockinette - 15 and 30 width
(623T1=15/30)
• Biplatrix plaster bandages - 15 and 20 cm width
(699G20=3X15/20)
• Optional: Measuring tool (for taking measurements
of the residual limb)
Cut the medial brim of the liner so that it runs 1cm
below the perineum.
The lateral brim of the liner is at the same height as the
brim of the prosthetic socket.
Isolate the trimmed and donned liner on the outside
with soap solution.
Pull a cotton stockinette (ᆺ - 15 cm width) over the
residual limb. The distal half of the residual limb
remains without stockinette. Thus the distal part of the
plaster cast will remain very clean on the inner side.
This is important for the modification of the plaster mod
el.
Cut an oval hole in the lower part of another cotton
stockinette (30 cm width). The donned stockinette
serves as a protection layer against the plaster (ᆻ).
The cut hole serves as a reference line for the trim line
in the posterior area below the gluteus musculature (
- finger).
Take measurements of the residual limb and document
them.
IMPORTANT: Measure the 1st residual limb circumfer
ence measurement 3cm below the perineum. This
measurement is crucial for modification of the plaster
model.
4 | Ottobock
© Ottobock · 647G932=EN-01-1206
ProSeal
© Ottobock · 647G932=EN-01-1206
Ottobock | 1ProSeal
Page 2

Technical Information - ProSeal
Technical Information - ProSeal
Plaster the residual limb by circular wrapping up to the
level of the trochanter.
To protect the distal end of the femur shape the end of
the limb in the lateral and posterior direction.
ᆺ
ᆻ
Place a 4-layer plaster splint (longuette, 20 cm width) at
top of the 1st stage to cast the level of the socket
entrance. Make sure, that the ischial tuberosity and the
lateral socket brim are included.
Cast the ischial tuberosity from frontal (ᆺ) by placing
your hand in lifting 45°, moving towards the residual
limb by 45° (ᆻ) and finally tipping the hand by 45° (ᆼ).
ᆼ
To shape the limb correctly place the hand coming from
lateral to posterior horizontal above the end of the
femur. Shape a slight support area.
Final result of the 1st stage of the cast.
Place the second hand flat on the femur, directly below
the greater trochanter.
2 | Ottobock
© Ottobock · 647G932=EN-01-1206
ProSeal
© Ottobock · 647G932=EN-01-1206
Ottobock | 3ProSeal
 Loading...