

Otter Outdoors Rear Sled Hitch Receiver User Manual
Rear Sled Hitch Receiver Instructions Item 200064 (0403)
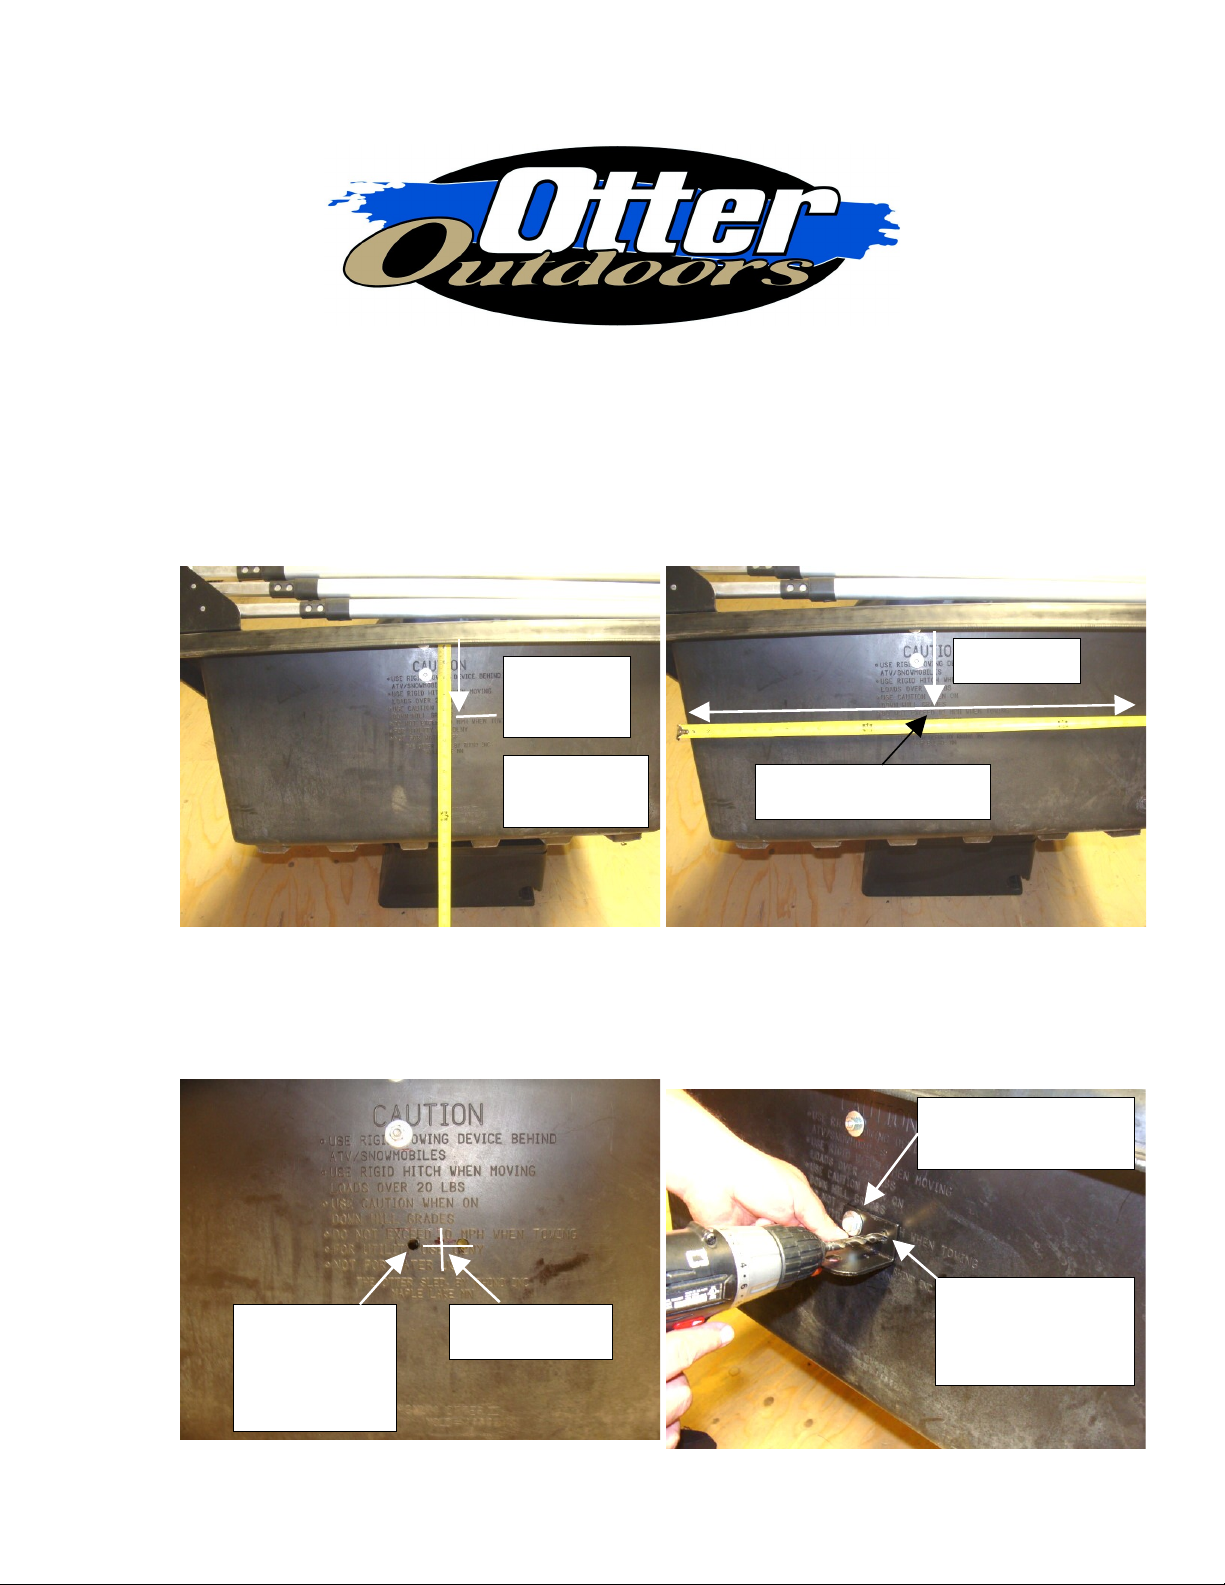
drill hole ¾”
from the
center point
1. At the rear of the Otter Pro sled measure down 7” from the underside of the lip at the
approximate center. For the Otter Wild sled measure down 8”. Place a mark at this spot.
Now measure the width of the sled where the mark is and mark the center point. In this
case the sled is 32” wide, 7” down from the lip, so the center point is at 16”.
7” down
Otter Pro
8” down
Otter Wild
2. From the center point measure 3/4” to the left and place a mark. Drill a hole at that
mark using an 11/32” drill bit or just over 5/16”. Place the hitch receiver into position
and put a 5/16 bolt through the receiver and the hole. Lightly tighten into place. Make
sure the receiver is level and then drill out the second hole.
Find the center point
7” down
Insert bolt and
lightly tighten here
Drill second hole
Center pointMark and
here thru the
hole in receiver
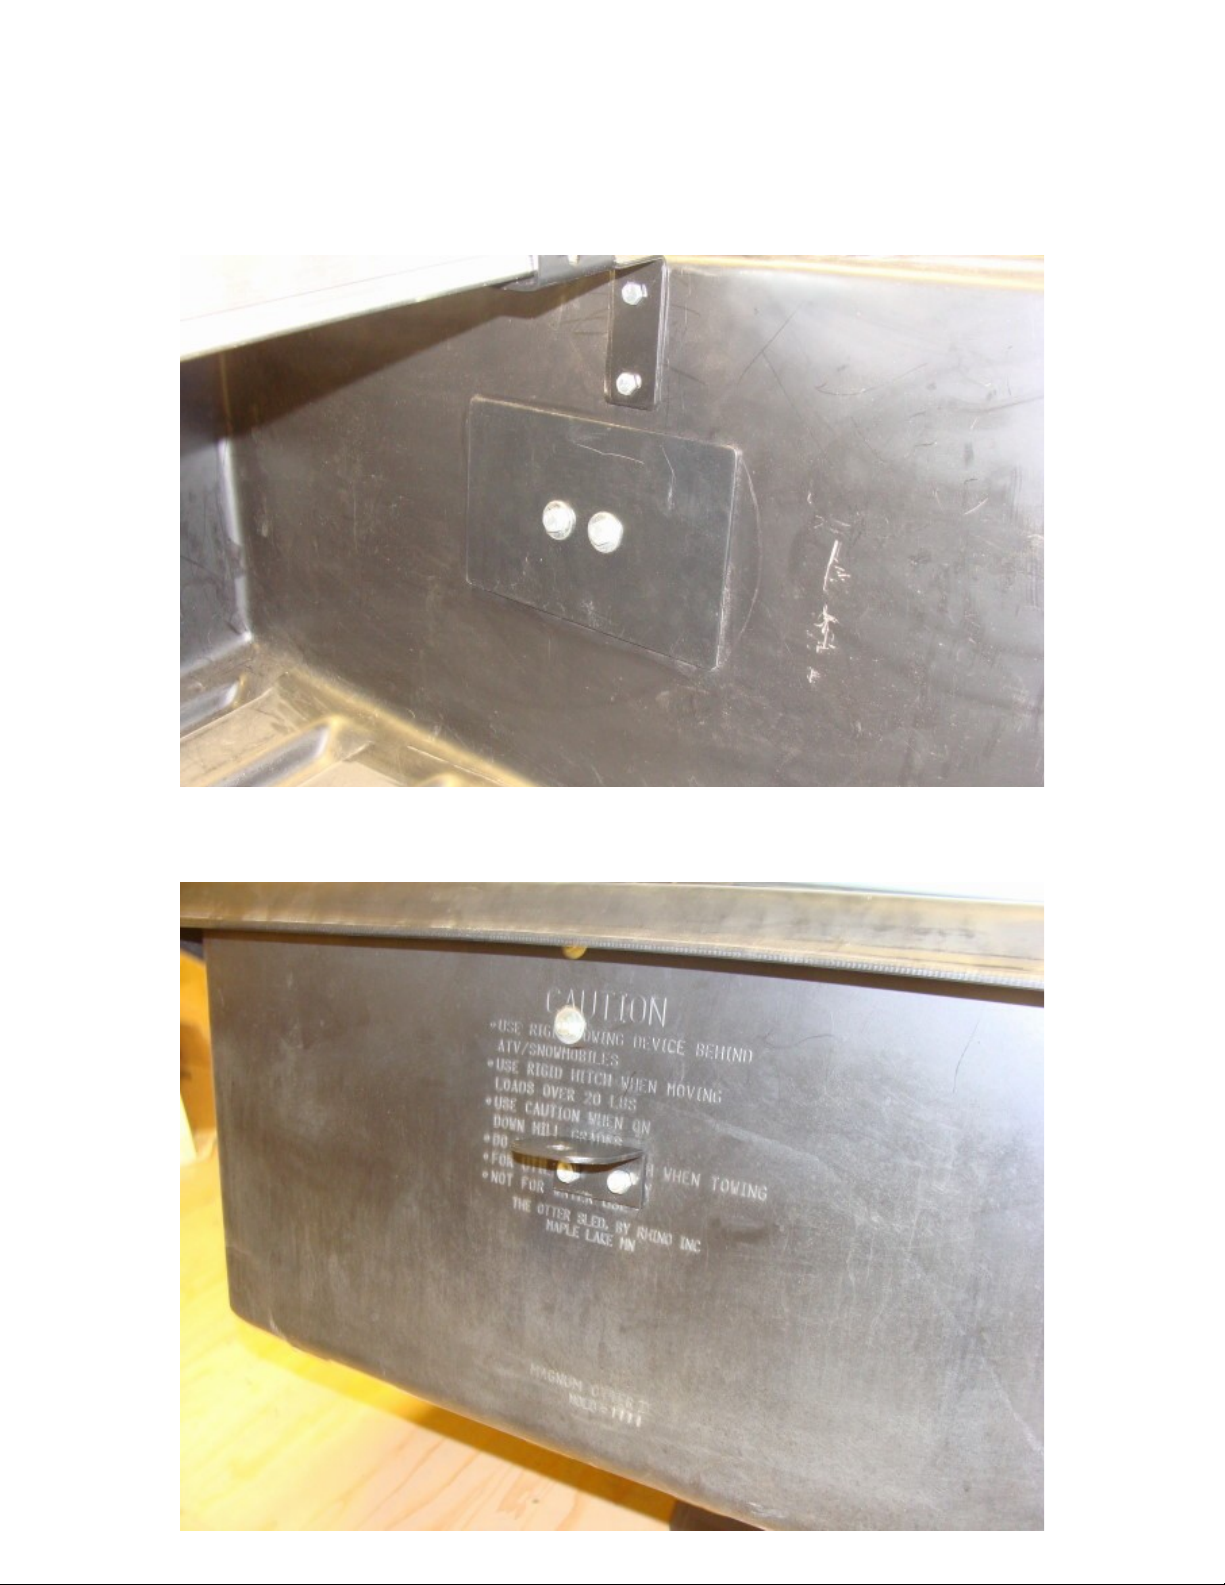
3. Remove the bolt from the receiver and line up the inside backing plate with the holes
in the sled and the holes in the receiver. Insert the bolts and washers through the inside
plate and the receiver and tighten down using the nylock nuts.
 Loading...