

Oticon A S TVBOX02 Users Manual
INSTALLATION GUIDE
ConnectLine TV Adapter
Getting started

PURPOSE OF THIS GUIDE
READ THIS FIRST
Before your hearing instruments can receive sound from the TV, the adapter must
be connected to the TV and a power outlet.
This is an easy step-by-step guide through the installation of the TV adapter.
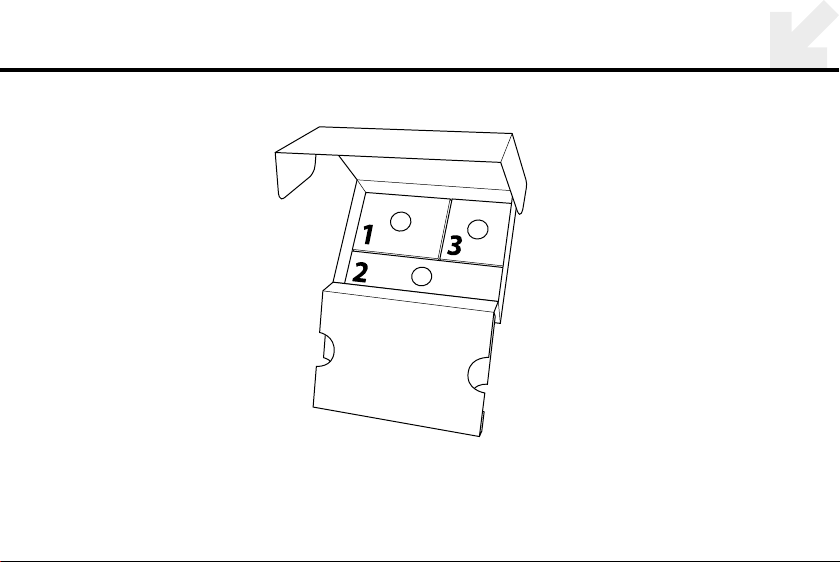
All needed parts for the installation are included in the package.
The connection parts are packed in numbered boxes from 1 to 3.
The numbers refer to each step in the installation.
2
3
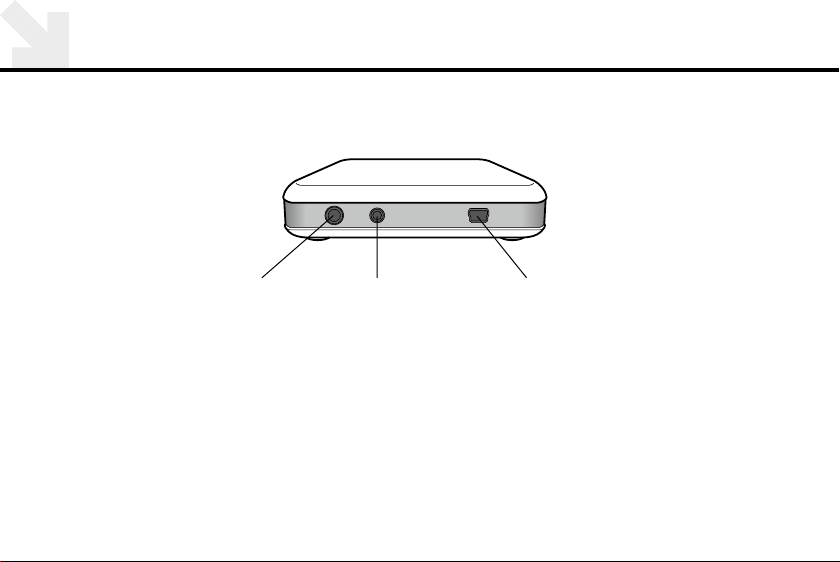
TV ADAPTER OVERVIEW
Back
B C A
TV connection
Mic. connection
4
Power connection
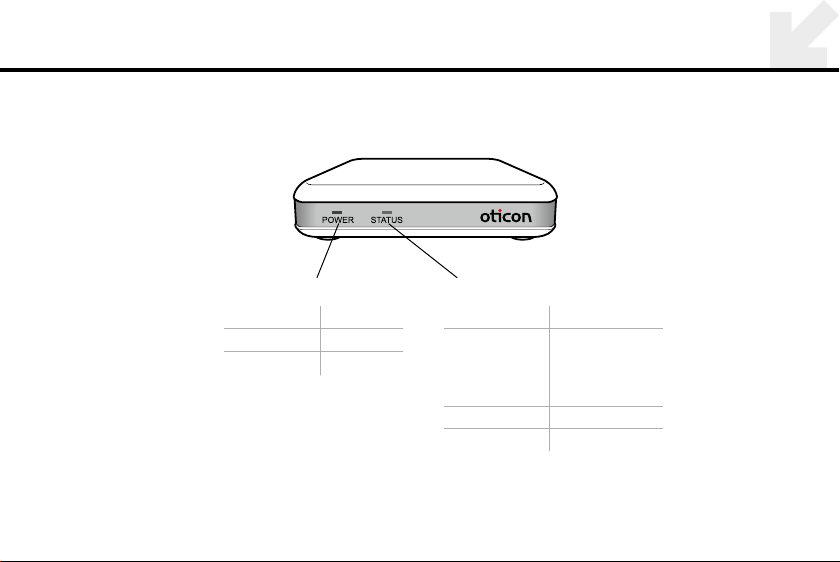
Front
POWER INDICATOR
Light Meaning
Solid Green Power on
O Power o
STATUS INDICATOR
Light Meaning
Solid Orange Connected to
Streamer and
streaming
TV sound
O Stand-by
Flashing Pairing
5

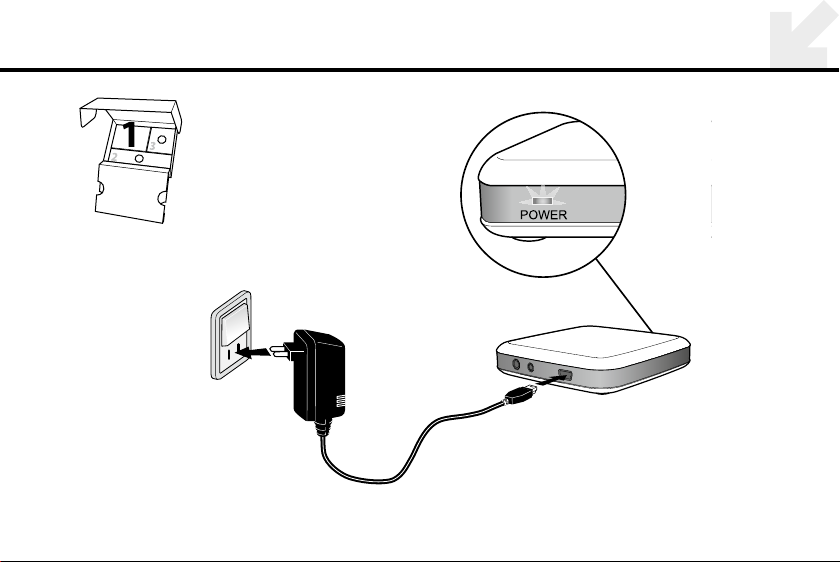
CONNECTING TO POWER
STEP ONE
Connecting Power Adaptor to TV adaptor.
Use the Power adapter from box no. .
– Plug the power adapter into the wall socket or another power source.
– Plug the power cord into the power connection marked A.
– Check that power is turned on. A solid green light will appear on the front of
the TV adaptor when power is turned on. See illustration page 7
6
7

CONNECTING TV CORD TO AUDIO OUTPUT TERMINAL
STEP TWO
Connecting the TV adapter to the TV.
Use the TV cord from box no. .
– Connect the black plug on the TV cord to the port marked B.
– Connect the red and white connectors to the “AUDIO OUT” terminals on the TV.
– The audio output jack is usually marked “L – R” “AUDIO OUT” and found on the back
of the TV.
Note: With this installation sound passes through the TV speakers as well
as the Bluetooth connection to the hearing aids. See illustration page 9.
Continue to page 16 for PAIRING instructions.
8
 Loading...