

Page 1

USER
GUIDE
Page 2
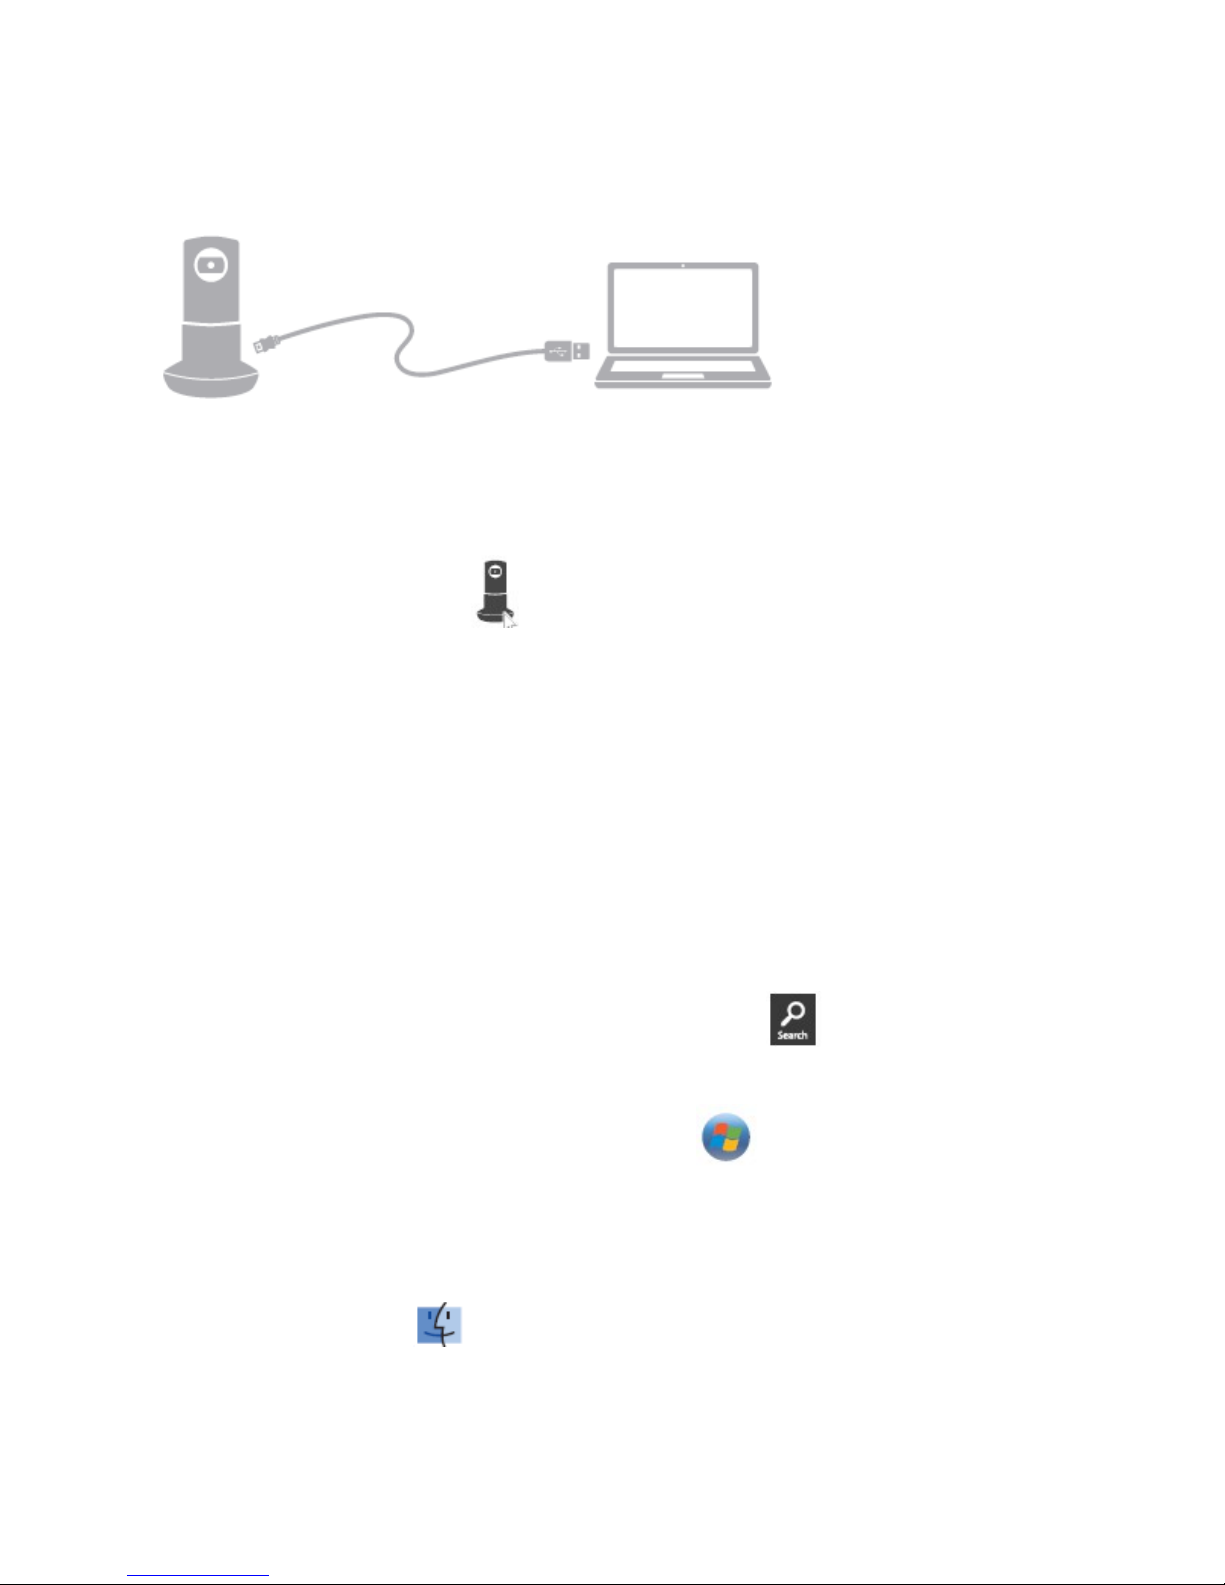
1) Use the cord provided with the camera to connect camera to your
computer’s USB port.
NOTE: A blue light indicates a successful connection to your PC. A flashing purple
light indicates the camera is ready to connect to your network.
1
2) Find the camera icon and double click to begin.
To locate the camera icon from:
Windows:
Select “Open folder to view files” from the AutoPlay window.
TIP: If the AutoPlay window doesn't automatically launch,
try the following:
Windows 8 & 10: Use the Windows search tool to find and
open “File Explorer”.
Windows 7 and Older: Click on “Start” or and
open “Computer”.
Mac:
Click the Finder icon to display the Finder window. The camera icon
or file name HDP-1000 should be located under the DEVICES list.
Page 3

3) Follow the on-screen instructions to complete the setup process,
which includes account creation and finding your wireless network.
Important: Do not unplug the camera from your computer until prompted.
4) After disconnecting camera from computer, place it anywhere
within range of your wireless network and connect it to the power
supply provided with the camera.
5) From your computer go to:
https://fusionhm.otec-communication.com
Login with account information created in step 3 to view live and
recorded video, add email addresses for notifications, and schedule
when to receive alerts.
Page 4
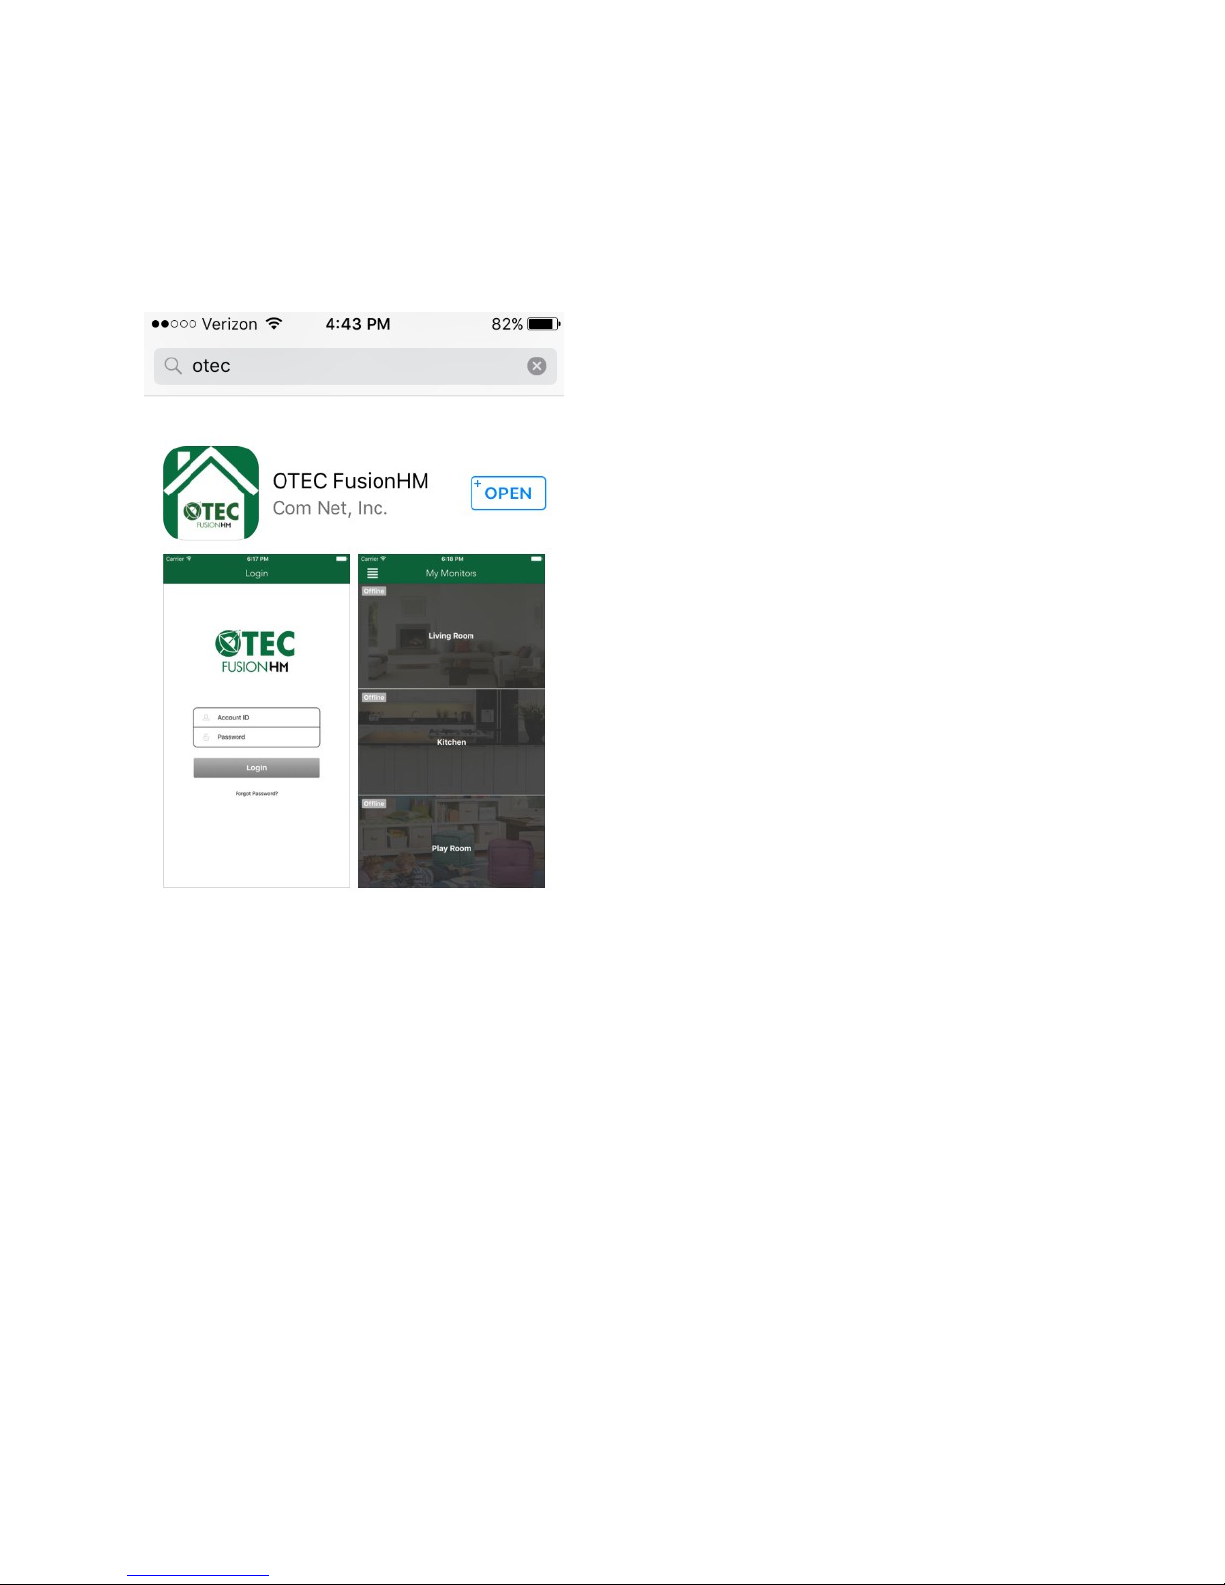
6) From your smartphone or tablet, go to the Apple App Store or
Google Play Store and search for the OTEC FusionHM app.
Login with account information created in step 3 to view live and
recorded video from anywhere, anytime.
For assistance, please stop in or call OTEC Communication Co. at
419-453-3324.
 Loading...