

Page 1
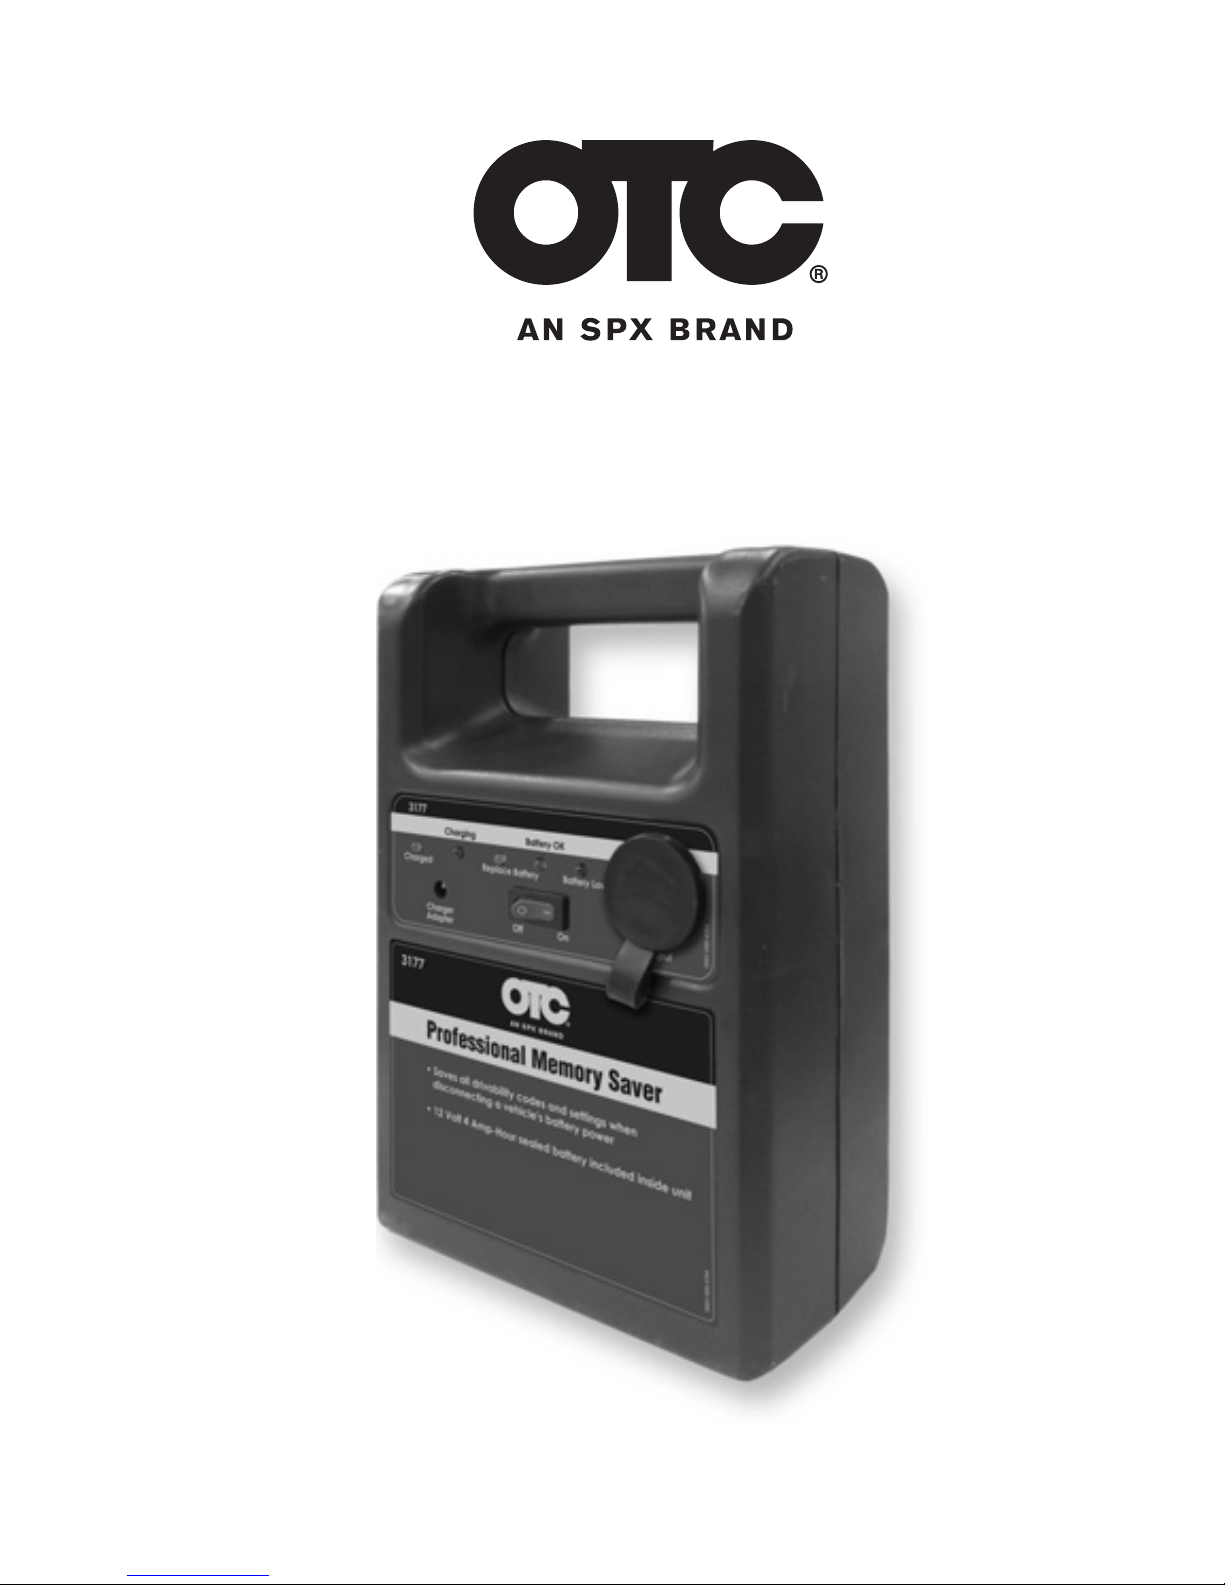
PROFESSIONAL MEMORY SAVER
MODEL #3177 USERS MANUAL
Page 2

Operating Instructions
Please read these instructions thoroughly before using the
product.
Charge the Memory Saver before rst use.
The Memory Saver is designed as a vehicle preset memory
saver only. Any other use of this product can cause
personal injury, damage the vehicle and Memory Saver,
and will void the warranty.
Charging the MEMORY SAVER
1) If previously connected, disconnect the cable from the
vehicle rst and then, from the Memory Saver.
2) Plug the AC/DC Charger Adapter into a grounded
120V AC outlet.
3) Plug the AC/DC Charger Adapter small plug into the
Charger Adapter receptacle on the front of the Memory
Saver. Observe the LEDs.
a. When the Charger Adapter is rst plugged in, the
red Charging LED will light up indicating that the
internal battery is being charged.
b. After the internal battery reaches full charge, the
green Charged LED will light up. It will remain lit
as long as the Charger Adapter is plugged in. The
internal battery won’t be overcharged.
c. If the yellow Replace Battery LED is lit, try to charge
the Memory Saver. If the internal battery does not
accept charge, it has reached the end of its service
life and should be replaced.
* 2 *
Page 3

Connecting Memory Saver to a Vehicle
1) The Memory Saver comes with two vehicle cables: a
cable with two cigarette lighter plugs (cigarette lighter
cable) and a cable with a cigarette lighter plug on one
end and an OBDII plug on the other end (OBDII cable).
Both cables supply power from the Memory Saver
internal battery to the vehicle, one through the vehicle
cigarette lighter receptacle, the other through the vehicle
OBDII connector. The cigarette lighter cable has identical
plugs and can be plugged either way.
2) Select one of the two cables and plug the cable cigarette
lighter plug into the Output receptacle on the front of the
Memory Saver.
3) Verify that the Off/On switch is in the Off position.
4) Plug the other end of the cable either into the vehicle
cigarette lighter receptacle, or into the vehicle OBDII
connector. DO NOT turn the Off/On switch on yet.
5) With the Memory Saver power switch still in the Off
position, the green Battery OK LED should light up
indicating a good connection to the vehicle. If it is not
lit, please check the connection. Also check the cigarette
lighter fuse or the OBDII connector fuse.
6) Turn the Memory Saver Off/On switch to the On position.
Observe the LEDs.
a. If the green Battery OK LED remains lit, the
connection is good and the internal Memory Saver
battery is sufciently charged. Proceed to step 7.
* 3 ** 10 *
Page 4

* 4 *
b. If the red Battery Low LED is lit, the internal battery
is partly discharged and there is only approximately
one hour operating time left. Charge the Memory
Saver.
c. If no LED is lit, the internal battery might be deeply
discharged, or has been removed. Verify that the
internal battery is installed and charge the Memory
Saver.
7) Now you can disconnect the vehicle battery without
losing drivability codes and settings saved in the vehicle
memory.
WARNING: Make sure that no accessories or other vehicle
loads are turned on as they will drastically reduce the time
the Memory Saver can keep the vehicle memory alive.
WARNING: Exercise care when using the Memory Saver.
Keep it away from heat, explosive gases, ames and spark.
Never submerge in water, drop, or expose to extreme
temperatures. Always recharge the Memory Saver after use
or extended storage.
Learn more about automotive tools we have.
 Loading...