

OSMC Vero 4K + User Manual
2018.03.01.1.0
User Manual
OSMC © 2018For more info visit osmc.tv
OSMC™ Vero 4K
+

1. Quick Start Guide
2. Troubleshooting
3. Getting further help and support
4. Safety Information
5. Warranty Information
Table of Contents

Congratulations on your purchase
of a Vero 4K+. We hope that you enjoy
this product and it serves you well
for many years.
In your Vero package, you should find:
• This manual
• The Vero device
• The Vero remote controller
• A power supply
• An HDMI cable
• An infrared receiver extension kit
•
Any additional peripherals you may have
purchased when you placed your order.
Quick Start Guide
To get set up:
1. Open the remote battery compartment and
remove the plastic tab
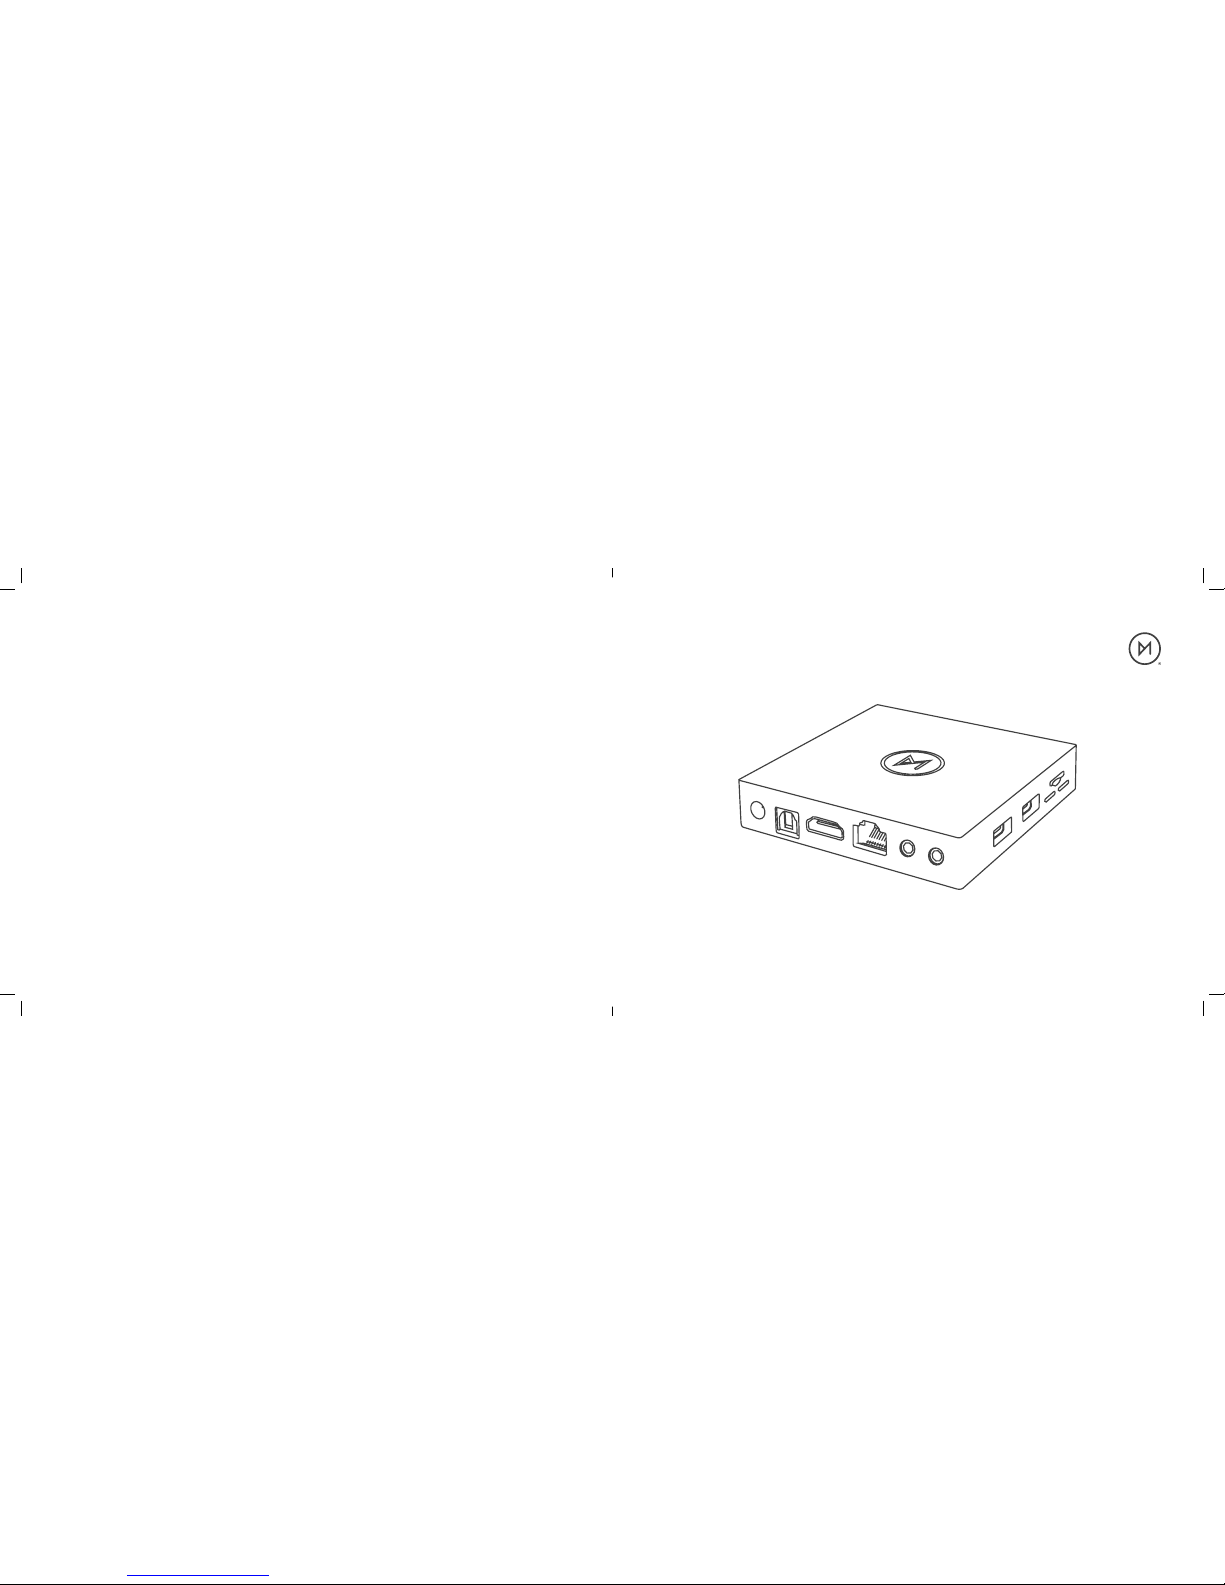
2. Connect one end of the supplied HDMI cable
to your AV receiver or TV and the other end
to the Vero.
3. Insert the remote receiver dongle in to a USB
port on the side of the device.
4. Connect the power supply to the device first,
ensuring it is not yet plugged in at the mains
5. Optional: if you are using optical audio, connect
a cable to the device and your receiver.
6. Turn on your TV and ensure the correct source
is set for the new Vero
7. Plug the Vero charger in to the mains.
Your Vero will take a few moments to boot for
the very first time. You can follow the on-screen
instructions to get set up.
You may wish to manually configure your audio
settings. This can be done by going to
Settings → System → Audio.
Staying updated
OSMC releases regular sotware updates which
will continually improve and enhance the OSMC
experience. It’s possible that there are new
updates for your Vero which will improve system
performance; deliver new functionality and
resolve any teething issues.
You can update your Vero by going to
My OSMC → Updates. We recommend that you
do this to ensure that you are running the latest
version of OSMC.
Your Vero will prompt you automatically when
future updates are available for installation.
 Loading...