

Page 1
OSD
OS650
AUDIO
Owner’s Manual
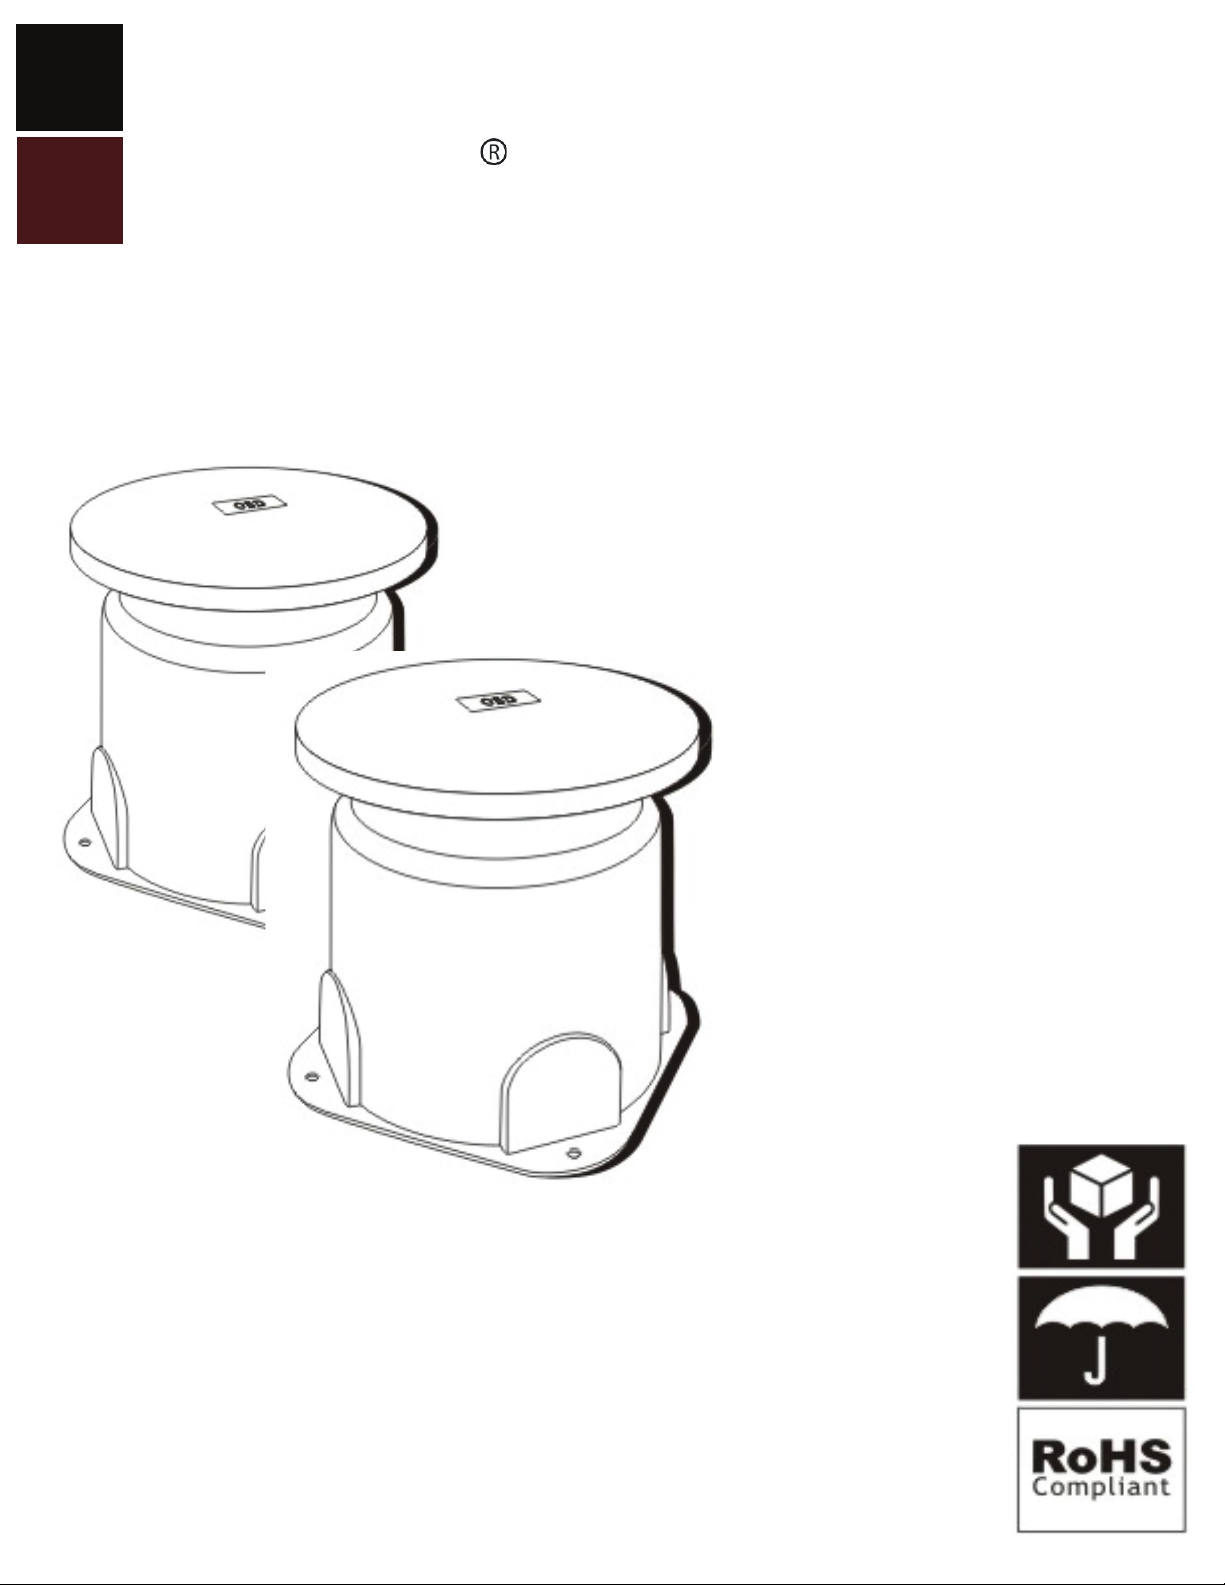
6.5” Omni Garden Speaker
All-Weather Proof with Teflon Sealed internal Cabinetry and Driver
Ideal for Lawn and Garden Placement
Contents: 1 Speaker
Page 2
OSD
AUDIO
OS650
Installation Instructions
360 in ground speaker
0
Amplifier and Receiver Consideration
The omni speakers should be powered by an amplifier or receiver that provides
a minimum of 10 watts per channel.
Optional Accessories -
Outdoor Volume Control (HD-OVC300)
Tools needed for installation
- Spade or trench tool
- Direct burial rated speaker cable
16AWG.............................................................................................................100 ft
14AWG..................................................................................................100 - 150 ft
12AWG..................................................................................................150 - 200 ft
Specifications
Design:
All weather proof in ground omni 360 sound speaker
with teflon sealed internal cabinetry and driver
Tweeter:
Woofer:
Frequency Response:
Power Handling:
Finishes:
Impedance:
70V tap (optional):
Sensitivity:
Dimensions:
Gross Shipping Weight:
Unit of Measure:
Warranty
1” mylar whizzer cone
6
½” black polypropylene cone
46 Hz - 20 kHz
200W
Green
8 Ohm or optional 70V switch
2.5W, 5W, 10W, 15W & 20W
90 dB
H 12” x L 13” x W 12”
14 lbs
1 piece
2 years
The Technical Support Center at OSD Audio is available between the hours of
8:30 AM - 5:30 PM PST, Monday through Friday, excluding holidays.
o
Warranty & Repair
All OSD Audio speaker products have (2) year Limited Warranty against defects in materials and
workmanship. Proof of purchase must accompany all claims. During the warranty period OSD
will replace any defective part and correct any defect in workmanship without charge for either
OSD Audio may replace returned speakers with a product of equal value and performance. In such
cases, some modifications to the mounting may be necessary and are not OSD’s responsibility.
For this warranty to apply, the unit must be installed and used according to its written instructions.
If necessary, repairs must be performed by OSD. The unit must be returned to OSD at the owner's
expense and with prior written permission. Accidental damage and shipping damage are not
considered defects, nor is damaged resulting from abuse or from servicing performed by an
OSD Audio sells products only through authorized dealers and distributors to ensure that
customers obtain proper support and service. Any OSD product purchased from an unauthorized
dealer or other source, including retailers, mail over dealers and online sellers will not be honored
or serviced under existing OSD warranty policy. Any sale of product by an unauthorized source or
other manner not authorized by OSD shall void the warranty on the applicable product.
Damage to or destruction of components due to application of excessive power voids the warranty on
those parts. In these cases, repairs will be made on the basis of the retail value of the parts and labor. To
return for repairs, you must email customer service at RMA@osdaudio.com for a Returned Merchandise
Authorization (RMA) number# then the unit must be shipped to OSD at the owner's expense, along with
a note explaining the nature of service required. Be sure to pack the speaker(s) in a corrugated container
Damage caused by abuse, accident, misuse, negligence, or improper operation (installation) • Any
products that have been altered or modified • Any product whose identifying number of decal,
agency or person not specifically authorized in writing by OSD.
with at least 3 inches of resilient material to protect the unit from damage in transit.
serial #, etc. has been altered, defaced or removed • Normal wear and maintenance.
parts or labor.
This Warranty Does Not Cover:
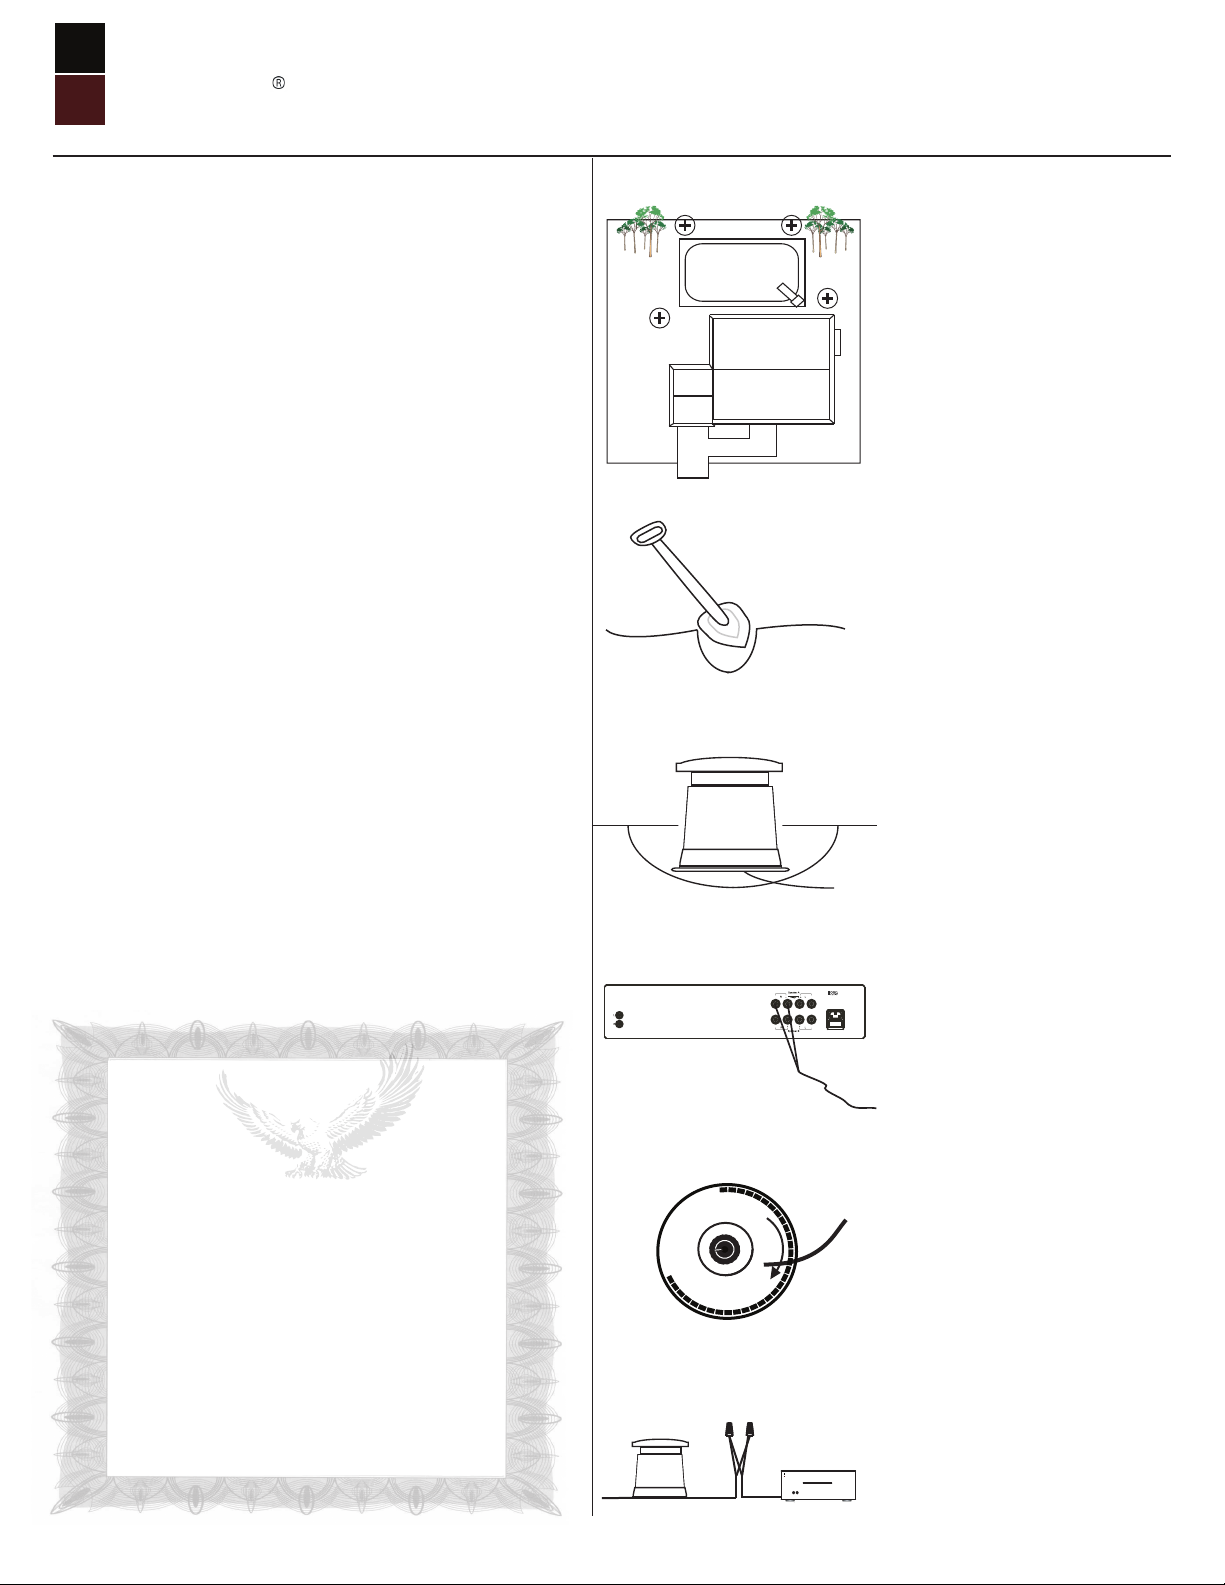
Step 1
Evaluate the location of the speakers.
Project the length of speaker wire you
will run.
Note: when purchasing additional
speaker, direct burial grade is strongly
recommended.
Omni speakers reproduce sound in a full
360 degree and a few speakers will cover
a large area with sound if properly placed
and spread out.
Step 2
Once you have decided on the locations
for your in ground speakers, dig a trench
about 5” leading from the speakers to the
input source for the speaker cables.
For the omni speaker, dig a trench hole
approximately 14” in diameter and 6”
deep for the speaker enclosure.
Step 3
Place the omni speaker in the hole you
have dug. Run the direct burial wire
through the trench to the location of the
amplifier or receiver.
Please note: When connecting the
additional wire be sure to use water tight
wire connectors.
Step 4
Connect the wires from the omni
speakers to the amplifier or receiver.
Please make sure the polarity on the
cables and the speakers are in sync.
Optional: Using an outdoor volume
makes it convenient to adjust the volume
outside.
Step 5
-
-
-
-
-
-
-
-
1
W
0
5
W
5
.
2
m
h
O
8
-
-
-
-
-
-
-
-
W
-
1
5
-
W
-
2
-
0
W
-
-
-
-
-
-
-
-
-
-
-
-
Optional 70V Tap setup (Default setting 8
ohm for regular home usage)
The 70V transformer offers you the ability
to daisy chain multiple number of
speakers in series. In doing so, you simply
connect 1 speaker to subsequential
speaker/s. In doing so, adjust the wattage
setting for ideal volume level.
Step 6
Turn on your amplifier or receiver to test
Receiver/Amp
OSD
AUDIO
®
the speakers. If the speakers are
operating properly, refill the wire trench
and cover the submerged part of the
speaker.
OSD AUDIO • 775 Columbia St • Brea • CA • 92821 • www.osdaudio.com • Tel (888) 779 - 4968 • Fax (714) 256 - 8300
 Loading...