

Oscar JU-OS-1200-UL-AU-RD, JU-OS-1200-UL-AU-SV User Manual

User Manual
M
&
FOLLOW US O N
VITALIT Y4LIFE JOIN OUR COMMUNIT Y AT WWW.VITALIT Y4LIFE.CO
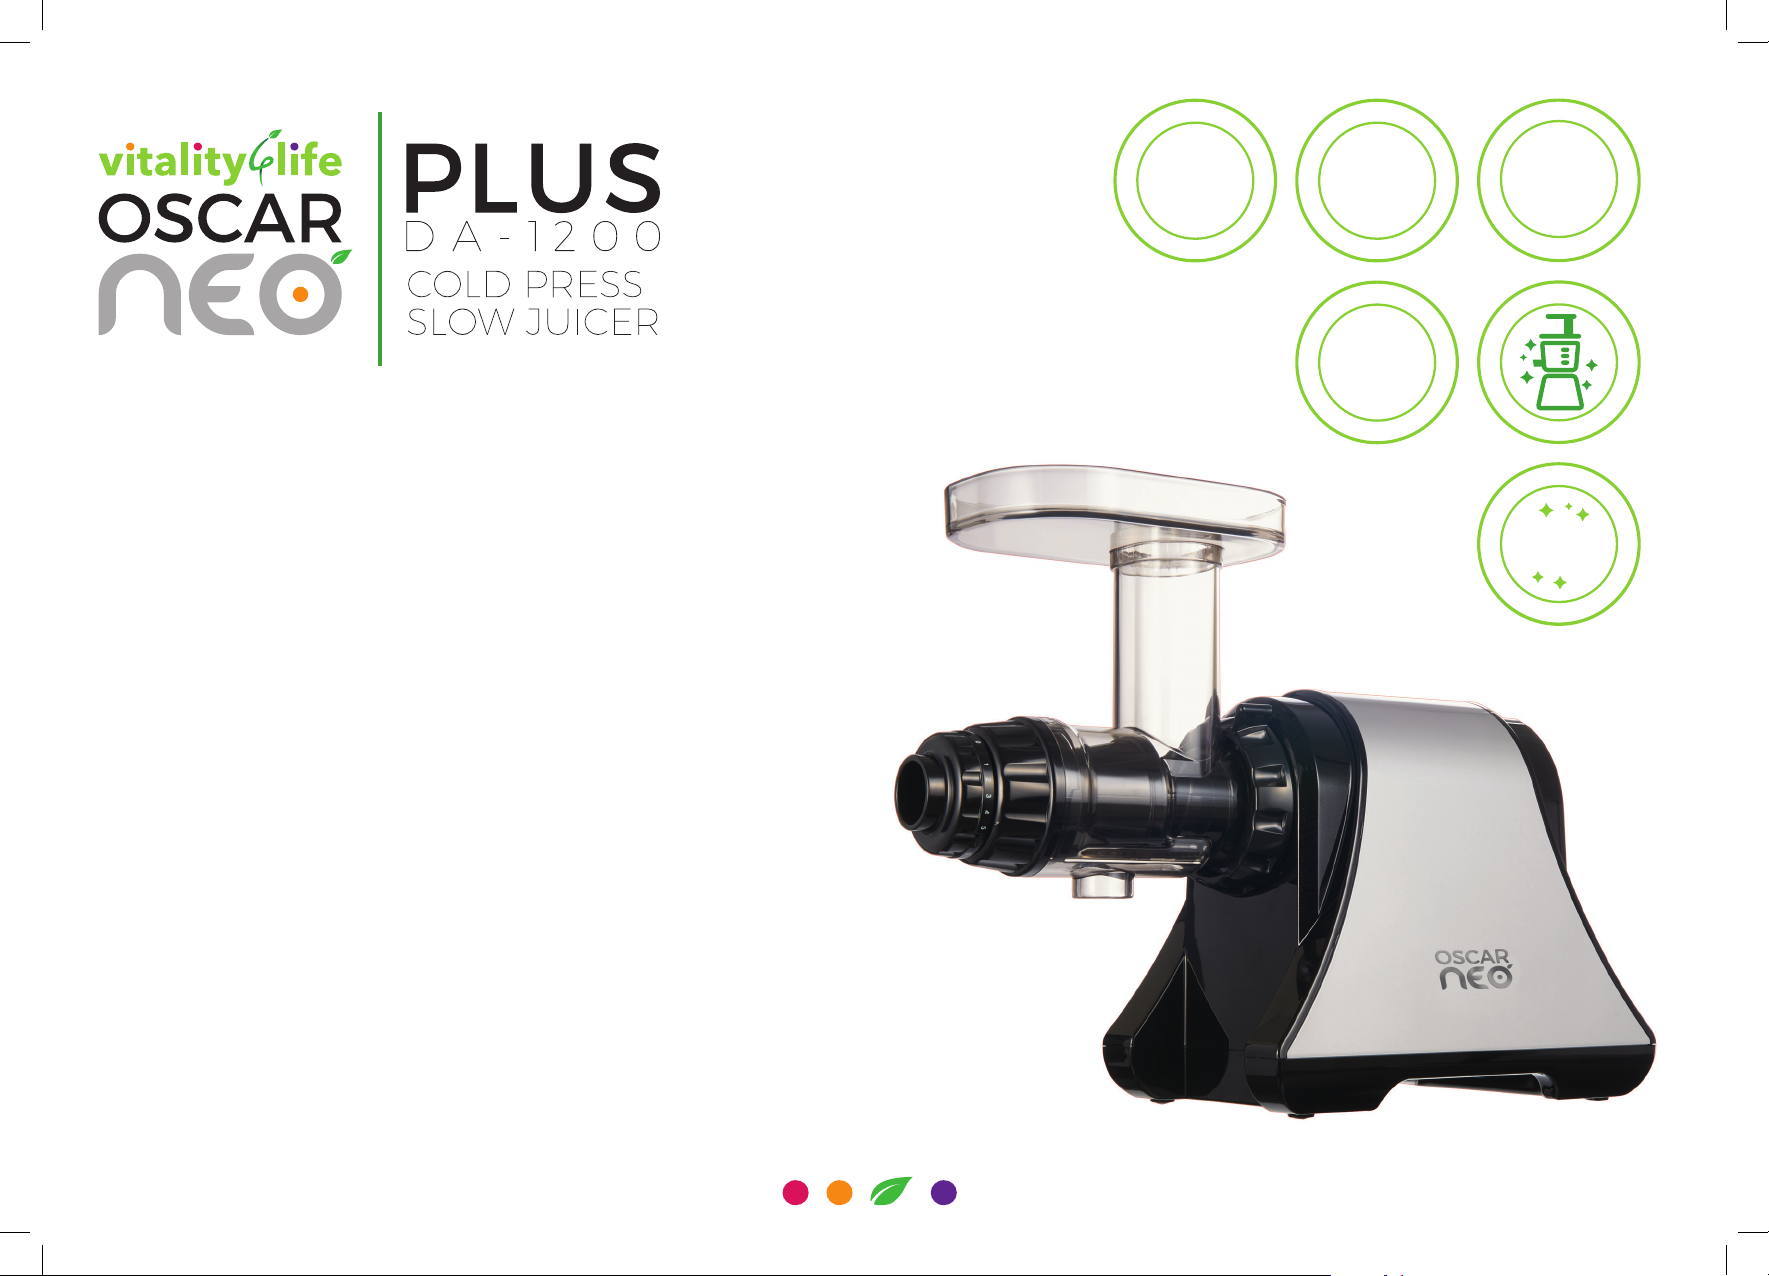
With the New Oscar Neo Plus Slow Juicer, juicing could not be easier!
•
•
63
RPM
S
L
O
W
&
P
O
W
E
R
F
U
L
2
0
0
W
A
T
T
M
O
T
O
R
•
•
I
N
T
W
O
M
I
N
U
T
E
S
•
•
T
R
I
T
A
N
™
&
U
L
T
E
M
™
BPA
FREE
15%
WIDER
•
W
I
D
E
M
O
U
T
H
•
T
H
A
N
T
H
E
P
R
E
V
I
O
U
S
M
O
D
E
L
•
•
20
YEAR
WARRANTY
V
I
T
A
L
I
T
Y
4
L
I
F
E
1
0
Y
E
A
R
S
O
N
P
A
R
T
S
••
B
R
U
S
H
E
D
F
I
N
I
S
H
NEW
DESIGN
Oscar Neo family has been upgraded and now comes with a new model OSCAR NEO PLUS. Use screen squeezing in two phases as the previous model
but better reinforced with additional ribs harden it. The patented design of
the Auger shaft in 3 stages of squeezing, squeezing drum sieve reinforced
and redesigned turbulence creates torque which results in maximum juice,
reducing the amount of pulp and keeping as many vitamins in the juice.
U
Q
A
L
I
T
Y
O
C
T
L
E
A
N
E
D
S
I
Y
G
N
E
D
H
E
I
F
H
G
I
Y
S
A
L
E
N
The Oscar Neo Plus Slow Juicer is the most efficient single auger cold press
juicer on the market; with a larger feeding chute the Oscar Neo Plus Slow
Juicer is perfect for the on-the-go health enthusiast!
Redesigned control button enables pressure to get clearer juice or more pulp
as per the level it is tight.
With Oscar Neo Plus Slow Juicer no heat or friction is expelled during the
extraction process, meaning the juice is cold pressed with the living nutrients
and enzymes intact. The juice is effectively “alive” and will stay living for up to
48 hours. The juice is fuller, with no froth or foam and is full of vitamins and
minerals – what more could you ask for!
The Oscar Neo Plus Slow Juicer comes complete with 2 x Ultem™ juicing
screens for fine or coarse juicing (giving you the option of how much pulp you
want in your juice), a selection of recipes inside this manual, a set of nozzles,
adjustable pressure cap, drum cap, Cleaning Brush, Ultem™ Squeezing Auger,
and Tritan™ Hopper, Drum and Juice & Pulp containers

Parts List
1 Main Body
2 Operating Switch
3 Container: Pulp & Juice
4 Cleaning Brush
5 Pusher
6 Hopper
7 Drum
8 Auger
9 Strainer: Juicing & Food Processing
10 Drum Cap
11 Adjustable Pressure Cap
12 Noodle Nozzle: Round, Undong, Flat
13 Bread Stick Nozzle
1
2
6
5
3
11
10
4
7
9
8
1312
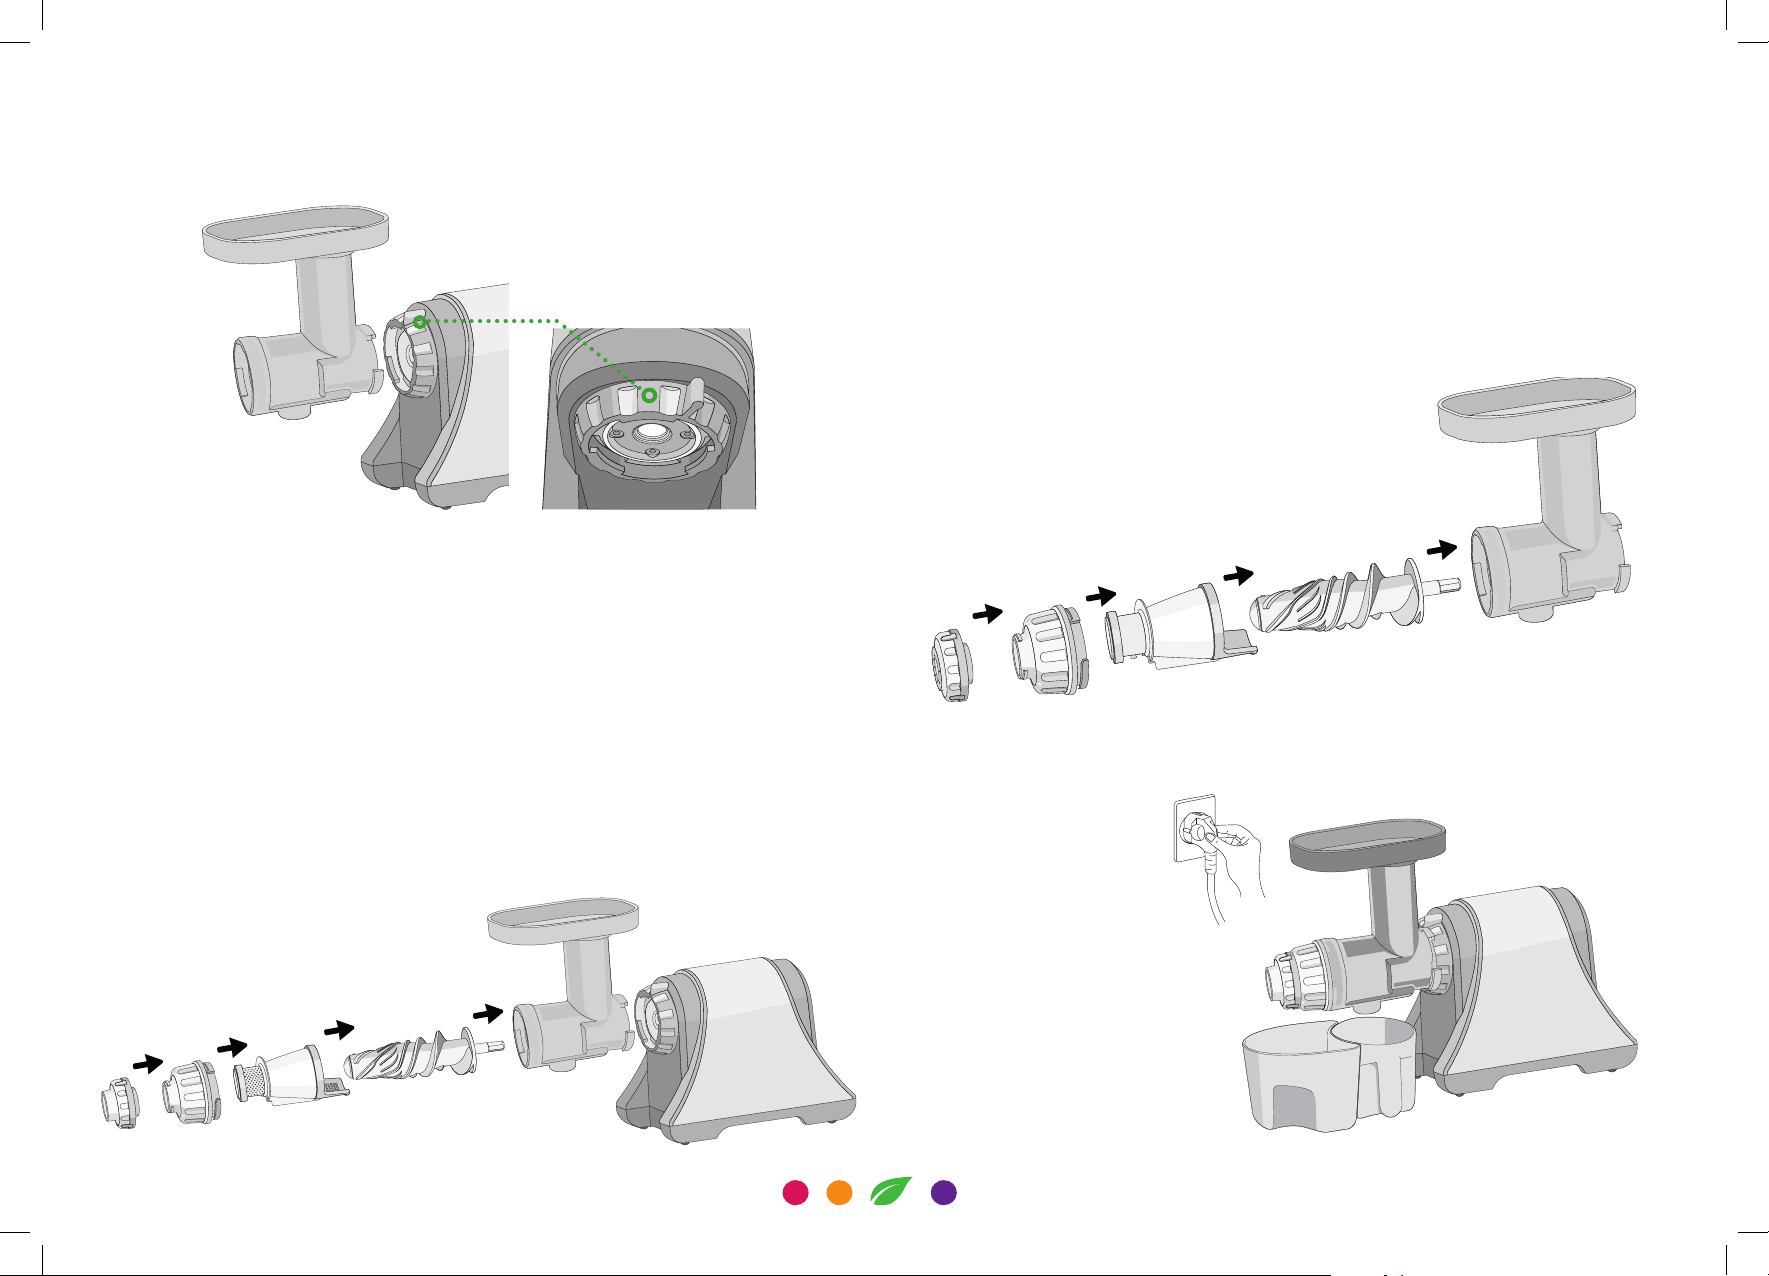
1-A For juicing function
Connect drum with main body by turning locking clip clockwise (about 60°)
And then Place the drum cap onto the drum end and turn it counter clockwise
until it clicks firmly into place. Attach adjustable pressure cap to the drum cap
end.
Turn to “1” or “2” on the adjustable pressure cap for soft fruits like orange,
strawberry etc. Turn to “5” on the adjustable pressure cap for maximum
pressure. This is best for carrot, beetroot and the leafygreens.
1-B For Food Processor Function
Connect drum with main body by turning locking clip clockwise (about 60°).
And then Place the auger into the drum. Insert the processing strainer into
the drum. Place the drum cap onto the drum end and turn it counter-clockwise until it clicks firmly into place. (Change the nozzle depends on the type
of noddle.)
When grinding food materials such as grains, do not insert the nozzle.
Place juice and pulp container under the drum. (Juice container is not needed
for food processor function.)
Plug the power cord.
1) Press “On” button to operate.
2) Wash the ingredients and cut them into proper size to fit into feeding chute.
3) Push them down with the pusher provided.
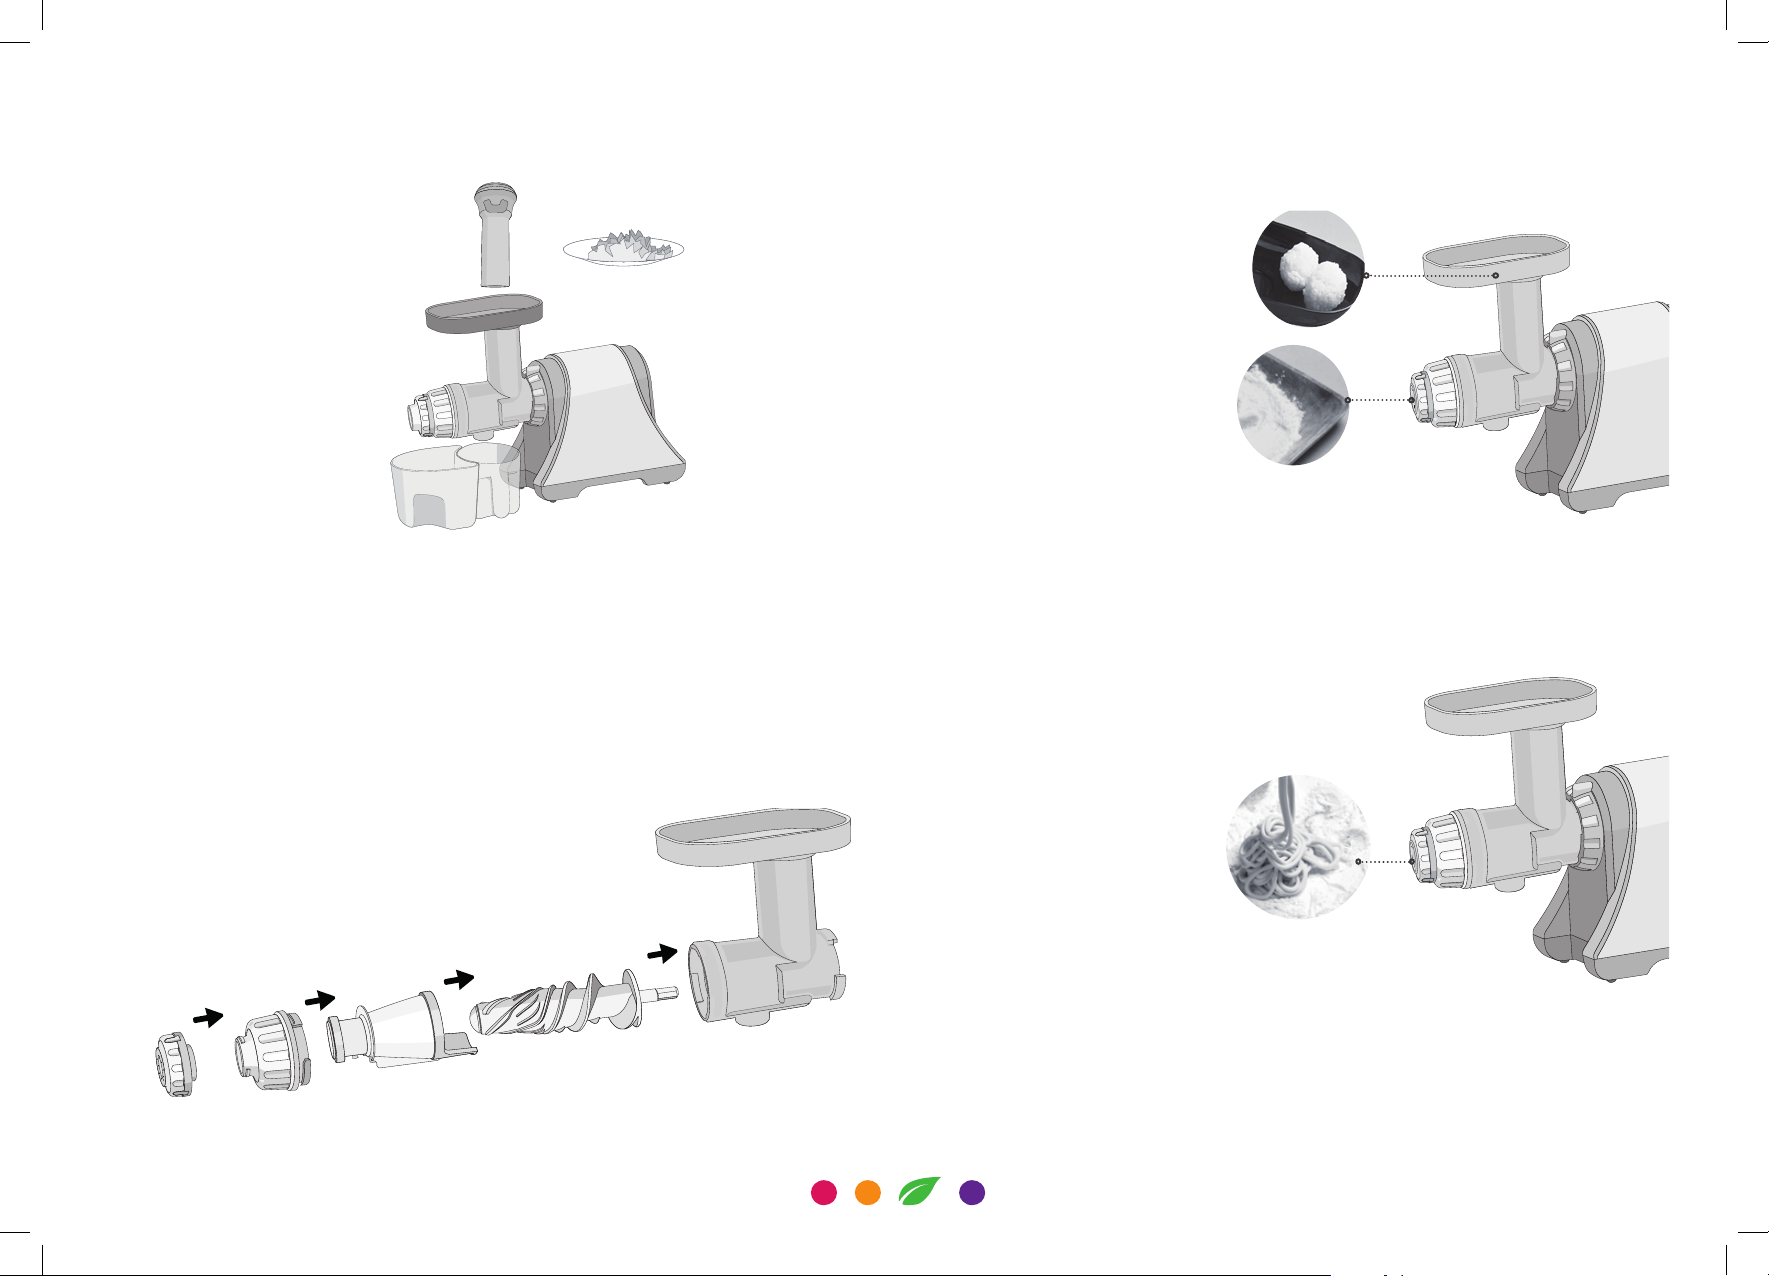
Making Pasta, U-dong, Noodle, Breadstick
Connect drum with main body by turning locking clip clockwise (about 60°).
And then
Place the auger into the drum.
Insert the processing strainer into the drum.
Place the drum cap onto the drum end and turn it counter-clock-wise until
it clicks firmly into place. Change the nozzle depends on the type of noddle.
Spinkle a small amount of wheat flour on the holding dish placed under the
spout. Press “ON” button. Push pasta dough through the food guide without
stopping.
Use scissors to cut the pasta to desired lengths.
Disassemble unit and rinse all parts and accessories first in cold water.
 Loading...