

Page 1
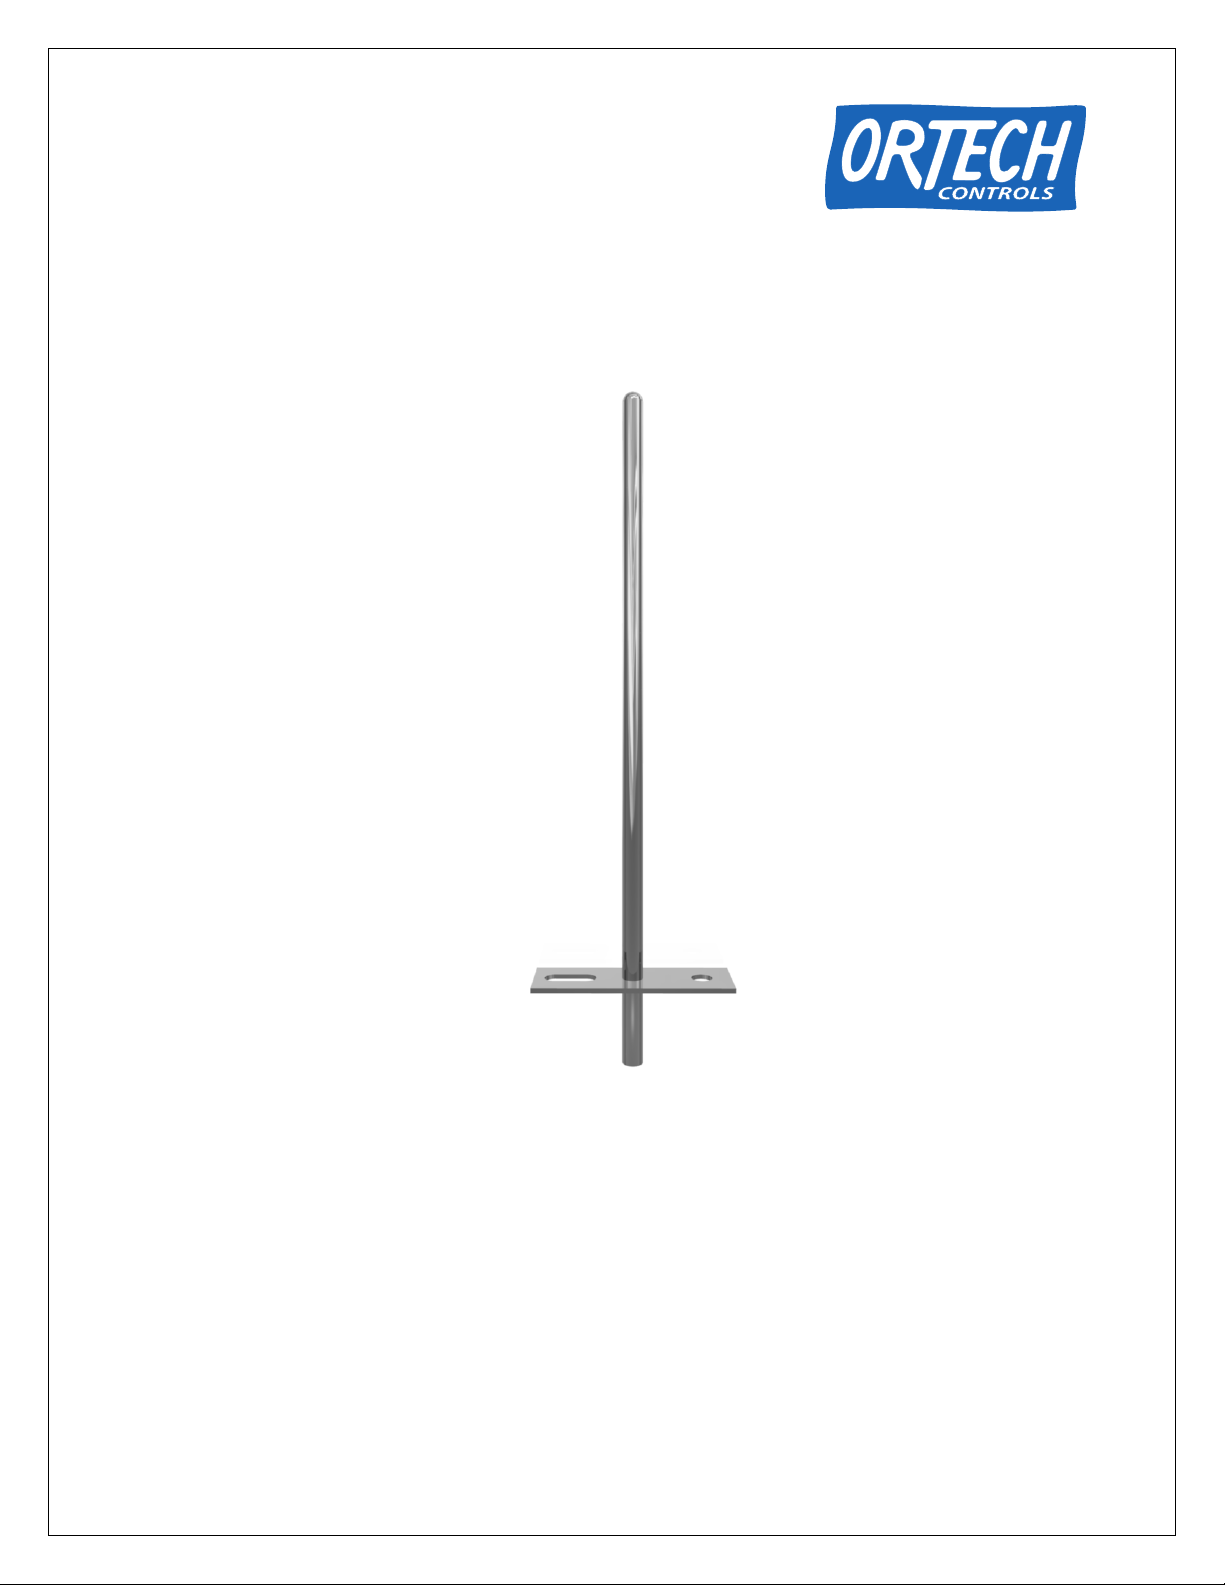
User’s Guide
Ortech RTD
Temperature Detector
Copyright © Ortech Controls, All Rights Reserved
Page 2

Table of Contents
Introduction................................................................................. 1
What’s In the Box ....................................................................1
Applications............................................................................. 1
How it Works...........................................................................1
Compatible Grills...................................................................... 1
Installation .................................................................................. 2
Removing the Old Temperature Detector...................................2
Installing the Temperature Detector..........................................4
Product Service and Support......................................................... 7
Troubleshooting.......................................................................7
Replacement Parts List............................................................. 8
Contacting Ortech Controls....................................................... 8
Page 3

Forward
Preface Ortech Controls is a leading supplier of electronic controls for
wood pellet stoves, furnaces, and grills. Founded in 1983
and located in Washington, Ortech has designed and
manufactured controls for American Energy Systems, Lennox
Hearth Products, and Traeger Grills, among others. Working
closely with Joe Traeger, Ortech developed electronic
controls for his revolutionary line of wood pellet grills,
including the original 3-speed and digital controls, and has
shipped more than 100,000 controls for Traeger grills.
Copyright Notice Copyright © Ortech Controls, Inc. All rights reserved. No
part of this publication may be reproduced, transmitted,
transcribed, stored in a retrieval system, or translated into
any language, in any form or by any means, electronic,
mechanical, magnetic, optical, chemical, manual or
otherwise, without the prior written consent of Ortech
Controls, Inc.
Trademarks Ortech Controls and RealTemp are trademarks of Ortech
Controls, Inc.
Disclaimer Ortech Controls, Inc. makes no representations or
warranties with respect to the contents hereof and
specifically disclaims any implied warranties of
merchantability or fitness for any particular purpose.
Further, information in this document is subject to change
without notice and does not represent any commitment on
the part of Ortech Controls, Inc.
Product Reference Product Number: 098
Ortech Document Number: 098-72-01-01
Page 4

Introduction
What’s In the Box
Ortech RTD Temperature Detector
Wiring Harness Tie Wrap
User’s Guide
Applications
The Ortech RTD Temperature Sensor is a plug-compatible
replacement part for any two-wire, 1000 ohm, platinum RTD
temperature detector and is compatible with the entire line
of Traeger wood fired pellet grills.
How it Works
RTDs (Resistance Temperature Detectors) use a basic
characteristic of metal where electrical resistance changes
with temperature. The detector has a metal film sensor
made of platinum. An electrical current is sent through the
sensor, resistance to the current is measured, and the
temperature at the sensor is calculated.
Compatible Grills
The Ortech RTD is designed to be compatible with all
Traeger and Traeger style grills that support a 48 inch lead
wire for connecting the RTD to the controller.
1
Page 5

Installation
Removing the Old Temperature Detector
Required Tools Medium Phillips screwdriver
Small slotted screwdriver
Unplug the Grill Unplug the grill from AC power.
WARNING: AC power is present on the control at all
times and is a shock hazard unless the grill is
disconnected from the wall socket or AC line.
Remove the Control Remove the faceplate screws using a medium Phillips
screwdriver. Save the screws for use later.
Remove the control’s circuit board from the cutout at an
angle to ensure the circuit board fits through the cutout
without damage.
Gently pull the control forward, rotating it slightly to the
right. Once clear, pull the wire harness far enough out of
the cutout to expose the RTD connector on the back of the
circuit board.
WARNING: Do not force the control out of the
cutout. Bumping electronic components into the
edge of the cutout may damage the control.
2
Page 6

Disconnect the Turn the control until the circuit board is facing you. Using a
Temperature small slotted screwdriver, disconnect the temperature
Detector detector lead wires from the two-terminal connector J1
located in the upper right hand corner of the printed circuit
board.
Remove the Open the cook lid and remove the internal grill and drip pan.
Temperature
Detector Locate the temperature detector. Using a medium Phillips
screwdriver, loosen its mounting screw and nut. Lift the
detector and feed its wire leads up and out of the grill.
Temperature
Detector
3
Page 7

Installing the Temperature Detector
Position the Open the cook lid and remove the internal grill and drip pan.
Temperature
Detector Locate the temperature detector’s mounting holes on the
horizontal rail inside the grill.
Remove the screw and nut from the base of the new
detector. Set the screw and nut aside for use later.
Feed the detector’s wire lead down through the shaft hole
and out through the wire h ole.
Screw hole
Shaft hole
Wire hole
Run the Detector Feed the detector wire lead down between the grill and the
Wire Lead pellet hopper, then up and out through the control cutout.
Use caution when feeding the wire lead to avoid damaging
the wire lead’s insulation.
4
Page 8

Attach the Detector Install the detector into the shaft hole with the slot
to the Rail positioned over the screw hole. Install the screw from
above, down through the slot and through the screw hole.
Install the nut from below and tighten.
Connect the WARNING: Disconnect the grill from AC power.
Temperature Connecting the temperature detector to the control
Detector while the grill is connected to AC power could result
to the Control in shock or could damage the control.
Turn the control until the circuit board is facing you. Using a
small slotted screwdriver, connect the temperature
detector lead wires to the two-terminal connector J1 located
in the upper right hand corner of the printed circuit board.
You can connect either lead wire to either terminal of
connector J1.
5
Page 9

Re-Install the Control Feed the wiring harness back into the grill’s cutout.
into the Cutout
Insert the control into the cutout. Install the control’s circuit
board into the cutout at an angle to ensure the circuit board
fits through the cutout without damage.
WARNING: Do not force the control into the cutout.
Bumping electronic components into the edge of the
cutout during installation may damage the control.
Retrieve the two faceplate mounting screws that were used
to hold the control in place.
Using a medium Phillips screwdriver, install the top faceplate
screw and lightly tighten. Install the bottom faceplate screw
and tighten. Tighten the top faceplate screw.
Organize Wire Lead If necessary, use the tie wrap to tie back the temperature
detector wire lead and the control’s wiring harness to ensure
they do not interfere with the draft fan and other grill
components.
6
Page 10

Product Service and Support
Troubleshooting
WARNING! Removing the control from the grill or working under
the grill with the grill connected to AC power could
result in shock or could damage the control.
Always disconnect the grill from AC power before
removing the control from the grill or before working
under the grill.
Display Always
Reads a Low Check connection at control terminal J1.
Temperature Check the insulation for shorts throughout the wire run from
(0, 5, or 32 Degrees) detector to control terminal J1.
Contact Ortech Controls customer service.
Display Always
Reads a High Check connection at control terminal J1.
Temperature or Check for breaks in the wire throughout the wire run from
Error Code detector to control terminal J1.
(510 Degrees, "ErH",
or "Err")
Contact Ortech Controls customer service.
Grill Temperature
Displayed is Different The displayed temperature is the precise temperature at
Than Dome the temperature detector. The dome thermometer is
Thermometer located in a different position inside the grill.
Temperature detector wire leads are shorted.
Temperature detector or control is defective.
Temperature detector wire leads are open.
Temperature detector or control is defective.
This is normal.
7
Page 11

Replacement Parts List
Description and 4 Inch RTD Temperature Detector 31-098-PKG-48
Ortech Part Number
RealTemp TR-100 Digital Control 31-100-ORT
3 Amp Fuse Kit, five 3A fuses 39-100-03A
5 Amp Fuse Kit, five 5A fuses 39-100-05A
Contacting Ortech Controls
Customer Service For product support and service, contact Ortech Controls:
Ortech Controls, Inc.
14739 Aurora Ave N, #120
Shoreline, WA 98133
Email: [email protected]
Telephone: 206.633.7914
Fax: 206.633.7929
Website: www.ortechcontrols.com
8
 Loading...