


®
YOUR LIFE.
YOUR FIRE.
Ortal Curved & Islands Fireplaces User’s Manual

[USA Fireplace Models
2
[
THIS ISTALLATION MANUAL INCLUDES ASSEMBLY INSTRUCTIONS
FOR THESE MODELS:
STAND ALONE 7565 CURVED TUNNEL – DOUBLE GLASS
STAND ALONE 7565 CURVED – DOUBLE GLASS
ISLAND 130 – DOUBLE GLASS
®
YOUR LIFE. YOUR FIRE.

[Europe Fireplace Models
3
[THIS
ISTALLATION MANUAL INCLUDES ASSEMBLY INSTRUCTIONS FOR THESE MODELS:
CIRCLE 70
CIRCLE 70 [270]
CIRCLE 70 [DG]
CIRCLE 70 [270] [DG]
ISLAND 70
ISLAND 130
ISLAND 130 [DG]
INSTALLER:
Installation must be performed by a
professional who is licensed to install
fireplaces in the state where the
installation will take place. Instructions
provided by the manufacturer, ORTAL,
should be considered installation
recommendations. If there is any
divergence between the manufacturer’s
instructions and the local code, priority
must be given to the local code.
®
YOUR LIFE. YOUR FIRE.

4
[Table of Contents
[TABLE OF CONTENTS
Preparation – Curved Fireplaces ...............................................5
Installation – Curved Fireplaces ................................................6
Maintenance – Curved & Island Fireplaces .............................. 24
Installation – Wall Mounted Curved Fireplaces ......................... 25
Installation – Island Models ................................................... 30
J.C. Bordelet Chimney Assembly Instruction ............................ 34
Ortal Chimney Assembly Instruction ....................................... 35
Glass Types .......................................................................... 36
Log Sets and Stones ............................................................. 37
Clearances for Circle 70 EU / 7565 Curved Tunnel ................... 38
Clearances for Circle 70 EU / 7565 Curved Tunnel DG .............. 39

5
[Preparation – Curved Fireplaces
[ PRE-INSTALLATION PREPARATIONS
A round fireplace can be installed with a cone or flat top. When a cone is installed, it must be
installed BEFORE installation of the fireplace begins (according to the installation instructions
on page 25 and depending upon the model of the selected cone.
[ VENT PIPE AND CONE INSTALLATION
First install the vent pipe cone (see the relevant manual for your type of cone).
Thread the vent pipe inside the cone to the required length.
When the installation is complete, verify that the distance between the bottom of the cone and the floor is approximately 860mm (33 3/4 “).
NOTE: For all round fireplace models, the cone is must be suspended from the ceiling and NOT resting on the fireplace.
[ GAS & ELECTRICITY SOURCE
Provide gas and electricity according to local code.
Electrical source – For fireplaces with double glass and blowers, you will need to connect the unit to a 110V/220V outlet.
NOTE: This manual describes the installation of the vent pipe cone and the fireplace assembly. Explanations regarding gas and vent
pipe installation are described in a separate Installation & Operation Manual.

6
[Installation – Curved Fireplaces
[GRILL COVER
•
Unpack the unit.
•
Unscrew the 4 Phillips screws on the top of the unit.
•
Lift the grill cover top up and away from the unit.
[DECORATIVE COVERS
•
Gently hand lift 4 peripheral decorative covers. These
decorative covers are secured in position with magnetic
supports.
NOTE: Use a coated screwdriver only.

7
[Installation – Curved Fireplaces
[BURNER UNIT REMOVAL
•
Carefully lift the burner unit by unscrewing 8 base plate
screws, and manually lift and remove the entire burner
plate upwards.
[PREPARATIONS
•
Gently and securely rotate and position the fireplace
base on its side. It is recommended that you prepare
a soft material to place underneath the fireplace base
for protection.
[GAS VALVE
•
The gas valve is screwed to one of the 4 fireplace legs
in the factory prior to shipping. Prior to attaching the
legs to the fireplace, choose the best location for the
gas valve and attach the leg/gas valve assembly to the
unit, as described below.
[FIREPLACE LEGS
•
With the fireplace on its side, install the adjustable leg
fixtures to each one of the 4 legs underneath.
•
Make sure the leg fixtures are fitted while the adjusting
screws are pointing to the fireplace center (inward
direction). This is important for height adjustment later
during the installation process.
•
When complete, rotate the fireplace base to the upright
position so that it stands solidly on it’s the legs.

8
[Installation – Curved Fireplaces
[FIREPLACE
BASE INSTALLATION:
•
Position the fireplace base centered underneath the vent pipe cone.
•
Make sure there is gas and electrical access
underneath the fireplace base.
9
[Installation – Curved Fireplaces
[
LEG PLACEMENT:
•
With the fireplace base centered under the vent pipe cone,
secure the legs to the floor with anchor screws.
Note: This step is important to avoid any fireplace
movement during use.
•
After securing the leg fixtures to the floor,
release all adjustment screws to level the
fireplace.
•
It is recommended to use a spirit level to determine the
base level in "X" and "Y" directions before tightening the
height adjustment screws.
NOTE: Perform the above installation process through
the burner base-plate hole on top.
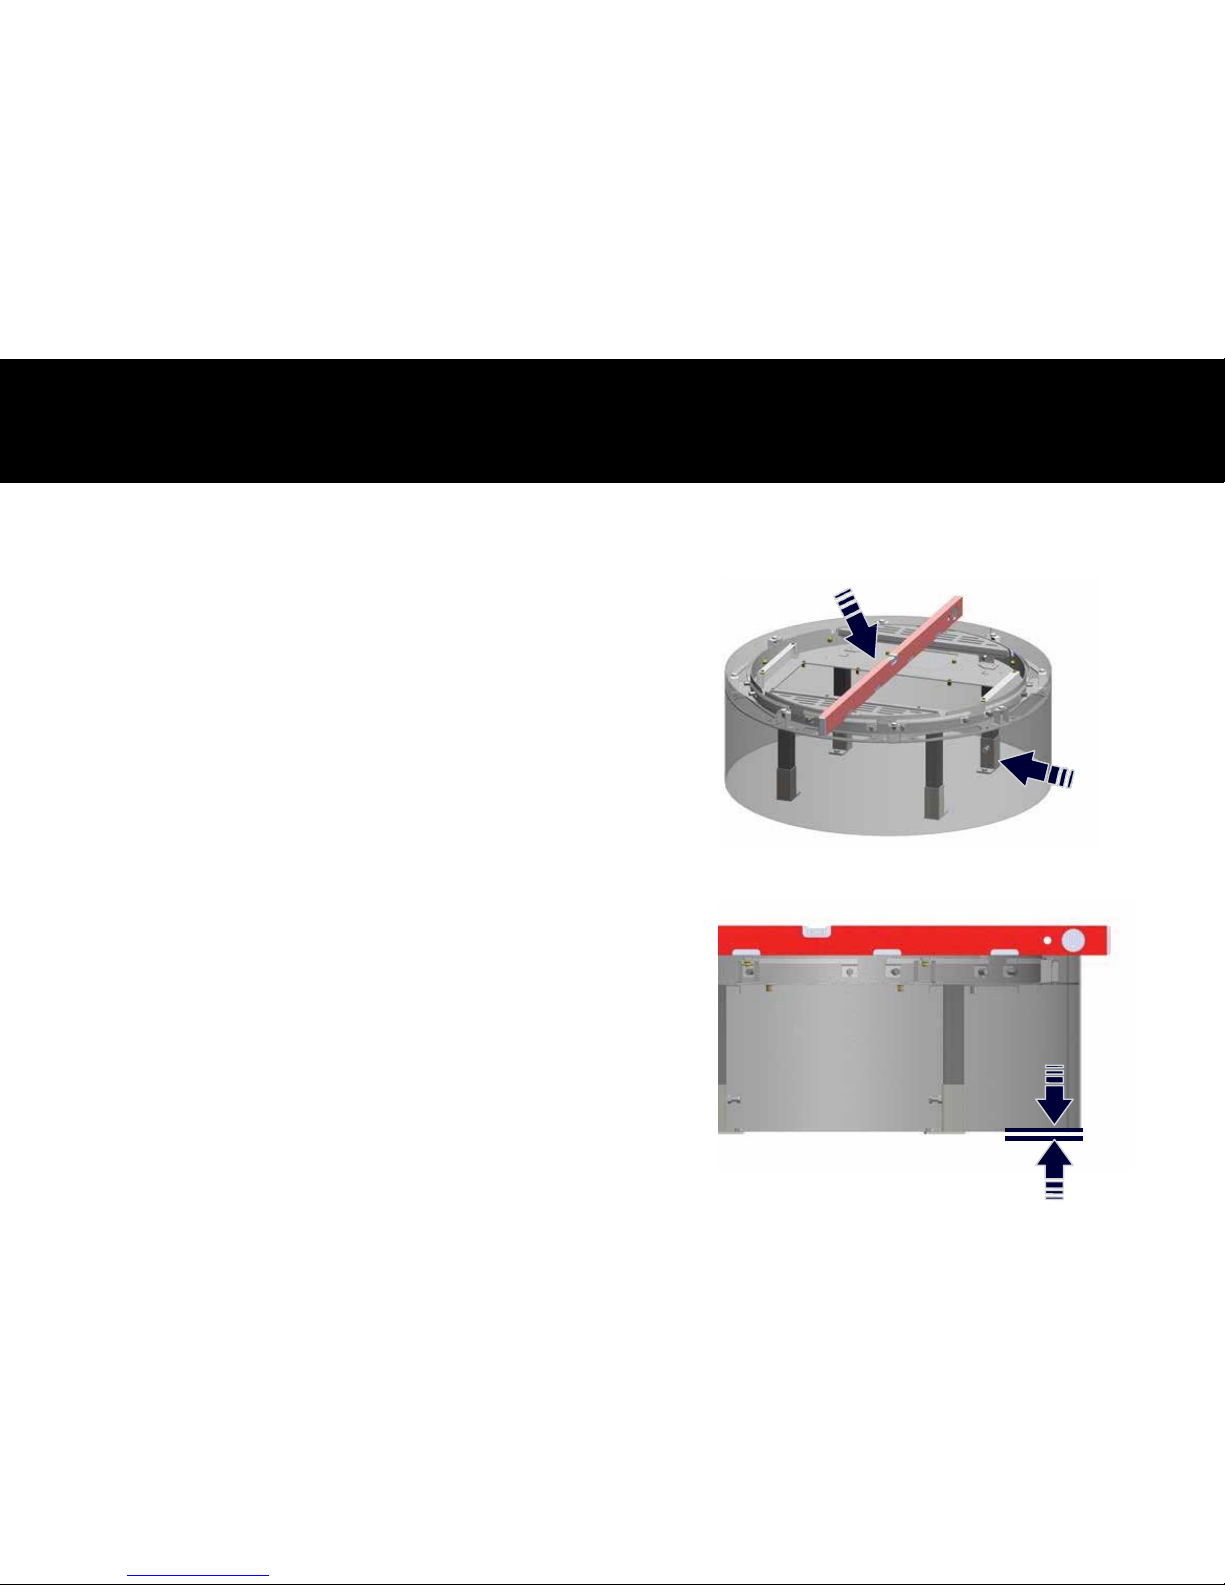
[SAFETY GAP:
•
Before tightening the fixture legs, make sure that there is
a safety gap of 6.35mm [1/4"] between the fireplace base
(skirt) to the floor.
Note: THIS IS AN IMPORTANT LPG SAFETY PRECAUTION.
6.35mm
[1/4"]

[Installation – Curved Fireplaces
10
[
GAS AND ELECTRICAL CONNECTIONS:
•
Install and connect the gas access valve to the supply
line, and connect the gas pipe positioned between the
gas valve to the burner.
•
Connect the electrical wiring to the burner controller
according to model specifications.
•
Place the back the burner unit in position, and tighten
the 8 top screws to secure the burner.
•
NOTE: Make sure the burner is properly seated while
the gas pipe and electrical wiring are correctly
positioned and attached underneath.

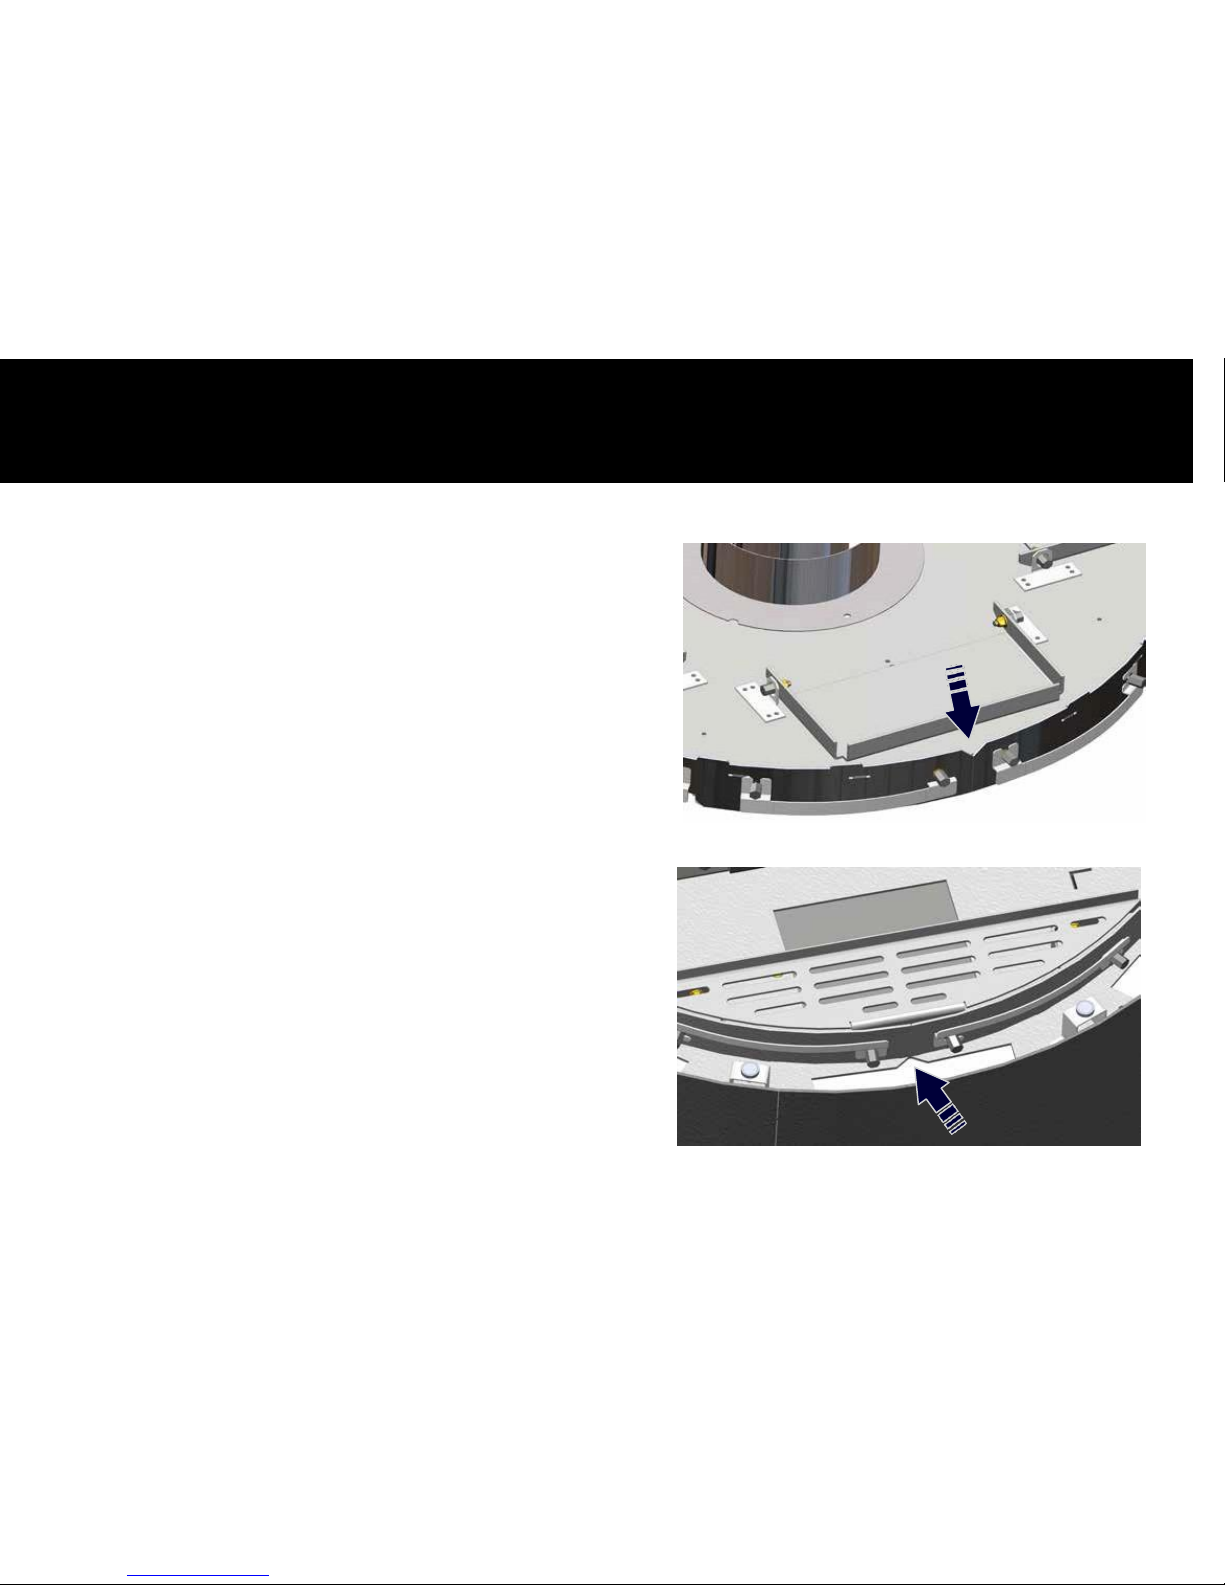
[Installation – Curved Fireplaces
11
[GLASS TRIMS:
•
Slightly release both flat glass panel trim screws to
allow easy installation for the next steps.
•
NOTE: Do not disassemble the glass trims.
[
TOP COVER:
•
Gently release both flat glass panel trim screws on
the top cover, and lift the trims by sliding them out
while the screws remain in place for easy installation
on the next step.
[
NOTES:
•
Do not fully remove the screws.
•
It is recommended that you perform this step while
the top cover is in an inverted (upside down)
position.
Top Cover in Upside Down
[Installation – Curved Fireplaces
12
[
TOP COVER POSITION:
•
Make sure the top cover and base are aligned during
the installation by lining up both the "V" position
marks on the fireplace top and base.
 Loading...