

Orlaco HLED 1, HLED MR 1 Installation Manual

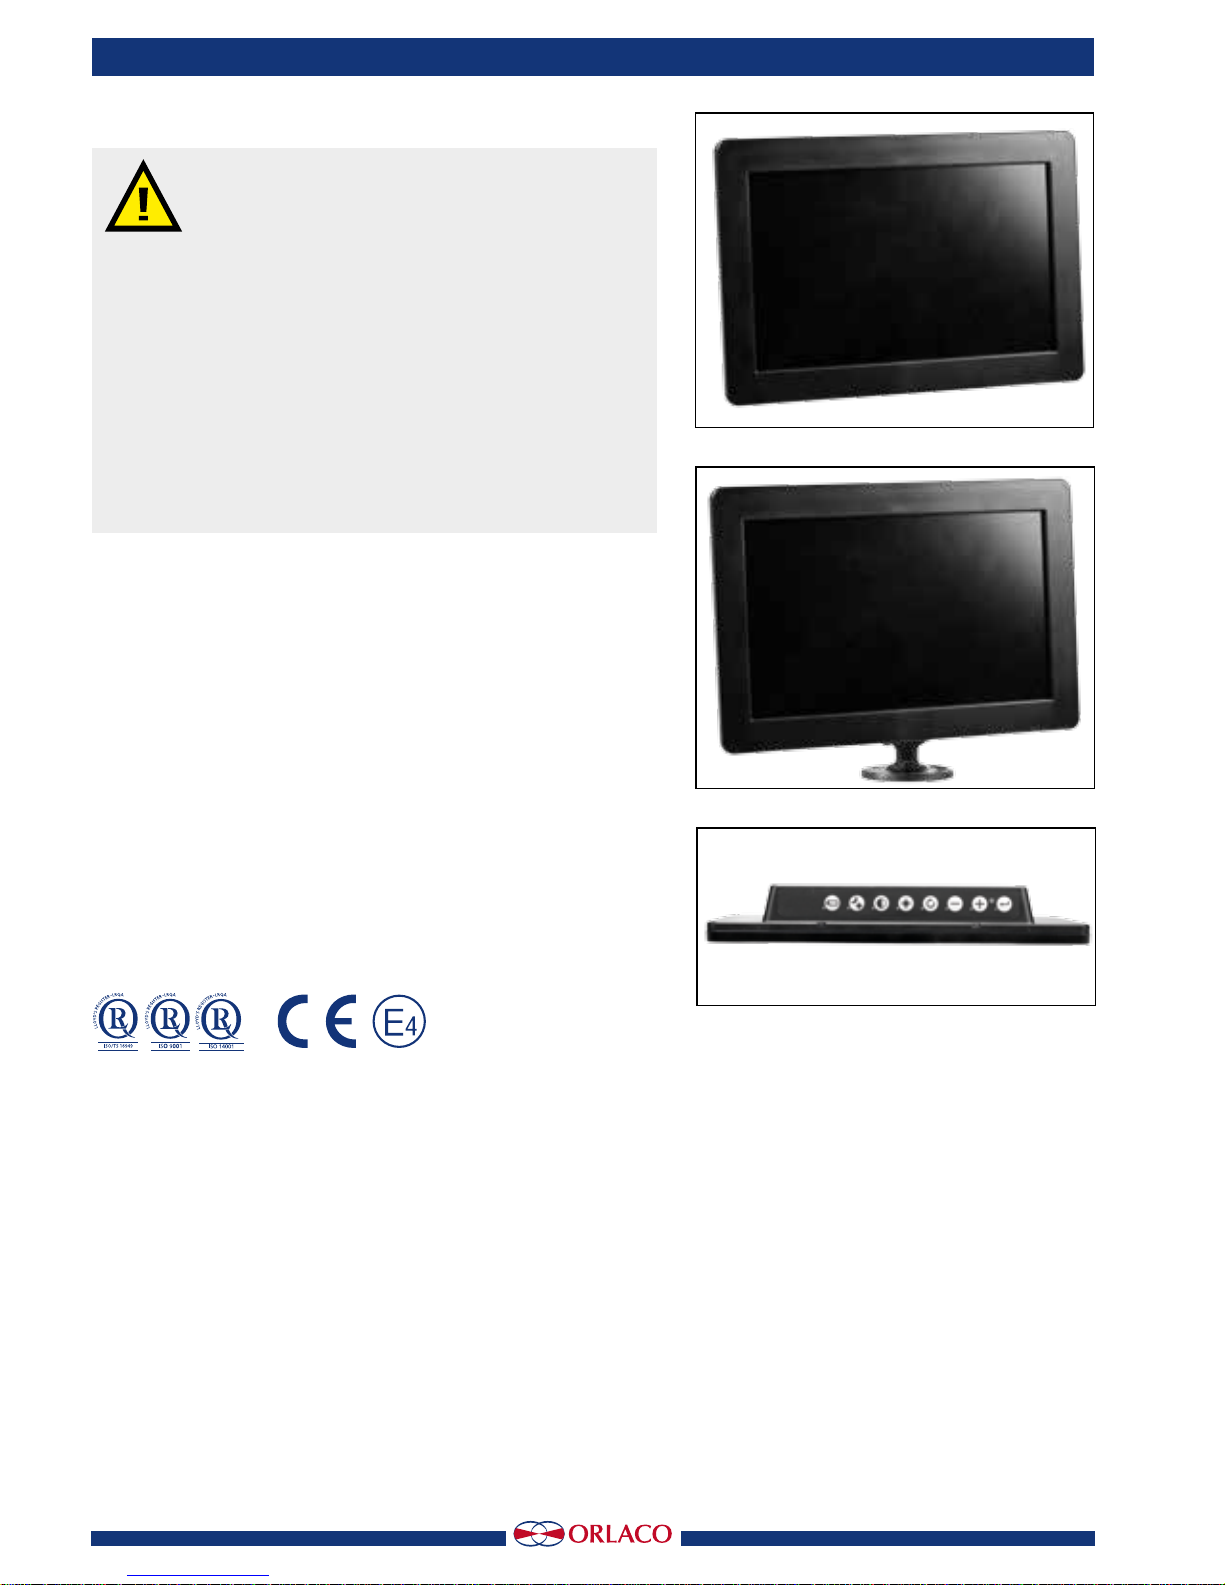
Monitor 10” HLED 1
Monitor 10” HLED MR 1
Installation manual
Manual No. IM0973580 A 04
11/2015
English
Article number:
0224000
0224010
2
IM0973580 A 04
Safety
In order to guarantee safe operation, these safety
instructions must be read before you start using
this equipment.
• Do not open the enclosure. This can cause
damage, short-circuiting or electrical shocks.
• Do not expose the equipment to extreme
temperatures. This can cause deformation of the
enclosure or damage to internal components.
• Repairs may only be made by the
manufacturer.
• The equipment must be installed as shown in
this manual.
Before you start using this equipment, please read this manual
carefully and follow all instructions. This System manual
describes the installation of the equipment, outlines the
connection options and explains how to put the equipment into
operation. We recommend that you keep this manual in a safe
place for reference purposes.
If you have any questions or issues concerning the operation
of this equipment, consult the relevant section in the manual or
contact the Orlaco Products BV Service department.
The camera and monitor systems from Orlaco comply with the
latest CE, ADR, EMC and mirror-directive regulations. All products
are manufactured in accordance with the ISO 9001 quality management, ISO/TS16949 quality automotive and ISO 14001 environmental management.
See User Manual UM0972220/UM0972223 for user instructions.
Contents page
1. Monitor variants 3
2. Monitor placement 3
3. Basic system installations 4
3.1. EMC 5
4. Technical specifications 6
5. Assembly, connection and data Monitor 10” 7
6. Maintenance and cleaning 9
7. Disposal 9
8. General terms and conditions 9
9. Release notes 10
Monitor 10’’ HLED 1, MR 1
Installation manual
Keyboard Monitor 10” HLED 1, MR 1
Art. no. 0224000; Monitor 10” HLED 1
Art. no. 0224010; Monitor 10” HLED MR 1

3
IM0973580 A 04
Installation manual
1. HLED variants
HLED Art. No. Video Cable
Bracket
Power Cable
Page
Monitor 10” HLED 1 1
0224000 1 metre 4 pin female + Coax 1 metre 7
Monitor 10” HLED MR1
R
1
0224010 1 metre 4 pin female + Coax
Adjustable bracket 127mm
1 metre 8
2. Monitor placement (guideline)
The correct placement of the monitor depends on the type of the vehicle.
Please take note of the following guidelines when installing the monitor.
Obstruction of the eld of vision
The monitor must be placed in such a way that the field of vision of
surrounding traffic and the work area is obstructed as little as possible.
Obstruction of the operation
The monitor may not obstruct the basic operation within the vehicle.
View point on the monitor
Posture
View point on the monitor
Viewing direction of the monitor
Bad
Good
Moderate
0°
10°
20°
40 cm
75 cm
150 cm
Moderate
Bad
Bad
Good
Bad
Good
Moderate
0°
10°
20°
15°
0°
30°
15°
30°
Good
Good
Moderate
Moderate
Bad
Bad
40 cm
75 cm
150 cm
Moderate
Bad
Bad
Good
Bad
Good
Moderate
0° 15° 30°
Bad
Good
Moderate
0°
10°
20°
15°
0°
30°
15°
30°
Good
Good
Moderate
Moderate
Bad
Bad
Moderate (incidental)
0°
40°
Bad
Good
Bad (continual)
40 cm
75 cm
150 cm
Moderate
Bad
Bad
Good
Bad
Good
Moderate
0° 15° 30°
Bad
Good
Moderate
0°
10°
20°
40 cm
75 cm
150 cm
Moderate
Bad
Bad
Good
4
IM0973580 A 04
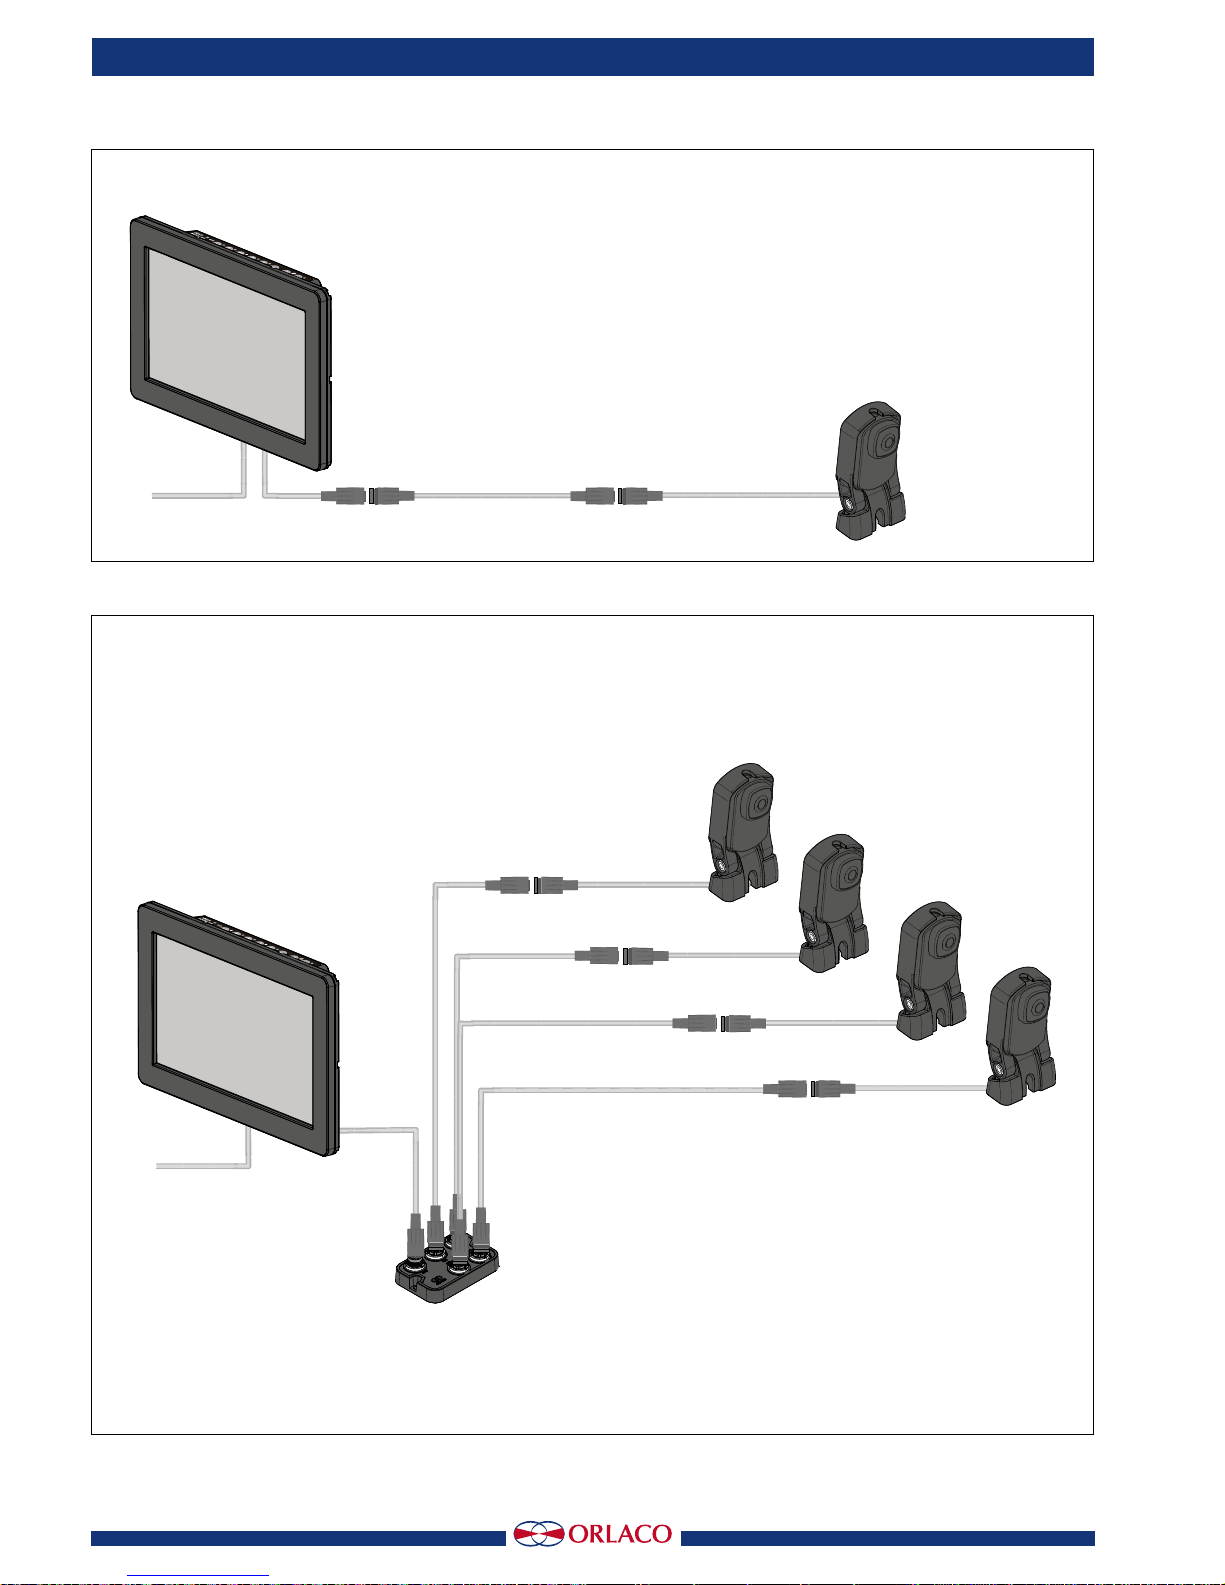
3. Basic system installation
Power
Monitor 10” HLED MR 1
Art. No. 0224010
Monitor 10” HLED MR 1
Art. No. 0224010
Cable Uni DigiCoax
Camera HMOS
with bracket
Power
Cable DigiCoax
Cable DigiCoax
Cable DigiCoax
Cable DigiCoax
DigiCoax Switcher
Art. No. 0404240
4x
HMOS Camera
with bracket
Camera 1
Camera 2
Camera 3
Camera 4
Installation manual
1 Camera system
4 Camera system
 Loading...