

Page 1
INSTRUCTION MANUAL
Orion GoScope™ II 70mm Refractor
#10034
Orion Quick Start Assembly & Operating Guide
Components
• Dust Covers
• Objective Lens (70mm diameter and 400mm focal length)
• Focus Knob
• Focus Drawtube
• 45 Degree Diagonal
• Eyepiece (two included: a 20mm and a 10mm); also called
an ocular
• Tripod Adaptor Block (on telescope)
• Tripod Adaptor Screw (on tripod)
• Tripod Pan-Tilt Handle & Up-Down (or Tilt) Locking Screw
• Tripod Center Column (adjustable height)
• Tripod Legs (adjustable height)
• Center Column Locking Screw
• Tripod Leg Cam Locks
• Azimuth (Left-Right) Locking Screw
Thank you for your purchase of an Orion 70mm GoScope
II. Use these quick instructions to get started on a highpowered exploration of the world around you and into the
depths of Outer Space! More learning materials, including
monthly sky maps, can be found in Orion’s Community page
at OrionTelescopes.com, including articles on observing the
planets and locating deep sky objects. Also see the support
page for the GoScope II on the website for updates and tips.
SOLAR WARNING: Never Use the GoScope II, or its
finderscope, to look at the Sun without a proper, safe
solar filter. Using a telescope or binocular to observe
the Sun may cause instant eye damage or blindness.
Use under appropriate adult supervision.
• Backpack
Assembly
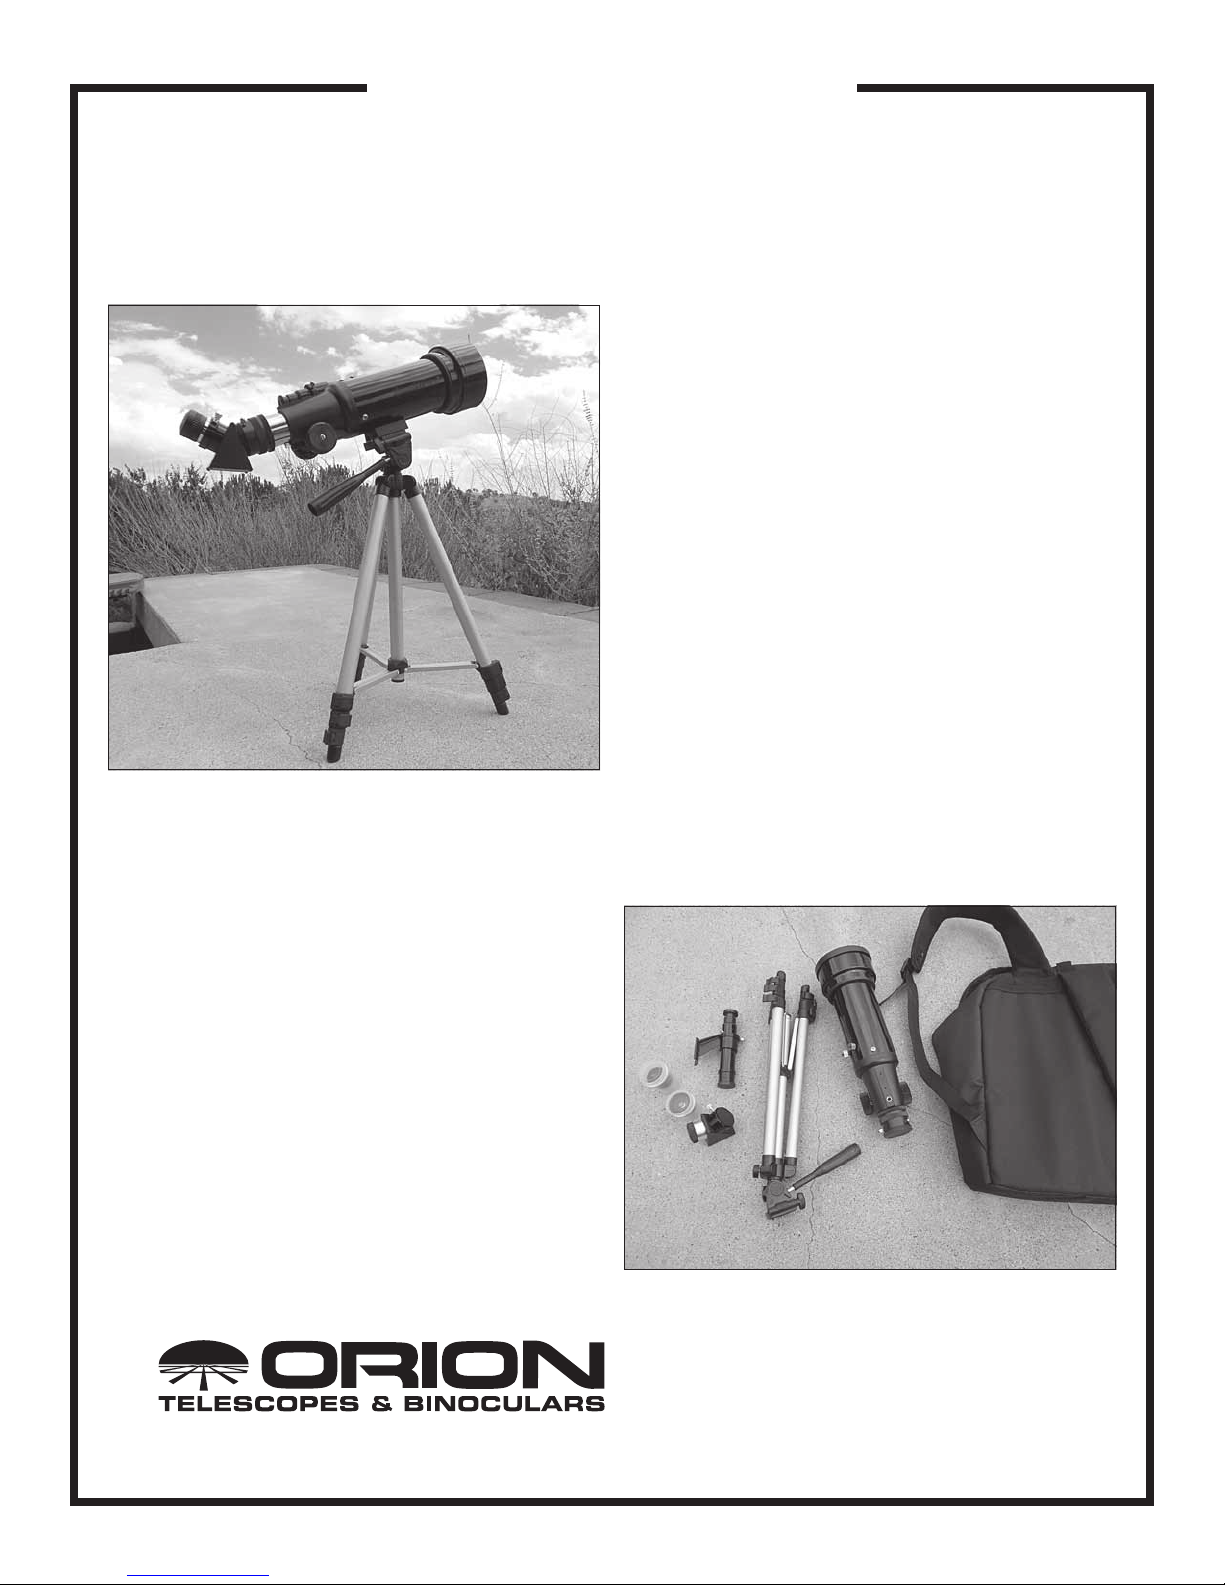
Step 1: Unpack Your GoScope
Providing Exceptional Consumer Optical Products Since 1975
Figure 1: Unpacked; save the lens caps and packaging.
Customer Support:
www.OrionTelescopes.com/contactus
Corporate Offices:
89 Hangar Way, Watsonville CA 95076 - USA
IN 521 Rev. A 11/13
Page 2

Step 2: Deploy the tripod.
Step 3: Attach the optical tube assem-
bly to the tripod.
Step 4: Attach the finderscope to the
optical tube assembly.
Step 5: Insert the 45-degree diagonal.
Step 7: Remove dust caps – on finder,
the main telescope and eyepiece.
Step 8: Point the telescope towards a
distant object; while looking through the
eyepiece, turn the focus knob to adjust
focus.
Step 6: Put the 20mm eyepiece in the
diagonal.
Step 9: Align the finderscope.
Step 10: Start looking!
2
Page 3

Operation
Step 1: Set the scope and tripod outdoors and check the
alignment of the finderscope (if just assembled)
Step 2: Adjust the tripod to a convenient height
Step 3: Start with low power
Step 4: Aim your GoScope (see below for target selections)
Loosen the tripod controls and look along the side of the tube
to point the objective lens toward the direction or objects you
want to view. Retighten to keep the target in the field of view.
Step 5: Focus!
Step 6: Change power if needed
The 25mm eyepiece is for wide angle/low power viewing. This
eyepiece will give you the brightest view. It delivers 20x power.
The 10mm eyepiece is for close-ups of Moon and planets,
after you find them with the wide angle eyepiece. The 10mm
eyepiece delivers a 40X power view… but things are four times
dimmer.
Best targets for rural users (everything above, plus):
• The Great Nebula in Orion – a spectacular glowing cloud
of gas in Orion’s sword; this is a “stellar maternity ward,” a
place where new stars are forming.
• The Summer Milky Way – the GoScope is well suited
to scanning the Milky Way to “discover” dozens of star
clusters.
• The Pleiades (M45) – a bright open star cluster
• The Andromeda Galaxy (M31) – the brightest external
galaxy
• The Double Cluster in Perseus
• M11, M6 & M7 – three bright, summer star clusters
• The Beehive Cluster – A big, open star cluster in the spring
sky
• The Great Cluster in Hercules M13 – a wonderful globular
star cluster, spring & summer
• M22 – another grand globular star cluster in Sagittarius, a
summer constellation
Observing Tips
What Can You See?
The Orion GoScope II is equipped with the optics to give you a
“correct-image” view, similar to what you can see with binoculars. Because of this, the GoScope II is an excellent terrestrial
telescope for looking at objects on the ground – so try it out
first during the daytime to acquaint yourself with its operation!
For astronomy you can see hundreds of craters on the Moon,
the four major moons of Jupiter, the major cloud bands on
Jupiter and the rings of Saturn. When Mars is in the sky, you’ll
be able to see its form, but surface details are likely too faint
and small to see in this telescope. If you take the GoScope
II to a location away from city lights (the darker, the better) a
telescope of this size can show you a lot! For example, most
of the “M-Objects” or Messier objects can be found with this
telescope – you’ll need a star map and patience, but this
scope can show you Open star clusters (Examples – M7, M6,
M11, M45); Globular star clusters (Examples – M13, M22, M5,
M3); Gaseous Nebulas (Examples – The Orion Nebula M42,
The Lagoon Nebula M8) and other galaxies outside our Milky
Way (Examples – The Andromeda Galaxy M31; The Sculptor
Galaxy NGC 253; M81 & M82).
Best Targets
Best targets for city users:
• Daytime, terrestrial views
• The Moon
• Venus
• Jupiter
• Saturn
How Do I Change the Power?
The power of a telescope is calculated by dividing the focal
length of the telescope by the focal length of the eyepiece.
Example: For a GoScope II the focal length of the telescope is
400mm, so a 10mm eyepiece gives you 400/10 or 40 power.
Where Can I Use My GoScope?
Terrestrial viewing: Anywhere you can take it! The 70mm
GoScope II is a powerful “spotting” scope or terrestrial telescope that is more powerful than binoculars to give you real
close-ups.
For best results, DO NOT VIEW OUT WINDOWS. The glass
in a window is approximately 1000 times less accurate than
the optics of your GoScope – so it will soften your views, and
things will seem to be slightly out of focus. If you must view
through a window, use the lowest power available.
For nighttime, astronomical viewing: Again, use the GoScope
anywhere, but if you want to see objects outside our solar
system (“Deep Sky Objects”) you need to get away from city
lights. We know this isn’t practical for many people most of the
time, but that’s why the GoScope is made to be so portable –
take it with you on vacation or to a remote “star party.”
We cannot stress enough: you can see lots of deep sky
objects with a GoScope 70, but you need to use it away from
city lights. By away from city lights, we mean, if possible someplace where the summer milky way is visible. At Orion’s headquarters in Watsonville, CA, that means an hour drive to a
remote location to fully test a telescope.
How Do I Find Objects In The Sky?
You wouldn’t be able to find a new city without a map, so how
do you find a new object in the sky? Use a star map, usually called by astronomers a “star chart.” The software included
with the GoScope has plenty of ways to generate maps of all
levels of details to find targets in the sky. To find an object,
first locate it on the map and note its position relative to sev-
3
Page 4

eral bright stars. Then find the bright star with your unaided
eye and “hop” from star to star to where the object should be
located.
We also recommend you check out Orion’s Community webpage for videos and articles on how to find objects in the sky
and how to use star charts and planispheres (low resolution
sky maps that show the entire sky at once).
Another great way to learn your way around the sky and how
to use a telescope is to attend a star party held by local amateur astronomy clubs. If you are serious about getting started
on the right foot attend a couple of meetings of your local club.
There are usually many people eager to help newcomers
learn their way around the sky. Contact local planetariums to
find what clubs are located near you.
One-Year Limited Warranty
This Orion product is warranted against defects in materials or workmanship for a period of one year
from the date of purchase. This warranty is for the benefit of the original retail purchaser only. During this
warranty period Orion Telescopes & Binoculars will repair or replace, at Orion’s option, any warranted
instrument that proves to be defective, provided it is returned postage paid. Proof of purchase (such as
a copy of the original receipt) is required. This warranty is only valid in the country of purchase.
This warranty does not apply if, in Orion’s judgment, the instrument has been abused, mishandled, or
modified, nor does it apply to normal wear and tear. This warranty gives you specific legal rights. It is not
intended to remove or restrict your other legal rights under applicable local consumer law; your state or
national statutory consumer rights governing the sale of consumer goods remain fully applicable.
For further warranty information, please visit www.OrionTelescopes.com/warranty.
Orion Telescopes & Binoculars
Corporate Offices: 89 Hangar Way, Watsonville CA 95076 - USA
Customer Support: www.OrionTelescopes.com/contactus
© Copyright 2012-2013 Orion Telescopes & Binoculars
4
 Loading...