

ORION Images Explorer 9029, Explorer 9994 Instruction Manual
INSTRUCTION MANUAL
™
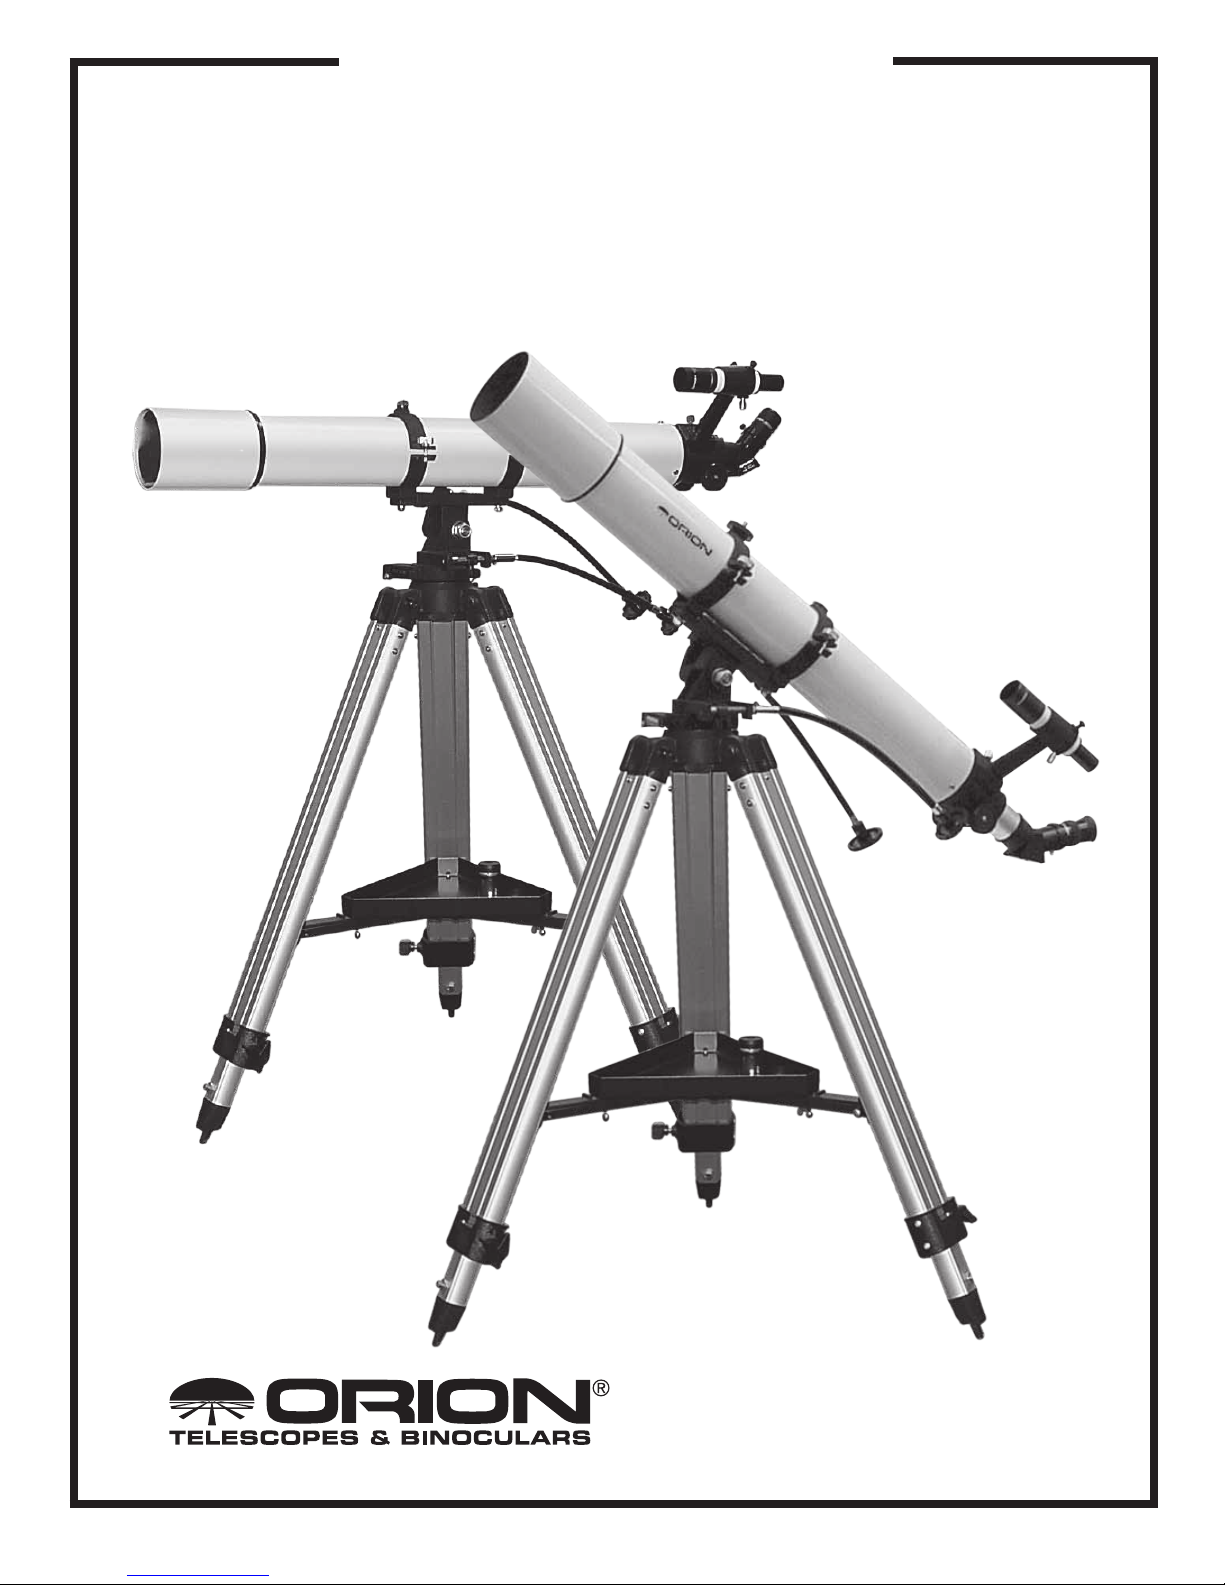
Orion® Explorer
Altazimuth Refractors
#9029 90mm model
#9994 80mm model
Providing Exceptional Consumer Optical Products Since 1975
Customer Support (800) 676-1343
E-mail: support@telescope.com
Corporate Offices (831) 763-7000
P.O. Box 1815, Santa Cruz, CA 95061
IN 113 Rev. D 05/05
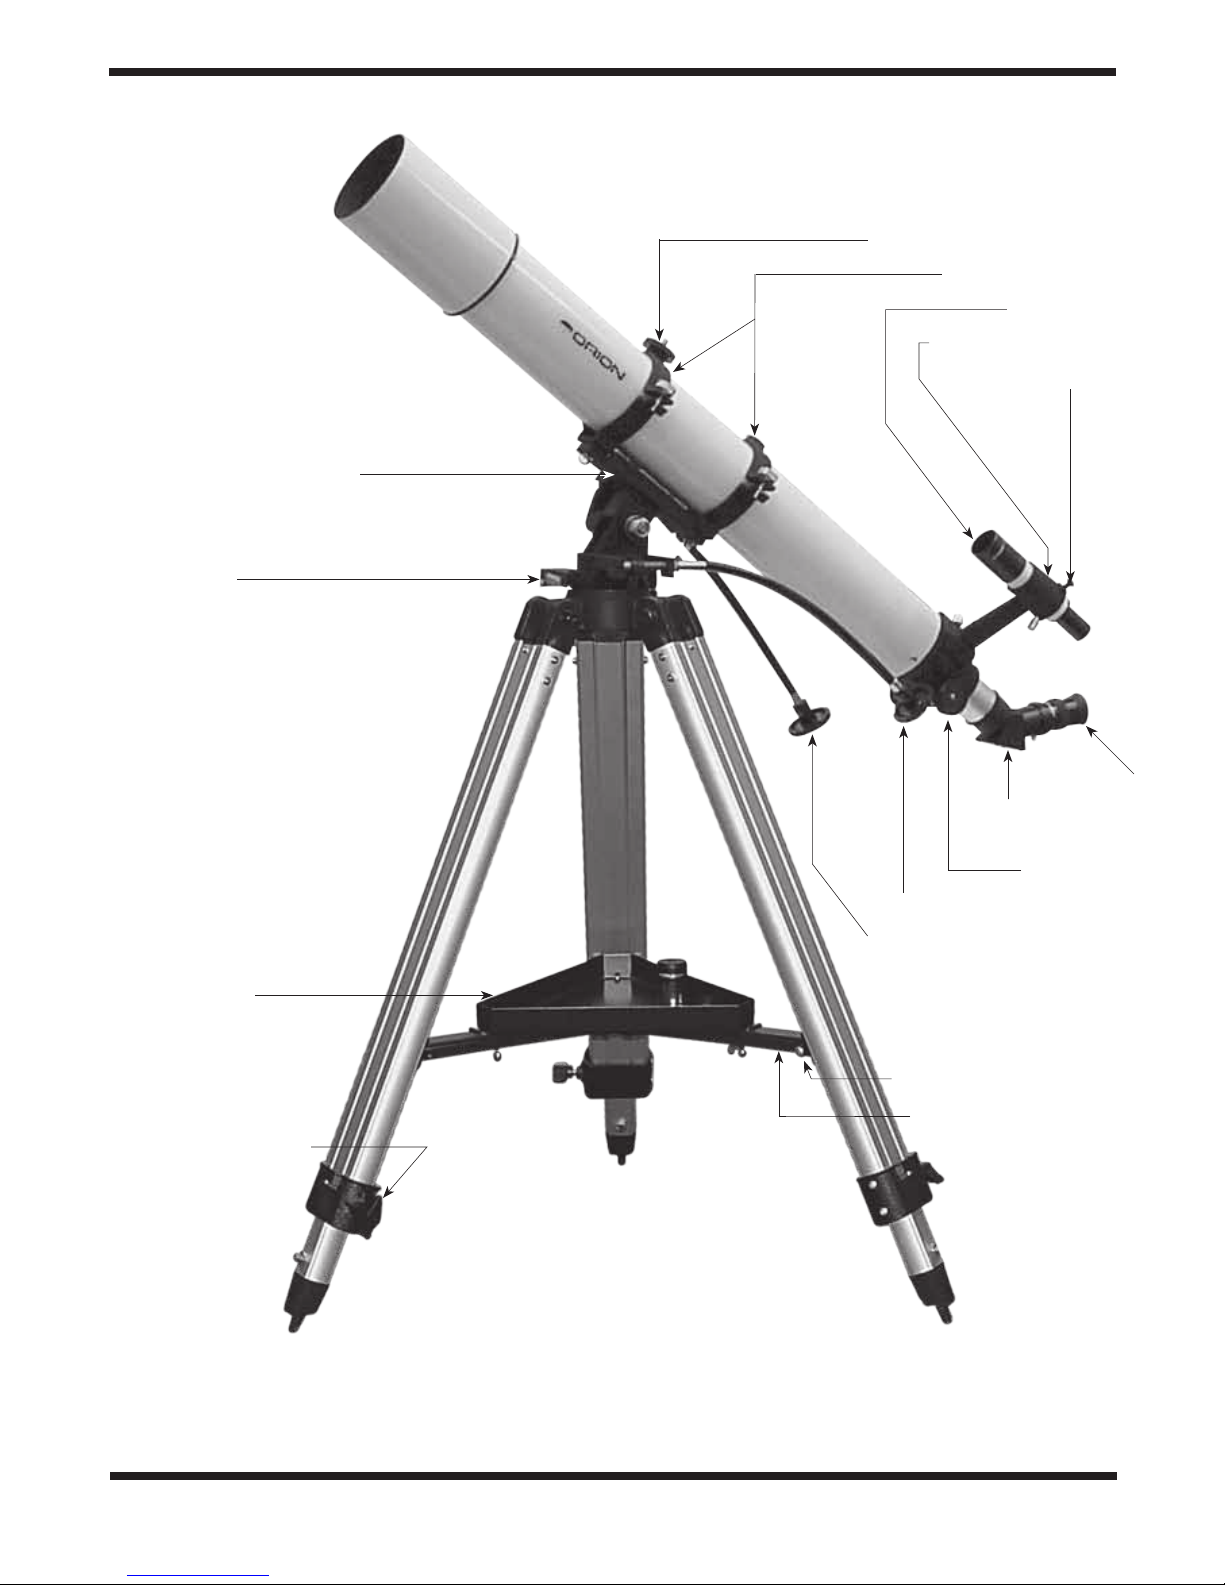
Tube ring mounting plate
Azimuth lock
knob (not shown)
Piggyback camera adapter
Tube mounting rings
Finder scope
Finder scope bracket
Alignment screws (2)
Eyepiece
Accessory tray
Tripod leg lock knob
45˚ Correct-image
diagonal
Focus knob
Azimuth slow-motion control
Altitude slow-motion control
Accessory tray
bracket attachment point
Accessory tray bracket
Figure 1. The Explorer altazimuth refractor (90mm model shown).
2

Congratulations on your purchase of a quality Orion telescope. Your Explorer altazimuth refractor is an excellent
instrument for both terrestrial observation and astronomical viewing. Whether it’s a distant ship at sea, a bird across a field, or
a planet in the sky, the Explorer will bring you closer to what you wish to observe. If you have never used a telescope before,
we would like to welcome you to a new world of adventure. With a little practice and patience, you’ll find your telescope to be a
never-ending source of wonder, exploration, and relaxation.
Table of Contents
1. Parts List...................... 3
2. Assembly ..................... 3
3. Aligning the Finder Scope ........ 4
4. Using Your Telescope ............ 5
5. Astronomical Viewing ............ 6
6. Care and Maintenance ........... 7
7. Specifications .................. 8
These instructions will help you set-up, properly use, and
care for your telescope. Please read them over thoroughly
before getting started.
1. Parts List
Qty. Description
1 Optical tube assembly
1 Altazimuth mount
3 Tripod Legs with mounting screws
1 Accessory tray w/mounting hardware
1 Accessory tray bracket
2 Optical tube mounting rings (located on optical tube)
2 Slow-motion control cables
1 25mm (36x) eyepiece (1.25")
1 10mm (91x) eyepiece (1.25")
1 45° correct-image diagonal (1.25")
1 6x26 correct-image finder scope
1 Finder scope bracket
1 Objective lens dust cap
WARNING: Never look directly at the Sun
through your telescope or its finder scope—
even for an instant—without a professionally
made solar filter that completely covers the front
of the instrument, or permanent eye damage
could result. Young children should use this
telescope only with adult supervision.
2. Assembly
Carefully open all of the boxes in the shipping container.
Make sure all the parts listed in the parts list are present.
Save the boxes and packaging material. In the unlikely
event that you need to return the telescope, you must use
the original packaging.
Assembling the telescope should take only about 30 minutes.
All screws should be tightened securely to eliminate flexing
and wobbling, but be careful not to over-tighten or threads
may strip. No tools, other than the ones provided, are needed. Refer to Figure 1 during assembly.
During assembly (and anytime, for that matter), do not touch
any of the lenses of the telescope, finder scope, or eyepieces, or the mirror of the diagonal, with your fingers. The
optical surfaces have delicate coatings on them that can be
damaged if touched inappropriately. Never remove any lens
assembly from its housing for any reason, or the product
warranty and return policy are void.
1. Lay the altazimuth mount on its side. Attach the tripod legs one at a time to the mount using the screws
installed in the tops of the tripod legs. Remove the
screw from the leg, line up the holes in the top of the
leg with the holes in the base of the mount, and reinstall
the screw so it passes through the leg and the mount.
A washer goes between the screw head and the tripod
leg, and between the wingnut and tripod leg. Tighten the
wingnuts only finger-tight, for now. Note that the accessory tray bracket attachment point on each leg should
face inward.
2. Tighten the leg lock knobs at the base of the tripod legs.
For now, keep the legs at their shortest (fully retracted)
length; you can extend them to a more desirable length
later, after the scope is completely assembled.
3. With the tripod legs now attached to the altazimuth
mount, stand the tripod upright (be careful!) and spread
the legs apart enough to connect each end of the accessory tray bracket to the attachment point on each leg.
Use the screw that comes installed in each attachment
point to do this. First remove the screw, then line up one
of the ends of the bracket with the attachment point and
reinstall the screw. Make sure the accessory tray bracket
is oriented so the ribs in its plastic molding face downward.
4. Now, with the accessory tray bracket attached, spread the
tripod legs apart as far as they will go, until the bracket is
taut. Attach the accessory tray to the accessory tray
bracket with the three wingnut-head screws already
installed in the tray. This is done by pushing the screws
up through the holes in the accessory tray bracket, and
then threading them into the holes in the accessory tray.
3
 Loading...