

Page 1
730 0 Bolsa Av e. , Wes tm in ste r, CA 92 68 3 -
Pre mium Mo unt Inc
Pho ne: 714 -766- 6307
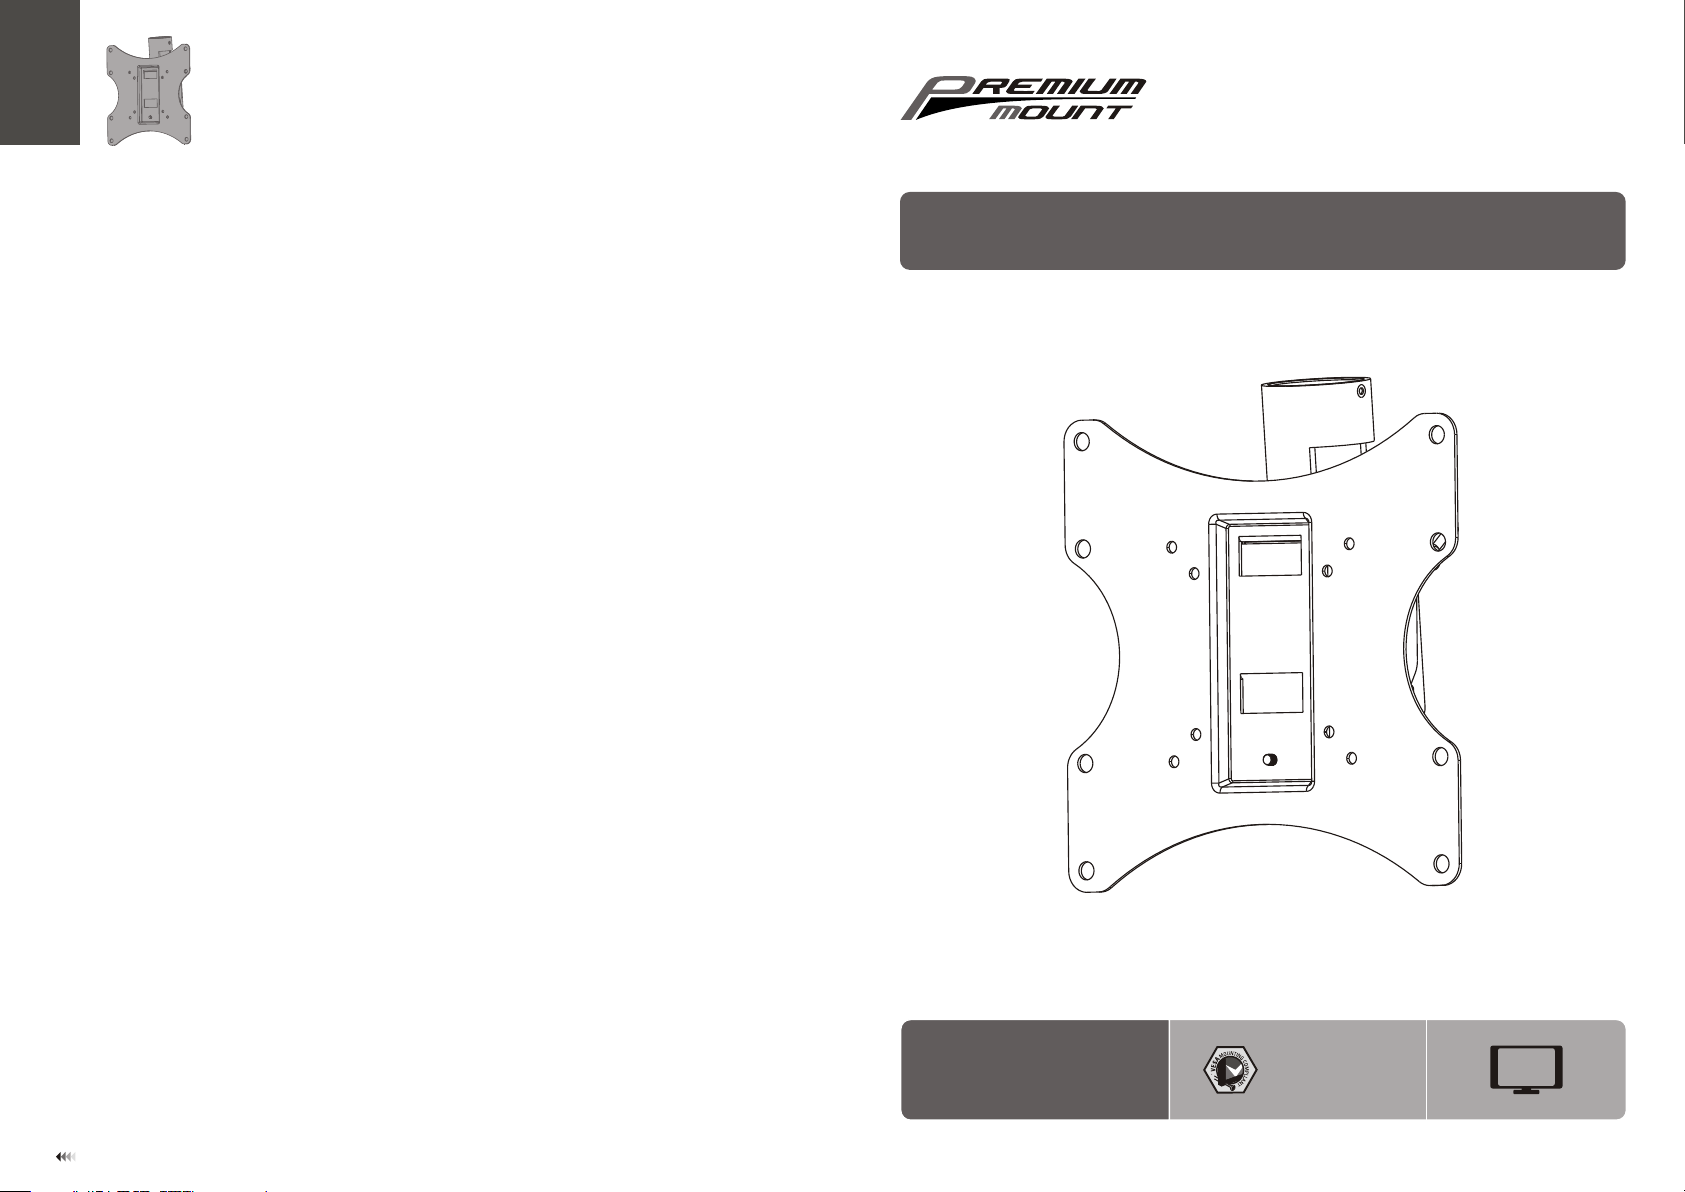
INSTALLATI ON MANUAL
Flat Panel Ceiling Mount Accessory
CMA - 01
75x7 5/ 10 0x 100
200x 10 0/ 20 0x200
42"
MAX
ISSUED: MAR. 2013
7
Page 2
NOTE: Rea d the e ntire instruc tio n man ual before y ou st art i nstallat ion a nd as sembly.
WARNING
• Do not begin the installation until you have read and understood all the instructions
and warnings contained in this installation sheet. If you have any questions
regarding any of the instructions or warnings, please contact your local distributor.
• This mounting bracket was designed to be installed and utilised ONLY as
specified in this manual. Improper installation of this product may cause damage
or serious injury.
• Always use an assistant or mechanical lifting equipment to safely lift and position
the equipment.
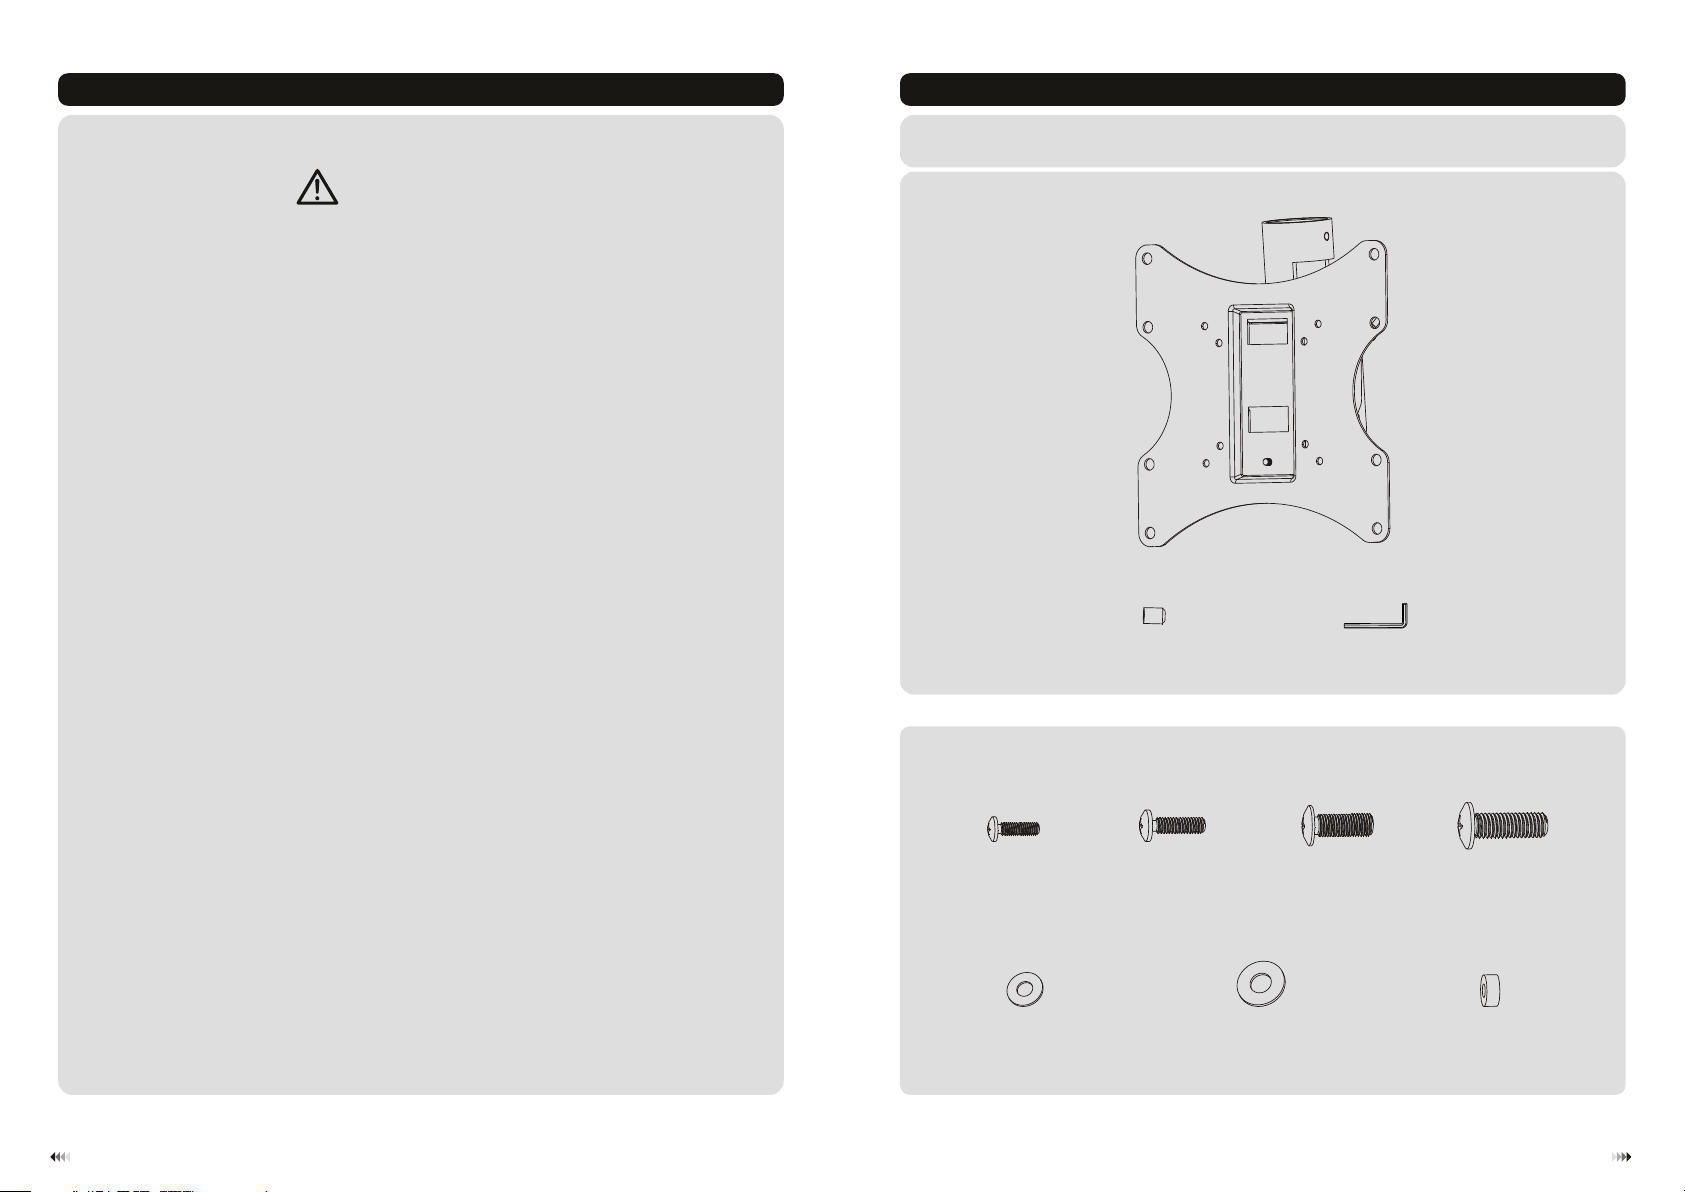
Component Ch ecklist
IMPORTANT: Ens ur e that you have r ec ei ve d al l pa rt s ac co rd ing to the comp on en t ch ec kl is t pr io r to i nstallati on .
If an y pa rt s ar e mi ss in g or f au lt y, tel ep ho ne y ou r lo ca l di st ributor for a r ep la ce me nt .
• Tighten screws firmly, but do not over tighten. Over tightening can cause damage
to the items, This greatly reduces their holding power.
• This product is intended for indoor use only. Using this product outdoors could
lead to product failure and personal injury.
Package M
M4x1 4 (x 4)
D5 was he r (x 4)
M-A
M-E
set sc re w( x1 )
B
M5x1 4 (x 4)
M-B
ceil in g pl at e (x1)
A
M6x1 4 (x 4)
D8 was he r (x 4)
M-F
Allen key (x1)
C
M-C
M8x2 0 (x 4)
M-D
smal l sp ac er ( x8 )
M-G
21
Page 3

1. Separating the VESA Plate
Use a pr op er s cr ewdrive r to l oo se n
the sc re w to s ep ar ate the V ES A pla te
from t he c ei li ng mount ac ce ss or y.
3.Installing the VESA Plate
2. Attaching the VESA Plate to the Pipe
Thre ad a nd t ig hten the VE SA pl at e
onto t he p ip e( not inclu de d) .
1-1/ 2" i nt er na l diame te r
B
C
M-A
M-B
M-C
M-D
M-E
M-F
Top of the d is pl ay
or
Top of the d is pl ay
M-D
M-F
M-D
M-F
or
M-G
Not e: Ch oose the appropria te sc rews, wash ers and sp acers (if neces sar y) ac cordi ng to the type of screen.
Scr ew th e VES A plate onto the di splay.
Tig hten all sc re ws b ut d o not over ti gh te n.
3
M-G
M-G
4
Page 4

1b. Solid Brick and Concrete Block Mounting: 4. Hanging the Display onto the Ceiling Mount Head
1-1/ 2" i nt er na l diame te r
5. Adjustment
+5°
-12°
adju st me nt h andle
Loos en t he a dj ustment h an dl e to a djust the d is pl ay t o ob tain th e de si re d angle the n ti gh te n it.
Hook t he V ES A pla te (attac he d th e di sp lay) on to t he c ei li ng moun t he ad a nd t ighten th e sc re w to s ec ure it.
Main te na nc e
• Chec k th at t he b ra cket is s ec ur e an d sa fe to use a t re gu la r in terva ls (a t le as t every thr ee m on th s).
• Plea se c on ta ct your dea le r if y ou h av e any que st io ns .
65
 Loading...