

Origin Cleaning Equipment OSP445 Owner's Manual
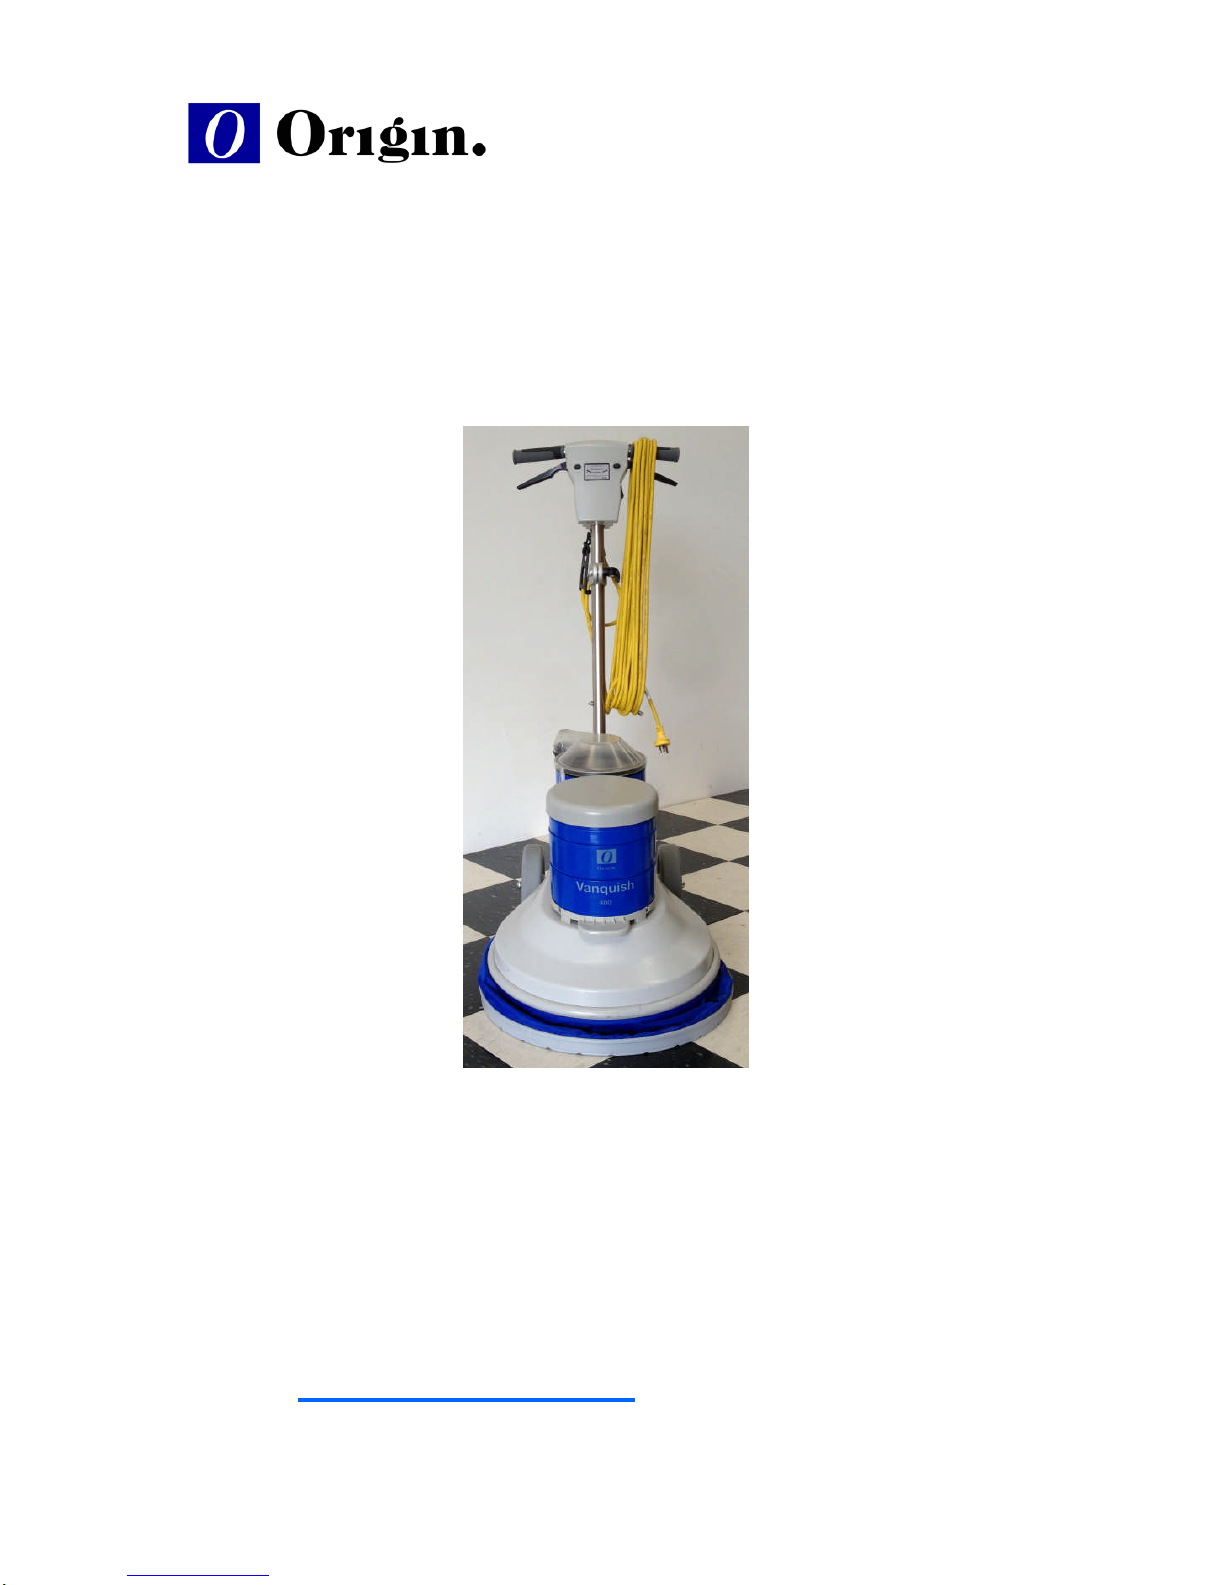
Origin OSP445
Origin Suction Polisher
Floor machine with Vacuum
Owners Operating Guide
Origin Cleaning Equipment Pty Ltd
PO Box 1340 Penrith NSW 2750
origin@ozemail.com.au
Precision Engineered

SAFE AND PROPER USE OF THIS MACHINE
Make sure that this manual is read and understood by the operator. Only trained operators
should operate this machine once they are familiar with the adjustments and correct method. When
using this machine, basic safety precautions should always be observed, including the following:
READ ALL INSTRUCTIONS BEFORE USING THIS MACHINE.
1.
DO NOT
leave this machine unattended when it is plugged in.
Unplug
from the outlet when not in use
and before fitting or removing the brush.
2.
DO NOT
pick up building materials such as plaster dust, wood shavings, sand etc. without using
an approved disposable liner bag fitted inside the filter bag.
3. Use this machine only as described in this manual. Use only manufacturer’s recommended accessories
including
brushes.
4.
DO NOT
use with a damaged electric cable.
5.
DO NOT
use if this machine has been left outdoors and exposed to rain or water. Return the machine
to an authorized dealer for examination.
6.
DO NOT
pull or carry the machine by the electric cable.
DO NOT
use the cable as a handle, close a
door on the cable, or pull the cable around sharp edges and corners.
7.
DO NOT
run machine over the cable.
8
. KEEP
the cable away from heated surfaces.
9.
DO NOT
unplug by pulling on the cable. To unplug, grasp the plug, not the cable. Wind the cable from
the machine end not from the plug, this will prevent the cable from twisting and extend its life.
10.
DO NOT
handle the plug or the machine with wet hands.
11
. Keep
hair, loose clothing, fingers, rags, steel wool and feet from openings, rotating brush and other
moving parts.
Make sure no openings are blocked that will restrict airflow.
12.
DO NOT
pick up hot coals, cigarette butts, matches or any hot, smoking or burning objects.
13.
DO NOT
pick up or run the brush over hard or sharp objects such as glass, nails, screws, coins, etc.
14.
DO NOT
use without all the filters in place. Use
ONLY
filters and accessories provided by the
manufacturer. Failure to do so will void the warranty.
15.
Switch off
all controls before plugging or unplugging this machine into an electrical outlet.
16.
DO NOT
pick up flammable or combustible materials or use this machine in the presence of explosive
liquids or vapours.
17.
DO NOT
use in an enclosed space filled with vapours given off by oil based paints, paint thinners,
flammable dust, powdered milk, or other explosive or toxic vapours.
THIS IS NOT AN EXPLOSION
PROOF MACHINE.
18. Always store this machine indoors.
This appliance is not intended for use by young children or infirm persons, without proper super-
vision. Young children should be supervised to ensure that they do not play with this appliance.
DO NOT expose to rain and DO NOT pick up water or other liquids.
This machine is insulated for your protection. However, a shock can occur if the electric cable is damaged.
If the supply cable is damaged, it must be replaced by the manufacturer or its agent or retailer to ensure
the correct type of approved cable is supplied in order to avoid a hazard. Make sure that the cable is kept
clean to help highlight cable damage.
Packaging
This machine is packed in two cartons. Carton 1 contains the handle
assembly and carton 2 contains the base assembly, the brush and
the operating guide.
To remove the base assembly cut the side of the carton where the
wheels are located. Lock wheels into place then lift the handle from the
base
front
and roll the base assembly out of the carton.
Remove handle from the carton by sliding out of the carton.
Picture1
Handle Assembly
Tools required to assemble handle to the base:
2 x 17mm spanners, 2 x 13mm spanners and a hammer.
Remove tape from the lower end of the handle and from the electric
cable. Be careful not to cut the electric cable.
Remove the M10 nut, washers and M10 x 120mm bolt from the main
handle hinge. Fit handle hinge between the wide base lugs. Fit washer
under M10 bolt head then locate the M10 bolt and washer into the lug
from the
hose side (RHS from base rear) see picture 1.
Tap bolt
head with a hammer until it is through the second lug. Fit washer and
M10 nut to the bolt and tighten until firm.
Remove the M8 nut, washers and M8 x 50mm bolt from the support
handle hinge. Fit support handle hinge between the narrow base lugs.
Fit washer under M8 bolt head then locate the M8 bolt and washer into
the lug from the
hose side (RHS from base rear) see picture 1
. Tap
bolt head with a hammer until it is through the second lug. Fit washer
and M8 nut to the bolt and tighten until firm.
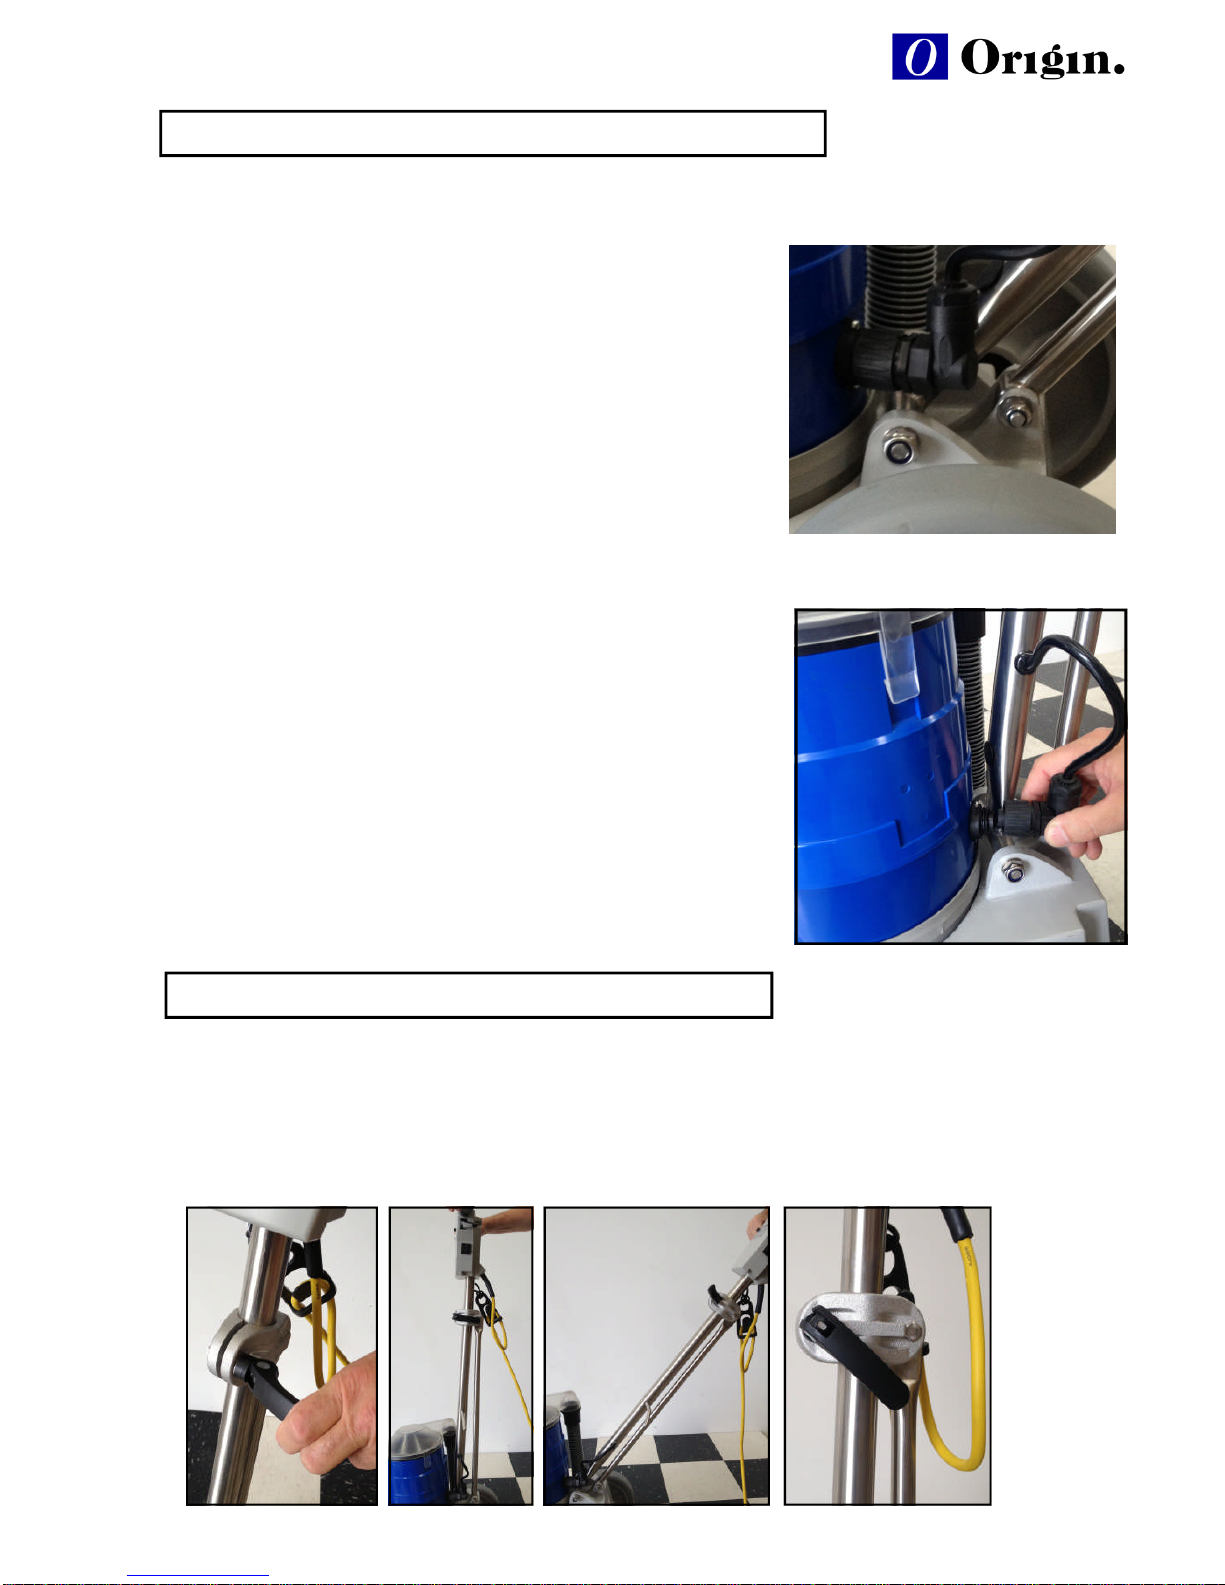
Picture 2
Electrical Connection
Locate 4 pin socket from the handle and align to the 4 pin receptacle on
the vacuum housing so that the locators engage (see picture 2). Push in
socket and turn the locking nut on the socket until tight. If the locking nut
is not engaging then pull back on the socket a fraction and then turn.
Tighten socket nut until hand tight.
1. Handle Adjustment
To adjust handle height, lift the handle clamp open (see picture 3) and then adjust the handle to waist
height. Once handle is in a comfortable position lock the handle clamp close. (see pictures 4 and 5)
If the handle requires the lock position to be tighter to prevent movement, then lift the handle clamp
open and rotate the handle clamp clockwise one turn and then lock the handle clamp closed (se picture
6). If needed repeat this procedure. HOWEVER DO NOT OVER TIGHTEN.
Picture 3
Delivery and Assembly
Adjustments and Operating
Picture 4
Picture 5
Picture 6
 Loading...