

Origin Acoustics SL4, SL6 Installation Manual

Installation Manual
Contents
Introduction 2
Before Installing 2
Type of Speaker Wire 3
Installation 3
Troubleshooting 4
Technical Assistance 5
Warranty 5
Two Year Warranty 5
Requirements and Warranty Coverage 6
Return Process 6
Specifications 7
Models: SL4, SL6
2 3
844·674·4461
TECHSUPPORT@ORIGINACOUSTICS.COM
WWW.ORIGINACOUSTICS.COM
SPEAKER SELECTOR INSTALLATION MANUAL
Introduction
Thank you for purchasing this speaker selector. At Origin Acoustics, we take pride in providing you with a high quality product.
All of Origin Acoustics’ speakers are designed to have excellent
sound quality, longevity, and a simple installation process.
Origin Acoustics’ SL4 and SL6 speaker selectors are used to connect four or six pairs of speakers (4ohm or 8ohm) to your amplifier
or receiver while maintaining a safe impedance load. Each pair of
speakers can be turned on and o with the buttons on the front
of the unit.
Before Installing
This product does have impedance correction functionality. Even
when all four pairs of speakers are playing simultaneously, this
circuitry protects your amplifier or receiver from low impedance
loads.
Depending on the impedance load of your speakers, and how
many pairs are playing, the actual impedance load presented to
your amplifier or receiver will vary.
We recommend that you verify that your amplifier or receiver is
capable of driving a 4-ohm load before using more than two pairs
of 4-ohm speakers. If unsure about your amplifier or receiver,
contact your dealer or the manufacturer.
Type of Speaker Wire
Stranded copper wire of 16 or 18 gauge is recommended in most
cases, but for wiring runs in excess of 80 feet, use 14 gauge wire
instead. However, anything larger than 14 gauge is not recommended, as it may not fit. Never use aluminum, solid-core or
“Romex” wire with these products. In the United States, most
states and municipalities require that special speaker wire be
used inside walls for fire safety. Normally, these must have a “CL”
fire rating. Contact your dealer or building contractor/inspector if
uncertain about the wiring.
Installation
1. Find a suitable mounting location.
2. Run all the necessary wires and label
them for future reference.
3. The amplifier and speaker connectors
on this unit are removeable. Removing
them may make installation easier.
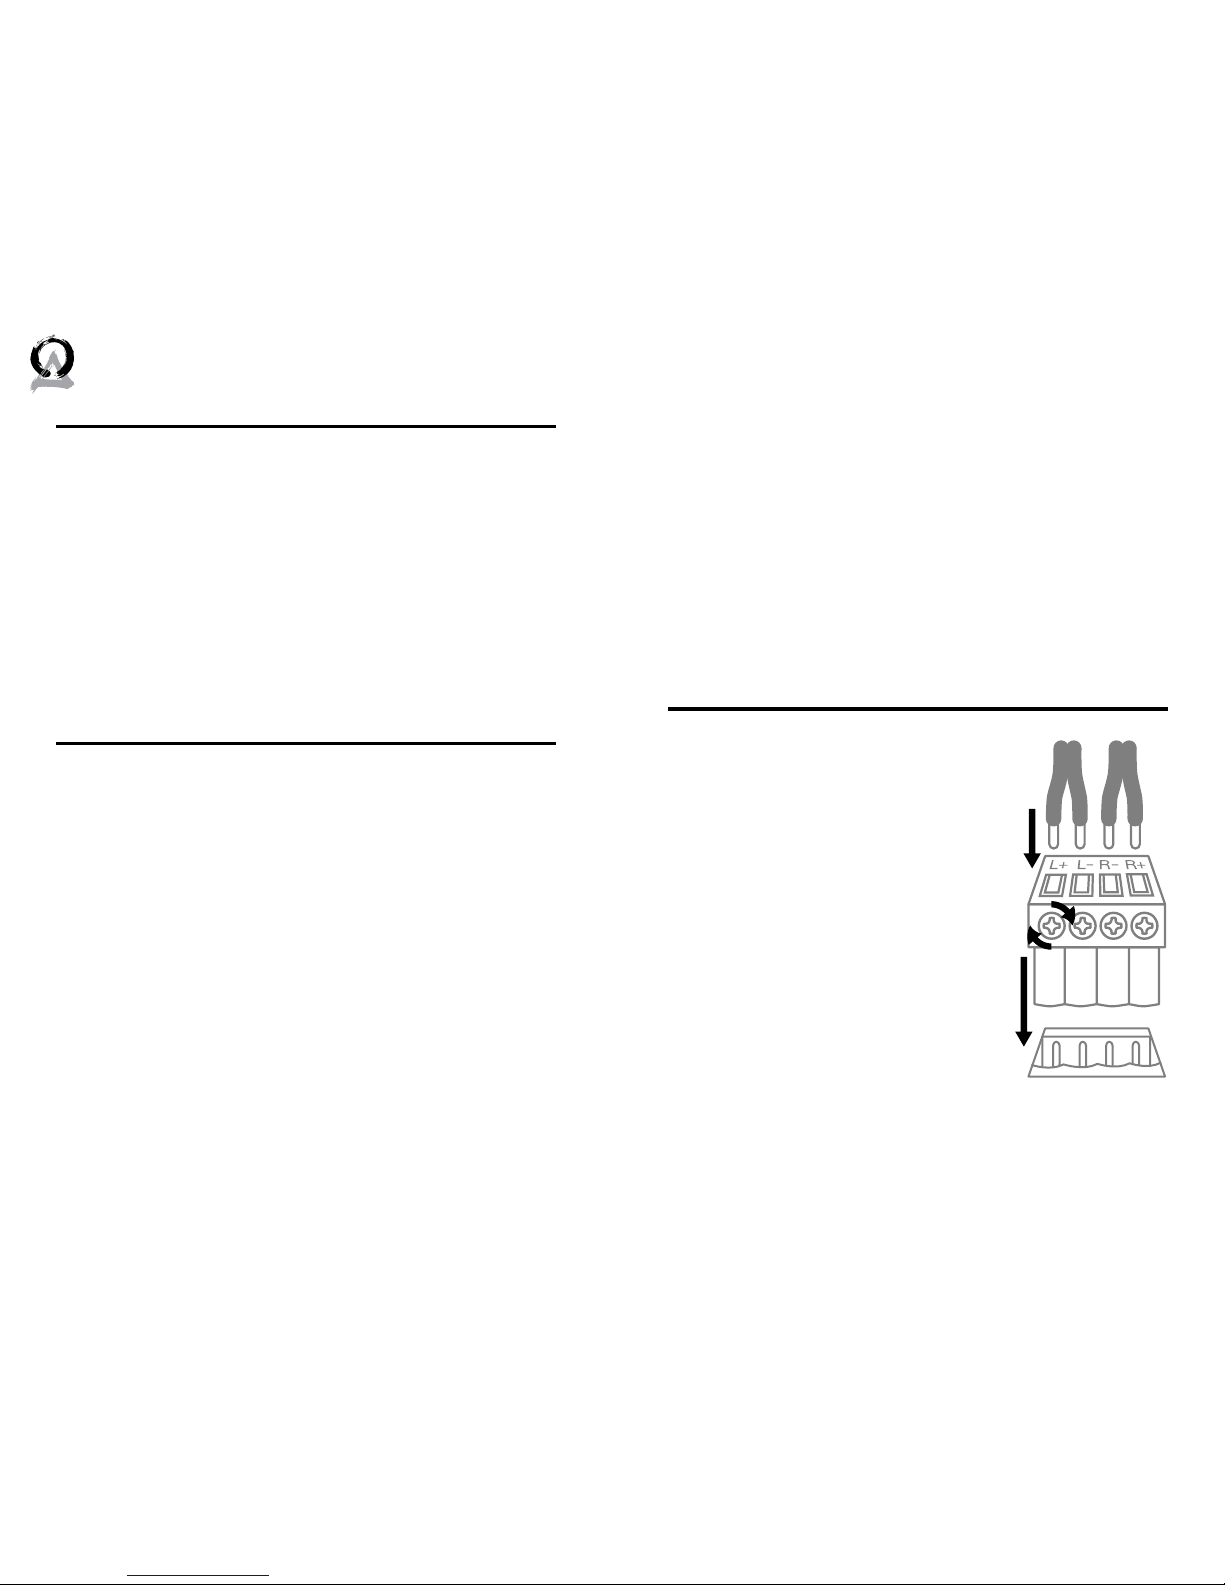
4. Connect the unit to the speaker selector. You will want to strip about
3/8” (10 mm) of insulation from every
wire. If the wires have loose strands,
twist them until the ends are no longer
frayed.
5. Each wire should go into the proper
opening and fixed there with a small screwdriver. Make sure
to connect positive to positive and negative to negative. If you
removed the connectors, reinstall them now.
 Loading...