

Orchid Telecom GSM200 User Manual

www.orchid-telecom.com V1.1 1
GSM200 User Guide
1. Benefits & Features
The Gateway to cost savings – getting the most from your mobile phone’s free minutes and
mobile to mobile call packages.
Make calls to mobiles and landline numbers from your landline phone or PBX extensions using the
GSM200 and the free minutes call package that comes with your SIM card.
Anyone in your office will be able to use the free minutes on your SIM card – no waste - get the most
out of your mobile phone package.
Ideal for making calls to your field staff on their mobiles – mobile to mobile – from any landline
extension whether your in the office or warehouse.
Your field staff can call into any extension in the office as a mobile to mobile call.
You can receive calls at any extension from landlines or mobiles – With an incoming mobile call this
would be the same as a free mobile to mobile call.
You can make calls from any extension to landlines or mobiles using your free minutes.
When making a call you elect whether it goes over your SIM card or the Landline.
The GSM200 has one terminal with the capacity for 2 numbers: one for your Mobile SIM card and
one for your landline (PSTN) number.
Easy to install – “Plug and Play”
One SIM Card required (not supplied)
Caller ID Compatible
Ideal to connect to an Orchid PBX – Can be connected to the phone line or a spare line trunk
LEDS to indicate signal strength
Aerial Supplied
www.orchid-telecom.com V1.1 2
AC Power supply and UK connector leads supplied.
Accessories Quantity
Single-channel GSM Fixed Wireless Terminal 1
Antenna 1
SIM Compartment Cover 1
Short Adaptor 1
Telephone Cable 1
Power Adaptor 1
User Guide 1
Screws 2
2. Installation
2.1 SIM card installation:
Caution! Please Install the SIM card before connecting to the power supply!
1). Turn the unit over so you can see the SIM card holder.
2). Slide SIM card cover gently along in the direction of the arrow to open.
3). Insert SIM card.
4). Slide the cover back
5). Fit the SIM compartment cover and screw it down.
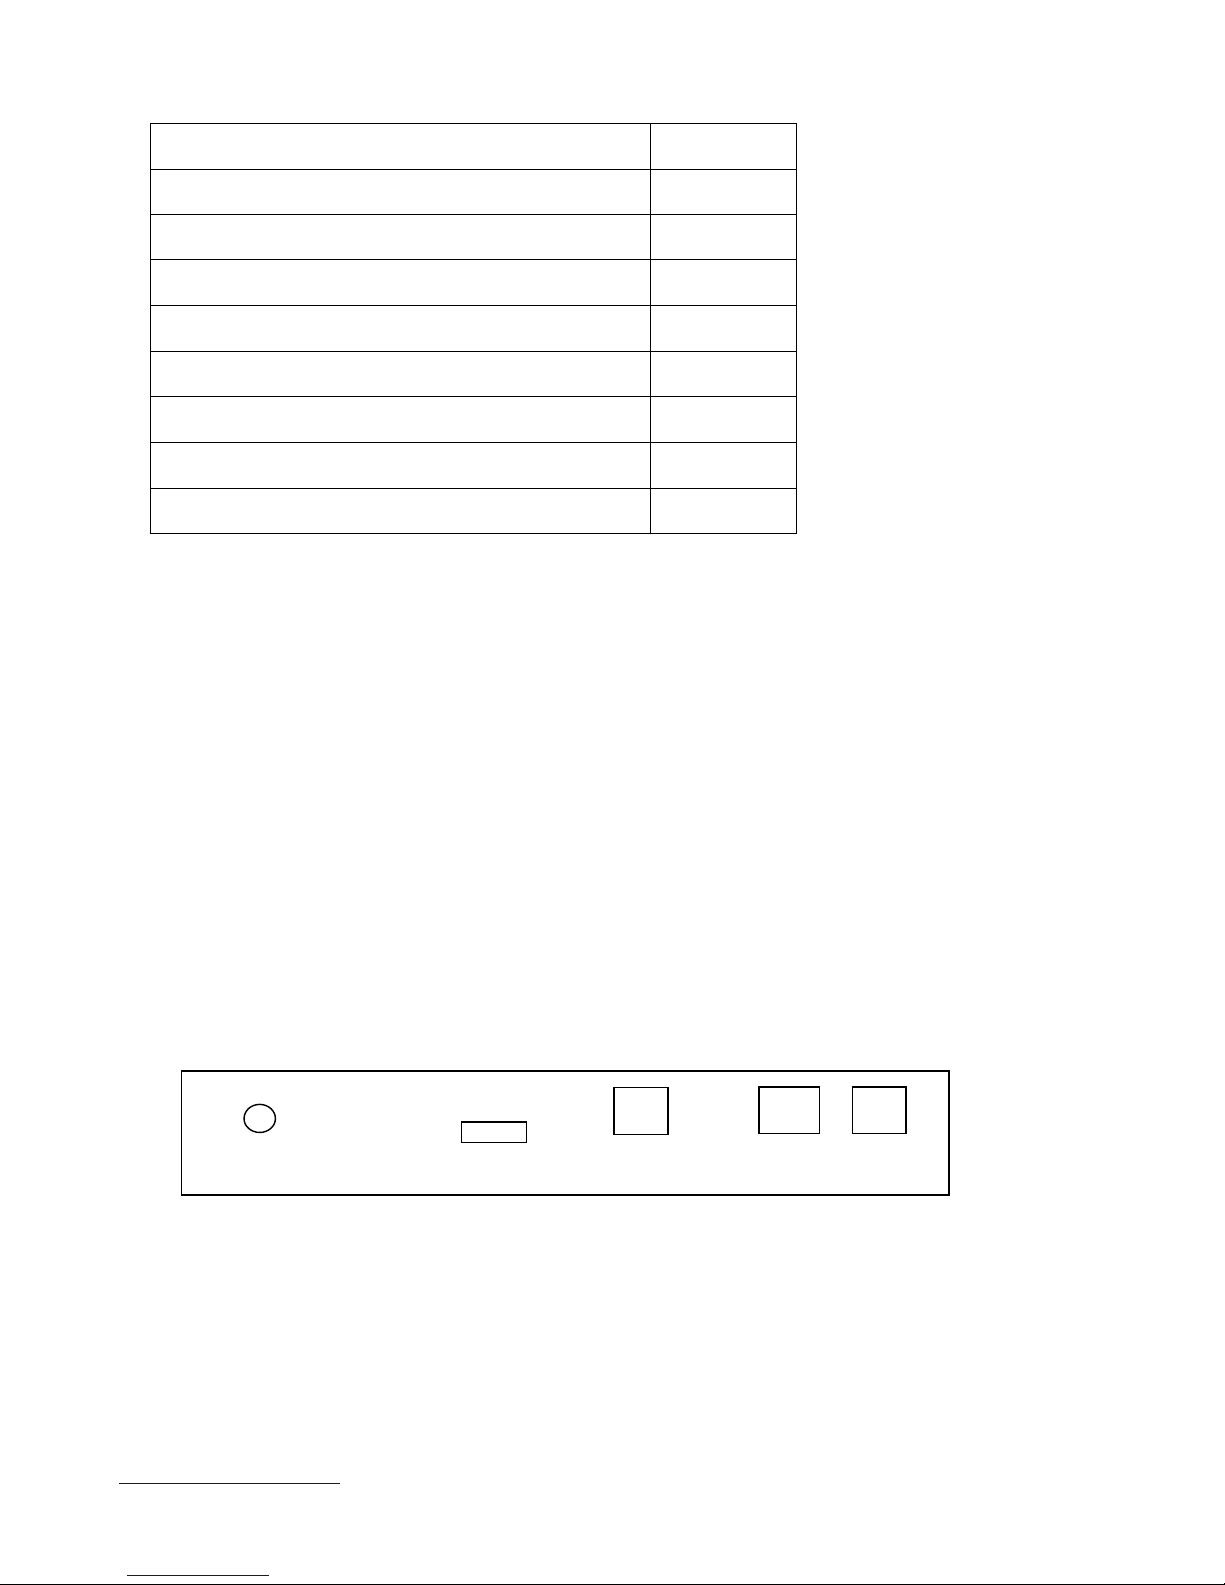
2.2 Set Up:
Antenna off/on Power Phone PSTN
External ports
1). Make sure the SIM is card installed correctly.
2). Screw down the connector of the antenna to the bolt stick on the panel marked “Antenna” on
the back of the unit.
3). Plug the short socket adaptor into the socket on the rear of the unit marked “Phone”.
4). Plug the telephone cable into the socket marked “PSTN”
 Loading...