

Page 1
Model
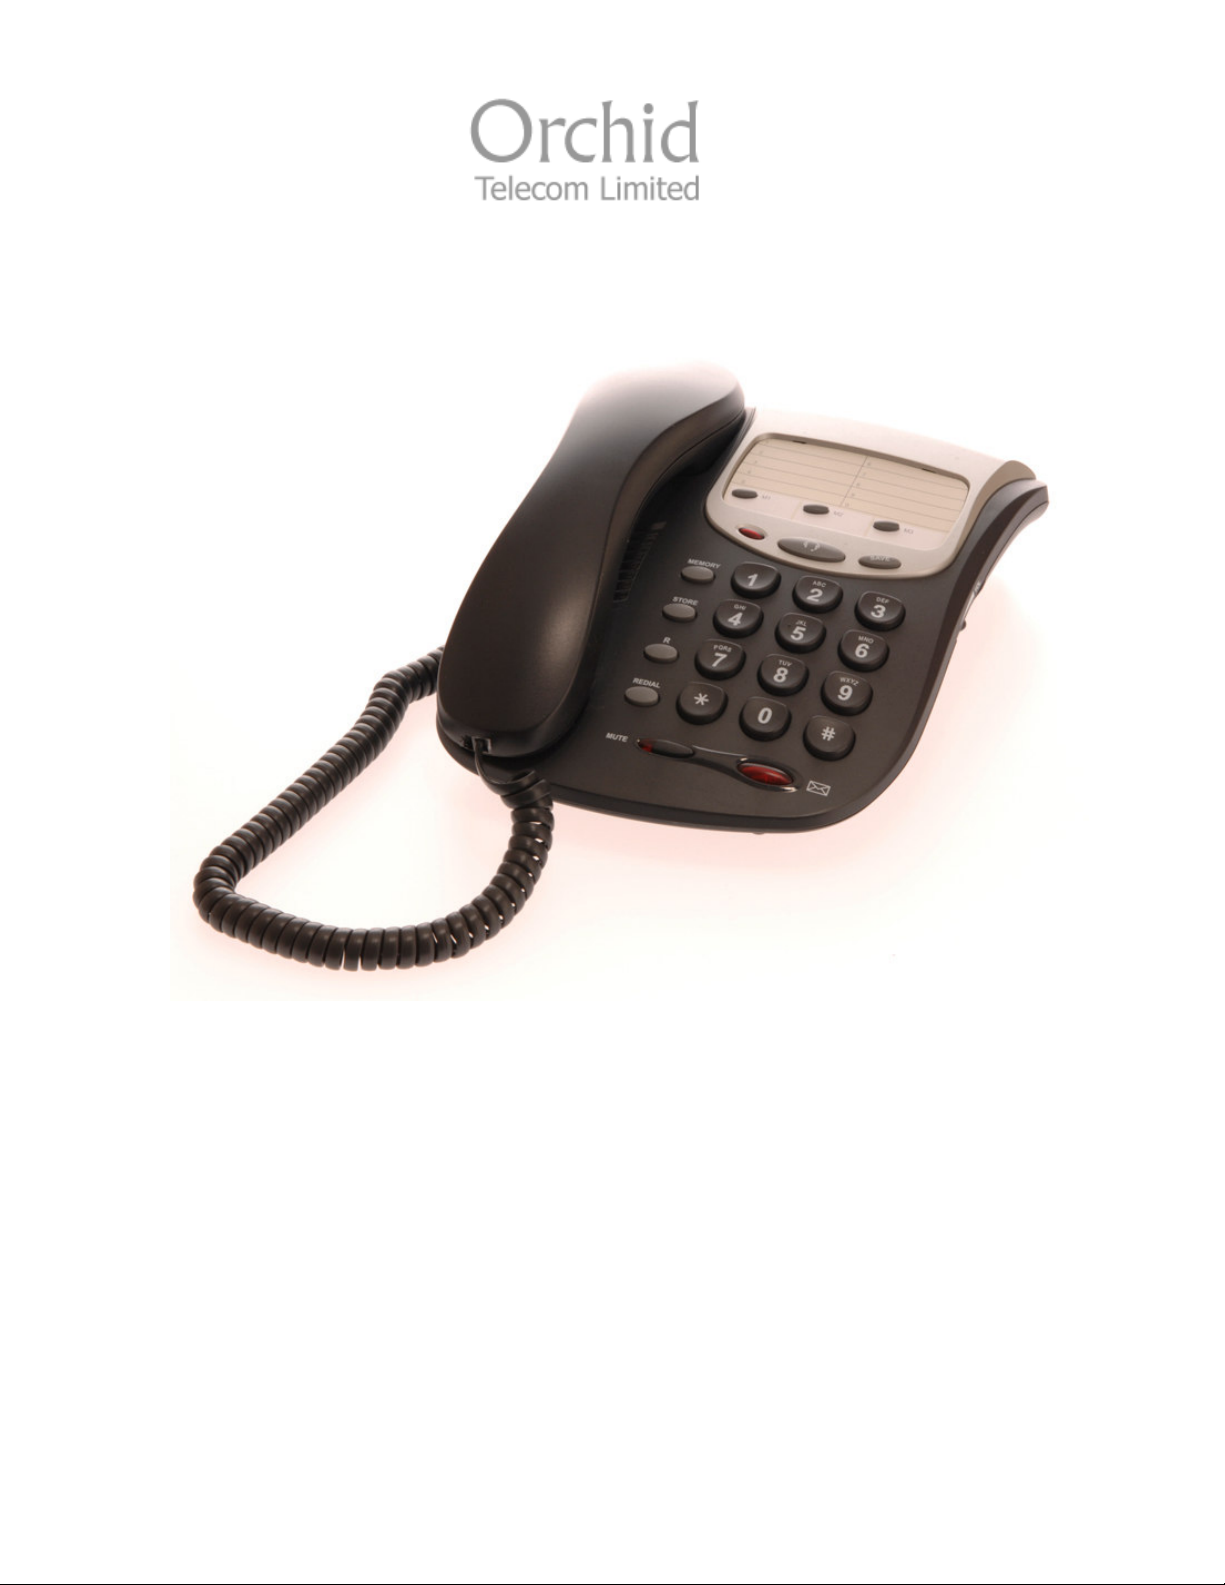
DX 200
User Guide
Page 2

Phone Layout 3
Introduction
Setting Up
Wall mounting
Ringer Volume and Pitch
4
4
Operating Instructions 4
Storing and Dialing the phone memories
Message Waiting 5
Using a Headset
Save Redial
R Button
Mute Button
2
Page 3
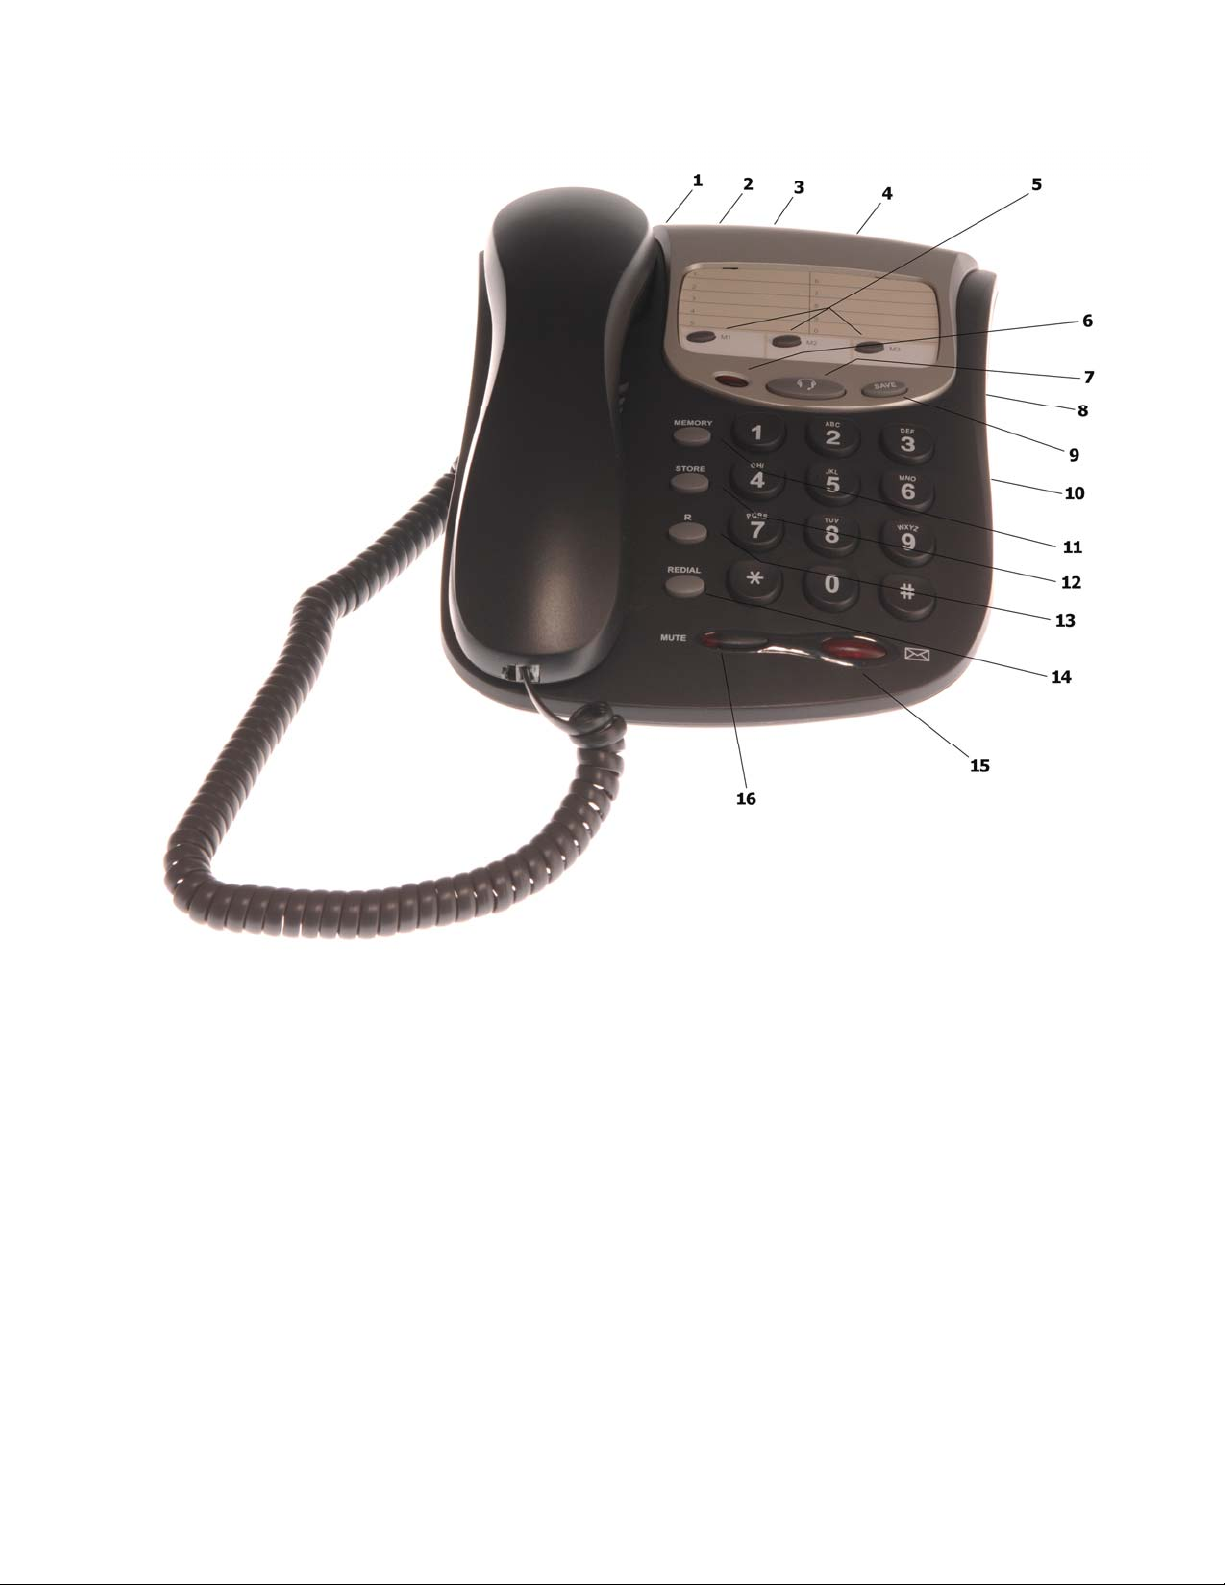
Phone Layout
1. Message waiting Switch
2. Ringer Pitch Switch
3. Telephone Line Socket
4. Ringer Hi – Low – Off Switch
5. 3 One - Touch Memory Buttons
6. Headset in use LED
7. Headset On - Off Button
8. Headset Volume Control
9. SAVE number Redial button
10. Headset socket
11. Memory button, used for storing or Dialling the 10 two-touch memories
12. Store button
13. R (Recall) button
14. Redial/Pause button
15. Message Waiting and Ringer LED
16. Mute button an LED
3
Page 4

INTRODUCTION
Thank you for choosing the Orchid DX200 phone. We hope that you find the following guide
helpful in getting the most out of your purchase.
SETTING UP
Wall mounting (if required)
Drill 2 holes 9cm apart, be careful to avoid any pipes or wiring.
Using the 2 screws provided wall mount the phone.
Remove the "Wall mount" tab located under Hook switch (15) and replace it in a reverse position.
This will secure the handset when replaced in the cradle.
Ringer Volume and Pitch
On the underside rear there are 2 switches to adjust the Volume and pitch of the ringer for
incoming calls.
OPERATING INSTRUCTIONS
Storing and Dialling the phone memories
To Store and dial the 3 one-touch memories:
Lift the handset, press the STORE button, Dial the number to be stored, press the STORE
button and then the M1 button. Repeat for M2 and M3.
Up to 24 digits can be stored per memory.
To Dial a one-touch memory lift the handset and press the M1, M2 or M3 button
To store and dial the two-touch memories:
Lift the handset, press the STORE button, Dial the number to be stored, press the STORE button,
press the MEMORY button followed by Dialpad button 1 to 0. Repeat as required.
To Dial one of the 10 two-touch memories lift the handset and press the MEMORY button and
then the Dialpad button 1 to 0.
4
Page 5

Message Waiting
This feature applies only to certain types of larger PBX Telephone systems. Check with your PBX
supplier to check compatibility.
(It does not work with Orchid Telecoms smaller 308 and 416 Systems)
For 100v type Message waiting the Message waiting switch on the rear should be set to MW2
position.
If the DX200 is connected to a Standard line or a PBX system without a message waiting feature
this switch should also be set to MW2 position. If your PBX uses the most common " Line
Reversal" message waiting method the Message Waiting switch should be set to MW1 position. If
a "Line reversal" condition is applied by the PBX, the MESSAGE WAITING LED will be on.
Using a Headset
The HEADSET socket is located on the right hand side of the phone. To make and receive calls
using the headset press the HEADSET button. When in use, the Headset LED will be on. There is
a VOLUME control slide switch on the right hand side of the phone.
Save Redial
If a phone number is stubbornly engaged or not answering you can store it in the SAVE redial
memory. This will enable you to make other calls and get back to the number stored in the SAVE
redial later. To dial a number in the SAVE redial memory, lift the handset and press the SAVE
button
R Button
This is also known as the RECALL, FLASH or TRANSFER button. It is used to operate BT Select
services or to HOLD and TRANSFER calls when connected to a PBX system.
Mute Button
When the MUTE button is pressed momentarily the MUTE LED will stay on and the other party on
the call will not be able to hear you. Press the MUTE button again to cancel MUTE and return to
the conversation.
5
 Loading...