

Orcam MyReader 2, MyEye 2 User Manual

OrCam User Gui de
MyEye 2 and MyReader 2
August 2017

© 2017 OrCam Technologies Ltd. All rights reserved.
OrCam® is the trademark and brand name of OrCam Technologies Ltd. (“OrCam”) and OrCam is the sole
proprietor of all the rights and all the intellectual property rights in this guide and/or any other document
produced by OrCam relating thereto. The documents are protected by applicable intellectual property
laws including and without limitation copyrights, patents, trademarks, know how, trade secrets, and
international treaties. No license or rights are hereby transferred to the user of this guide and said guide
shall remain the sole and exclusive property of OrCam.
No part of this guide shall be used, reproduced, translated, converted, modified, adapted, displayed,
stored in a retrieval system, communicated, or transmitted by any means, for any commercial purpose,
including and without limitation, sale, resale, distribution, reproduction, license, rental, or lease without
receiving written permission from OrCam.
OrCam makes no expressed or implied representation or warranty as to the accuracy or completeness of
the contents of this guide, which is provided “as is", and assumes no responsibility or liability for any errors
or inaccuracies that may appear in this document or for any product that may be provided in association
with this document.
OrCam devices are intended to enhance the day-to-day lives of individuals with visual impairments. They
are not substitutes for existing methods or forms of assistance and should not be relied upon in
circumstances which are potentially life- or health-threatening or which could lead to financial loss.
OrCam devices should especially never be relied upon to drive vehicles or operate heavy machinery of any
kind.
United States and Canada United Kingdom
OrCam Inc. OrCam UK
1350 Broadway, Suite 1600 60 Gresham Street
New York, NY 10018 London EC2V 7BB
Website: www.orcam.com
Email: info@orcam.com
Item Number: DOC000056
Printing: MyEye 2 Version 8 EN – August 2017

1.800.713.3741 0800.358.5323
Table of Contents
1. Welcome to OrCam
2. How to use your OrCam
3. Configuration/Personalization
4. General Information
5. Troubleshooting
6. End User Terms and Conditions
This User Guide is also available for online viewing and download in PDF and audio
formats at: www.orcam.com/userguide
OrCam Customer Support
United States and Canada: 1.800.713.3741

United Kingdom: 0800.358.5323
support@orcam.com
Welcome to OrCam MyEye. As we guide you
through your OrCam learning experience, we
will show you all of the ways that OrCam can
improve your independence. Lets get started!!!
Welcome to OrCam
In addition to this overview of the features
and functions of the OrCam device, we
recommend that you also view the tutorial
videos at: www.orcam.com/tutorials
What is OrCam MyEye
OrCam MyEye is an intuitive and easy to use
assistive device that will help you achieve
greater independence.
Components of Box
To help orient you with the OrCam device,
the top of the device is the side with the full
OrCam logo including the word ORCAM.
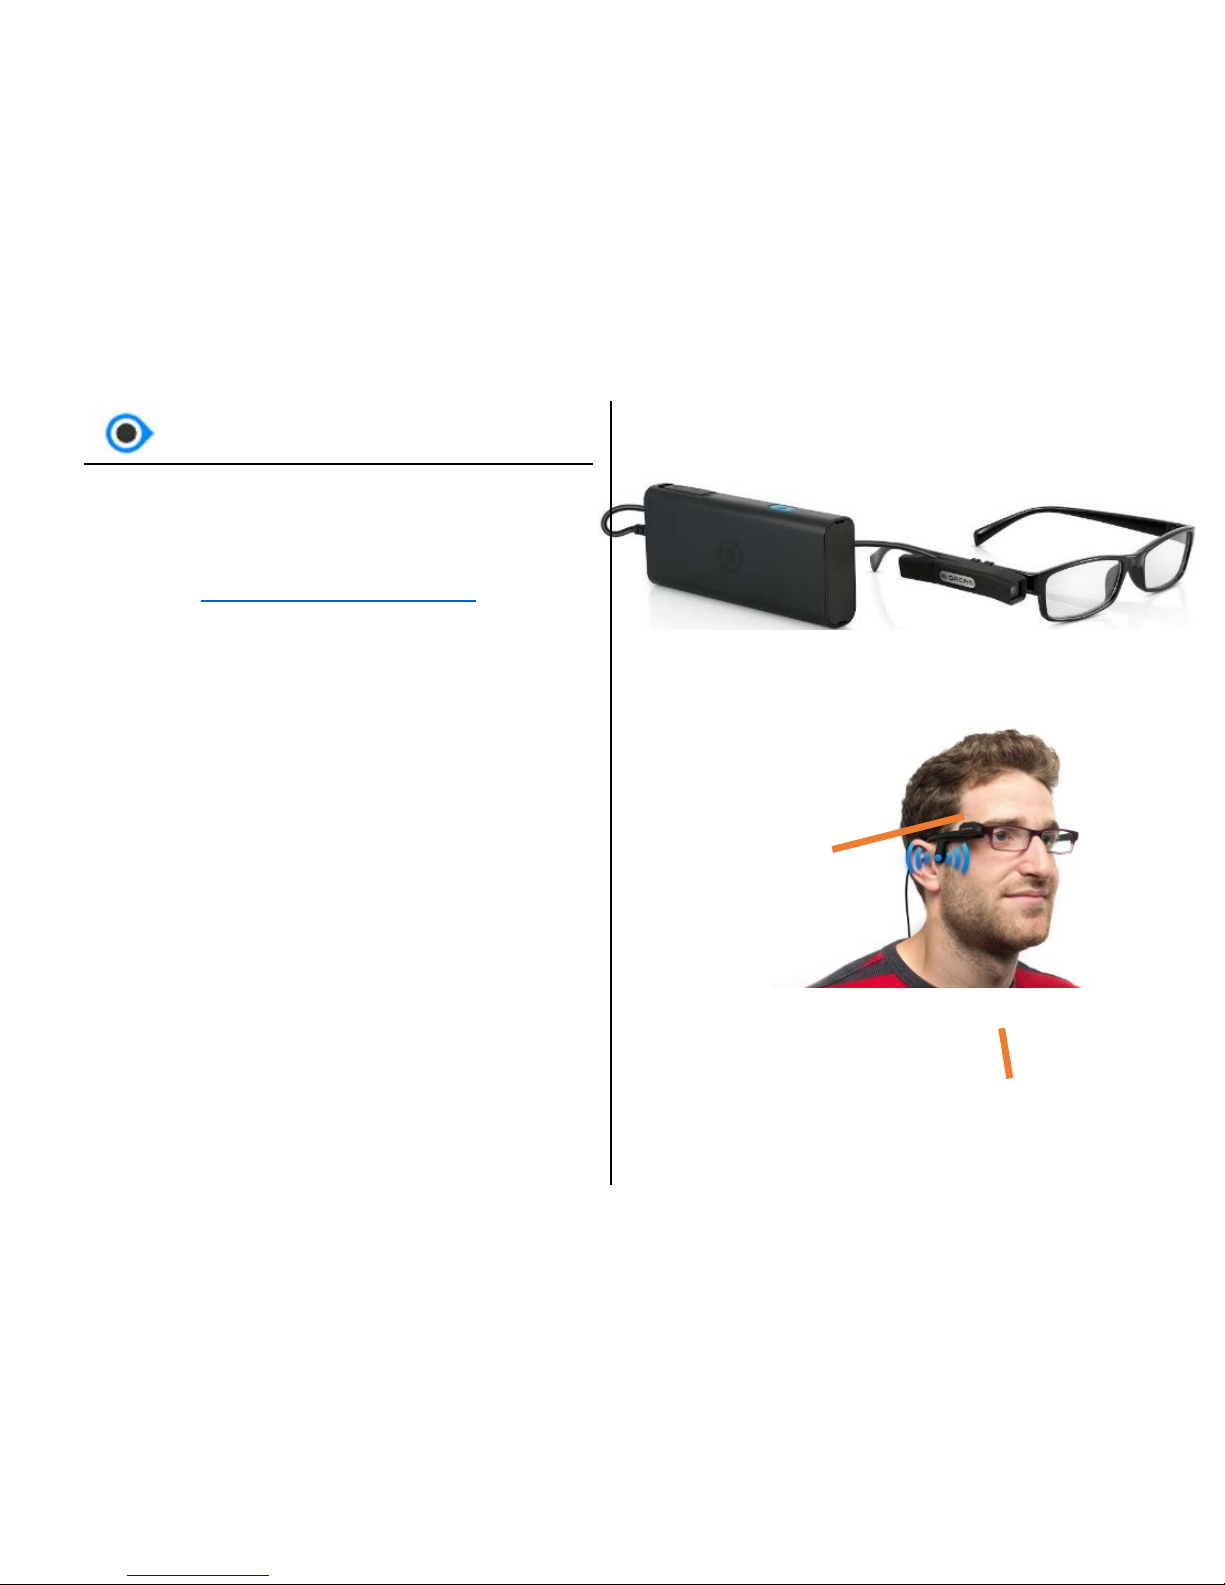
The OrCam Device consists of two main
parts, The Head Unit and the Base Unit.
Earpiece
Head Unit with
Camera Mounted
(This section will need to be
updated when final box
components and final device are
finished but the following info is
here as a placeholder)
Head Unit
The Head Unit features a camera, an
earpiece, a microphone, and a cord that
connects to the OrCam Base Unit. When you
first receive the OrCam delivery box, and
prior to initial use, you need to assemble the
camera mount and connect it to your
eyeglasses frame.
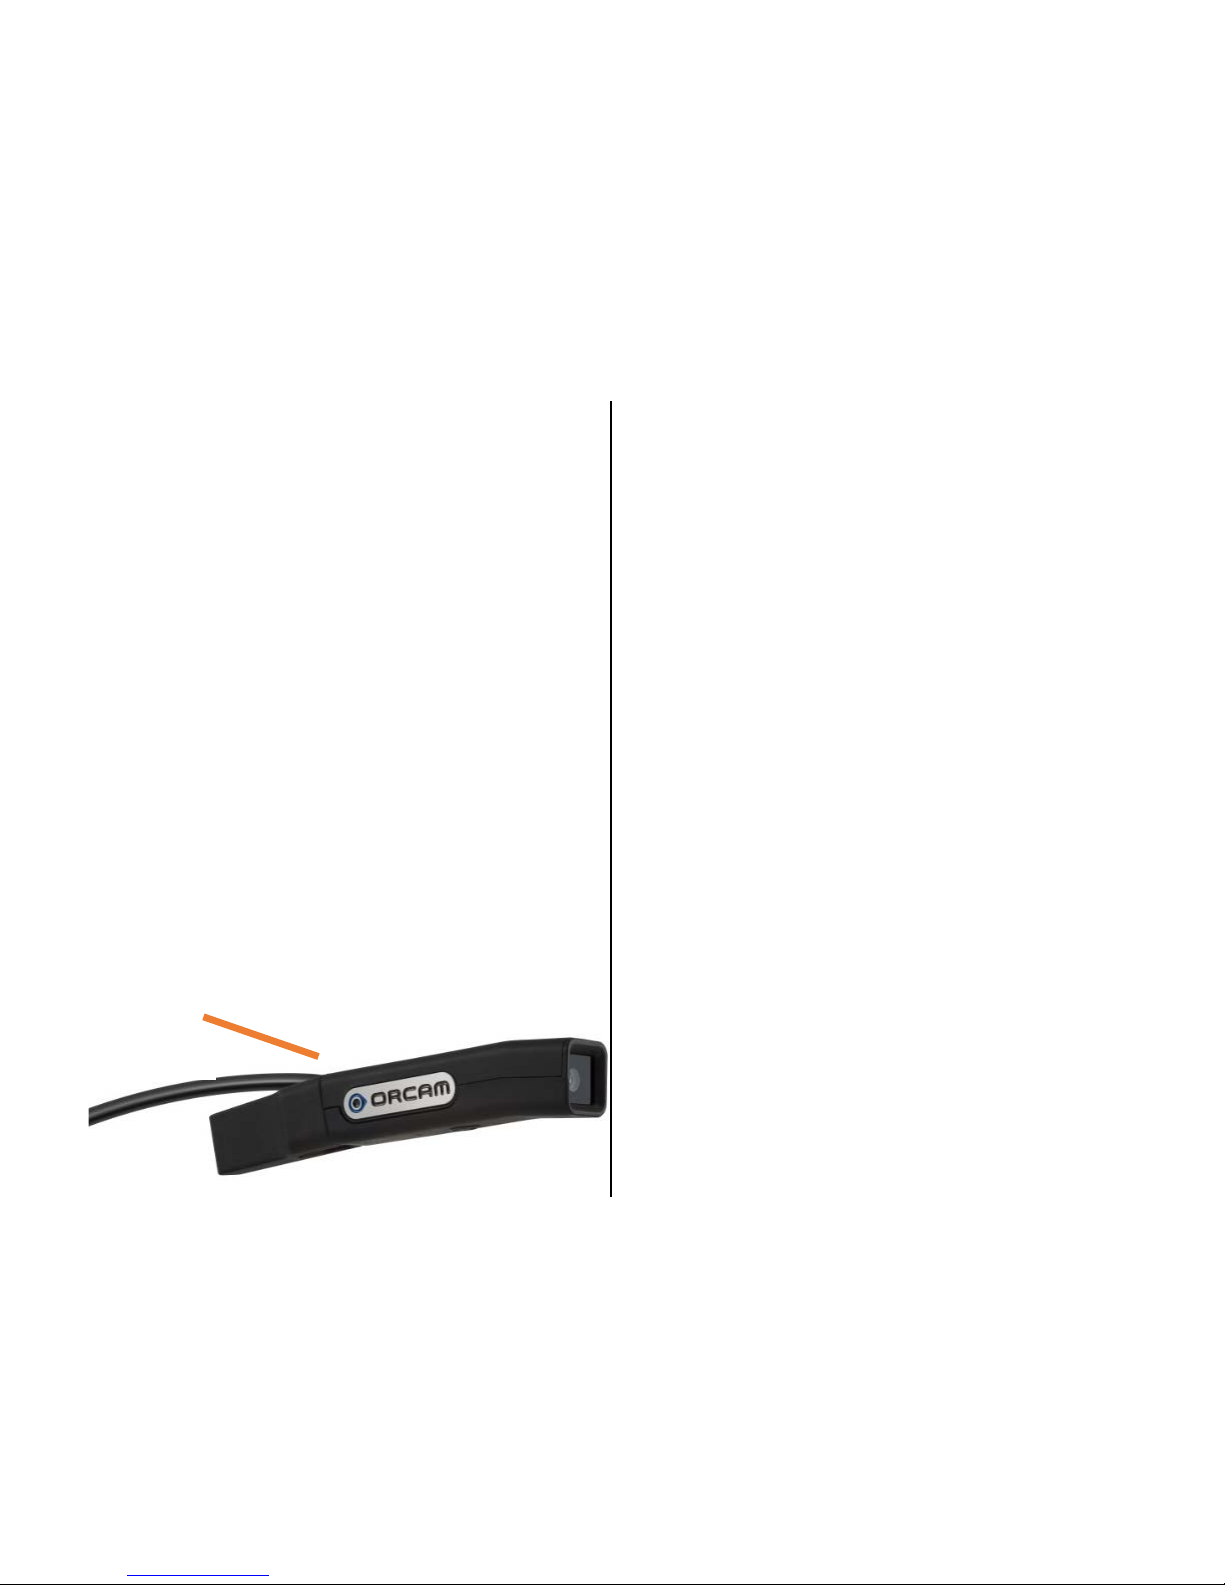
OrCam Buttons
The OrCam Base Unit has three buttons:
Power, Volume, and Trigger.
Power Button is a small, square shaped,
recessed, blue button (yellow for OrCam
MyReader) on the right side of the Base Unit
nearest to the socket for the Head Unit cable.
This button has four functions: Power On,
Suspending, Waking Up, and Power Off.
Volume Button is the long blue button
(yellow for OrCam MyReader), on the same
side as the Power button. It has three
functions: to change t he volume; to scroll up
and down in Reading Navigation and in the
Settings menu; and to wake the device from
Suspend. To change the volume, press the
button on either side. The protruding circle is
the Volume Up button, whereas the indented
circle is the Volume Down button. You will
hear the message "volume up" up to "volume
Camera
in front
Earpiece
(detachable) at the

max" or "volume down" down to "volume
minimum". There are ten volume levels
available.
Trigger Button i s the blue button (yellow for
OrCam MyReader) on the opposite side of
the Volume button, on the sam e s id e as t he
rubber flap. It has three functions:
1. Activating the Camera – A short press
activates the camera and initiates
reading text or recognizing faces,
products, banknotes or colors.
2. Controlling Reading Rate Speed –
While reading, press and hold the
Trigger button and simultaneously
press the Volume Up or Down button to
adjust the Reading Rate speed (words
per minute). The Reading Rate can be
set between 100 words per minute
(very slow) to 300 words per minute
(very fast).
3. Learning Mode – Press the trigger
button for two seconds to activate
Learning Mode. You will hear the
learning mode messages for Face or
Product Learning.
LED Indicator and Charging Ports
LED Indicator is near the volume button.
The light may be steady or may blink. When
the light is flashing red, it indicates that t he
OrCam device is charging. When the light is
green, it indicates that the OrCam device is
powered on. When there is no light, it
indicates that the OrCam device is
suspended or powered off.
Charging Ports are on the same side as the
Trigger button. There are two ports beneath
the protective rubber flap. The circular one is
the port for the charger and the other is the
mini-USB port, which can be used to charge
the OrCam device.

Audio Out and Connector Cord
Audio Out
You may want to connect the OrCam
earphones or speakers to the Head Unit. Pull
out the back side of the Head Unit where the
speaker is located. This will reveal an audio
out socket The OrCam device will
automatically detect when earphones or an
external speaker are connected.
Note: make s ure to remember to place the
detachable earpiece in a safe place out of
reach of small chil dren and easy for you to
find.
Base Unit to Head Unit Connector Cord
The Base Unit is connected to the Head Unit
via a cord that plugs into a fitted connection
at the end of the Base Unit. Please do not
attempt to disconnect the Head Unit from
the Base Unit unless specifically directed to
do so by an OrCam representative, as this
may harm the device. If instructed to do so,
press and hold the Head Unit Connector
Release Button located beside the Head
Unit Connector on the Base Unit, and gently
remove or insert the connector out of or
into the socket.
Head Unit
Head Unit with camera and earpiece
(earpiece can be detached)
Detachable
Earpiece
Audio Out
Socket
OrCam carrying pouch with accessories
Containing: Charger (including travel
adaptor plugs), glasses mount and mount kit,
lens cleaning cloth, belt clip, earphones.
User Guide
This Guide and a refrigerator magnet with
contact details of OrCam User Support.
Assembling Your OrCam
This chapter explains how you connect the
Head Unit of the device to your glasses. You
can leave the Head Unit attached to your
glasses so that it is always ready for use.
Attaching the Head Unit Mount
A small mount with magnets will be attached
to the arm of your glasses frame. The Head
Unit can be attached or removed from the
mount as needed. In the delivery box, there
are three plastic m ounts. You can choose to
attach the mount to either the right or left arm
of your glasses frame. You can also attach
the mount to more than one pair of glasses,
such as your regular reading glasses or
sunglasses.
For assembling the mount, it is
recommended to select thicker frames. Very
thin frames, such as wire-frames, may cause

the mount to come loose and will n ot be able
to support the weight of the device. I n case
the mount comes off of the glasses frame
you can replace it with a spare mount.
Attaching the Mount to
Eyeglasses
Clear a work surface and put together these
items for the mount assembly:
1. Your glasses frame
2. Your OrCam device - preferably
powered off
3. The plastic mount
4. Pair of small scissors (as provided
in the delivery box)
Step by Step Assembly of the plastic mount:
on right arm of glasses frame:
1. Remove the tab from the back side
of the mount.
2. Attach the Head Unit onto the
mount.
3. Ensure the two straps are facing
upwards (down if you choose to
assemble on the left side).
4. Hold your glasses frame the right
way up - lenses are facing away
from you.
5. Position the mount correctly on the
arm of your glasses as f ollows:
Align the front end of the Head
Unit camera with the front end of
your glasses frame.
6. Ensure the Head Unit is parallel to
the glasses frame’s arm and that
the camera is facing forward.
7. Press the mount onto the arm of
the glasses frame.
8. Carefully detach the Head Unit
from the mount.
9. Carefully cut the top of the straps
along the indicated marking.
10. Pull each strap around the inner
side of arm and through the hole
on the bottom side of the mount.

11. Pull them tightly, so that the mount
is secured.
12. When straps are pulled all the way
through, carefully cut off the
remains close to the mount to
prevented possibility of scratches
and to ensure it looks aesthetic.
The mount is now attached to the glasses
frame and can be left there permanently. The
glasses frame can be folded with the mount
in place.
Note: If you prefer to a ttach the Head Unit on
to the left arm of the glasses frame, you will
need to have the mount straps f acing down
during the assembly process. This will
ensure the magnets are properly aligned
with those on the head unit.
Attaching the Head Unit to the
Mount
The Head Unit is designed to be connected
to or disconnected from the mount as often
as you require. The connection between
them is made through a pair of magnets on
both parts.
1. Attach the Head Unit onto the
mount.
2. Verify the camera points straight
forward relative to the arm of the
glasses frame.
3. Put on your glasses.
4. Verify that the camera is aligned
with the line of sight of your
glasses.
5. Extend your arm straight forward
in front of your face. Point your
finger upwards. If you hear a highpitched double-beep, the device is
placed correctly.
Note: If the device’s camera is angled too
high or too low, the OrCam c amera may not
be accurately triggered, or may not perform
properly.
Getting Started
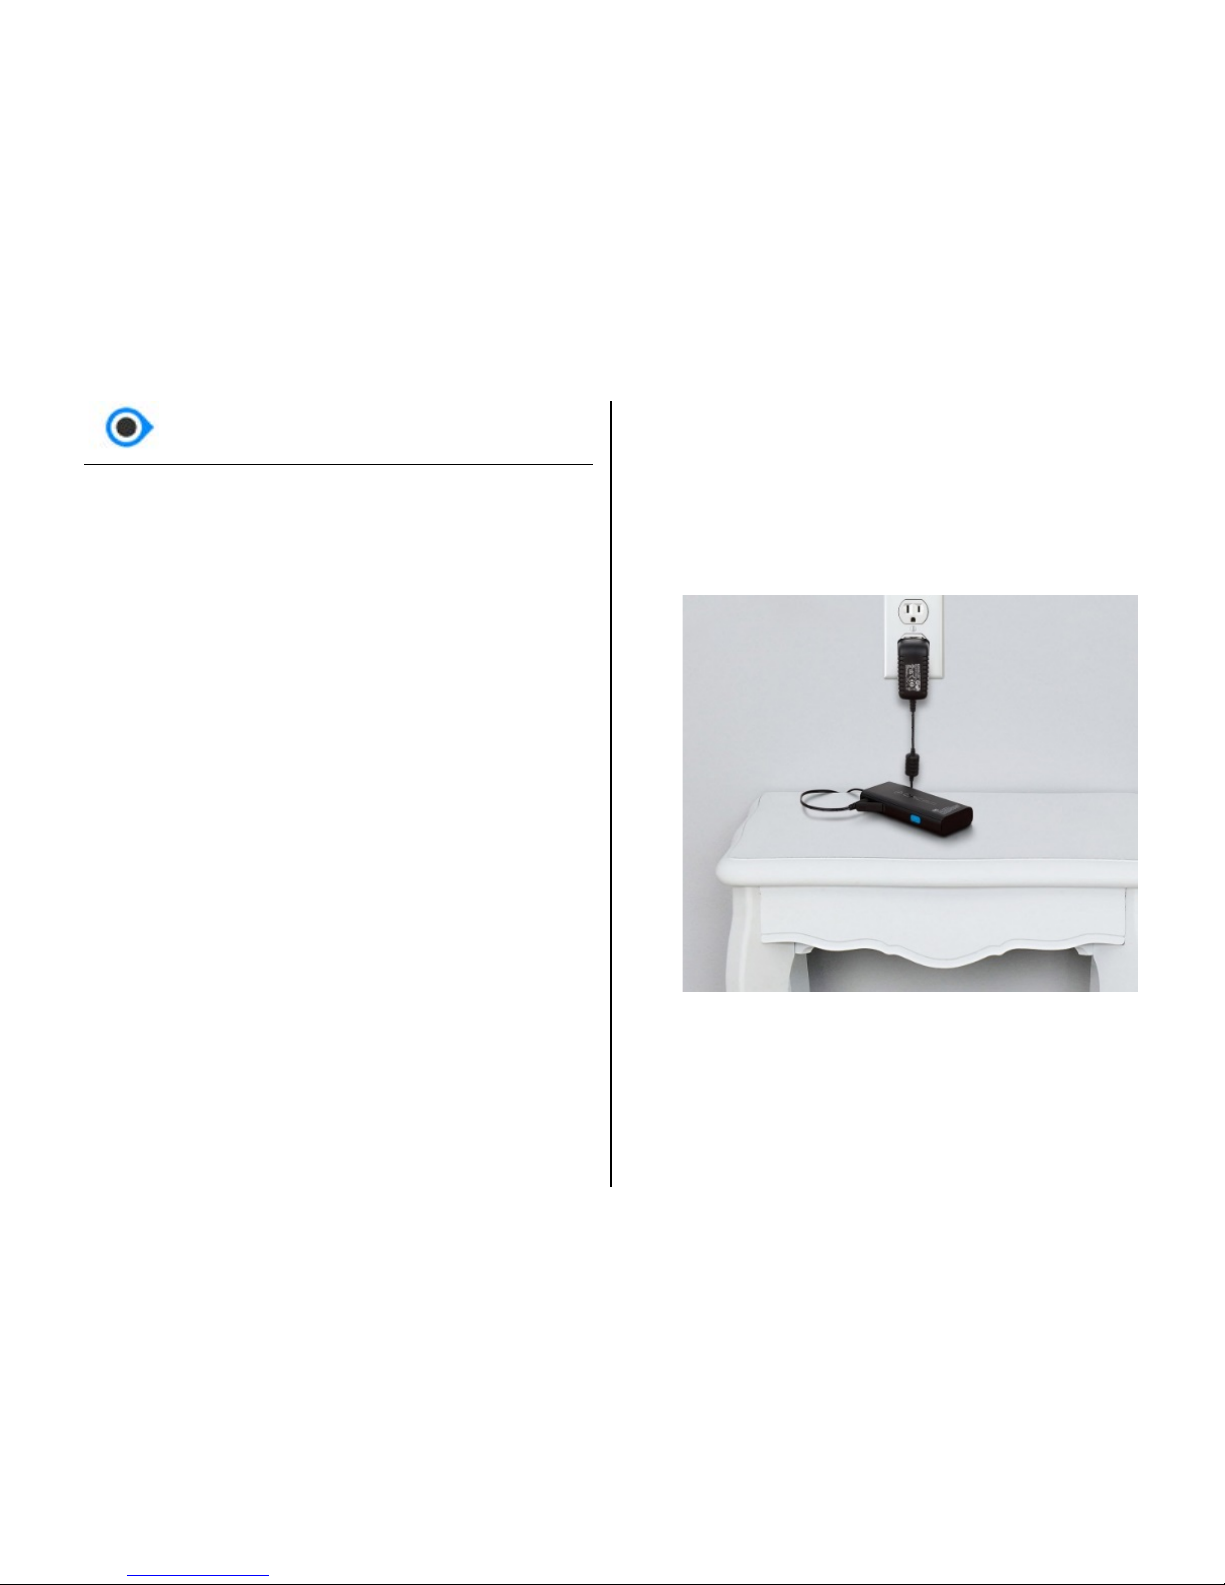
Initial Charging of the OrCam Device
(This section may need to be
updated depending on the
developer’s recommendations for
charging)
Before you begin using the OrCam device,
you must initially charge it for a period of
eight hours. An OrCam charger is included in
the OrCam box.
To charge the OrCam device:
1. Attach the OrCarm charger to the
power socket under the rubber
flap on the OrCam Base Unit.

2. Plug the charger into an electric
socket.
If this is the first time you are charging the
device, you should charge the battery in t he
Base Unit for at least eight hours. After this
initial charge, the battery requires at least
four hours of charging time, if it has been
completely depleted.
A fully charged battery should work for up to
four hours of constant use and can remain in
Suspend mode for as long as twenty-four
hours.
Each time the device is connected or
disconnected from charging, it vibrates. This
is to ensure that you are aware that the
device has been connected or disconnected.
When the device is activated from Suspend
mode, it informs you how much battery
power remains.
Turning the OrCam Device On or
Off and Suspending
Before you turn the OrCam device on or off
it is recommended that you wear your
OrCam device so that you hear the system
messages.
To turn your OrCam device on or
off:
3. To turn the device on, press the
POWER button on the Base Unit.
The device vibrates. During the
first minute of powering on, you
should hear continuous beeping
sounds. After approximately one
minute you will hear, “OrCam
Version 8 is ready. Battery is [this
many] percent charged.”

4. If you did not hear the phrase,
“OrCam is ready,” or you are not
sure that the unit is on, press one
of the volume buttons (UP or
DOWN). If the device is on, you
will hear a response to your action.
5. To turn the device off, press the
Power button once. You will hear
the message “Suspending. Press
again to shut down.” Press the
power button a second time. You
will hear, “Shutting down, please
wait.” Right before the unit shuts
down completely, the device says,
“Power off. Bye Bye.”
To enter or exit Suspend mode:
6. To enter Suspend mode, press the
POWER but ton once. The device
announces “Suspending. Press
again to shut down”, then
announces “Suspending” and
automatically goes into Suspend
Mode.
7. To exit Suspend mode press the
TRIGGER or VOLUME button on
the base Unit or gently tap the
center of the bottom of the Head
Unit where the small OrCam logo
is situated. You will hear, “Waking
up. Battery is [this many] percent
charged.”
Automatic Suspend and Power Off – To
conserve battery power, the OrCam device
has an automatic suspend feature. If you do
not trigger the device in some way, the
device automatically goes into Suspend
mode after three minut es of inactivity. When
the OrCam device is not used for about three
hours, it shuts itself off. This reduces the
chance of unnecessarily depleting the
battery.

How to Use OrCam
Interacting with your OrCam
Below you will learn how to interact
with your OrCam device
Gestures
You can interact with your OrCam using
simple and intuitive gestures
Stop Gesture
Use this gesture when you would like
OrCam to stop reading or recognizing
To activate the Stop Gesture, extend your hand
in front of your face. Ensure that the back of your
hand is facing you with your fingers fully spread
and extended vertically.
Time Gesture
The OrCam device can announce the
current time and date
 Loading...