

Your Avanti Watchwinder is powered by a 6V A/C Adapter. If your adapter
is ever damaged or lost, or if you are in need of an extra, they are available for
purchase directly from our website at www.store.orbita.com, or through our toll
free number, 800-800-4436.
INSTRUCTION GUIDE
6740 Netherlands Dr.
Suite D
Wilmington, NC 28405
www.orbita.com
Powering Your Avanti Watchwinder
Give Us A Shout!
Need a different size cushion? We have smaller and larger size cushions
available for purchase direct from our website at: store.orbita.com, or call our
toll free number (below) and we will be happy to assist you.
Online
www.orbita.com
Customer Support
Made in USA
Email
info@orbita.com
Phone / Fax
910-256-5300 / 910-256-5356
Toll Free
800-800-4436
Revised October 2015

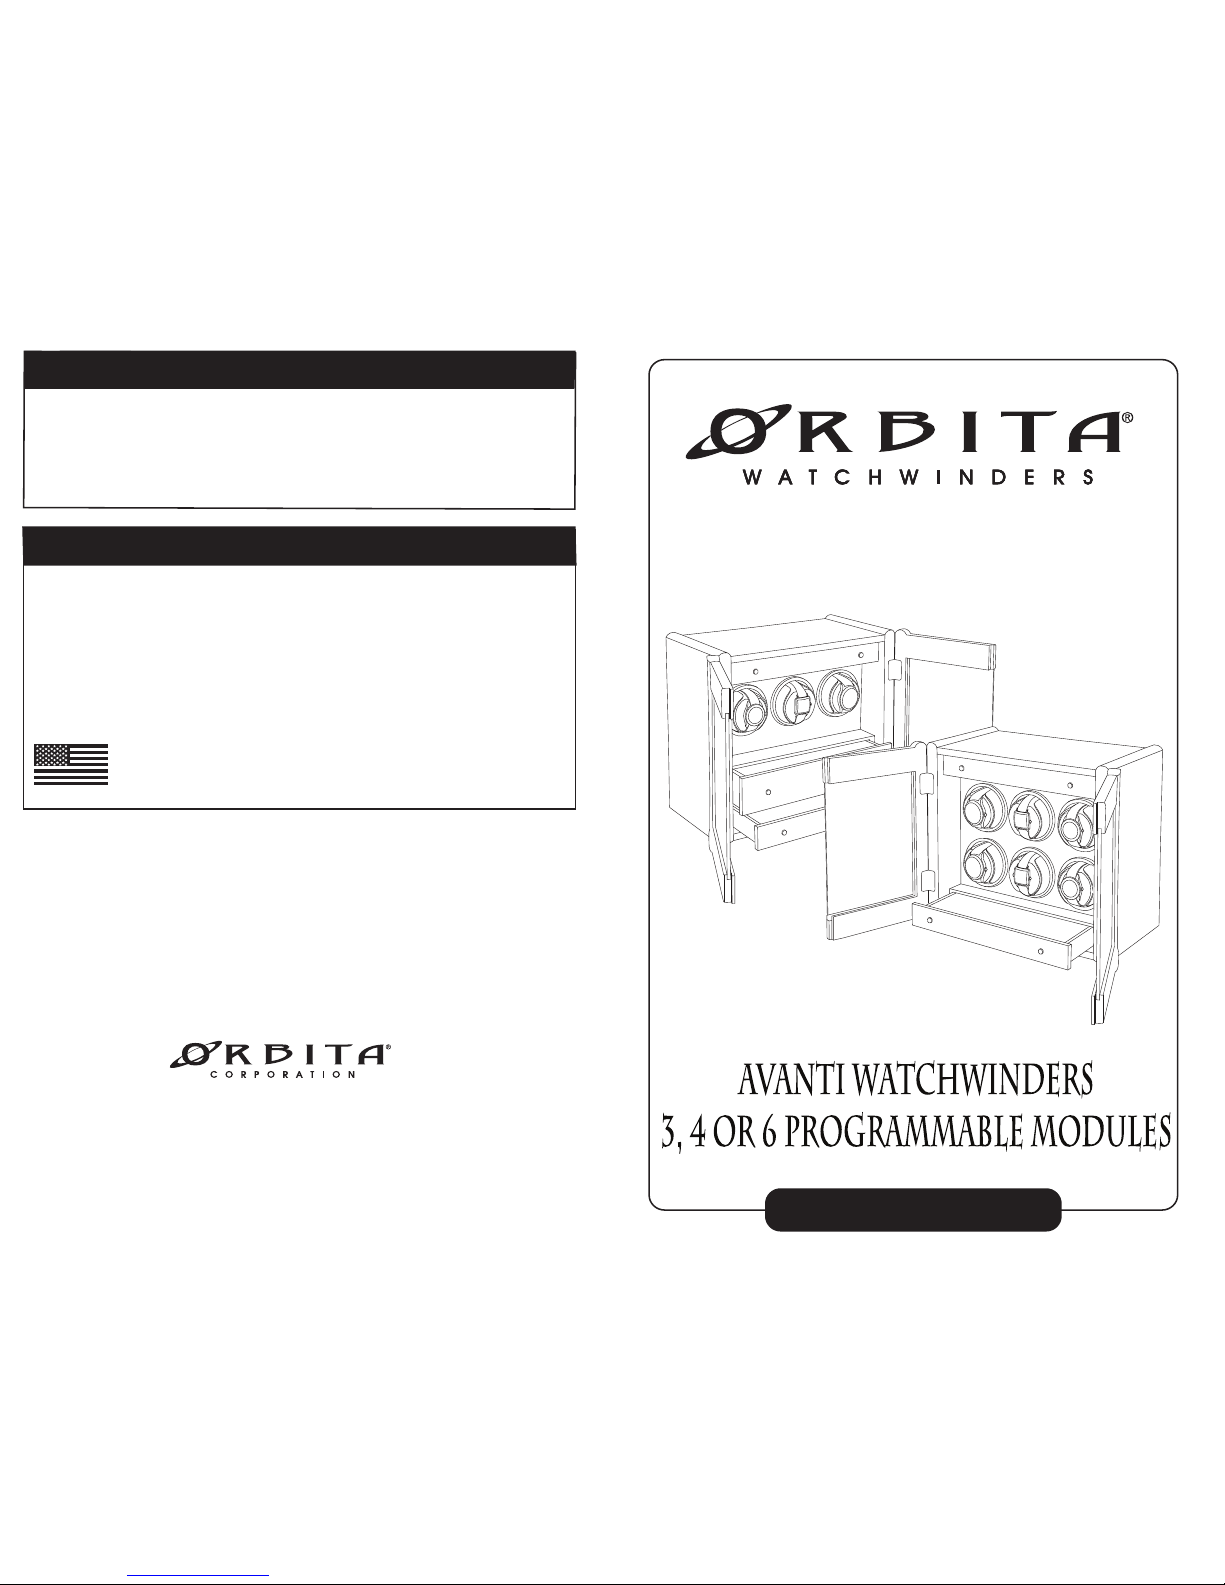
1. Avanti 3, 4 or 6 Watchwinder
2. Key (1)
3. Cup Assembly (3, 4, 6)
4. Standard Cushion (3, 4, 6)
5. AC Adapter (PN2302: 6-Volt)
6. Warranty Registration
7. Instruction Booklet
Included In This Box
Setting the DIP Switches
Programmable Watch Winders
Getting Started
Congratulations!
This user guide will help take you though the initial set up and programming
of your new watch winder. A majority of fine automatic watches require
between 600 and 800 turns per day (TPD), whether worn on your wrist or
turning on your watch winder. For convenience, Orbita programmable watch
winders are preset at the factory for 800 TPD with clockwise rotation. However, many automatic watches wind both directions. Alternate settings are
available and can be adjusted to accommodate any type of modern automatic wristwatch.
Each winding head can be set for a different
watch. Programming is handled by four DIP
switches located just behind the cup assembly.
To learn what setting to use with your watch,
visit our exclusive Watch Database on our
website. There you can find the correct setting
and use the table below to set the DIP switches.
Visit our watch database: www.orbita.comVisit our watch database: www.orbita.com
OPERATING OPERATING
MODE MODE
Clockwise Clockwise
Counterclockwise Counterclockwise
ReversingReversing
Pause IntervalsPause Intervals
11 22 33 44 11 22 33 44 11 22 33 44
11 22 33 44
11 22 33 44
11 22 33 44 11 22 33 44 11 22 33 44
11 22 33 44
11 22 33 44
11 22 33 44 11 22 33 44 11 22 33 44
11 22 33 44
650
TPDTPD
31 minutes 25 minutes 21 minutes
12 minutes
15 minutes15 minutes
800
TPDTPD
950
TPDTPD
1600
TPDTPD
1300
TPD
1300
TPD
1
2 3 4
Programming Settings (TPD = Turns Per Day)
Mounting Watch on Cushion
1. With the bracelet or strap of the watch closed, squeeze and slide the
cushion through the watch. The back of the watch should rest against the
Orbita logo and the strap should lie on the flat portion of the cushion.
1. Carefully unwrap the protective packaging.
2. Remove the key that is taped to the glass door.
3. Unlock and open the doors.
4. Remove cushions and confirm each module is on by pressing the o/- to the
right (-).
5. Slide the cushions back into the cup assembly.
6. Plug the adapter into the A/C port located in the rear of the unit.
Getting Started
 Loading...