

Orbit Deluxe ODU814M Installation Instructions Manual
Deluxe
READ AND SAVE THESE INSTRUCTIONS
WARNING:
“WARNING - To Reduce The Risk Of Electric Shock,
Do Not Use This Fan With Any Solid-State Speed Control Device.”
WARNING - TO REDUCE THE RISK OF FIRE, ELECTRIC SHOCK, OR INJURY TO
PERSON, OBSERVE THE FOLLOWING:
a) Use thi s unit only in the manne r inten ded by the manu factu rer. If you have questi ons, contact the man ufact urer.
b) Befor e servicing or clean ing uni t, switch pow er off a t service pan el and lo ck the servic e disco nnecting means
to preve nt power from being sw itche d on accident ally. When the servi ce disc onnecting m eans ca nnot be
locked , securely fasten a pr omine nt warning de vice, s uch as a tag, to th e servi ce panel.
WARNING - TO REDUCE THE RISK OF FIRE, ELECTRIC SHOCK, OR INJURY TO
PERSON, OBSERVE THE FOLLOWING:
a) Insta llation work and ele ctric al wiring mus t be done b y qualified person (s) in ac cordance wi th all ap plicable
codes an d standards, inclu ding fi re-rated co nstru ction.
b) When cu tting or drilling in to wall o r ceiling, do n ot dama ge electrical wiri ng and ot her hidden ut iliti es.
c) Ducte d fans must always be ve nted to t he outdoors .
d) If this u nit is to be installed o ver a tub o r shower, it mus t be mark ed as appropr iate fo r the application an d be
connec ted to a GFCI (Ground Fa ult Circuit Interr upter ) - protected b ranch c ircuit.
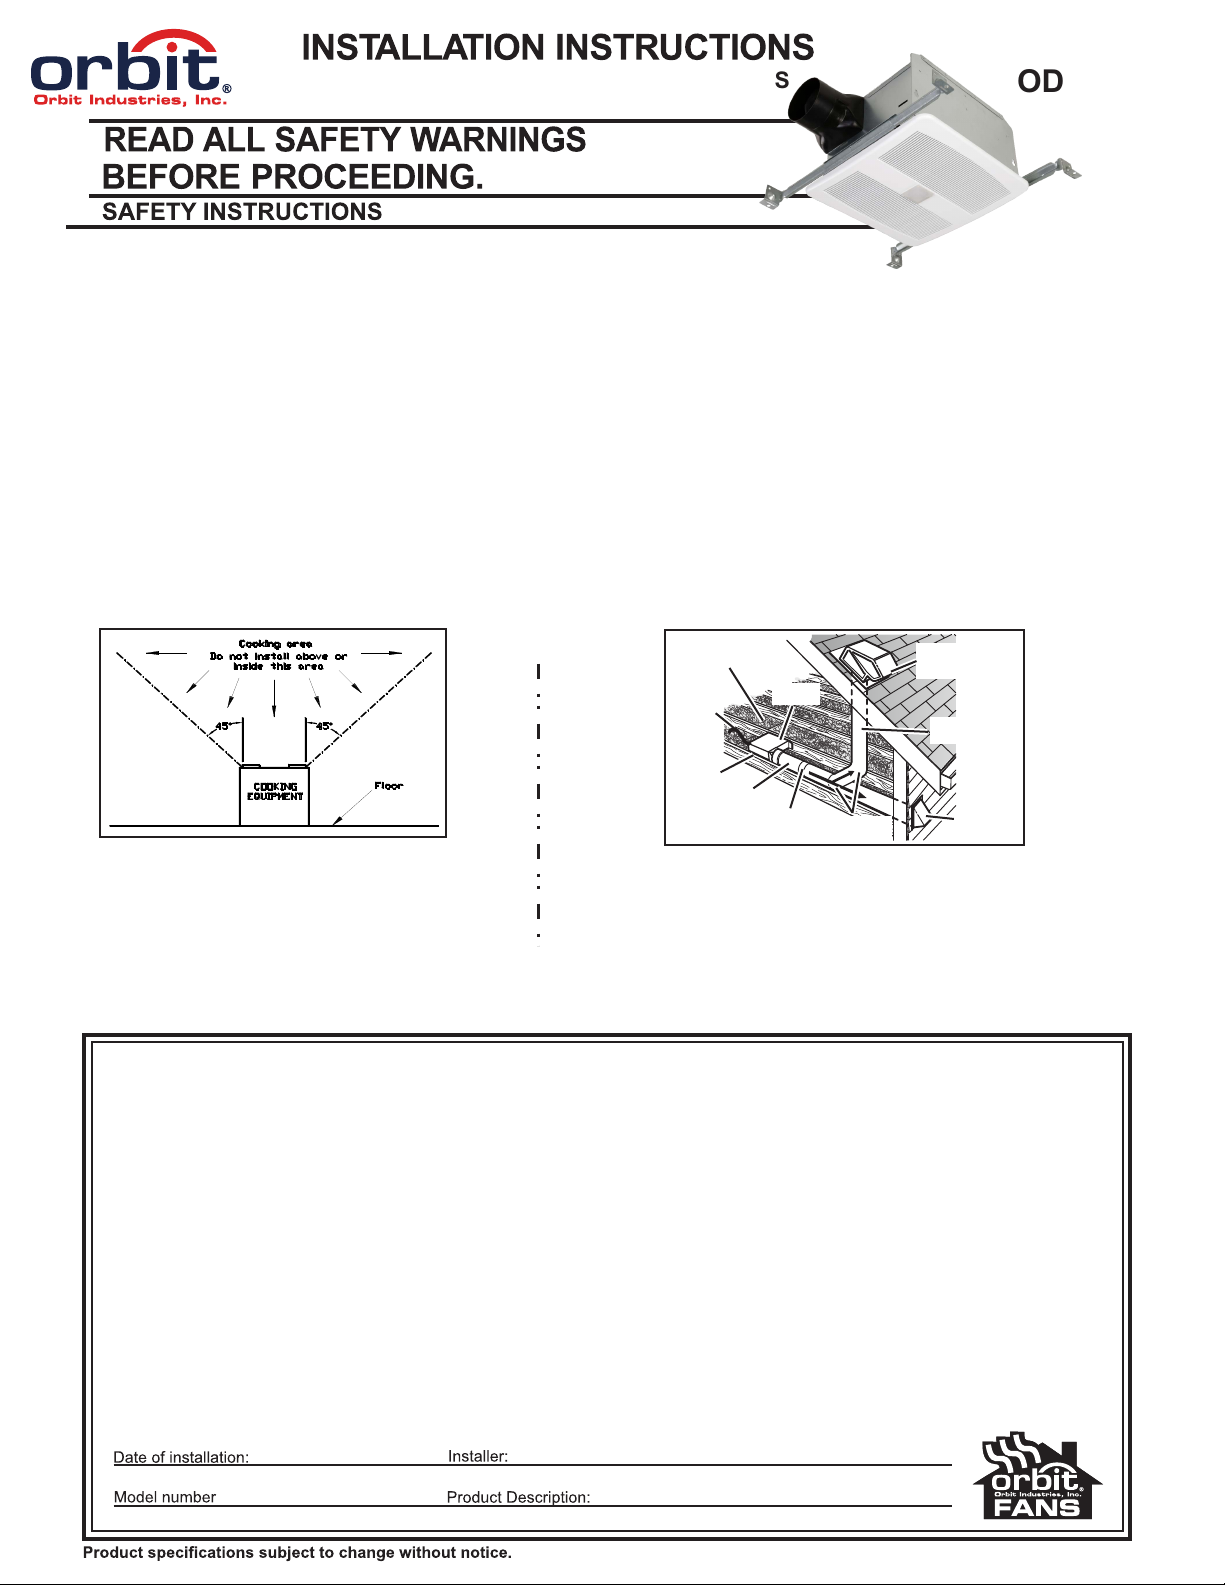
a) "Do not install fan above or inside a 45-degree
angle projected outwards from the cooking equip ment element closest to the fan. See instruction
sheet for clarification;" or
b) "Not for use in cooking area - see installation
instructions;"
INSULATION*
(Place around and
over Fan Housing.)
ROUND
DUCT*
FAN
HOUSING
Seal duct
joints with
tape.
ROUND
ELBOW(S) *
POWER
CABLE*
Seal gaps
around
Housing.
* Purchase
separately
Recommended to put insulation around and the fan housing to
minimize the building heat loss. Seal all the gaps around the
housing with caulk or other similar material to inhibit air leakage
to the exterior of the thermal envelope of the building. Rigid sheet
metal duct and the shortest path to the outside will minimize
static pressure losses and promote adequate flow.
ROOF CAP*
(with built-in
damper)
Keep duct
runs short
" Do Not Mount In A Ceiling Thermally Insulated To A Value Greater Than R40"
"CAUTION - For General Ventilating Use Only. Do Not Use To Exhaust Hazardous Or Explosive Materials And Vapors."
ODU814M
WALL CAP*
(with built-in
damper)
WARRANTY OWNER: Orbit Industries, Inc., warrants to the original consumer purchaser that it’s products will be free from
defects in materials or workmanship for a period of one year from the date of original consumer purchase.
THERE ARE NO OTHER WARRANTIES, EXPRESS OR IMPLIED, INCLUDING, BUT NOT LIMITED TO, IMPLIED
WARRANTIES OF MERCHANTABILITY OR FITNESS FOR A PARTICULAR PURPOSE.
During this one year period, Orbit, will at its option, repair or replace , without charge, any products or part which is found to be
defective under normal use and service. THIS WARRANTY DOES NOT EXTEND TO FLUORESCENT LAMP STARTERS OR
TUBES, FILTERS, DUCT, ROOF CAPS, and OTHER ACCESSORIES FOR DUCTING.
This warranty does not cover (a) normal maintenance and service or (b) any products or parts which have been subject to
misuse, negligence, accident, improper maintenance of repair (other than by Orbit), faulty installation or installation contrary to
recommended installation instructions. The duration of any implied warranty is limited to the one year period as specified for the
express warranty. Orbit OBLIGATION TO REPAIR OR REPLACE, AT Orbit OPTION, LIABLE FOR INCIDENTAL,
CONSEQUENTIAL OR SPECIAL DAMAGES ARISING OUT OF OR IN CONNECTION WITH PRODUCT USE OR
PERFORMANCE. Some states do not allow the exclusion or limitation of incidental or consequential damages, so the above
limitation or exclusive may not apply to you. This warranty gives you specific legal rights, and you may have other rights, which
vary from state to state. This warranty supercedes all prior warranties.
WARRANTY SERVICE: To qualify for warranty service, you must (a) notify Orbit at the address stated below, (b) give the
model number and part identification and (c) describe the nature of any defect in the product or part. At the time of requesting
warranty service, you must present evidence of the original purchase date.
Orbit Industries, Inc. 2100 S. Figueroa St. Los Angeles, CA 90007 Tel: (213) 745-8884 Fax: (213) 745-2015 1-800-90-ORBIT
Deluxe
ODU814M
4” & 6” Termination (duct)
Rough Ope ning:
11-1/4” L X 10-1/2” W
Housing D imension:
11-1/4” L X 10-1/2” W X 7- 5/8” H
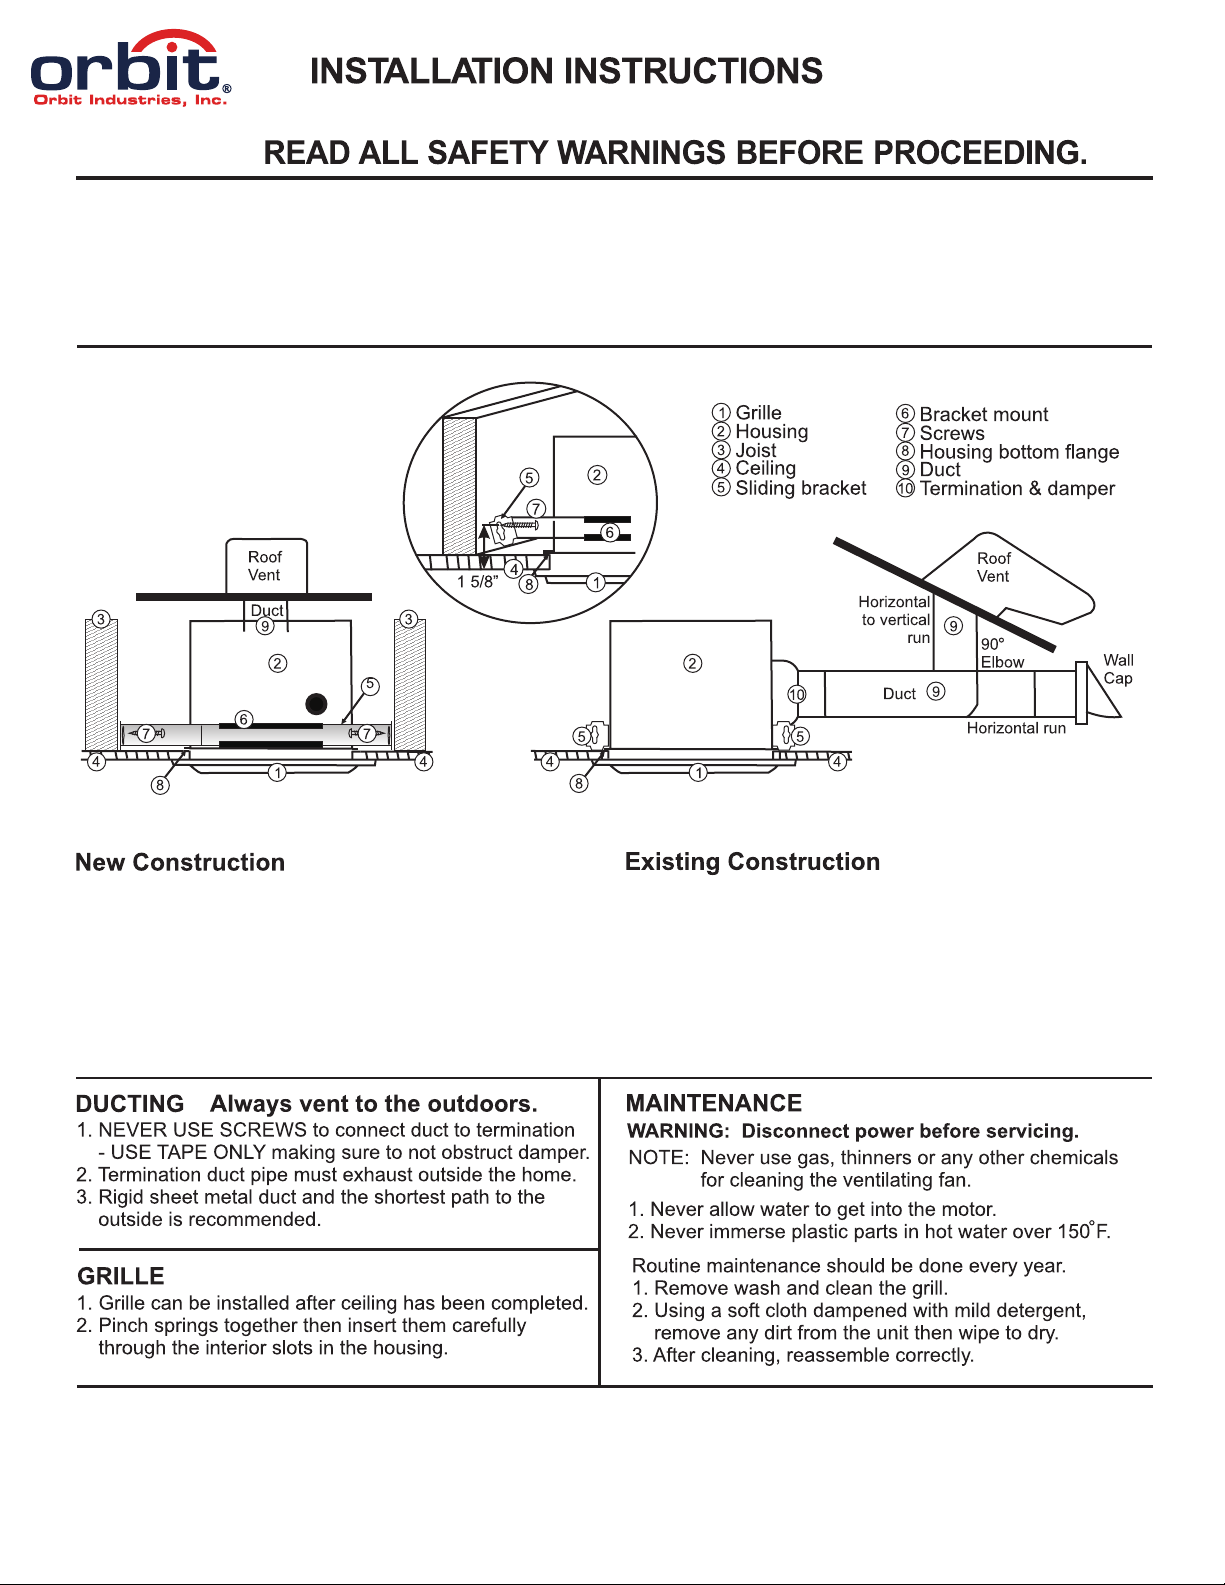
Carefully position fan
for shortest duct run and
fewest elbows to achieve
maximum performance
1. Remo ve gri lle from ho usin g befo re instal lati on.
2. Inse rt pai r of slidin g brac kets i n each brac ket mo unt.
3. Loca te hou sing betw een ce ilin g joists an d trus s so bottom
flang e will f it flush to t he cei ling j oist.
4. Loos ely sc rew to jois t thro ugh th e mountin g brac ket
KEYHO LE slo ts (screw s not pr ovided).
5. Opti onal s ide mount t o ceil ing jo ist and use o ne sid e of the
brack et for m ore stabl e supp ort.
1. For ne w fan in stallat ion po siti on the hous ing in t he
attic n ext to t he ceilin g jois t or truss.
2. Trace h ousi ng bottom e dge on c eili ng materi al for c utout.
3. Conf irm th e opening , then c ut hol e 11-1/4” X 1 0-1/ 2” of th e
housi ng ins ide edge.
4. Plac e hous ing insid e open ing (a ttic) of th e ceil ing.
5. To atta ch fol low steps 3, 4, 5 for N ew Con structi on.
 Loading...