

Orbit B-Hyve, B-hyve 57946, B-hyve 57950, B-hyve 91946, B-hyve 91950 User Manual
...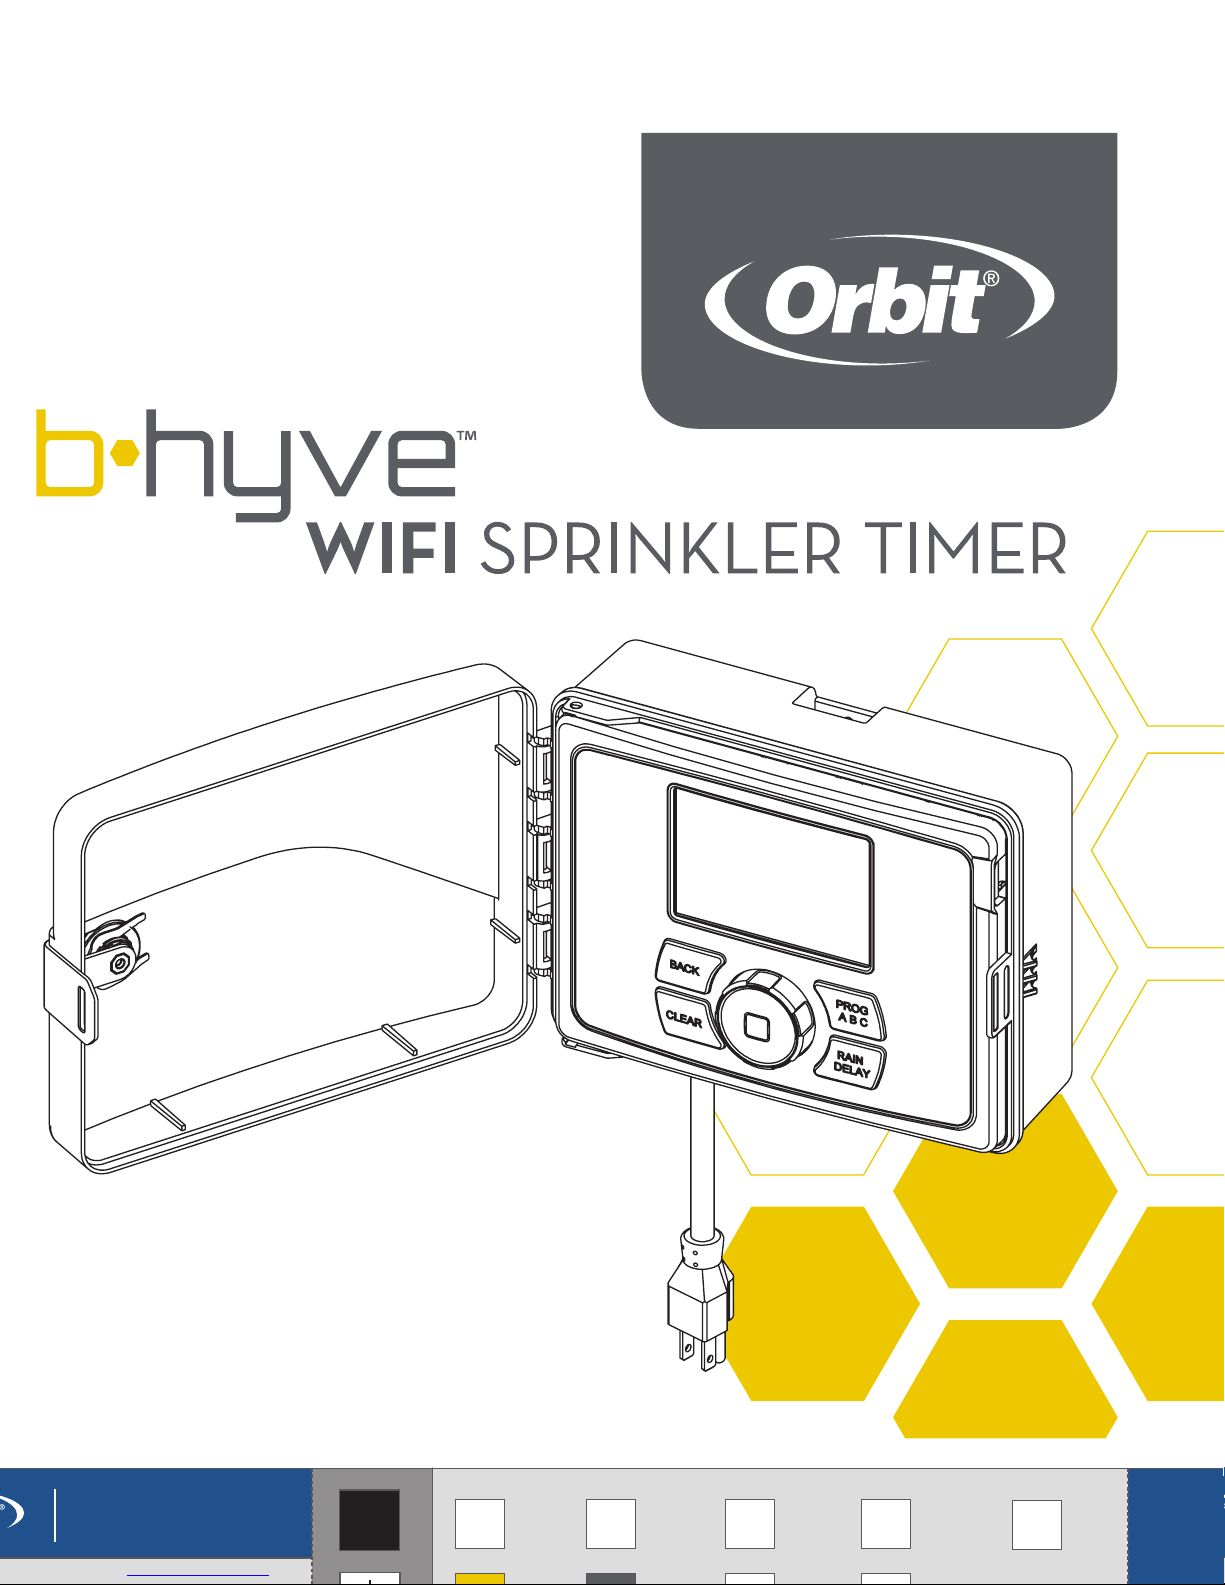
WIFI SPRINKLER TIMER
Users Manual
57946-50 rB
Printers are responsible
for meeting print
production requirements.
Any changes must be
approved by Orbit
Dieline
Fold
Product
Coverage
Dims./
Callout
Orbit
®
1.801.299.5555
orbitonline.com
K
Glue
PRIN TERS ARE

2
Thank you for purchasing the Orbit®
B-hyve™ wifi sprinkler timer. At Orbit, we
share your passion for a beautiful landscape
while protecting our most valuable resource–
water. For over 40 years, this passion has
driven us to deliver top of the line irrigation
products to millions of customers all around
the world. Our slogan, “Conservation
through Innovation,” has driven our product
development in timers for decades and
continues to define our direction today with
the B-hyve™ smart wifi sprinkler timer.
Nature is a wonderful gardener and is always
subtly working with you to take care of your
landscape. Bees provide a great example
of this remarkable, unseen effort to help
your plants grow. The beehive is the central
hub where this effort is coordinated, and
the communication happens. While nature
does a great job, sometimes a little help is
needed. That is where we come in. When
you connect your B-hyve™ timer to your
wifi, you are plugging in to nature. The local
weather, along with some inputs about your
landscape, will work together to deliver
the right amount of water to your plants,
eliminating water waste and saving you
money. Thanks for connecting and welcome
to B-hyve™!
Welcome to B-hyve™ Connecting with B-hyve™ Table of Contents

3
Contents in the Box ......................4
Getting Started ..........................5
Timer Installation.........................6
Uninstalling/Reinstalling ..................8
The B-hyve App ..........................9
Timer Controls/Features.................10
Simple Controls ..........................11
Using the Dial ............................12
Using the Back and Clear Buttons .........13
Using the Program (PROG ABC) Button....14
Using the Rain Delay Button...............15
Timer LCD...............................16
Programming the Timer ...................17
Manual Operation.......................23
Remember, you can set your timer up with
the app. But, if you don’t have wifi or just
want to make an adjustment while you are
outside, you can do it at the timer. Timer
changes will be reflected in the app, and
app changes will be reflected at the timer.
For more detailed instructions or
troubleshooting information, visit
bhyve.orbitonline.com
Also, the app has help screens and
video to assist you with wifi connections,
programming, smart watering and other
general questions you may have.
If the app and the website don’t have what
you’re looking for, please call our technical
support line.
Help
1-800-488-6156 or 1-801-299-5555
www.orbitonline.com
bhyve.orbitonline.com
Before returning this sprinkler timer
to the store, contact Orbit® Technical
Service at: 1-800-488-6156, 1-801-299-5555

4
Contents in the Box Getting Started
Wifi Sprinkler Timer
Screwdriver
Installation Hardware
Keys
Quick Start Guide
A
A
D
B
B
D
E
C
C
E

5
Your B-hyve™ sprinkler timer is great for new installations or for
replacing an old sprinkler timer. Here are some basic steps to get
your timer set up and get you closer to saving water and money.
Install the timer
Choose a location on your property with a good wifi signal.
Install the B-hyve™ app on your smart device
You will need a smart device to connect the timer to wifi. After the
timer is paired, you can also use a computer to adjust your timer.
Setup your timer with the app or at the timer
Your timer works with and without wifi. It can be programmed
with your smart device or at the timer interface.
Note: If replacing a timer, it is helpful to take a photo of the wires
before you remove them from the old timer.
6
Timer Installation Timer Installation–Connecting to WIFI
Select a location
Choose a location near power and away
from direct sunlight, if possible. Make sure
to leave room for the timer door to open
completely.
Mount the timer
Install a screw (included) into the wall.
Use the expanding anchors (included) for
plaster, masonry or drywall installations.
Hang the timer on the installed screw using
the keyhole slot. Level the timer and use
the second screw in one of the preformed
mounting holes to secure the timer.
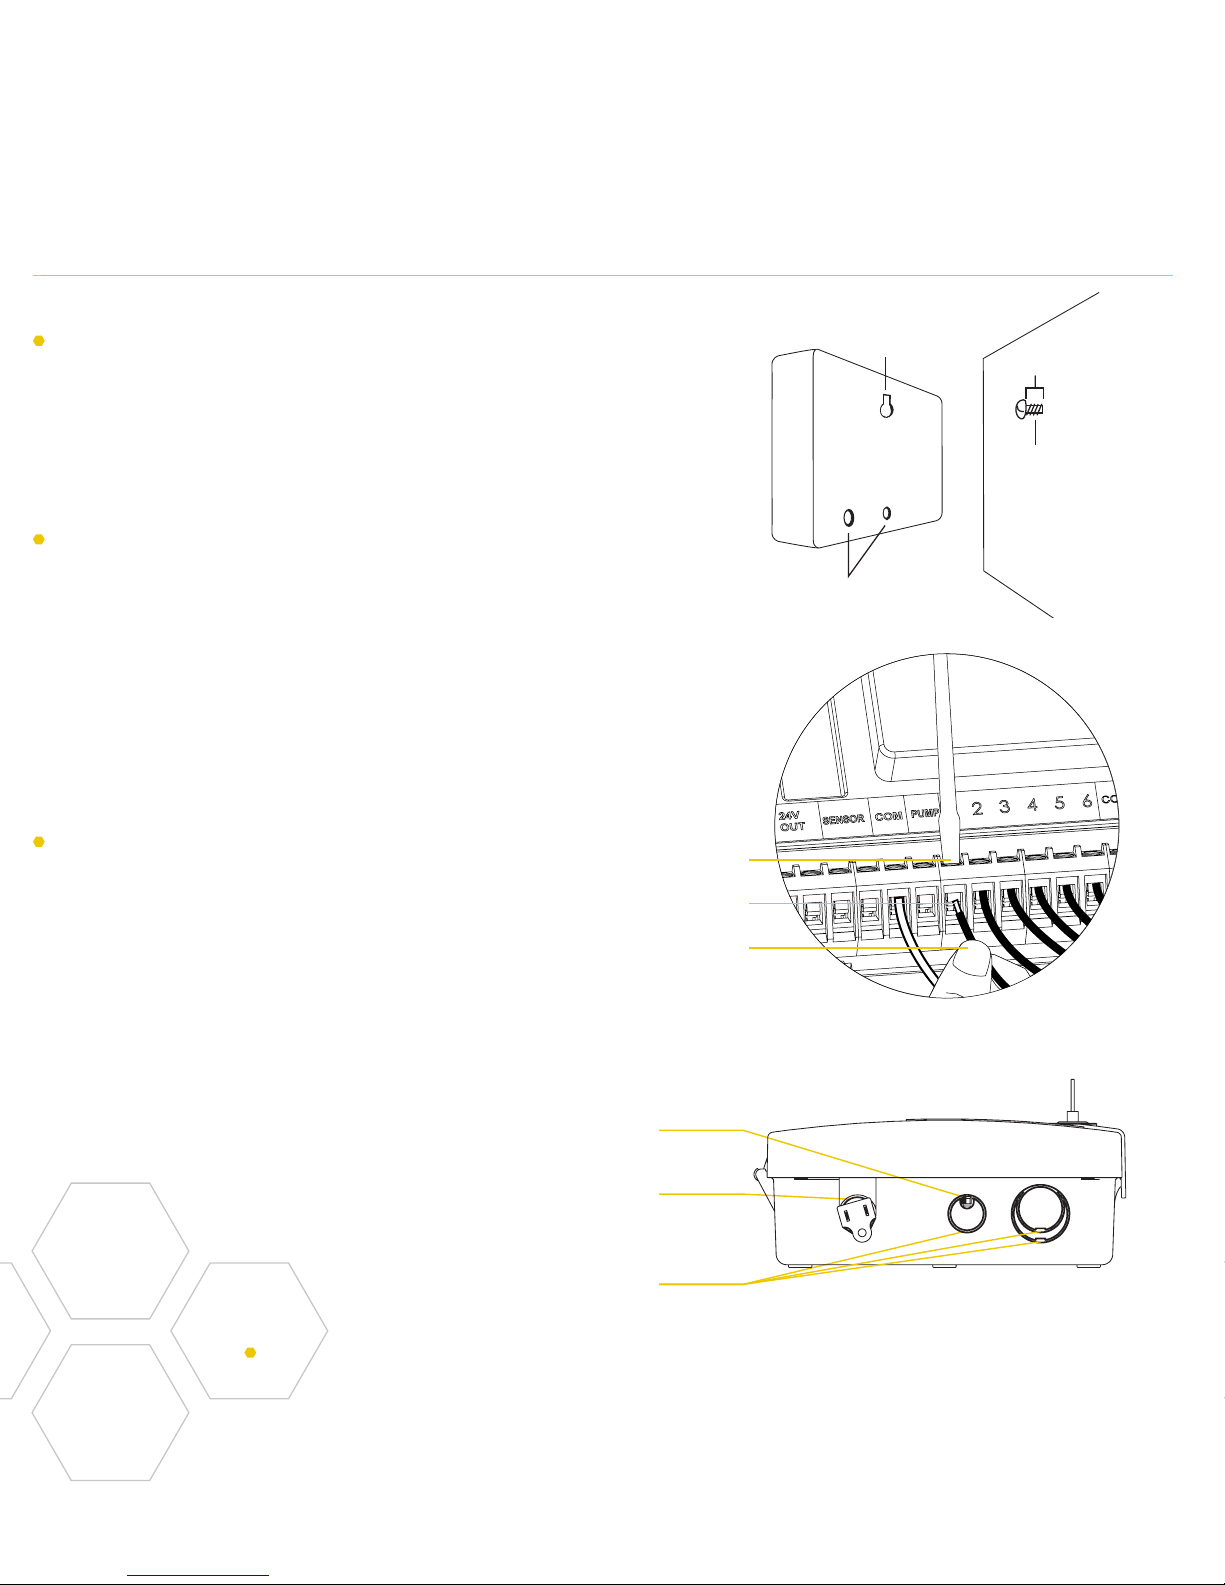
Connect valve wires
Strip 1/2" (12 mm) of insulation from each
wire. Connect one wire from each valve
to a “Common” (COM) wire and the other
wires to a numbered terminal (only one
wire per terminal.)
Keyhole
Pre-formed
Mounting Holes
No. 8 Screw
Wall
1/8"
Small Hole–for running 5 or 7
strand wire straight into the box
1/2", 3/4" and 1" knock-outs for larger
systems with more wire bundles
Knock-out for hardwired installations
Bottom View
Strip Wire
Push In
Loosen Screw
Tighten Screw
Note: We recommend you consult an electrician for hardwired installations.
7
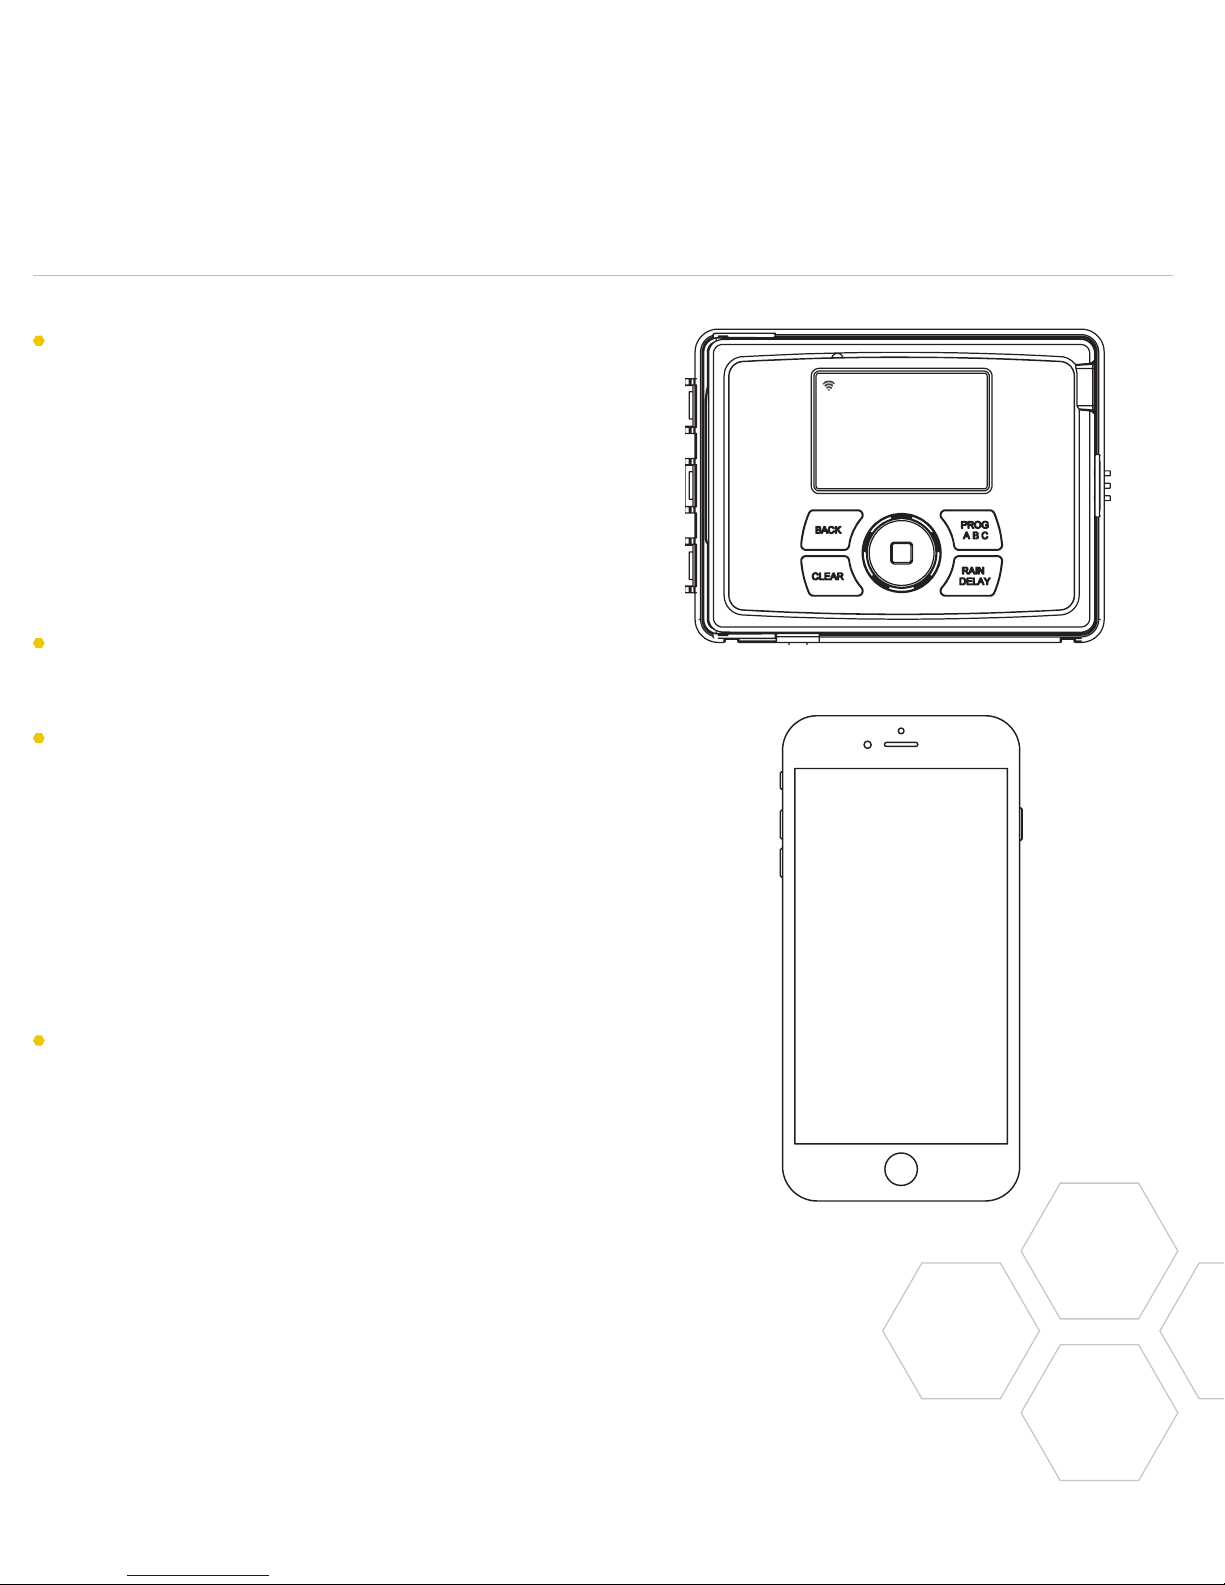
Plug in your Orbit® B-hyve™ timer
Once your Orbit® timer is plugged into the
power source, it will automatically look to
pair with your smart device. In the top left
corner of the timer screen the “wifi” icon
will begin a graduated blinking sequence.
This indicates that your timer is ready to
pair with a smart device.
Install the Orbit® B-hyve™ app and
create an account on your smart device
Find Orbit_SmartHome_XXXX
in your wifi list
The B-hyve™ timer will create its own
network that will appear in your list of
available wifi connections on your smart
device. Connect to the Orbit SmartHome
network and then return to the Orbit®
B-hyve™ app.
Enter your wifi settings
After returning to the app, you will see
a list of available networks. Choose your
network and then enter the password for
the network to connect your timer to your
wifi signal. When connected, the wifi icon
on the timer will stop blinking and show
solid lines.
8
Uninstalling/Reinstalling The B-hyve™ App
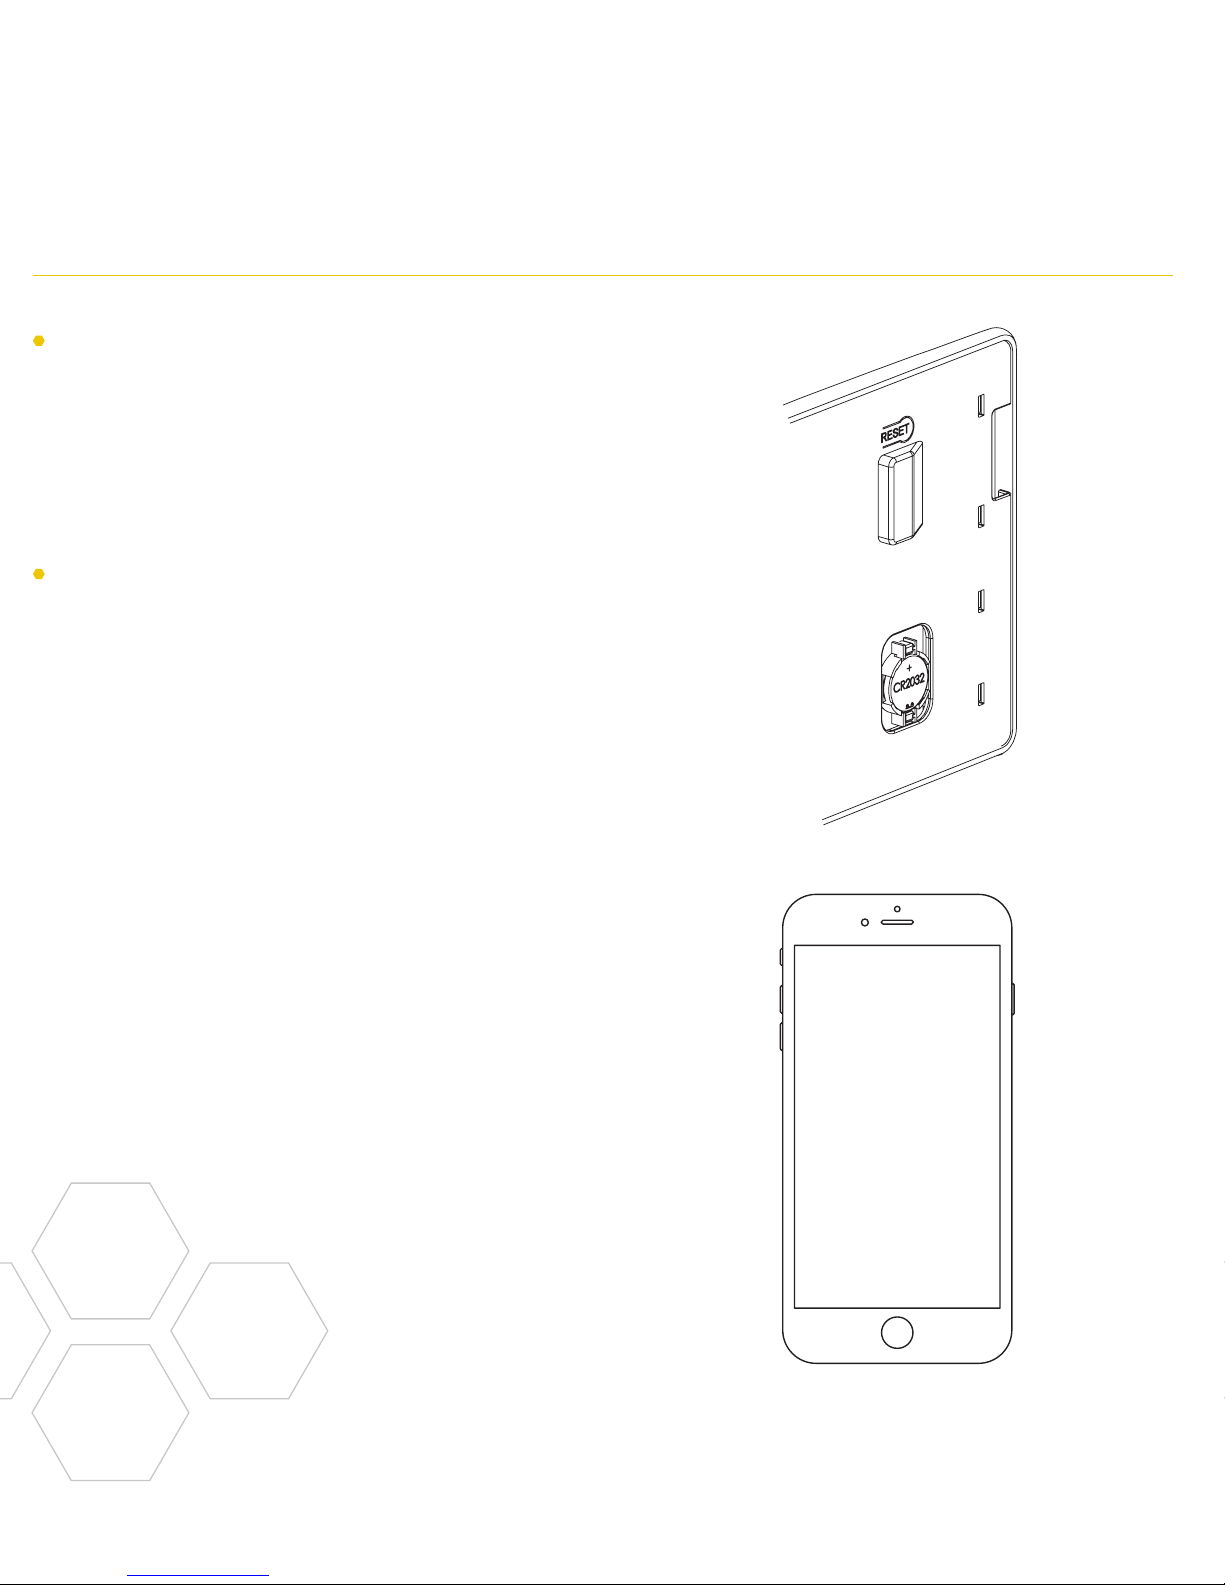
How to re-pair with wifi
You can re-pair your smart device with
your B-hyve™ timer by turning the dial to
“Off” and pressing the reset button on the
back of the swing panel. The timer display
will show “Pair.”
Deleting the timer from the app
You may need to delete the timer from a
smart device. Go to settings to deauthorize
the timer, after which it will ask for
confirmation to remove the timer.
 Loading...