

Optus X Lite Quick Start Manual

English - CJB1J60ALAAA
PHONE & SIM
QUICK START GUIDE
www.sar-tick.com
This product meets applicable
national SAR limits of 2.0 W/kg. The
specific maximum SAR values can be
found on Radio waves section.
When carrying the product or using
it while worn on your body, either
use an approved accessory such as
a holster or otherwise maintain a
distance of 5 mm from the body to
ensure compliance with RF exposure
requirements. Note that the product
may be transmitting even if you are
not making a phone call.
PROTECT YOUR HEARING
To prevent possible hearing damage, do not
listen at high volume levels for long periods.
Exercise caution when holding your device near
your ear while the loudspeaker is in use.
For more information about how to use your phone,
please visit optus.com.au/xlite to download the complete
user manual.
Optus X Lite
1
1
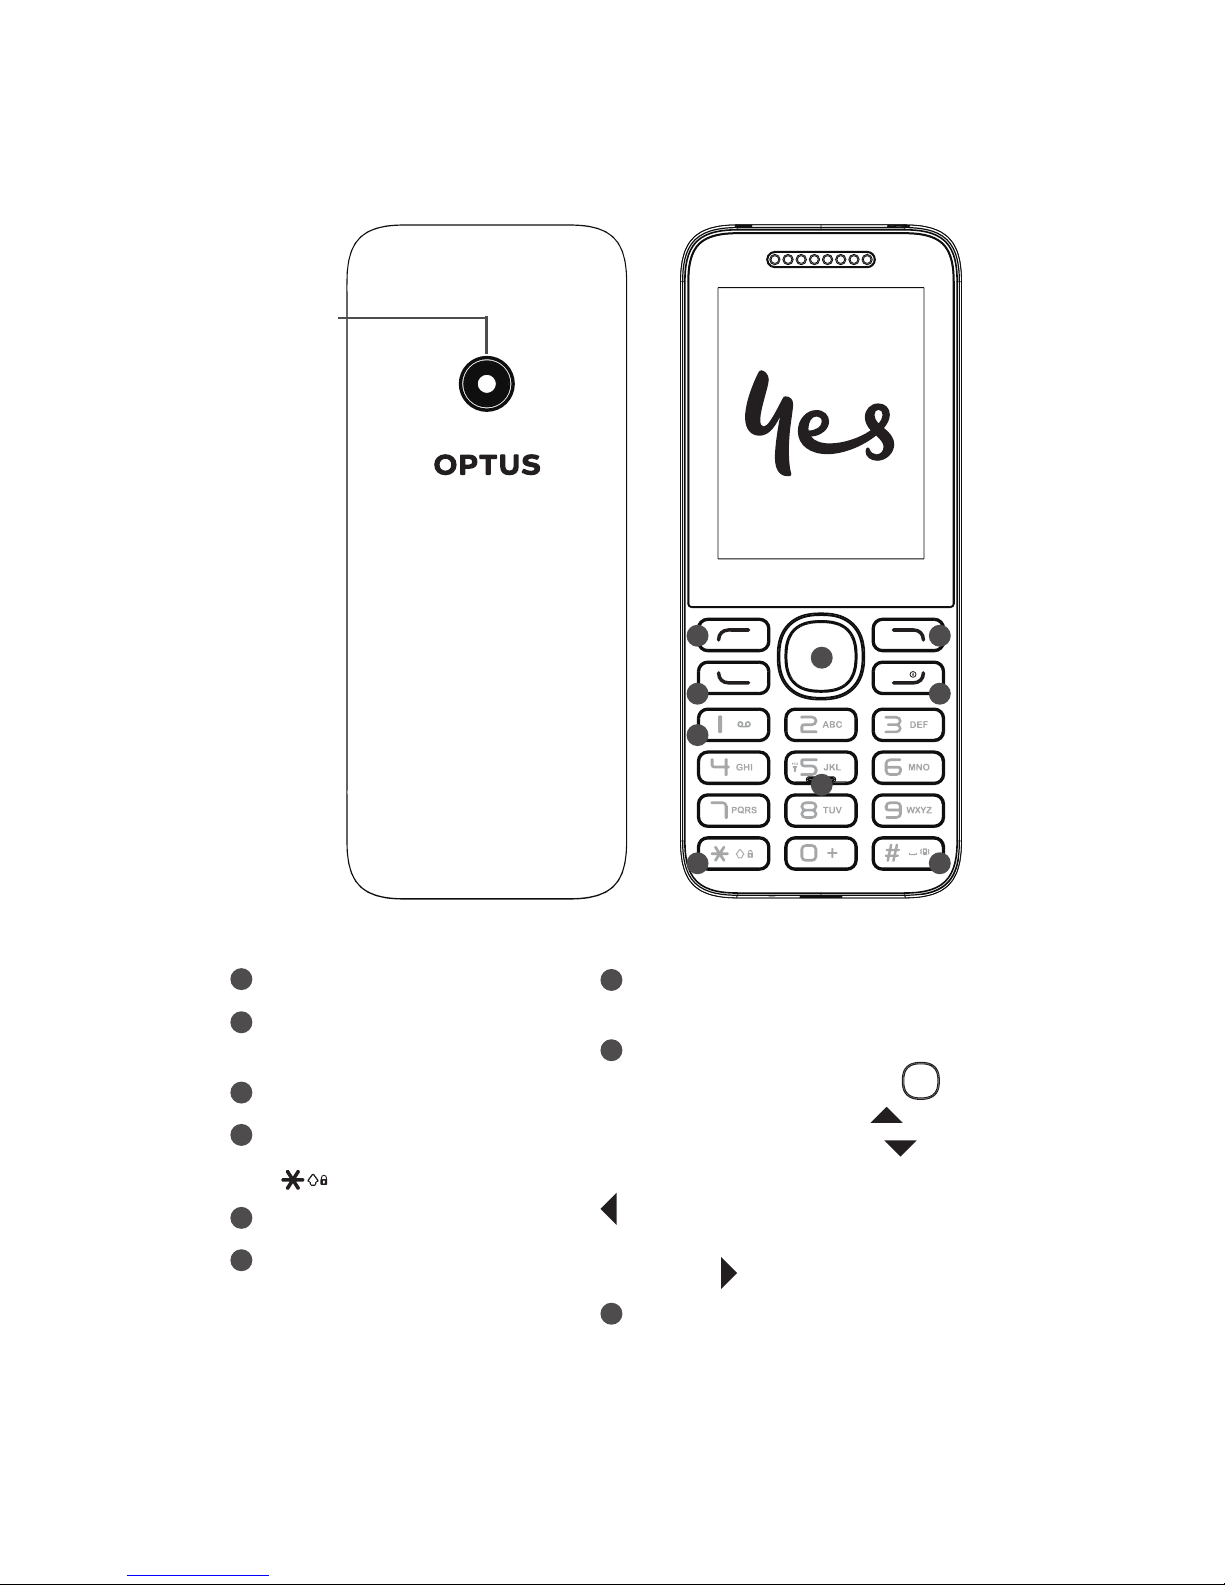
Your phone
Camera
1
2
3
4
5
6
7
8
9
1
Left soft key
2
Call logs (idle screen)
Send call
3
Voicemail (long press)
4
Lock Key (long press
key)
5
Right soft key
6
Power on/off
End call
7
Vibrate alert (Vibrate
mode activated)
8
Navigation key:
Confirm an option
Increase volume
Decrease volume
Scroll to the left function
Scroll to the right
function
9
Torch

2
1.1 Keys and connectors
Navigation key
Confirm an option (press the centre of
the key)
Left soft key
• Unlock keypad
• Access to main menu
Send call
Access to call log ( on Home screen)
Right soft key
Access contacts
Power key
• Power on/off the phone (long press)
• End call
• Return to the Home screen
On the Home screen
• Input "1" (long press)
• Dial voicemail number (long press)
In edit mode
• Input most frequently used symbols
• Input "1" (long press)
On the Home screen
• Enter "0"
• Input "+" (long press). "+" is used for
dialing an international call.
In edit mode:
• Input "0" (long press)
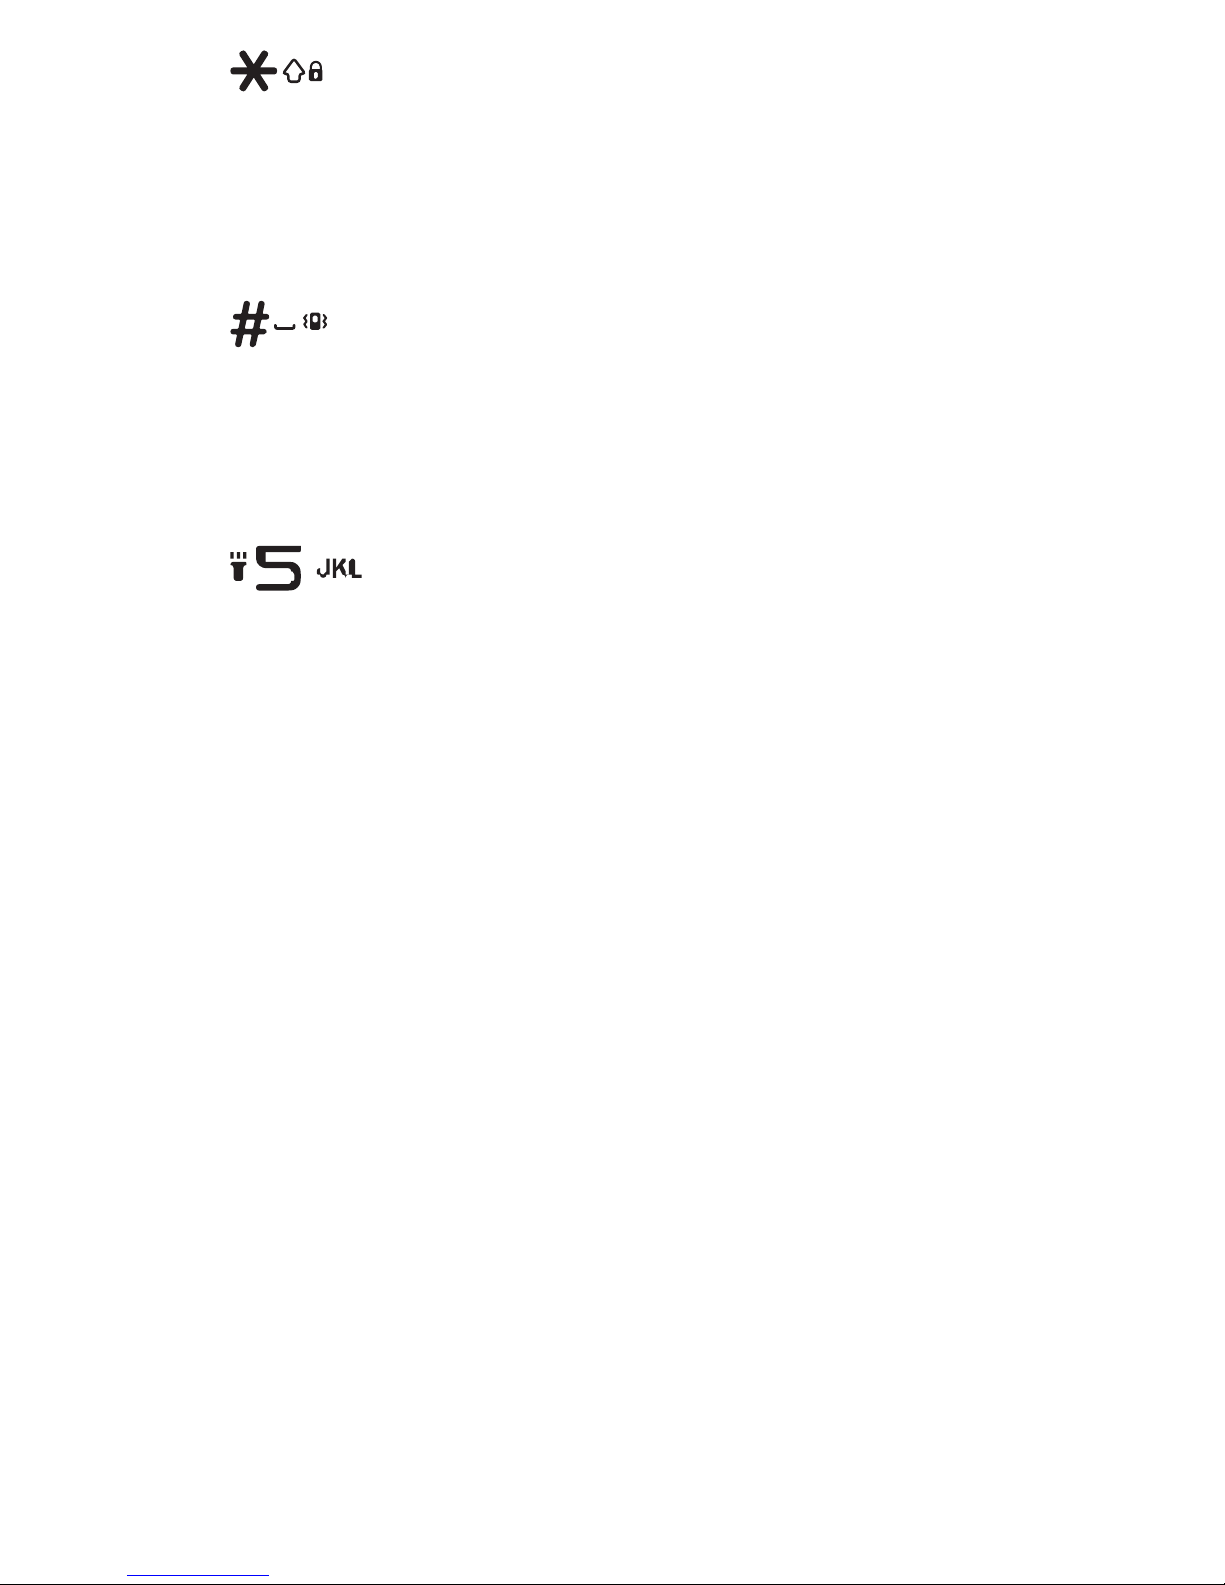
3
On the Home screen
Input "*"
Lock keypad (long press)
In Edit mode
Change input language
Access input method list
On the home screen
Input "#"
Activate/deactivate the vibrate mode
In edit mode
Add space
Input symbols (long press)
On the home screen
Input "5"
Turn on/off the torch
4
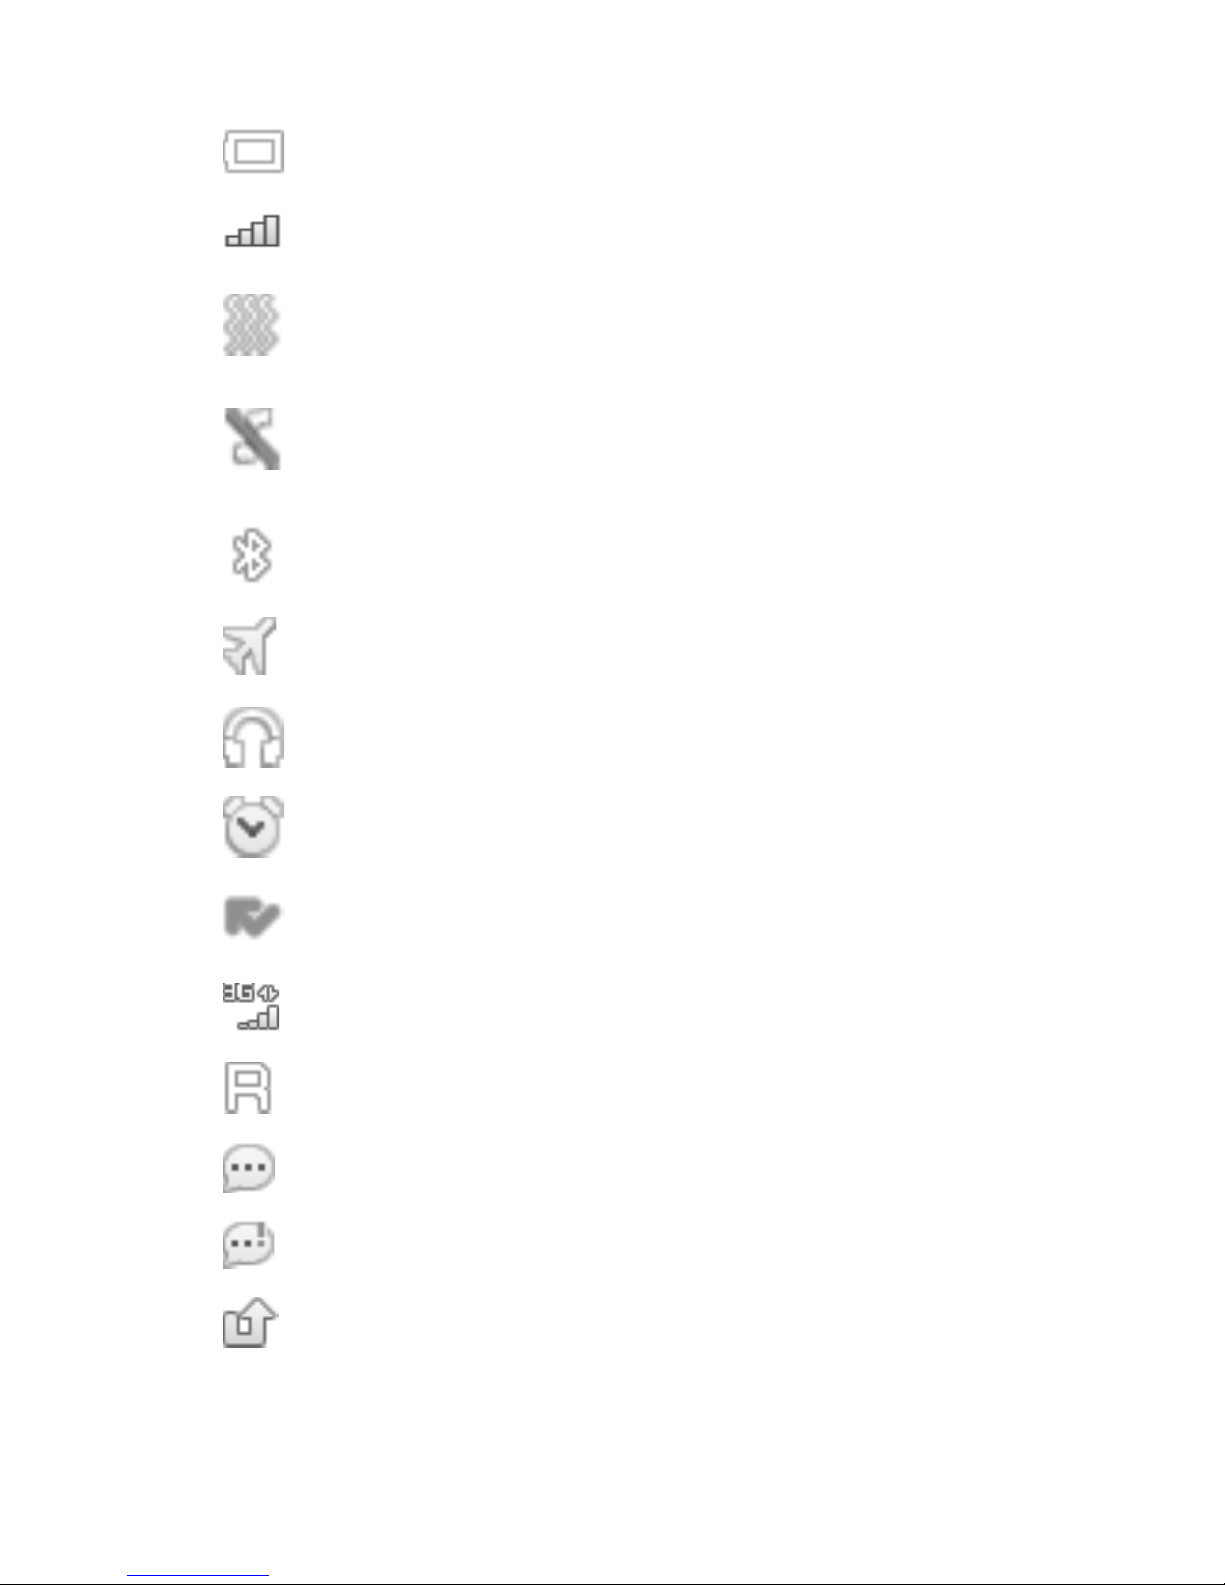
1.2 Status bar icons
(1)
Battery charge level
Level of network reception
Meeting mode: your phone vibrates, but neither
rings nor beeps.
Silent mode: your phone neither rings, beeps nor
vibrates
Bluetooth status (Activated)
Flight mode
Headset connected
Alarm clock programmed
Missed calls
GPRS connection status
Roaming
Unread SMS
Message full
Call divert
(1)
The icons and illustrations in this guide are provided for
information purposes only.
5
2
Getting started
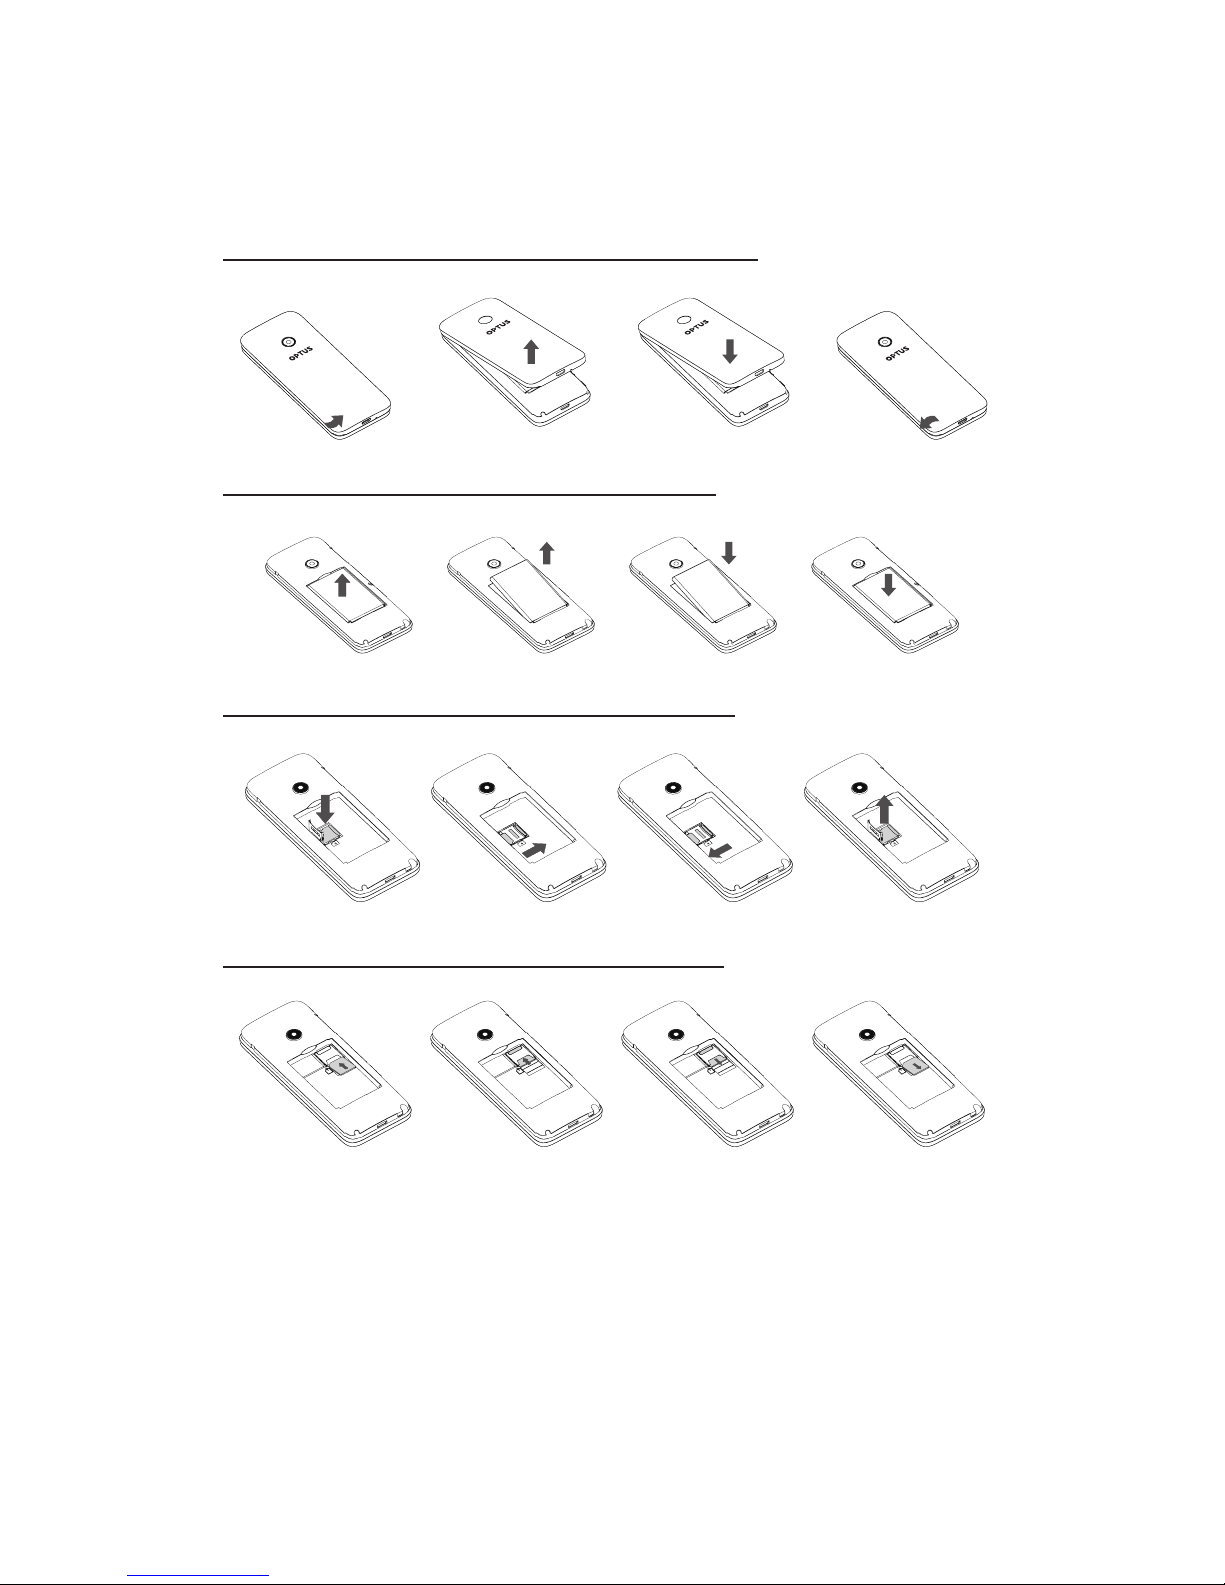
2.1 Set up
Removing and installing the back cover
Removing and installing the battery
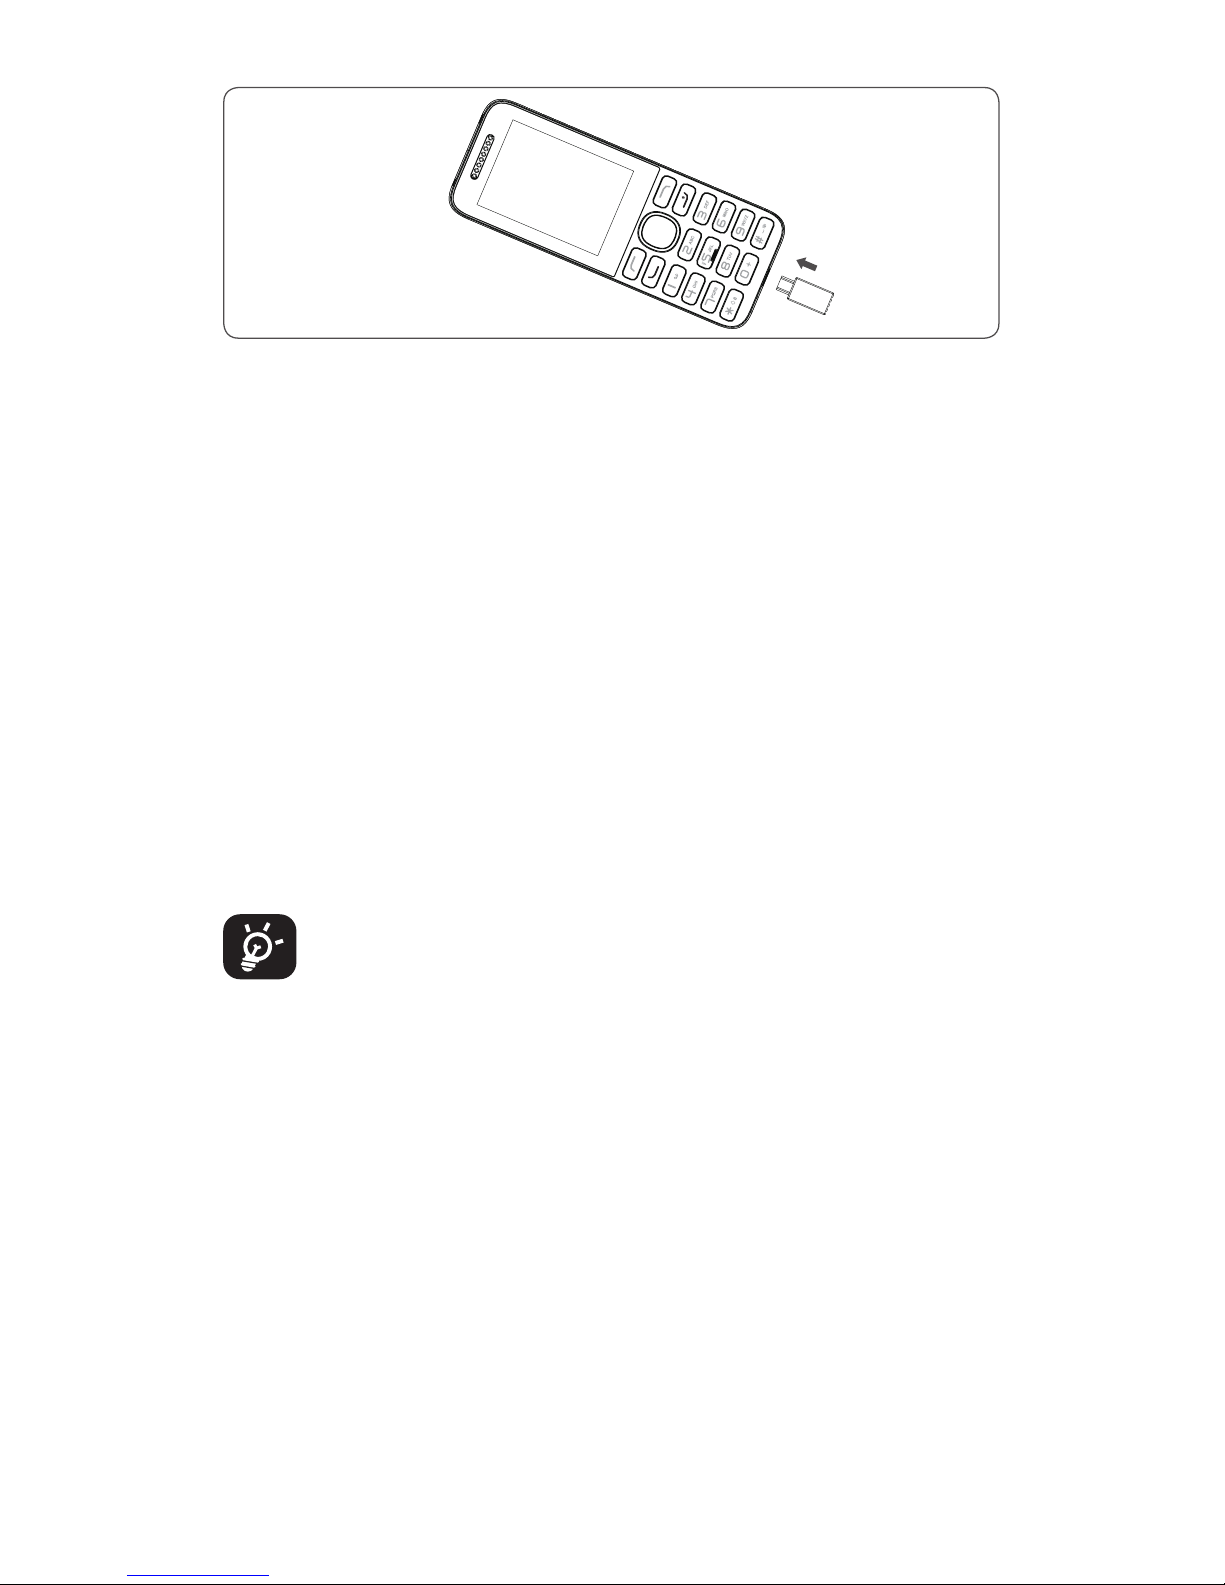
Inserting and removing microSD card
Inserting and removing the SIM card
Place the SIM card with the chip facing downwards and
slide it into its housing. Make sure that it is correctly
inserted. To remove the card, press it and slide it out.
6
Charging the battery
• Connect battery charger to your phone and plug into
the socket.
• Charging may take about 20 minutes to start if the
battery is out of power.
• Be careful not to force the plug into the socket.
• Make sure the battery is correctly inserted before
connecting the charger.
• The mains socket must be near to the phone and easily
accessible (avoid electric extension cables).
• You are advised to charge the battery to its maximum
when using the phone for the first time (approximately
3 hours).
• To reduce power consumption and energy waste, when
battery is fully charged, disconnect your charger from
the plug; reduce the backlight time, etc.
The charge is complete when the animation stops.

7
2.2 Power on your phone
Hold down the key until the phone powers on.
2.3 Power off your phone
Hold down the key from the idle screen.
3
Calls
3.1 Making a call
Enter the desired number, then press the key to
place the call. If you make a mistake, you can delete the
incorrect digits by pressing the key. To hang up the call,
press the key.
Making an emergency call
If your phone is covered by the network, dial the emergency
number and press the key to make an emergency call.
This works even without a SIM card and without typing
the PIN code or unlocking the keypad.
3.2 Calling your Voicemail
(1)
To access your Voicemail, hold down the key.
3.3 Answering a call
When you receive an incoming call, press the key to
answer and then hang up using the key.
3.4 Available functions during the call
During a call, you can access your directory, calendar,
messages, etc. without hanging up the phone.
4
Contacts
4.1 Consulting your contacts
You can access your call memory by pressing from the
idle screen, or press the key and select the icon
from the Menu. In this menu, you will see all call contacts.
(1)
Contact Optus to check service availability.

8
4.2 Adding a contact
Select the menu Add to, then save it to your phone or SIM
card as you please.
5
Call logs
You can access your call history by pressing from the
idle screen, or press the key and select the icon
from the Menu.
6
Settings
From the main menu, select the menu and select
the function of your choice in order to customise your
phone: Phone settings, Display, Security, Call settings,
Connections and Regulatory&Safety.
7
Message
Create message
You can select Message from the main menu or access
from widget to creat text/multimedia messages. You
can type a message and send it to a recipient in the SIM
card directory and you are also able to insert a pre-defined
message from “Insert template”. While writing a message,
select “Options” to access all of the messaging options.
An SMS message of more than a certain number
of characters (the number of characters depends
on your language) will be charged as several
SMS. Specific letters (accented) will increase the
size of the SMS, this may cause multiple SMS to
be sent to your recipient.
8
Profiles
Your phone provides multiple user profiles, you can
customise some settings to adapt to the specific events
and environments.
9
9
Games
Seven games named Bubble Bash 2, Ninja Up, Sky Gift,
Danger Dash, Nitro Racing, Block Breaker and Air Strike
are preset in your phone. For more information, refer to
the "Help" menu in each game.
10
Camera
Your mobile phone is equipped with a camera for taking
photos and shooting videos:
• Store them as your creations on micro SD card or phone.
• Send them in a multimedia message (MMS) to a mobile
phone.
• Send them directly by MMS, Bluetooth.
• Customise your Home screen.
• Transfer them by data cable or microSD card to your
computer.
11
Video
You can enter the DV recording interface through this
menu straight away. Press the key to start recording
and press the key for more options and settings.
You can switch between Camera mode and Video mode
through Options/More Option. or just press the left or the
right on the key.
12
Files
Your phone provides a certain space for you to manage
files and it supports the microSD card. The capacity of the
microSD card is selectable. You can create new folder and
delete, edit, search for, mark and view the details of thed
existed folder or files.
 Loading...