

optitrack V120:SLIM Quick Start Manual
quick start guide
V120: S L I M
© 2010 NaturalPoint, Inc. All rights reserved.
All other company and or product names are the trademarks of their respective owners.
Friendly Customer Service
If you have any difficulties after reviewing the
documentation, visit our website or call
1.541.753.6645 between 9AM-5PM PT.
Visit www.OptiTrack.com for the latest software
support, sample code and product news.
P-OT-105.1002
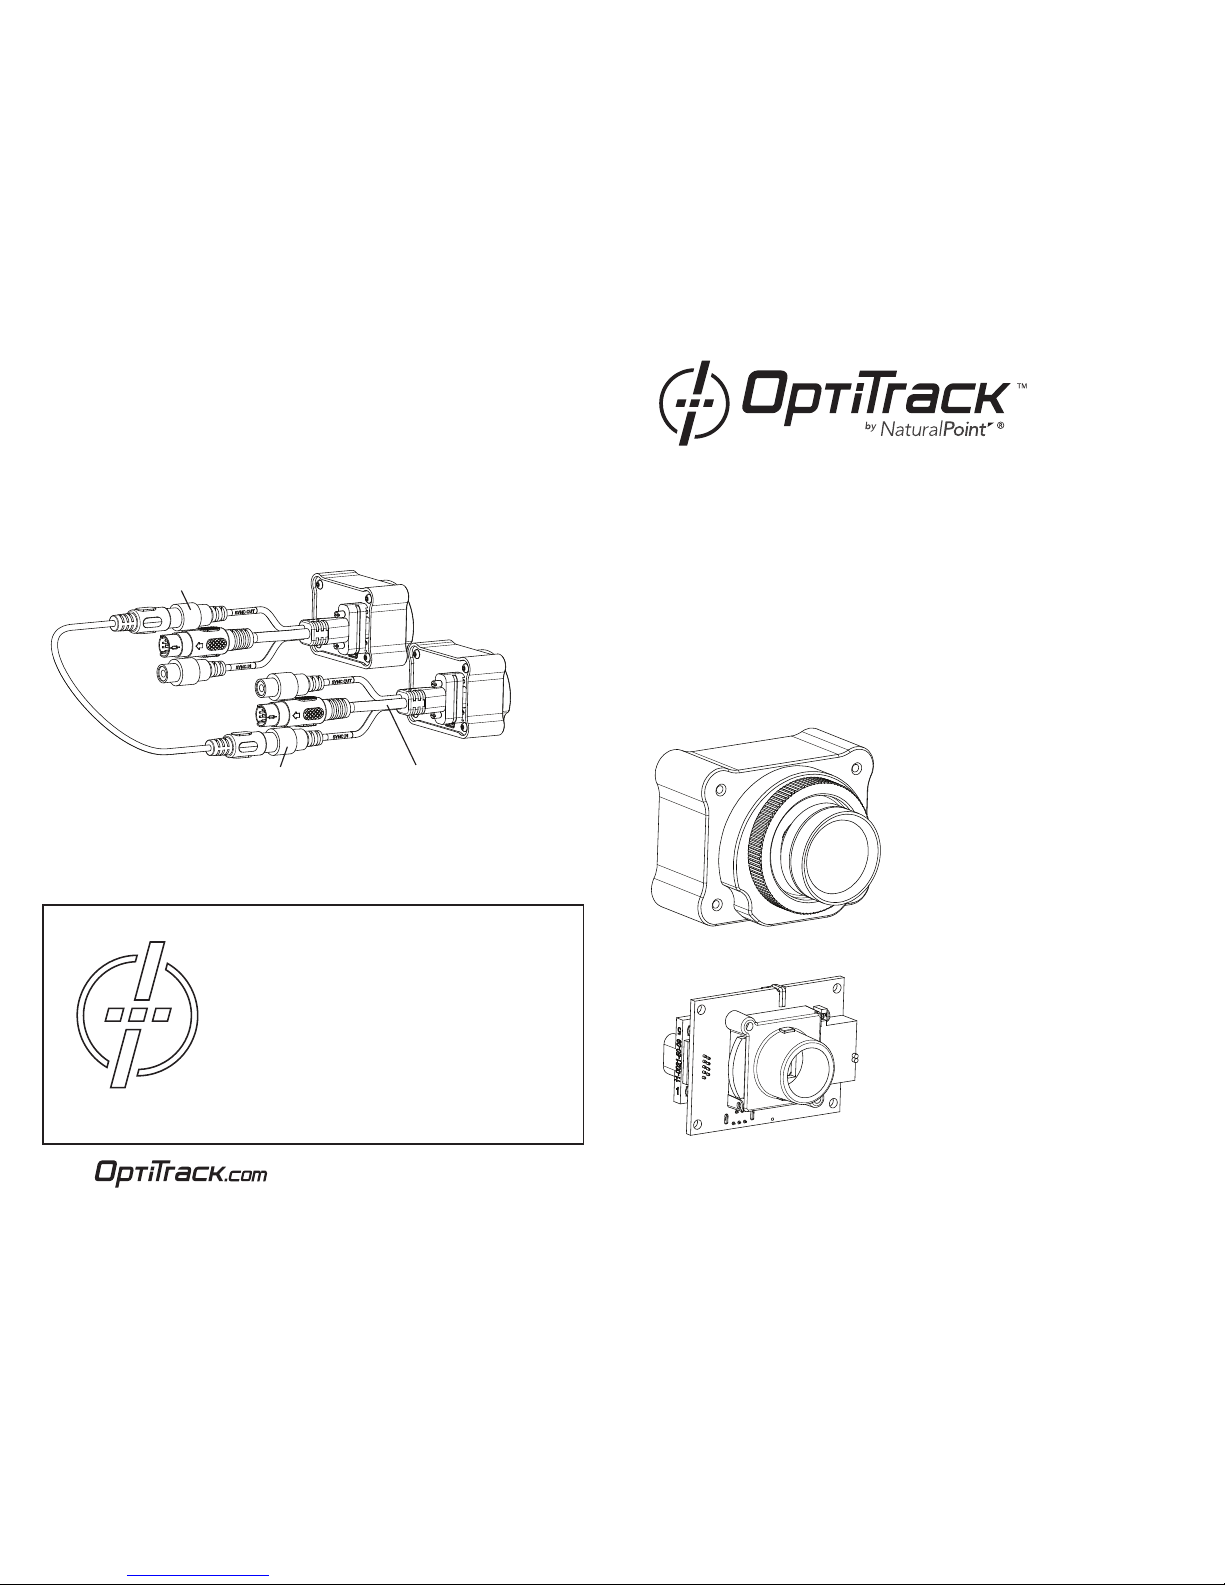
Note: Break-Out Cable connectors required for camera-to-camera sync.
(Master)
(Slave)
Sync Out
Sync In
V120 Sync Break-Out Cable
* Synchronizing Multiple Cameras
Multiple OptiTrack cameras may be synchronized for greater precision, via RCA Wired Sync.
* When using V120:SLIM cameras, all cameras in the sync chain must be of the same type.
Mixed sync environments are not supported.
* Plug in Sync Break-Out Cable for each camera.
* Connect master device’s “out” connector to slave camera’s “in” connector using Sync Cable
(sold separately).

1. Install Software
4. Plug In Hardware
Download the latest software installer* from
the website or use software CD if included.
Run the installer and follow its prompts.
Connect the V120:SLIM's cord to a USB port of an OptiTrack OptiHub or USB hub.
OptiHubV120:SLIM
two-pin connector
Install M12 Lens - PCB Install M12 Lens - Case Install CS Lens - Case Install C Lens - Case
Wave Spring
PCB wih M12 lens holder
and Filter Switcher
2. Install Lens (optional)
Thread the lens into included lens holder/adapter until finger tight.
* PCB-only V120:SLIM cameras (no case) only support M12 lenses.
* Mounting an M12 lens on a V120:SLIM camera with the case requires a CS to M12 adapter.
* OptiTrack M12 lenses should be installed with the included Wave Spring for secure focusing.
* CS lenses can be installed directly onto the V120:SLIM case.
* C lenses require a CS to C adapter before mounting onto the camera case.
PCB wih M12 lens holder
and Filter Plug
Technical Notes
* Make sure all USB hubs used with the device are externally powered (plug into wall).
* When using a V120:SLIM camera, a lens must be used to track or capture video.
* Windows 2000, XP, Vista and Windows 7 users must be logged in as an administrator to
install the USB drivers. If you only have one user login on your computer, you probably
have administrator privileges.
*
To find compatible software, please visit the
website.
3. Install Filter Plug or Filter Switcher (optional)
* Insert Filter Plug/Filter Switcher into slot on the side of M12 lens holder (right-side slot if
camera is upright and facing you).
* Tighten set screw on right side of plug.
* If Filter Switcher: Plug two-pin connector into jack at top rear of board. Route wire through
notch at top of board.
Note: Perform steps in reverse to uninstall Filter Plug/Filter Switcher.
Synchronizing Multiple Cameras
Multiple OptiTrack cameras may be synchronized for greater precision.
* See back for instructions.
 Loading...