

Option GLOBE TROTTER CONNECT User Manual

GlobeTrotter Connect
User Guide
Connect anytime, anywhere

TABLE OF CONTENTS
1. SYSTEM REQUIREMENTS 3
2. PRODUCT FEATURES 3
3. SHORT DESCRIPTION AND INTENDED USE 3
3.1. Basic Use 3
4. INSTALLING AND SETTING UP GLOBETROTTER CONNECT 4
4.1. Installation 4
4.2. Installation process 6
4.3. Running GlobeTrotter Connect 7
4.4. Entering your PIN code 7
4.5. Checking Status 7
4.6. Exit GlobeTrotter Connect 8
5. SETTING UP A CONNECTION TO THE INTERNET 9
2
5.1. Connecting to the Internet 9
5.2. Disconnecting 10
5.3. Changing the program options 10
5.3.1. APN 11
5.3.2. Enable / Disable the Pin Code 11
5.3.3. Technology Selection 11
6. ACTIVATING THE SMS CENTRE 12
7. PRODUCT SUPPORT AND ADDITIONAL HELP 14
7.1. Technical Support 14
APPENDIX A: LIMITED WARRANTY 15
GlobeTrotter Connect USER GUIDE
1. SYSTEM REQUIREMENTS
Windows® 2000, XP, Vista
5Mb free hard disk space
2. PRODUCT FEATURES
•
Easy installation
•
Simple intuitive user interface
•
Compatible with most modern desktop and laptop PC’s equipped with
Microsoft Windows® 2000, XP, Vista
3. SHORT DESCRIPTION AND INTENDED USE
The GlobeTrotter Connect application is a small, easy to use tool to manage your
connection to the Internet over 2G and 3G mobile networks. It is designed for use
with all of Option’s data products.
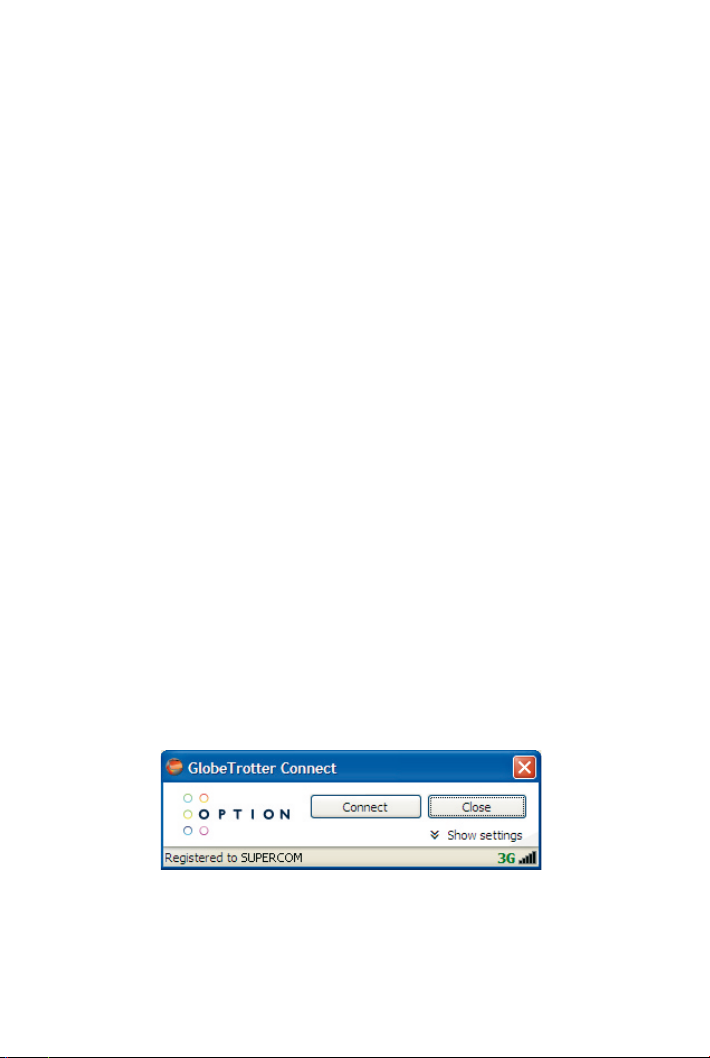
3.1. Basic Use
The focus is on simplicity and most users will use it only in basic mode,
where it displays a window with network information and a Connect button.
The main purpose is therefore simply to Connect/Disconnect to and from
the Internet.
3
• Figure 1: GlobeTrotter Connect For Basic View
NOTE: Some versions of GT Connect contain an SMS module. In this case
the Close button says ‘SMS Centre’.

4. INSTALLING AND SETTING UP GLOBETROTTER CONNECT
4.1. Installation
GlobeTrotter Connect can be installed in several ways:
4
1. You can install it from a CD if provided.
Browse on the CD-ROM and look for setup.exe.
Double click it to start the installation. The following screen appears.
• Figure 2: GlobeTrotter Connect Installation Wizard
Click “Next” to continue the installation and use the Browse button to
specify the folder where you want to have the software installed.
• Figure 3: Specify installation folder
GlobeTrotter Connect USER GUIDE
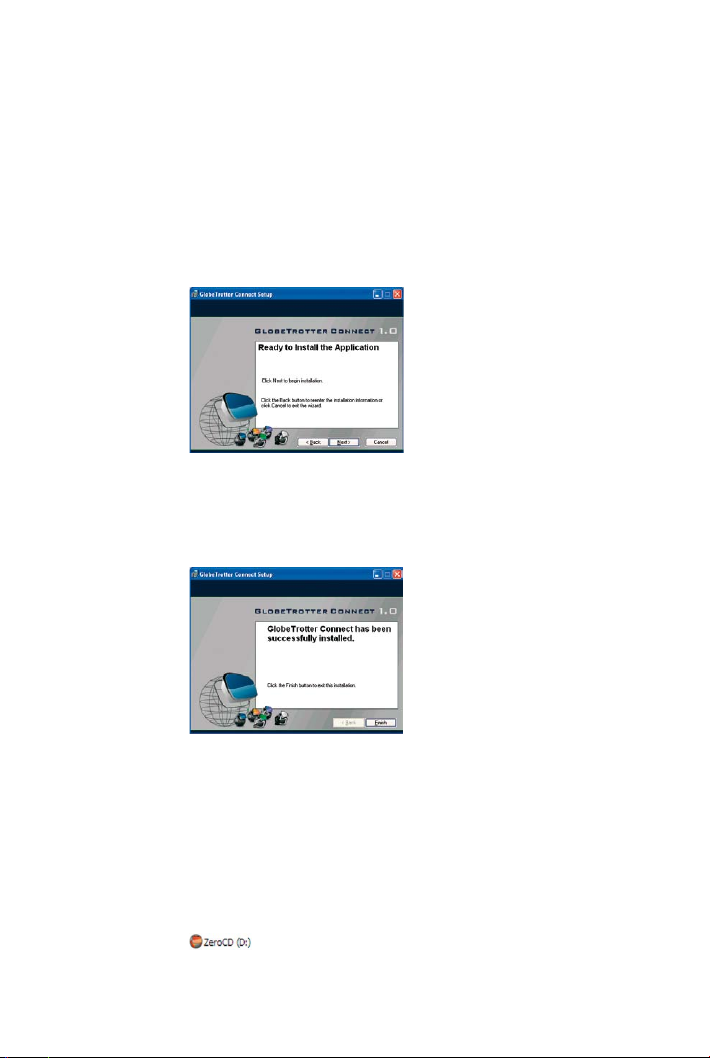
The GlobeTrotter Connect application is now ready for installation.
Click “Next” and the actual installation will start.
• Figure 4: GlobeTrotter Connect ready to Install
After GlobeTrotter Connect is installed, the following screen will be
shown. Click “Finish” to close the installation wizard.
5
• Figure 5: Successfully installed GlobeTrotter Connect
2. Download it free from http://www.option.com/support/login.shtml and
run the installation file. Follow the same procedure as described in 1.
3. If your Option data product is equipped with Zero-CD
TM
technology the
application is installed as soon as you connect the product for the first
time. For a short time the ZeroCD icon will be visible in Explorer.
• Figure 6: ZeroCD drive
 Loading...