

Optimus SYSTEM 741, 13-1288 Owner's Manual
13-128 8.fm Page 1 Wednesday, Ju ly 14, 1999 6: 02 PM
Mini Stereo Component System
Cat. No. 13-1288
OWNER’S MANUAL
Please read before using this equipment.
SYSTEM 741

y
y
g
y
y
y
13-128 8.fm Page 2 Wednesday, Ju ly 14, 1999 6: 02 PM
FEATURES
Your Optimus System 741 Mini Stereo
Component System offers all of the
versatile features you need for excellent stereo sound and entertainment in
one compact package. The System
741 includes an AM/FM stereo tuner,
3-band frequency equalizer, CD player with a 21-track programmable
memory, dual cassette recorder with
auto-stop, and two speakers.
SYSTEM FEATURES
E-Bass Control
— boosts low frequency sounds for an emphasized
bass sound.
3-Band Frequenc
Equa lizer
— lets
you adjust the sound to match your listening area’s unique acoustics.
Auxiliar
Inputs
— let you play an
auxiliary audio source through your
system.
Supplied Speak ers
— let yo u immediately begin listening to your system’s
sound.
CD PLAYER FEATURES
Skip Search
— lets you quickly skip
through a CD’s tracks so you can locate a particular one.
Audible Search
— lets you quickly
play any track on a CD (forward or
backward) so you can locate a desired
section.
Pro
rammable Pla
— lets you program and play up to 21 tracks in any
order.
Random Pla
— lets you play a CD’s
tracks in random order.
Repeat Pla
— lets you automatica lly
repeat a single track, all tracks on the
CD, or a programmed sequence of
tracks.
3- or 5-Inch CD Compatible
— lets
you play either 3- or 5-inch CDs on the
System 741.
Headphone Jack
— lets you privately
listen to your system.
Optimus is a registered trademark used by Tandy Corporation.
RadioShack is a trademark used by Tandy Corporation.
2
© 1996 Tandy Corporation.
All Rights Reserv ed .
CAUTION
13-128 8.fm Page 3 Wednesday, Ju ly 14, 1999 6: 02 PM
CASSETTE PLAYER FEATURES
Auto-Stop — automatically stops the
cassette tape when it finishes to protect the tape and tape-handling parts.
Multiple Source Recording — lets
you record from the CD player, radio,
or an external audio source (such as
another cassette tape or CD player).
Mixed Recording — lets you record
onto a cassette tape while you talk
into a microphone and play p rereco rded music from the other cassette
deck.
Automatic Level Control (ALC) —
automatically adjusts the recording
level.
Consecutive Tape Play — p lays one
side each of two tapes, back to back.
Normal or High-Speed Dubbing —
lets you copy tapes at normal or twice
the normal speed.
Note: Most material on c ompac t disc s
and prerecorded tapes i s copyrighted.
Unauthorized duplication of copyrighted material is a violation of the copyright laws of most countries and such
duplication may result in fines and/or
imprisonment. Note, however, that in
the United States, it is not a violation
of U.S. copyright laws for a consumer
to use an audio recording device to
duplicate musical recordings for noncommercial (personal) use.
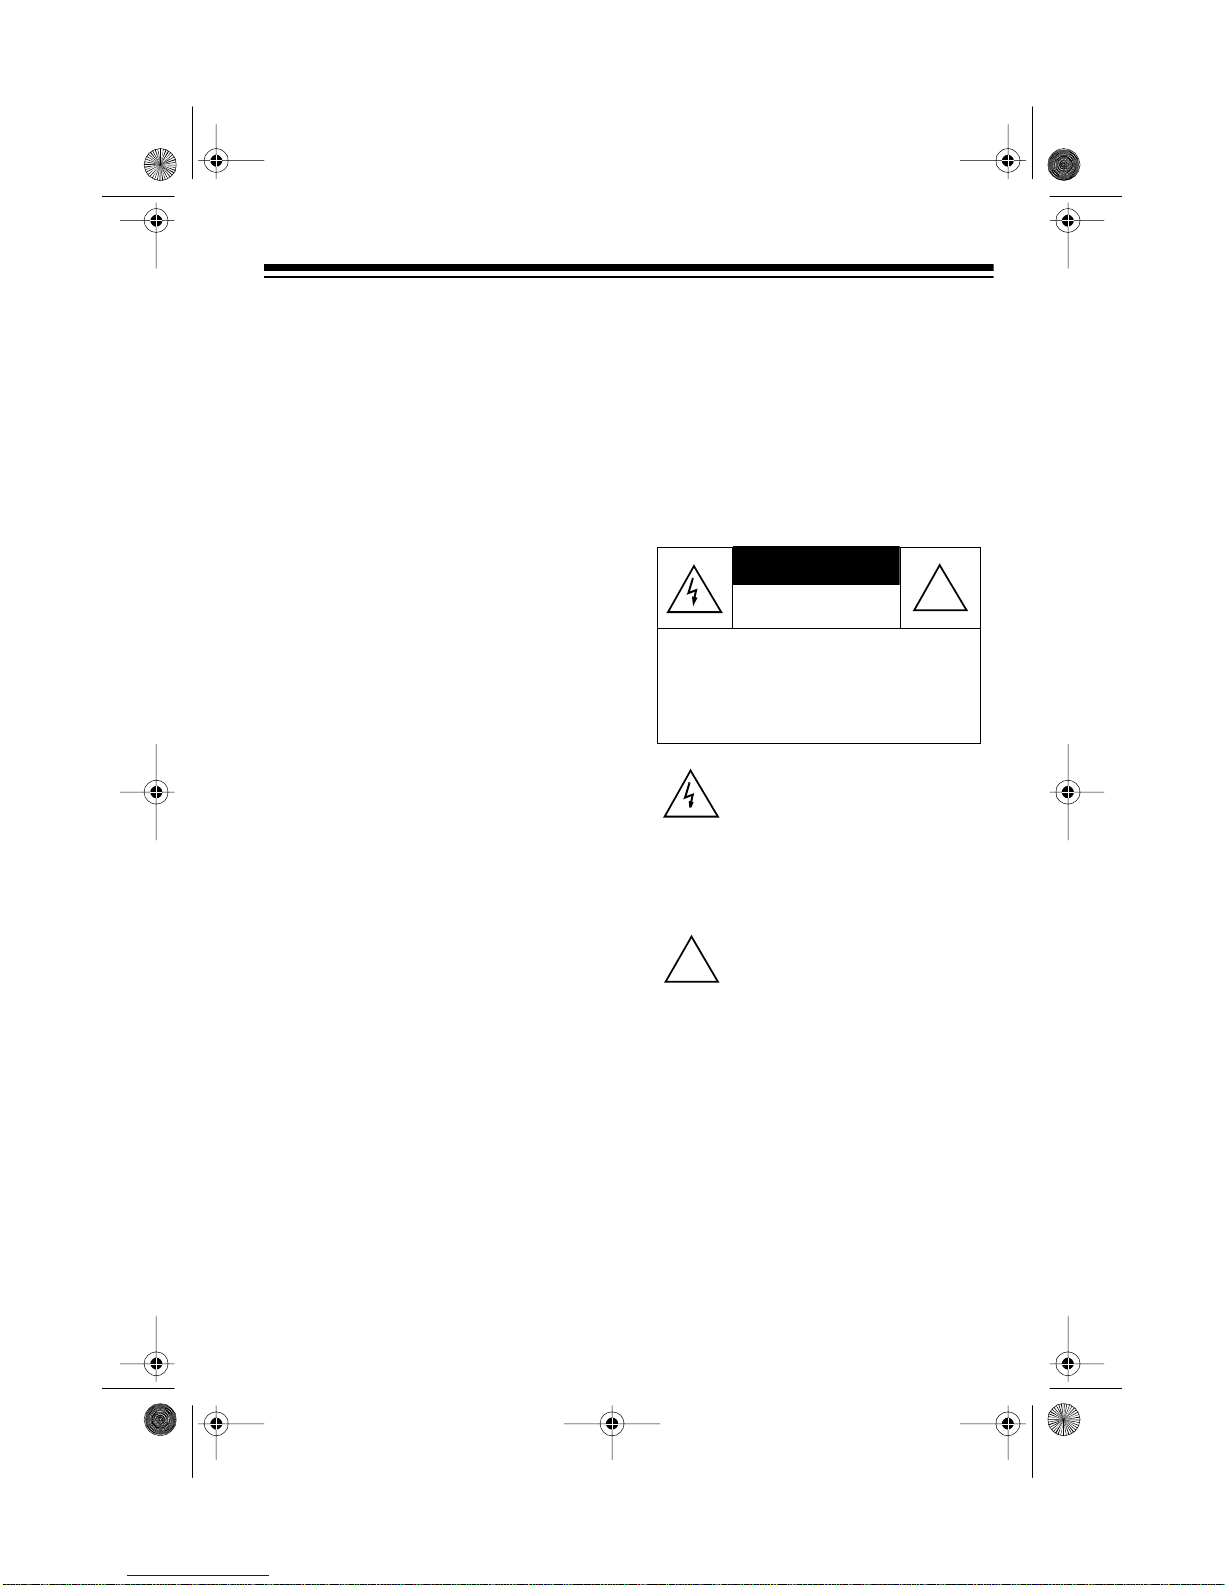
Warning: This system employs a laser light beam. Only a qualified service person should remove the cover
or attempt to service this device, due
to possible eye injury.
Warning: To prevent fire or shock
hazard, do not expose this music system to rain or moisture.
RISK OF ELECTRIC SHOCK.
DO NOT OPEN.
CAUTION: TO REDUCE THE RISK OF
ELECTRIC SHOCK, DO NOT REMOVE
COVER OR BA CK. NO USER-S ERVICEABLE PARTS INSIDE. REFER SERVICING TO QUALIFIED PERSONNEL.
This symbol is inten ded to alert yo u
to the p r es en c e o f un in su lated dangerous voltage within the music
syste m ’s en cl osure th at might b e o f
sufficient magnitude to constitute a
risk of el ectric sho ck. Do not open
the music system’s case.
This symbol is intended to inform
you that important operating and
!
maintenance instructions are included in the literature accompanying this music system.
!
3

y
g
13-128 8.fm Page 4 Wednesday, Ju ly 14, 1999 6: 02 PM
CONTENTS
Connections ......................................................................................................... 6
Connecting the Speakers ................................................................................ 6
Connecting an External Audio Source .. ........................................................... 6
Connecting an External Antenna ..................................................................... 7
Connecting Power ........................................................................................... 7
Connecting Headphones ................................................................................. 8
Listening Safely ......................................................................................... 8
Basic Operation ................................................................................................... 9
Turning On/Off the System .............................................................................. 9
Adjusting the Balance ...................................................................................... 9
Using the 3-Band Frequency Equalizer ........................................................... 9
Using E-Bass ................................................................................................... 9
Radio Operation ................................................................................................. 10
CD Pla
Cassette Deck Operation . ................................................................................. 16
Usin
er Operation .......................................................................................... 11
Loading and Playing a CD ............................................................................. 11
Special CD Player Features .......................................................................... 12
Skip Search ............................................................................................. 12
Audible Search ........................................................................................ 12
Storing/Playing a Programmed Sequence .............................................. 12
Reviewing a Programmed Sequence ..................................................... 13
Editing a Programmed Sequence ........................................................... 13
Erasing a Programmed Sequence .......................................................... 13
Random Play .......................................................................................... 14
Cue ......................................................................................................... 14
Repeat .................................................................................................... 14
Time Display ........................................................................................... 15
Loading and Playing a Cassette Tape ........................................................... 16
Using Fast Forward/Rewind .................................................................... 17
Using Consecutive Play .......................................................................... 17
Dubbing and Recording ................................................................................. 17
Dubbing a Cassette Tape ......................... ....... ....... .......... ....... ....... ....... .. 18
Recording from the Radio or CD Player ................................................. 19
Making a Mixed Recording ..................................................................... 19
an External Audio Source ...................................................................... 20
Listening to an External Audio Source .......................................................... 20
Recording from an External Audio Source .................................................... 20
4

13-128 8.fm Page 5 Wednesday, Ju ly 14, 1999 6: 02 PM
Care and Maintenance ...................................................................................... 21
CD Care Tips ................................................................................................ 22
CD Player Care Tips ..................................................................................... 22
Tape Tips ....................................................................................................... 22
Erasing a Cassette Tape ..........................................................................22
Preventing Accidental Recording ........................................................... 23
Restoring Tape Tension and Sound Quality ........................................... 23
Cleaning the Tape-Handling Parts .................................... .. .......... ....... .. . 23
The FCC Wants You to Know ....................................................................... 24
Specifications .................................................................................................... 25
5

13-128 8.fm Page 6 Wednesday, Ju ly 14, 1999 6: 02 PM
CONNECTIONS
Complete all other connections
Note:
to the System 741 before y ou c onnect
it to power.
CONNECTING AN
EXTERNAL AUDIO
SOURCE
CONNECTING THE
SPEAKERS
(il-
1. Press open the pair of terminal
tabs marked
on the back of the System 741.
2. Insert one speaker’s red wire into
the red (+) terminal and i ts black
wire into the black (–) terminal and
release the tabs to close the terminals.
SPEAKER/R
(right)
You can connect an external audio
source to your System 741, such as a
TV, CD player, or cassette deck, so
you can listen to that source through
the System 741.
Plug the audio source’s left and right
line level audio wires into the
(left, white) and R (right, red) input
jacks on the back of the System 741.
AUX L
(il-
To operate an external audio source
with the System 741, see “Using an
External Audio Source” on Page 20.
3. Repeat Steps 1 and 2 to connect
the other speaker’s wires to the
terminals marked
(left).
6
SPEAKER/L

13-128 8.fm Page 7 Wednesday, Ju ly 14, 1999 6: 02 PM
CONNECTING AN
EXTERNAL ANTENNA
Your System 741 has two built-in antennas. The AM antenna is internal,
and the power cord serves as t he FM
antenna.
For improved reception, you can attach an external FM or VHF TV antenna (not supplied) to the 75-ohm or
300-ohm terminals on the back of the
system.
(il-
CONNECTING POWER
After making all other connections,
plug your syst em’s AC power cord into
a standard AC outlet.
(il-
Caution:
has a polarized plug (one blade is wider than the other). If you have difficulty
inserting the plug into the outlet, do
not force it. Turn the plug over and try
again.
Note:
ternal antenna, make sure the system’s power cord is fully extended.
Your system’s power cord
If you are not connecting a n ex -
Note:
antenna, you can use a si gnal splitter
to connect your radio and TV to the
same antenna.
Your local RadioShack store has a
wide selection of antennas, splitters,
and connectors.
If you use an outside VHF TV
7

13-128 8.fm Page 8 Wednesday, Ju ly 14, 1999 6: 02 PM
CONNECTING
HEADPHONES
To listen privately, you can connect a
pair of stereo headphones with a
inch plug (not supplied). Your local
RadioShack store has a wide selection of stereo headphones.
To connect headphones, plug the
headphones into the
the front panel.
PHONES
(il-
Note:
matically disconnects the System
741’s speakers.
Connecting headphones auto-
1
/8-
jack on
Listening Safely
To protect your hearing, follow these
guidelines when you use headphones.
• Set the volume to the lowest setting before you begin listening.
After you begin listening, adjust
the volume to a comfortable listening level.
• Do not listen at extremely high
volume levels. Extended high-volume listening can lead to permanent hearing loss.
• Once you set the volume, do not
increase it. Over time your ears
adapt to the volume level, so a
volume level that does not cause
discomfort might still damage your
hearing.
8

13-128 8.fm Page 9 Wednesday, Ju ly 14, 1999 6: 02 PM
BASIC OPERATION
TURNING ON/OFF THE
SYSTEM
To turn on the system, simply press
POWER
. The POWER indicator lights.
(il-
To turn off the system, press
again. The POWER indicator turns off.
POWER
ADJUSTING THE
BALANCE
To adjust the soun d balance between
the left and right speakers, turn
ANCE
toward L (left) or R (right).
BAL-
Slide the control up to boost or down
to reduce the level. The selected frequency range is not changed if you set
the control to the center position (
0
).
(il-
LOW (100 Hz)
cies in the low bass range (low organ
notes and bass drums). Reduces rumble or other low-frequency noise.
MID (1 kHz)
quencies where the ear is most sensitive (vocals).
HIGH (10 kHz)
cy sounds (cymbals, flutes, and violins).
— Adjusts the frequ en-
— Adjusts the range of fre-
— Adjusts high frequen-
(il-
USING THE 3-BAND
FREQUENCY
EQUALIZER
You can use the
EQUALIZER
you hear through the speakers . Each
of the three slide controls lets you adjust the sound level in a specific frequency range.
3-BAND FREQUENCY
to customize the sound
USING E-BASS
E-BASS
Press
hanced bass sound. The E-BASS indicator lights.
Press
normal bass sound.
E-BASS
to the in position for en-
(il-
to the out position for
9
 Loading...