

Page 1

42-202 3.fm Page 1 Wednesday, August 11, 1999 2:50 PM
Fully Automatic Belt-Drive Tu rntable
Cat. No. 42-2023
OWNER’S MANUAL
Please read before using this equipment.
LAB-1100
Page 2

y
42-202 3.fm Page 2 Wednesday, August 11, 1999 2:50 PM
FEATURES
Your Optimus LAB-1100 Fully Automatic
Belt-Drive Turntable is a high quality stereo turntable with sensitive pickup and a
built-in preamp that deliver great sound
from your records.
Your turntable’s features include:
Belt-Drive S
— reduces tu rntable
stem
noise by absorbing even the slightest
motor vibration.
DC Motor
— keeps wow at a minimum
by providing a stable, controlled speed.
Stereo Preamplifier
— lets you connect
the turntable to the LINE IN inputs on a
receiver/amplifier (or stereo audio mixer)
which does not have low-level phono inputs.
Quick Stop
— lets you quickly stop play
with the press of a button.
1
33
/3 or 45 RPM Speed Selector
— lets
you play records made at either speed.
THE FCC WANTS YOU TO
KNOW
Your turntable might caus e TV or radio
interference even when it is operating
properly. To determine whether your
turntable is causing the interference,
disconnect your turntable. If the interference goes away, your turnta ble is causing it. Try to eliminate the interference
by:
• Moving your turntable away from the
receiver
• Connecting your turntable to an outlet that is on a different electrical circuit from the receiver
• Contacting your local RadioShack
store for hel p
If you cannot eliminate the interference,
the FCC requires that you stop using
your turntable.
— lets you raise and lower the tone
Cue
arm without touching it, so you do not
damage the stylus or your records.
We recommend you record the turntable’s serial number here. The serial
number is on the turntable’s rear panel.
Serial Number: ___________________
©
1998 Tandy Corporation.
RadioShack is a registered trademark used by Tandy Corporation.
All Rights Reserved.
2
Page 3
g
42-202 3.fm Page 3 Wednesday, August 11, 1999 2:50 PM
CONTENTS
Preparation .............................................................................................................. 5
Unpacking the Turntable .................................................................................... 5
Assembling the Tu rntable ................................................................................... 5
Connecting the Turntable to Your Receiver/Amplifier ......................................... 6
Connecting Power .............................................................................................. 7
Operation ................................................................................................................. 8
Using the Cue Button ......................................................................................... 9
Troubleshootin
.................................................................................................... 10
Care and Main tenance .......................................................................................... 12
Record Care ..................................................................................................... 13
Cleaning/Replacing the Stylus ......................................................................... 13
Specifications ....................................................................................................... 14
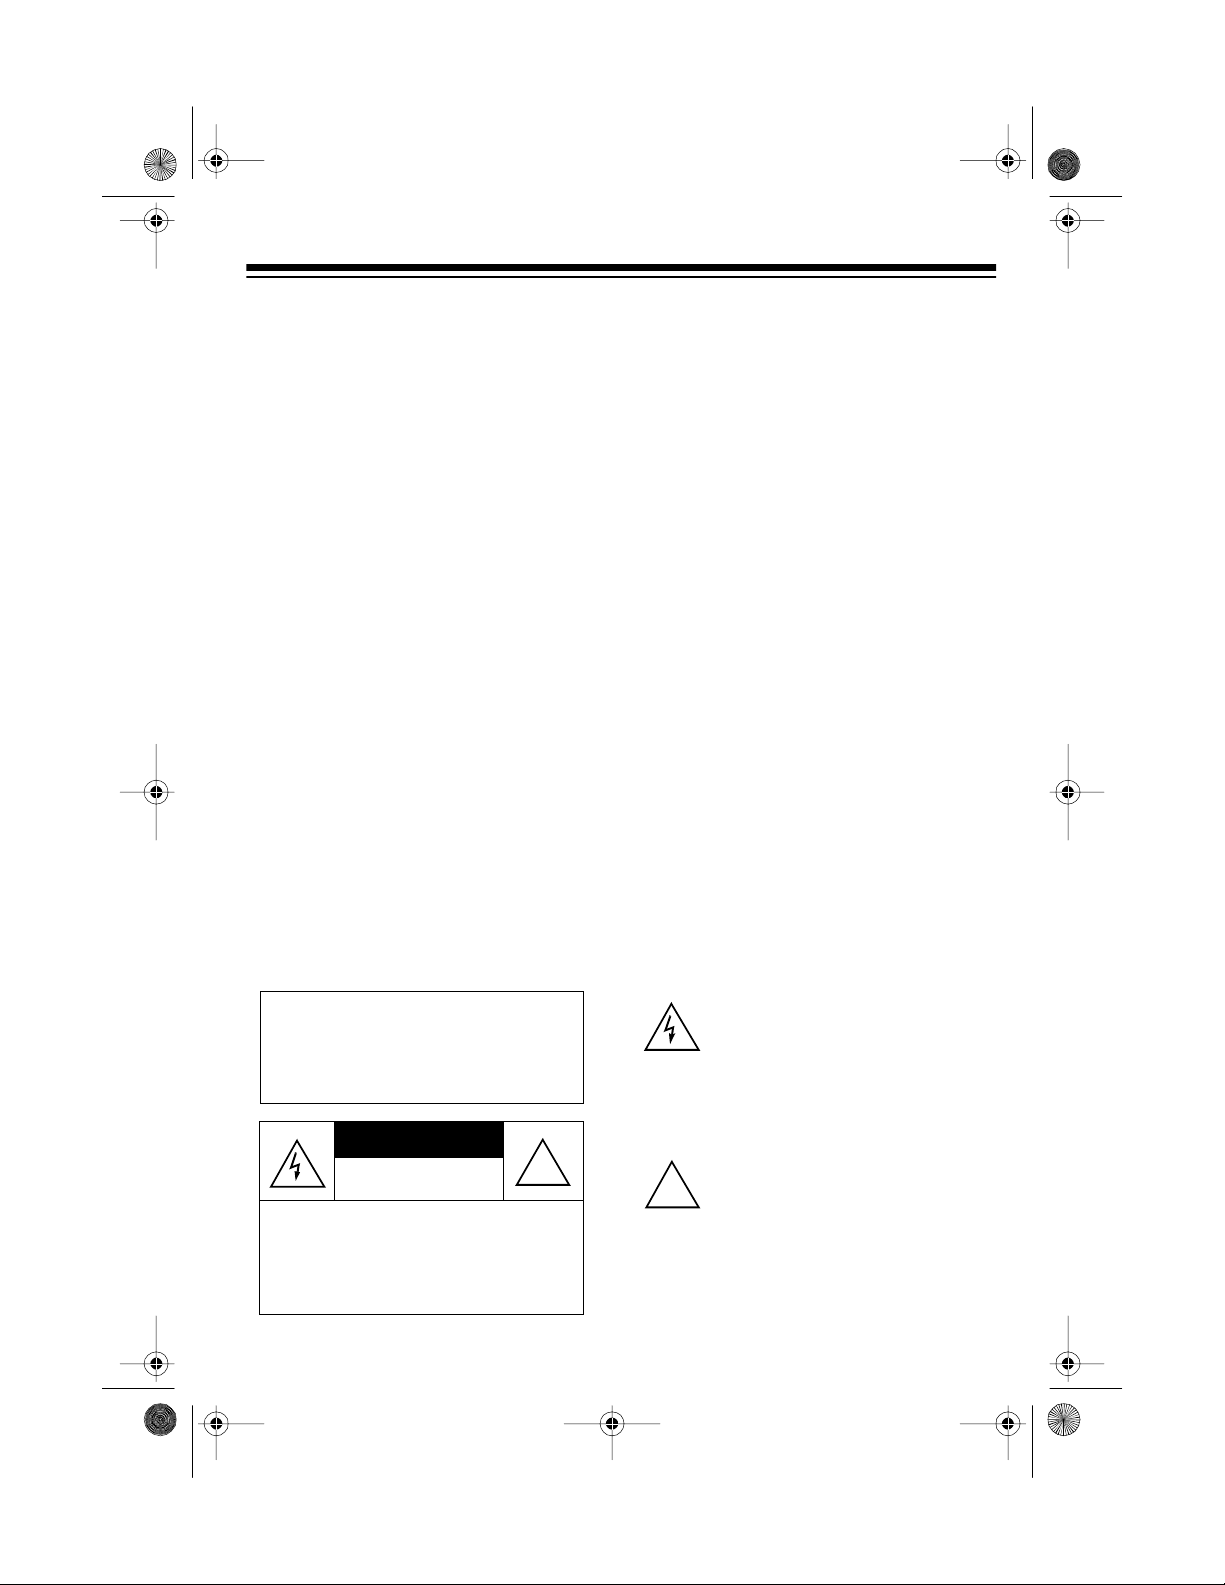
WARNING
: To reduce the risk of
fire or shock hazard, do not expose this product to rain or moisture.
CAUTION
RISK OF ELECTRIC SHOCK.
DO NOT OPEN.
CAUTION
ELECTRIC SHOCK, DO NOT REMOVE
COVER OR BACK. NO US ER-SERVICEABLE PARTS INSIDE. REFER SERVICING TO QUALIFIED PERSONNEL.
: TO REDUCE THE RISK OF
!
This symbol is intended to alert you to
the presence of uninsulated dangerous voltage within the product’s enclosure that might be of sufficient
magnit ude t o co nsti tut e a r isk of el ectric shock. Do not open the product’s
case.
This symbol is intended to inform you
that important operating and mainte-
!
nance instruc tions ar e incl uded in the
literature accompanying this product.
3
Page 4

illustration like p. 8
w/o arrow
42-202 3.fm Page 4 Wednesday, August 11, 1999 2:50 PM
PREPARATION
UNPACKING THE
TURNTABLE
When you remove the turntable assembly with its attached dust cover from the
box, be sure to also remove the supplied
rubber mat and 45 RPM adapter before
you store the packing material.
WRONG RIGHT
5. Plug the turntable’s power cord into
a standard AC outlet.
ASSEMBLING THE
TURNTABLE
The LIN (lead in), RET (auto re-
Note:
turn), and SW (tone arm switch) screws
on the bottom of the turntable are s et at
the factory and should not be adjusted.
1. Open the dust cover.
2. Rotate the turntable’s platter until
one of the platter’s two larger holes
is above the drive mo tor spindle on
the turntable’s upper left side.
illustration from original o/m p. 4 left column
3. Remove the tape and two ribbons
from the rubber drive belt. Be sure
the belt is not t w is ted.
4. Using your fingers, center the belt
on the drive motor’s spindle (against
the lower r im) so the b e lt is s ec ur e ly
seated around the spindle.
Caution:
the plug’s blades are polarized and
fit only one way. If the plug does not
fit easily, t urn it over and try again.
Do not force the plug into the AC
outlet.
6. Remove the wire tie from the tone
arm, then press
tone arm.
7. Press
the turntable six or seven times,
then press
location of the belt on the spindle.
If the belt is not securely seated
around the spindle, reposition it
properly and repeat Step 6.
Note:
do not attempt to remove the platter.
Take it to your local RadioShack
store for ass istance .
8. Unplug the turntable’s power cord
from the AC outlet.
To prevent ele ctric shock,
CUE
to raise the
PLAY
and let the motor rotate
STOP
and check the
If the belt slips off the spindle,
4
Page 5

illustration
illustration
42-202 3.fm Page 5 Wednesday, August 11, 1999 2:50 PM
CONNECTING THE
TURNTABLE TO YOUR
RECEIVER/AMPLIFIER
You can connect your LAB-1100 to a receiver/amplifier (or stereo audio mixer)
that has low-level phono inputs (such as
left and righ t PHONO jacks) or line-level
inputs (such as left and right AUX, TV,
TAPE, or CD jacks).
Note:
If you are not sure which type of
input your receiver/amplifier has, check
your receiver’s/amplifier’s owner’s manual.
Cautions:
• Be sure to follow al l the installation
instructions described in the enclosed “Important Safety Instructions.”
• Do not conn ect the turntable to AC
power until you complete all other
connections.
• To connect the tu rntable to a lowlevel phono input, plug the white
and red plugs into the receiver’s/
amplifier’s left and right PHONO
jacks. Then set
PHONO OUT OFF
OFF
.
• To connect the turntable to a linelevel input, plug the white and red
plugs into the receiver’s/amplifier’s left and rig ht
CD
or
jacks. Then set
ON/PHONO OUT OFF
ON
.
LINE OUT ON/
PHONO OUT
to
AUX, TV, TAPE
LINE OUT
LINE OUT
to
,
• Do not place the turnt able on top of
the receiver/amplifier or on any
other component that gets hot.
• To avoid possible damage to your
receiver/amplifier, turn it off before
making the connections.
1. With the receiver/amplifier off, plug
the turntable’s white (left) and red
(right) plugs into the appropriate
jacks on your receiver/amplifier.
2. Connect the turntable’s ground w ire
to the amplifier’s/receiver’s GND or
earth terminal to avoid hum.
5
Page 6

42-202 3.fm Page 6 Wednesday, August 11, 1999 2:50 PM
3. Place the rubber mat, ridged side
down, on top of the platter.
illustration
CONNECTING POWER
Once you have connected the turntab le
to your receiver/amplifier, plug the turntable’s power cord into a switched or unswitched AC outlet on your receiver/
amplifier or into a standard AC outlet.
illustration
Caution:
plug’s blades are polarized and fit only
one way. If the plug does not fit easily,
turn it over and try again. Do not force
the plug into the AC outlet.
6
To prevent electric sho ck, the
Page 7

illustration
illustration
illustration
42-202 3.fm Page 7 Wednesday, August 11, 1999 2:50 PM
OPERATION
Make sure you have set
Note:
ON/PHONO OUT OFF
for the type of
LINE OUT
sound system you have before operating the turntable.
1. Open the dust cover.
2. Remove the stylus cover.
illustration
3. If you are playing a 33
1
/3 RPM
record, place it directly over the
spindle.
If you are playing a 45 RPM record,
place the supplied 45 RPM adapter
over the turntable spindle, then
place the record over the adapter.
5. Press
turntable’s speed (33
6. Press
SPEED
PLAY
in or out to set the
1
/3 or 45 RPM).
. The turntable starts to
rotate and the tone arm moves to
the beginning of the record, lowers
to the record, then starts to play .
7. At the end of the record, the tone
arm automatically returns to the
tone arm rest and the turntable
stops. To stop playing the record
sooner, press
STOP
.
illustration
4. Set the
6"/12"
selector according to
the record’s diameter. Then close
the dust cover.
illustration
Notes:
• If the tone arm does not automatically return when it reaches the
STOP
end of the record, press
to
reset the mechanism.
• To protect the stylus from damage, we recommend you replace
the stylus cover when you are not
using the turntable.
7
Page 8

42-202 3.fm Page 8 Wednesday, August 11, 1999 2:50 PM
USING THE CUE BUTTON
The cue button raises the tone arm so
you can safely move it to a specific section of the record without worrying about
accidentally scratching it with the stylus.
1. Press
CUE
to raise the tone arm.
illustration
2. Push the tone arm to a spot di rectly
over the desired part of the record.
The turnta ble starts to rotate.
3. Press
CUE
again. The tone arm
slowly lowers and the record plays.
Note:
You can also use
CUE
to lift
the tone arm anytime during play.
8
Page 9

42-202 3.fm Page 9 Wednesday, August 11, 1999 2:50 PM
TROUBLESHOOTING
If your turntable is not working as it sh ould, these suggestions might help you solve
the problem. If the turntable still does not operate properly, take it to your local RadioShack store for assistance.
Symptom Possible Cause Suggestion
Turntable does not work
when plugged into an AC
outlet
Connected receiver/
amplifier not turned on.
Rubber drive belt slipped,
broken, or not mounted
properly .
Power problem. Check the power cord and
No sound Receiver/amplifier v ol-
ume set to minimum.
Turntable not connected
correctly to receiver/amplifier.
LINE OUT ON/PHONO OUT
OFF
is set to
OFF
and turntable is con-
PHONO OUT
nected to receiver’s/amplifier’s line-le vel i nput j a cks.
Stylus needs replacing. Replace the stylus
Turn on receiver/
amplifier.
Check rubber drive belt.
AC outlet.
Adj u st recei v e r/ampl i fier
volume.
Recheck connections.
LINE OUT ON/PHONO
Set
OUT OFF
LINE OUT ON
to
.
(See “Cleaning/Replacing
the Stylus” on Page 13).
9
Page 10

42-202 3.fm Page 10 Wednesday, August 11, 1999 2:50 PM
Symptom Possible Cause Suggestion
Sound from turntable not
clear or scratchy during
play
Hum from turntable during play
Feedback or howling
sound from turntable during play
Record is dirty. Clean the record.
Stylus is dirty. Clean the stylus with a
soft brush (See “Cleaning/
Replacing the Stylus” on
Page 13).
Stylus is improperly
installed.
Check the stylus and reinstall it if necessary.
Stylus is worn. Replace the stylus.
LINE OUT ON/PHONO OUT
OFF
is set to
LINE OUT ON
LINE OUT ON/PHONO
Set
OUT OFF
PHONO OUT OFF
to
and turntable is connected
to rec e iver’s /amplifier’s
low-level phono input
jacks.
Stylus is improperly
installed.
Turntable is picking up
induction hum from other
components.
Check the stylus and reinstall it if necessary.
Check ground terminal
and reposition the turntable away from other components.
LINE OUT ON/PHONO OUT
OFF
is set to
LINE OUT ON
LINE OUT ON/PHONO
Set
OUT OFF
PHONO OUT OFF
to
and turntable is connected
to rec e iver’s /amplifier’s
low-level phono input
jacks.
Turntable is picking up
sound pressure of vibra-
Reposition the turntable
away from speakers.
tions from speakers.
.
.
10
Page 11

42-202 3.fm Page 11 Wednesday, August 11, 1999 2:50 PM
CARE AND MAINTENANCE
Your Optimus LAB-1100 Fully Autom atic Belt-Drive Turntable is an example of su perior des ign and craftsma nship . The follo wing s uggestio ns will h elp yo u care f or your
turntable so you can enjoy it for years.
Keep the turntable dry. If it gets wet, wipe it dry immediately. Liquids
might contain minerals that can corrode the electronic circuits.
Handle the turntable gently and carefully. Dropping it can damage circuit boards and cases and can cause the turntable to work improperly.
Use and store the turntable only in normal t em perature environments.
Temperature extrem es can shorten the life of electronic d evices and
distort or melt plastic parts.
Keep the turntable away from dust and dirt, which can cause premature
wear of parts.
Wipe the turntable with a damp cloth occasionally to keep it looking
new. Do not use harsh chemicals, cleaning solvents, or strong detergents to clean the turntable.
Modifying or tampering with the turntable’s internal c omponents can cause a malfunction and might invalidate yo ur warranty and void yo ur FCC au thorization to operate it. If your turntable is not performing as it should, ta ke it to you r local Ra dioShack
store for assistance.
11
Page 12

illustration
42-202 3.fm Page 12 Wednesday, August 11, 1999 2:50 PM
RECORD CARE
• Always hold your records by the
edges. Touching the grooved surface can leave fingerprints that can
collect dust and dirt.
• Always return your records to their
jackets immediately after use. This
helps protect them from dust and
scratches.
• Store your records in a vertical position and protect them from extreme
temperatures, moisture, and direct
sunlight.
CLEANING/REPLACING
THE STYLUS
A dirty or worn stylus causes rough, distorted sound and could damage your
records.
If the stylus is worn, follow these steps
to replace it. You can order a replacement stylus assembly AT3600LAX (RSU
No. 12039012) through your local RadioShack store.
1. Turn your receiver/amplifier off.
2. Remove the stylus assembly from
the cartridge by gently grasping its
sides and pulling it down.
3. Insert a new stylus assembly and
gently snap it into place.
Caution:
cleaning or installing it.
If the stylus gets dirty or dusty, use a
soft brush to gently clean it.
12
Do not touch the stylus while
illustration
DON’T SHOW STYLUS REMOVAL; CAN
BE CLEANED IN
PLACE
Page 13

g
y
42-202 3.fm Page 13 Wednesday, August 11, 1999 2:50 PM
SPECIFICATIONS
Turntable Platter
Ty p e ... ............... .............. .............. ............................ ............... .............. ........... Plasti c
13
Outer Diameter ...................................................................... 11
Drive System ............................................................................................... Belt Drive
Motor Type ................................................................................................... DC Motor
Turntable Type ................................................................................ Automatic Return
Rotation Speeds ............................................................ 2-Speed (33
Tone Arm
Type ................................................................................................ Dynamic Balance
Effective Length ........................................................................
Overhang .........................................................................................
Tracking Error ........................................................................................ Less Than 4°
/16 Inches (300 mm)
1
/3 and 45 RPM)
11
/16 Inches (195 mm)
9
/16 Inch (15 mm)
Cartrid
e
Output Voltage:
2.5 mv at 1 kHz (with
450 mv at 1 kHz (with
LINE OUT ON/PHONO OUT OFF
LINE OUT ON/PHONO OUT OFF
set to
PHONO OUT OFF
set to
LINE OUT ON
Frequency Response ............................................................................ 20–20,000 Hz
Channel Separation (1 kHz) ........................................................... M ore Than 15 dB
Load Resistance : 47 kohm (with
OFF
)
LINE OUT ON/PHONO OUT OFF
set to
PHONO OUT
Tracking Force ..................................................................................... 3.5 ±1.0 Gram
lus
St
Tip ...................................................................................................... Diamond Stylus
Replacement ......................................................... AT360 0LA X (RSU No. 12039012)
)
)
13
Page 14

42-202 3.fm Page 14 Wednesday, August 11, 1999 2:50 PM
General
Signal-to-Noise Ratio (DIN-B) ........................................................................ > 50 dB
Wow and Flutter (JIS WARMS) at 3 kHz ....................................................... < 0.25%
Power Source .............................................................................. AC 120 Volts 60 Hz
Power Consump tion ........................................................................................ 3 Watts
13
Dimensions (HWD)........................3
/16 × 141/4 × 1315/16 Inches (98 × 360 × 349 mm)
Weight ........................................................................................ 5 lbs 4 oz (2.38 kg s)
Included Accessory ............................................... ..... .. ..... .. ..... ..... .. . 45 RPM Adapter
Specifications are typical; individual units might vary. Specifications are subject to
change and improvement without notice.
14
Page 15

42-202 3.fm Page 15 Wednesday, August 11, 1999 2:50 PM
15
Page 16

42-202 3.fm Page 16 Wednesday, August 11, 1999 2:50 PM
Limited One-Year Warranty
This product is warrant ed by RadioShac k against man ufacturing d efects in materia l and workmanship under normal use for one (1) year from the date of purchase from RadioShack company-owned
stores and authorized RadioShack franchisees and dealers. EXCEPT AS PROVIDED HEREIN, RadioShack MAKES NO EXPRESS WARRANTIES AND ANY IMPLIED WARRANTIES, INCLUDING
THOSE OF MERCHANTABILITY AND FITNESS FOR A PARTICULAR PURPOSE , ARE LIMITED
IN DURATION TO THE DURATION OF THE WRITTEN LIMITED WARRANTIES CONTAINED
HEREIN. EXCEPT AS PROVI DED HEREIN, Rad ioShack SH ALL HAVE NO LIABILIT Y OR RESPONSIBILITY TO CUSTOMER OR ANY OTHER PERSON OR ENTITY WITH RESPECT TO ANY
LIABILITY, LOS S OR DAMAGE CAUSED DIRECTLY OR INDIRECTLY BY USE OR PERFORMANCE OF THE PRODUCT OR ARI SING OUT OF ANY BREACH OF THIS WARRANTY, INCLUDING, BUT NOT LIMITED TO, ANY DAMAGES RESULTING FROM INCONVENIENCE, LOSS
OF TIME, DATA, PROPERTY, REVENUE, OR P ROFIT OR ANY INDIRECT, SPECIAL, INCIDENTAL, OR CONSEQUENTIAL DAMAGES, EVEN IF RadioShack HAS BEEN ADVISED OF THE
POSSIBILITY OF SUCH DAMAGES.
Some states do not allow the limitations on how long an implied warranty lasts or the exclusion of incidental or consequential damages, so the above limitations or exclusions may not apply to you.
In the event of a product defect during the warran ty period, take the product and the RadioShack
sales receipt as proof of pur cha se date to any RadioS hack s tore. Radi oSha ck wil l, at its option, unless otherwise provided by law: (a) correct the defect by product repair without charge for parts and
labor; (b) replace the produc t with one of the same or similar design; or (c) refund the purchase
price. All replaced parts and pr oducts, and pr oducts on which a refund is made, become the property of RadioShack. New or rec onditioned parts and products may be used in the performance of
warranty service. Repa ired or replaced parts and produ cts are warranted for the remainder of the
original warranty period. You will be charged for repair or replacement of the product made after the
expiration of the warranty period.
This warranty does not cover: (a) damage or failure caused by or attributable to acts of God, abuse,
accident, misuse, impr oper or abnormal usa ge, failure to fol low i nstruct ions, improper instal lation or
maintenance, alterati on, lightning or other incidence of exc ess voltage or current; (b) any repairs
other than those provi ded by a RadioShack Autho rized Service Facility; ( c) consumables such as
fuses or batteries; (d ) cosmeti c dam age; (e) transp ortatio n, sh ipping or insuranc e c osts; or (f) cos ts
of product removal, installation, set-up service adjustment or reinstallation.
This warranty gives you specifi c legal rights, and you may also have oth er rights which vary from
state to state.
RadioShack Customer Relations, Dept. W, 100 Throckmorton St., Suite 600, Fort Worth, TX 76102
We Service What We Sell
3/97
RadioShack
A Division of Tandy Corporation
Fort Worth, Texas 76102
11A98 Prin te d in China
 Loading...