

Optimus AM/FM Clock Radio, 12-1613 Owner's Manual

12-161 3.fm Page 1 Friday, July 9, 1999 11:33 AM
AM/FM Clock Radio
Cat. No. 12-1613
OWNER’S MANUAL
Please read before using this equipment.
g
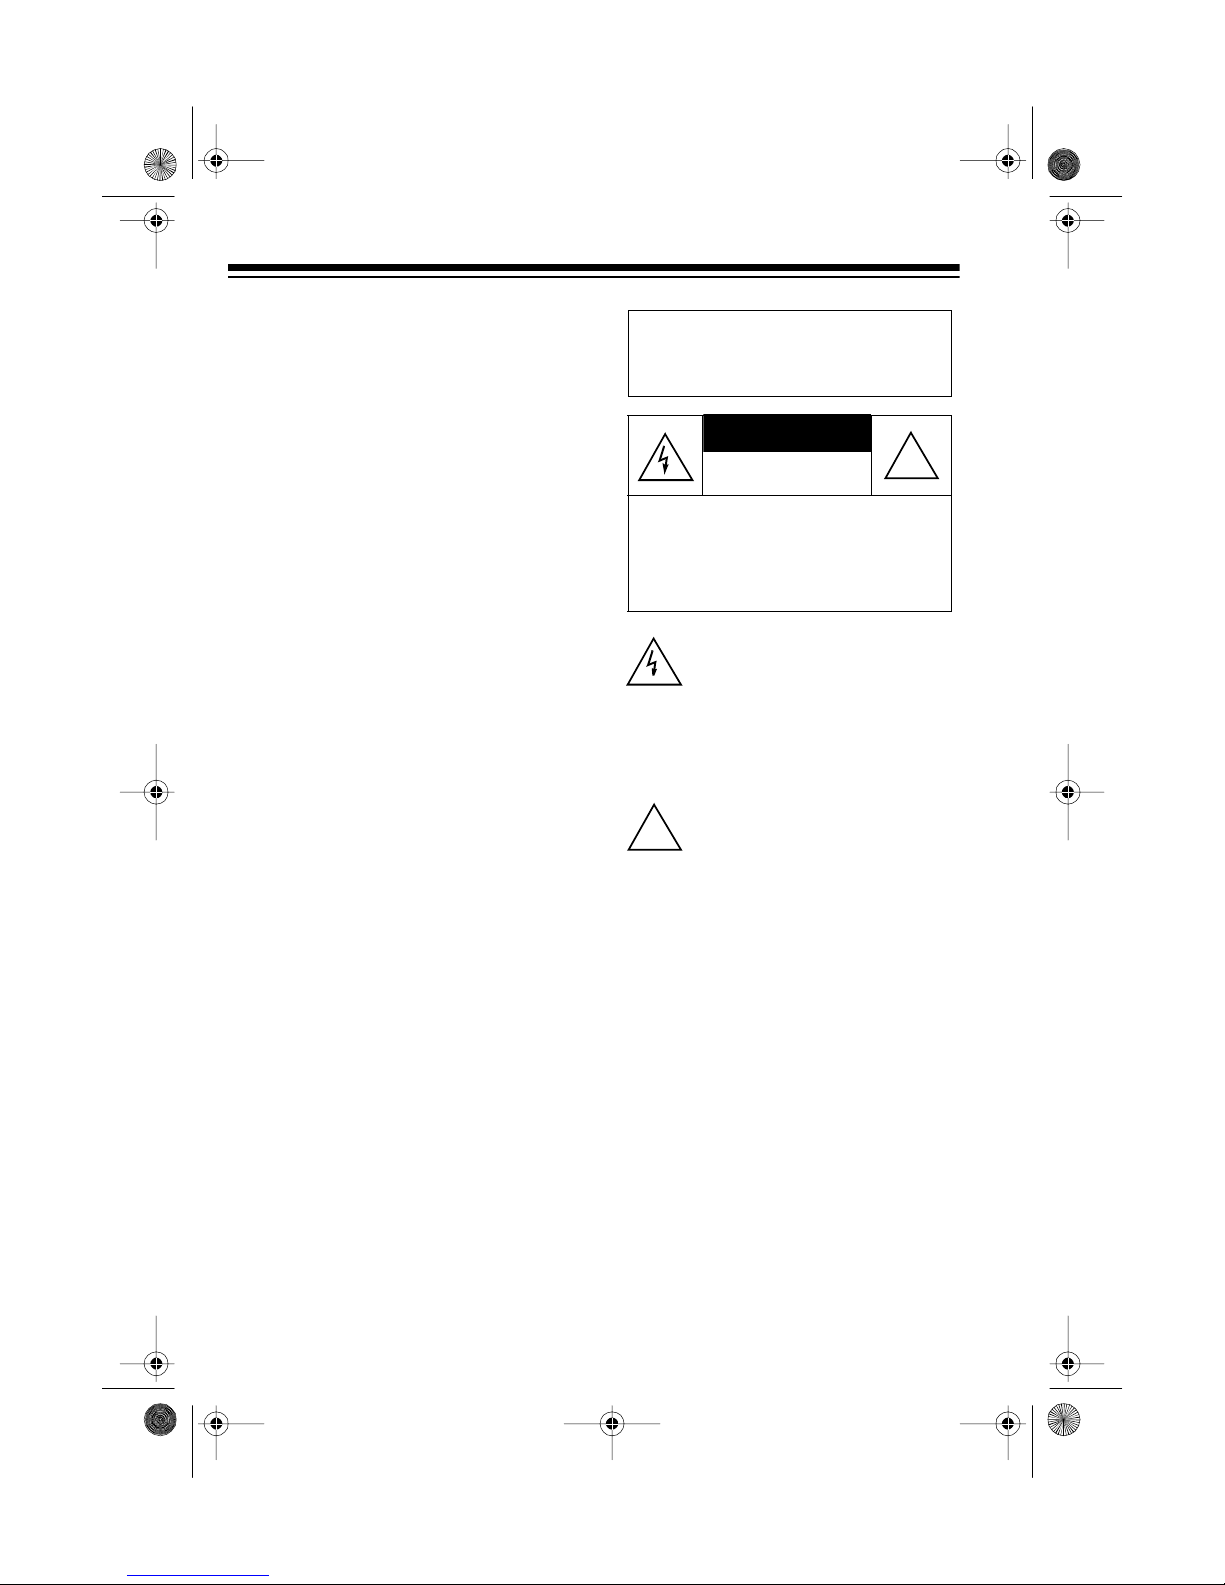
CAUTION
g
y
g
12-161 3.fm Page 2 Friday, July 9, 1999 11:33 AM
FEATURES
Your AM/FM Clock Radio is a superior
electronic design that has man y special features:
Lar
e Digital Display with Bright-
ness Control
— makes the clo ck easy
to read.
Push Button Operation
— makes the
clock radio easy to use.
Sleep Feature
— plays the radio for
up to 2 hours before it automatically
turn s o ff.
Snooze Feature
— temporarily silences the alarm or radio for about 9 minutes so you can get a few extra
minutes of sleep.
Batter
nel
Back-Up with Battery Senti-
®
— keeps the clock running and
the alarm set if power is interrupted
and lets you know when the battery
needs to be replaced.
Warnin
: To prevent fire or s hock
hazard, do not expose this product
to rain or moisture.
RISK OF ELECTRIC SHOCK.
DO NOT OPEN.
CAUTION
ELECTRIC SHOCK, DO NOT REMOVE
COVER OR BACK. NO USER-SERVICEABLE PARTS INSIDE. REFER SERVICING TO QUALIFIED PERSONNEL.
!
: TO REDUCE THE RISK OF
This sym b ol is in tended to a le rt y ou
to the presence of uninsulated dangerous voltage w ithin t he product ’s
enclosure that might be of sufficient
magnitude to constitute a risk of
electric shock. Do not open the
product’s case.
This symbol is intended to inform
you that important operating and
mainten ance in str uctio ns are inclu ded in the literature accompanying
this product.
!
Alarm Settin
— lets you set the
alarm to sound or the radio to t urn on
at the preset time.
Extra-Loud Alarm
— 96 decibel alarm
adds extra volume to wake deep
sleepers.
Your clock radio needs a 9V bat-
Note:
The graphical symbols with supplemental markings are locat ed on the bottom of the radi o.
Caution:
To prevent electric shock,
one blade on the AC power cord’s plug
is wider than the other and the plug
only fits one way. If you cannot easily
insert the plug, turn it over and try
again. Do not force it.
tery for back-up power.
© 1997 Tandy Corpor ation
Battery Sentinel and Optimus are registered trademarks used by Tandy Corporation.
RadioShack is a trademark used by Tandy Corporation.
All Rights Reserv ed .
2

g
12-161 3.fm Page 3 Friday, July 9, 1999 11:33 AM
PREPARATION
CONNECTING TO AC
POWER
Plug the clock radio’s power cord i nto
a standard AC outlet. The display
flashes.
illustration of cord
being plugged in
INSTALLING A BACK-UP
BATTERY
Your clock radio uses a 9V battery (not
supplied) to operate the clock and
alarm during a power failure. The d isplay turns off, but the clock operates
for at least 8 hours if the time has been
set, and the alarm continues to sound
for at least 10 minutes after the power
failure. For the best pe rformance, we
recommend an alkaline battery, such
as RadioShack Cat. No. 23-553.
Caution
the required size and type.
The BATTERY SENTINEL indicator
appears if the back-up battery is not installed or needs to be replaced. To
prevent unnecessary drain on the bat-
: Use only a fresh battery of
tery, install it only after connecting the
clock radio to AC power.
1. Push the battery compartment
latch in the direction of the arrow
and lift off the battery compartment cover .
illustration
2. Snap the clock radio’s battery
contacts onto the battery’s terminals, then insert the battery into
the compartment. The BATTERY
SENTINEL indicator tu r ns off.
illustration of
battery being put in
the compartment
If the BATTERY SENTI-
Note:
NEL indicator remains lit, press
SNOOZE
the indicator remains lit after
SNOOZE
back-up battery.
3. Replace the cover.
Warnin
teries promptly and properly.
to reset the indicator. If
is pressed, replace the
: Always dispose of old bat-
3

12-161 3.fm Page 4 Friday, July 9, 1999 11:33 AM
OPERATION
SETTING THE TIME
1. Hold down
HOUR
. The hour digits advance by
1 each time you press
(Press and hold
advance the hour digits.)
The PM indicator appears on the
bottom left side of the display if
you set the alarm to a PM hour.
2. Hold down
MINUTE
vance by 1 each time you press
MINUTE
to rapidly advance the minute digits.)
TIME
, then press
HOUR
to rapidly
illustration
TIME
, then press
. The minute digits ad. (Press and hold
HOUR
MINUTE
ADJUSTING THE
DISPLAY BRIGHTNESS
You can change the brightness of the
.
display by setting the
on the side of the clock radio t o
LO
.
DIMMER
illustration
PLAYING THE RADIO
1. Set
ALARM/AUTO/OFF/ON
illustration
switch
HI
to ON.
or
illustration
The display shows minu tes and
Note:
seconds when
held down together.
4
ALARM
and
SLEEP
are
2. Set
AM/FM
to the desired band.
illustration
 Loading...