

OPTIMUM QUALITY MAXIMUM RELIABILITY
®
TM
TMS300
Operating Instructions
TMS300 OPERATING INSTRUCTIONS
®
TMS300
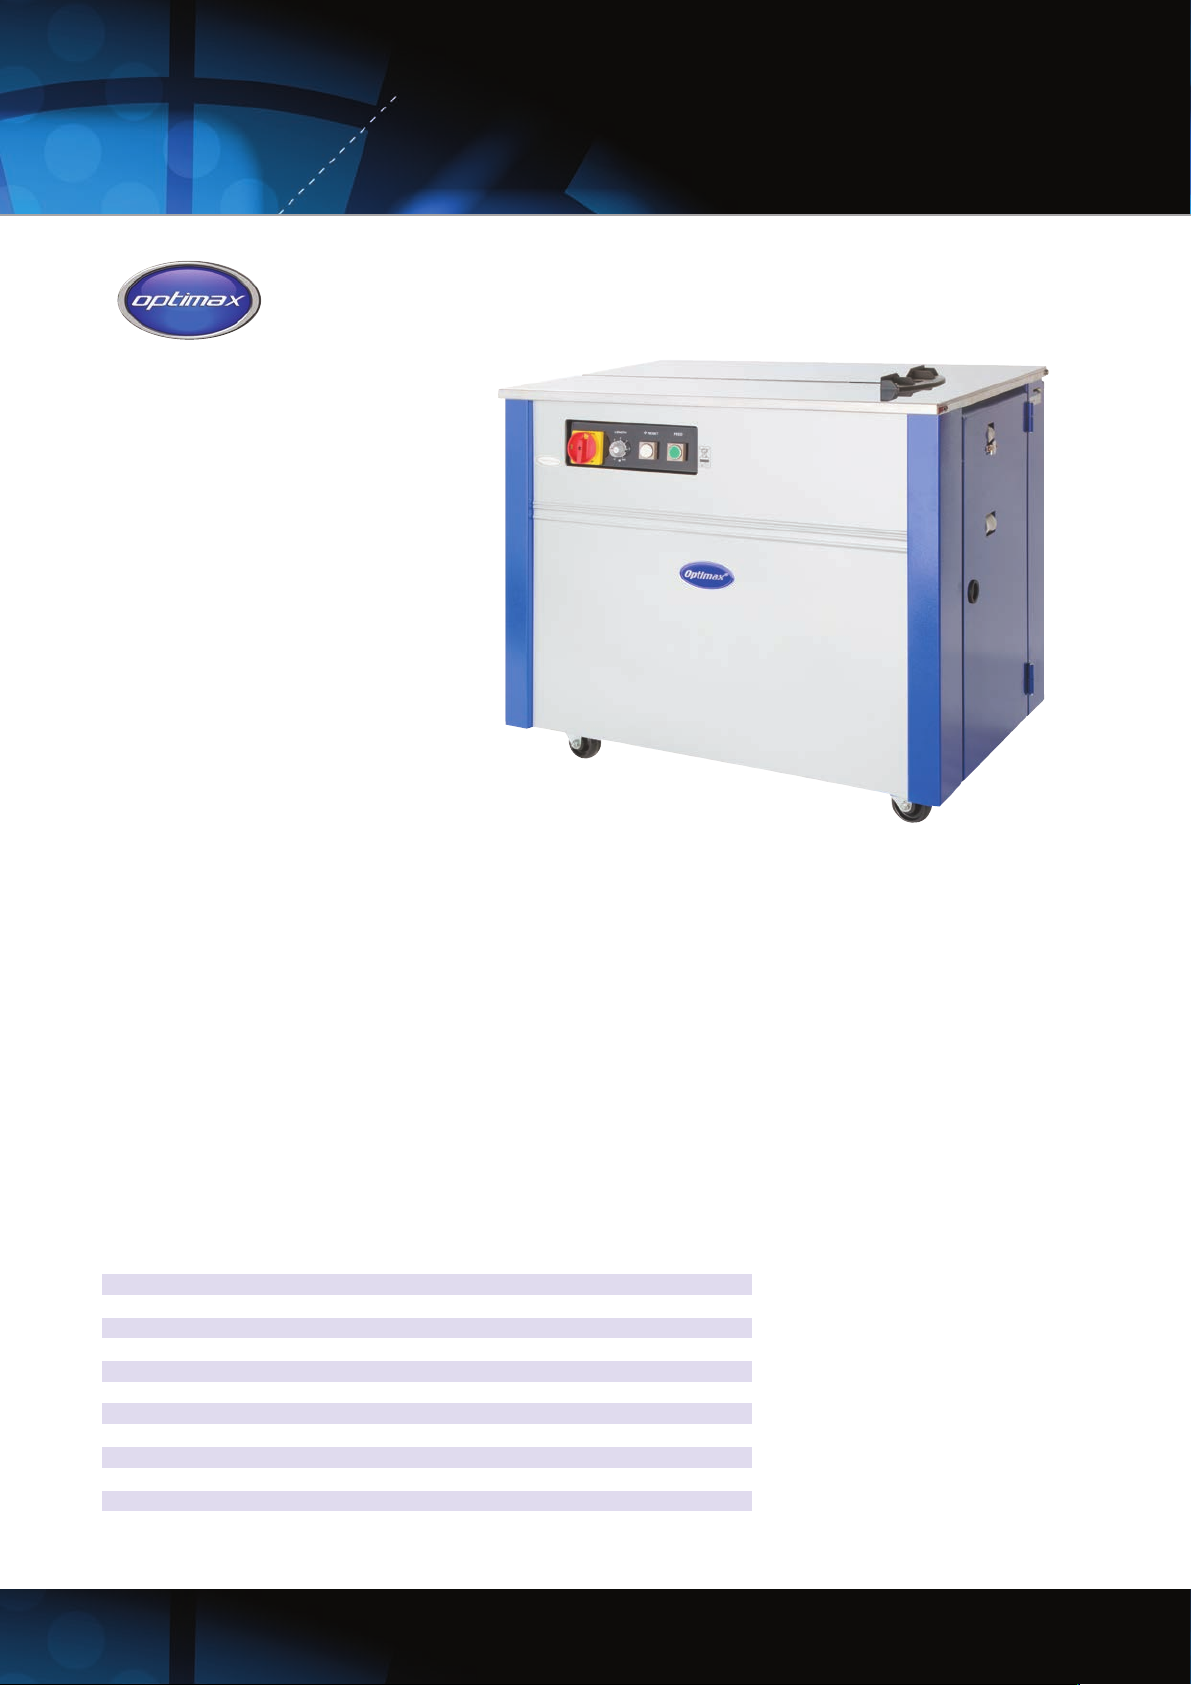
Description
The Optimax®TMS300 semi-automatic strapping machine provides easy to use, entry-level strapping of assorted-size
consignments using polypropylene strapping.
A fully enclosed cabinet protects the strapping reel from damage and contamination.
Features
> Entry-level semi-automatic strapping machine
> Fully enclosed cabinet
> External strapping tension control
> Simple to use and reliable
> Suitable for standalone strapping of random size consignments
> Fitted with two locking castors for easy repositioning and stability during use
Specifications
> Dimensions (W x D x H): 920 x 595 x 785mm
> Nett weight: 100kg
> Power supply: 230V 50Hz
> Power consumption: 0.25kW
> Min/max strap tension: 15-45kg
> Strap width: 6mm, 9mm, 12mm or 15mm
> Strap reel diameter: 200mm, 280mm
> Cycle time: 2.5 seconds @ 50Hz
> Optimum ambience
temperature: +5°C to +40°C
humidity: not exceeding 50% @ +40°C
> Noise emission: 78dB(A)
2
OPTIMUM QUALITY MAXIMUM RELIABILITY
TM
Safety instructions
Before operation
a. Read the instruction manual
b. Verify that the mains supply voltage is correct for the strapping machine and is properly earthed
c. This strapping machine can only be used with polypropylene (PP) strap; do not use polyester (PET)
or polyethylene (PE) cord strap
d. Before operation ensure the area around the strapping machine is clear and safe.
During operation
a. Wear appropriate personal protective strapping machine (PPE) while operating this strapping machine
b. Do not attempt to strap any package exceeding 100kg
c. Do not attempt to strap a package less than 80mm wide or 20mm high
d. Immediately suspend operation if smoke or unusual sounds are observed
After operation
a. Remove all dust and dirt from the strapping machine, paying particular attention to the inside of the arch
b. Turn off the power supply when the strapping machine is not in use
®
TMS300 OPERATING INSTRUCTIONS
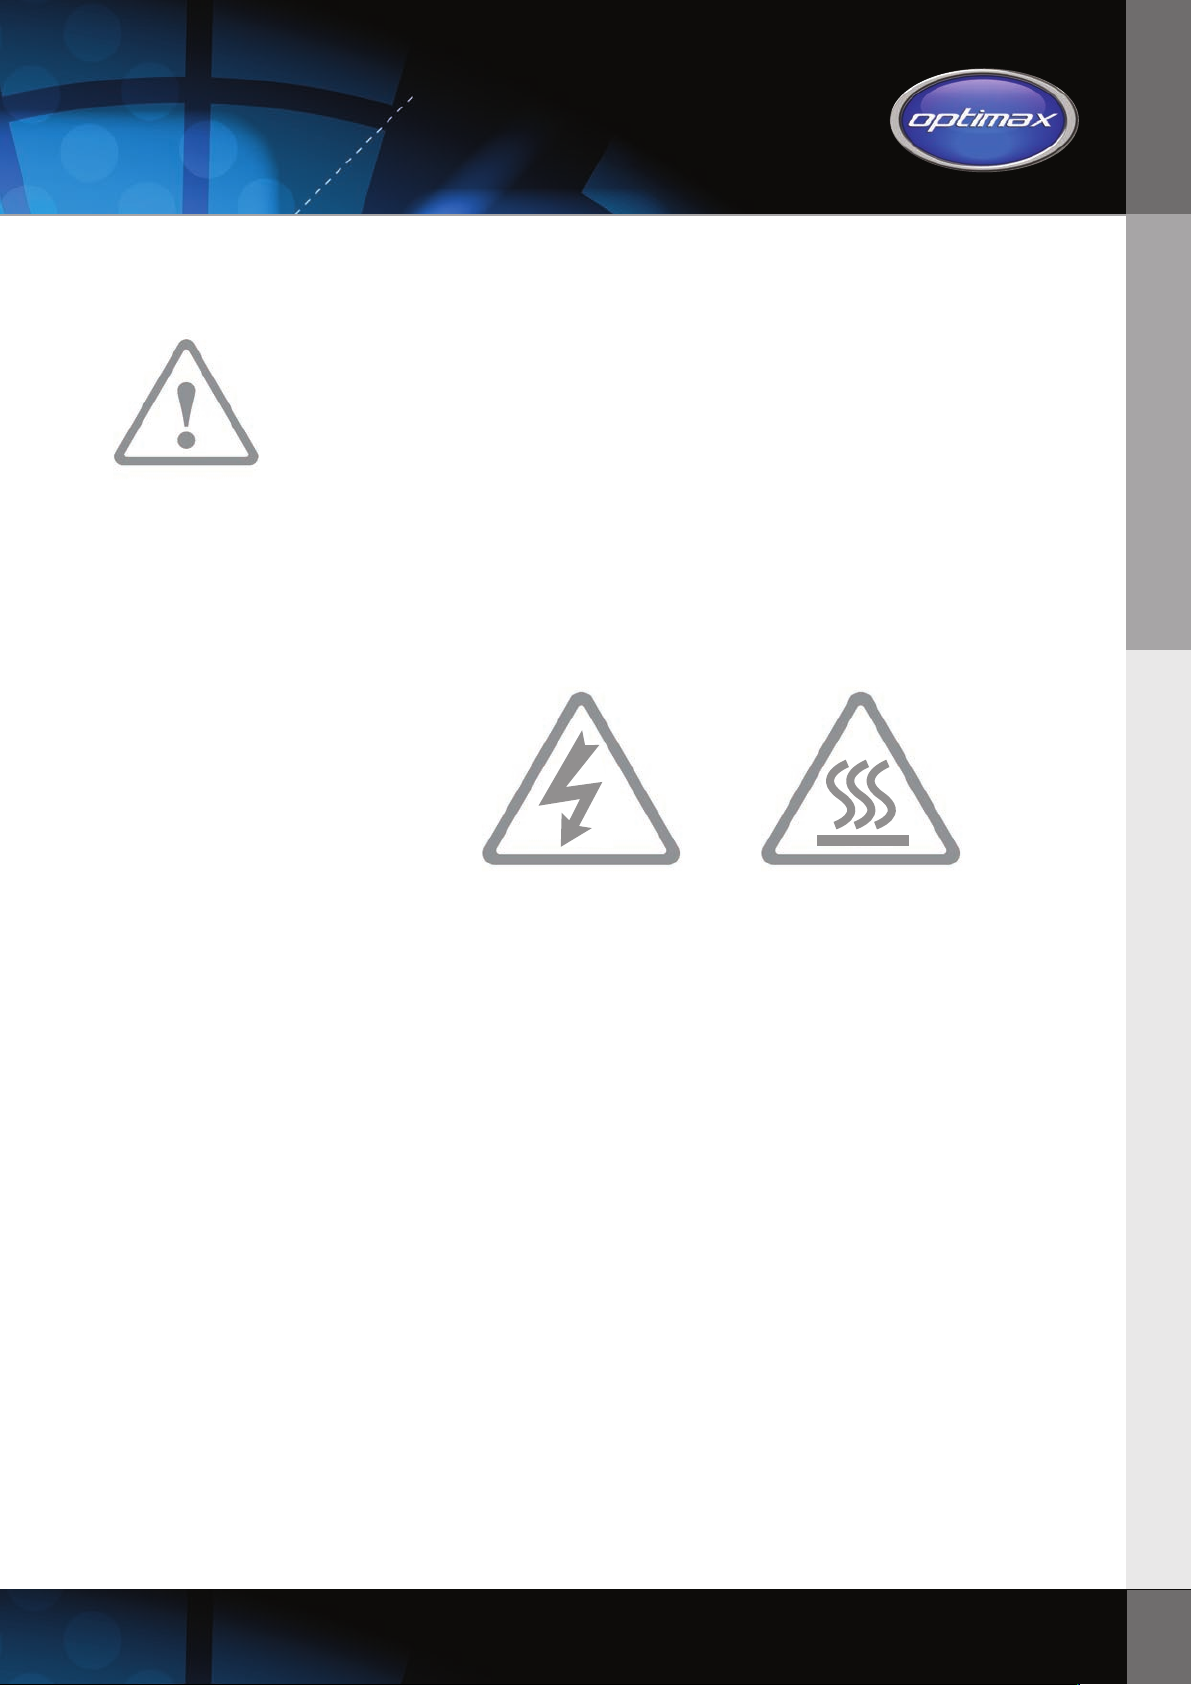
Safety warning symbols
Risk of electric shock Hot surface,
do not touch
Maintenance
a. Always disconnect mains power supply before removing either of the top covers
b. Always use the correct tools and parts to service and repair the machine
c. Be aware that the heater assembly may still be extremely hot and cause burns if touched
Location
a. The strapping machine must always be located in a low-humidity environment
b. Do not expose the strapping machine to extremes of temperature
c. Position the strapping machine on an even floor, to prevent distortion that may cause malfunction
Other
a. Keep the operator manual with the strapping machine at all times
b. Do not modify the strapping machine or its circuitry including safety interlocks, unless specifically
authorised to do so by the manufacturer
c. Do not operate the machine with any covers removed
d. Only use the machine within the parameters of its stated performance.
General safety remarks
a. The strapping machine is only to be operated when in good running order and in following the instructions
provided in the operator manual, in accordance with its designated use
b. Operators must be properly trained in strapping machine operation procedures and operator safety
Basic safety precautions
3

General safety remarks (cont.)
c. To minimise environmental impact, all consumables and replaced parts must be disposed of appropriately
inaccordance with local/national regulations
d. In addition to the operator instructions, the user is to be instructed in all generally applicable legal or
mandatory regulations relevant to safety and the environment
e. Long hair, jewellery and loose clothing may all be a safety hazard and must be secured prior to operation
f. Use personal protective strapping machine (PPE) where applicable or required by law
g. Carefully observe all safety instruction and warning labels attached to the strapping machine; keep these clean
and legible and replace them if damaged or missing
h. Personnel undergoing training on the use of the strapping machine must be supervised at all times by
experienced, fully trained personnel
i. Avoid unsafe operation of the strapping machine, including operating it in such a way as might affect
its stability
Safety devices
a. Only operate the strapping machine with all safety devices in place and fully functional, including protective
panels, interlock switches and emergency shutoff devices
b. All safety devices must be regularly checked for functionality and replaced as necessary
c. All safety guards and machine panels removed during maintenance or repair must be securely and fully
reinstated, using all original fixings
Electrical
a. The heating unit operates at very high temperatures required to melt polypropylene strapping and to prevent
burns, care must be taken to avoid skin contact with the area immediately around the heater unit (adjacent to
the strap outfeed on the table)
b. The heating unit may continue to present a risk of burns even after the machine has been switched off, and
contact should be avoided for three minutes following disconnection from the power supply
c. In the event of electrical malfunction immediately disconnect the strapping machine from the mains power
supply
d. Ensure that the style and rating of replacement fuses matches the original
e. Any electrical work carried out on the strapping machine must be conducted by a qualified electrician or under
the close supervision of a qualified electrician, observing good electrical engineering practice, following safety
regulations and local/national wiring standards
f. Inspect internal electrical connections at regular intervals; tighten any loose connections; check for scorch
marks, replacing damaged wiring and correct the cause of scorching
g. If working with live electrics
ensure a second person is on hand to disconnect the power in the event of an emergency
where appropriate secure the area with physical barriers and warning signs
always use insulated tools
h. When working with high voltage assemblies, turn off the power supply, discharge the power cable and any
energy-storing components such as capacitors
i. Before moving the strapping machine, remember to disconnect the power supply and remove the plug from
the mains socket, stowing the cable securely on the strapping machine
j. Following movement of the strapping machine, ensure that any fixings or components loosened or removed
are properly and securely reinstated
k. Ensure that the strapping machine is properly connected to a suitably earthed supply
l. If the power cable and/or plug require replacement, ensure that the electrical connections are wired correctly
and securely; if in doubt, consult a qualified electrician
Environmental
a. To minimise environmental impact, all consumables and replaced parts must be disposed of appropriately in
accordance with local/national regulations
b. Electrical components must be correctly disposed of in accordance with local/national regulations
4

OPTIMUM QUALITY MAXIMUM RELIABILITY
Operating Instructions – Start-up
®
TM
Machine overview
1. Power switch The feed motor starts running when this is pressed
2. Feed length adjustment Adjusts the amount of strap fed based on elapsed time
3. Reset button Pulls the strap back into the machine and cuts the strap
4. Strap feed switch Manual strap feed override, continues to feed strap while pressed
5. Power plug Connects machine to standard 230V power socket
6. Strap reel Holds 200mm dia. core reel (280mm dia. if centre drum removed)
7. Brake Prevents over-rotation of the strap reel
8. Brake strap guide Holds strap against brake
9. Strap bypass guide Holds strap in position for feed into machine
10. Strap insertion inlet Strap enters here and automatically feeds when detected
11. Tension control Manual adjustment of strap tension – clockwise to increase
5 1 2 3 4 10
11
9
TMS300 OPERATING INSTRUCTIONS
7
8
6
Strap loading and threading
a. Turn reel nut (A) anticlockwise and remove it
b. Remove the outer flange (B) and mount the strap reel on the spindle
c. Check that the direction of reel rotation is clockwise (E) when unrolling
d. Replace the outer flange and secure the reel nut handle with a clockwise turn
e. Remove all adhesive tape holding the strap end to the reel
f. Unroll about 1.5 metres of strap and check that it is not twisted
g. Thread the strap through the brake strap guide and strap bypass guide in direction of arrow
h. Feed strap end into insertion outlet and allow it to feed through the machine
i. Use the strap feed button to manually dispense sufficient strap for your first strapping cycle
Operating the machine
a. Connect to the mains power supply and turn the power switch to the on position
b. Wait approximately three minutes to allow the heater to reach sealing temperature
c. Adjust the strapping tension to match the rigidity and strength of the package
d. Loop the strap around the package without twisting it and insert the strap end into the strapping head
e. The strapping head will detect the strap end and automatically feed it into the tensioning mechanism
f. Tensioning, sealing and cutting of the strap will occur automatically
g. Use the feed length adjustment to increase or decrease the length of strap fed prior to the next cycle
5

Adjustments
Strap width
The strap width adjustment requires a Philips head screwdriver and a 4mm Allen key and is made in two places as
shown below.
Strap Inlet
Strap Outlet
At the strap inlet the width of the strap guide should exceed that of the strap by
0.5-1.0mm.
At the strap outlet the width of the strap guide should be set between 12.5-13.0mm
when using 9mm or 12mm wide strap, or at 15.5-16.0mm when using 15mm strap.
Both adjustments are made with the guide located on the top of the table, by
loosening the two Allen screws (inlet) or Philips screws (outlet) and placing a length of
strap in the strap guide to gauge the correct measurement.
Strap tension
The tension adjustment is a knurled steel knob located on the rear of the machine, directly below the strapping
table. Turning the knob clockwise will increase strap tension and anticlockwise will reduce it.
Sealing temperature
The control panel for the sealing temperature is located underneath the hinged stainless steel table top.
To access it, remove the two screws at the front of the table top and lift it towards the back.
The most common settings for the temperature are 3 or 4, but any position can be
selected between 1 and 6.
Optimum temperature will vary depending on the ambient temperature of the
machine location and the quality of the strap.
Gradually increase or decrease the temperature setting until an optimum seal is
obtained, but bear in mind that both too high and to Low temperatures will give
a poor seal.
Maintenance
High reliability and long service life of this machine depend on regular lubrication, cleaning and maintenance.
Lubrication
Only non-resinous SAE 30 lubricant should be used. Care should be taken to avoid spread of lubricant to
components having contact with the strap, such as tension rollers and strap guides.
Air Air
Daily maintenance
Use high-pressure air to remove dust and debris from the cutter and strap guide
areas indicated in the following illustrations. Remove all plastic residue from inside
the machine.
Weekly maintenance
Thoroughly clean and lubricate the front bar, press bar and rear bar areas shown in crosshatches on the
above illustration.
Monthly maintenance (or every 3,000 strapping cycles)
1. Clean both sides of the heater plate and polish with fine sandpaper if necessary. Ensure the heater plate
is cool before carrying out this maintenance!
2. Check seal head cam rollers for easy movement and ensure seal head returns automatically to home
position under spring tension.
3. Clean all debris away from the tension roller.
6

OPTIMUM QUALITY MAXIMUM RELIABILITY
TM
Maintenance (cont.)
Six-monthly maintenance (or every 18,000 strapping cycles)
1. Check heater plate, replacing or readjusting it as required. Ensure the heater plate is cool before carrying
out this maintenance!
2. Check strap cutter in seal head, replacing it as required.
3. Check connection between wiring loom and printed circuit board is sound.
4. Carry out test strapping cycles, noting and correcting any malfunctions.
Light Oil
Annual maintenance (or every 36,000 strapping cycles)
1. Check deflection roller and replace if showing visible changes.
2. Check bearings for loud noises and replace as required.
3. Carry out test strapping cycles, noting and correcting any malfunctions.
4. Apply light oil in the positions shown in the illustration shown left.
®
TMS300 OPERATING INSTRUCTIONS
Troubleshooting
Strap jammed
1. Disconnect power supply and pull firmly on the strap in the direction shown in the left illustration below.
3. M6 Hexagon Socket Head Bolt
4. Holder Arm
Guide
7. Holder
5. M5 Set Screw
6. Pin
2. If this doesn’t clear the strap follow these instructions, referring to the above illustration on the right.
a. Loosen M5 set screw (5)
b. Remove pin (6), lift holder (7) and repeat step 1
c. If this still doesn’t clear the strap, continue with the following steps
d. Remove strap inlet guides
e. Remove M6 hexagon bolts (3)
f. Remove holder arm (4) from holder (7)
g. Lift out holder and eliminate jam
h. Reassemble unit following steps g. to a. in reverse order
Strap doesn’t pass the infeed guide
If the front bar is in the raised position due to the previous cycle not completing, the strap will be unable to
pass the infeed guide.
1. Turn the power switch off then on again
LS1
2. If this fails to correct the problem adjust the switch lever to allow LS1 to activate and
deactivate correctly (see left)
Switch Lever
More troubleshooting advice is available on request
Front BarPress BarRear Bar
7

Packaging products from Optimax
Semi and Fully Automatic
Strapping Machines
The Optimax®range of strapping machinery is one of the
most comprehensive available to the packaging professional.
All models feature the every latest strapping technology
designed to offer the user the most effective strapping
solution for their application.
®
Heat Shrink Chambers
®
Optimax
chamber capacities to suit a wide variety of product sizes.
Utilising the latest shrink chamber technology, these units
offer the packaging professional high quality, on demand
heat sealing.
heat shrink chambers are available in a range of
8
Impulse Heat Sealers
The Optimax®range of high quality impulse heat sealers offer
the ultimate in sealing performance and productivity. From
desktop to heavy duty industrial models available, there is an
®
Optimax
heat sealing solution for any application.

OPTIMUM QUALITY MAXIMUM RELIABILITY
®
TM
TMS300 OPERATING INSTRUCTIONS
These units provide a cost effective means of significantly
increasing your pallet stretch wrapping output. They also
reduce operator fatigue caused by repetitive manual pallet
stretch wrapping.
ENVIRONMENTALLY
RESPONSIBLE
ALTERNATIVE
®
The range of Optimax
carton shredders provide an eco-friendly
means of creating useful loosefill on demand from your waste
cardboard. with models suitable for light to heavy use, Optimax
cardboard shredders are an excellent way of creating free,
eco-friendly void fill material from your waste packaging,
while reducing your carbon footprint and landfill costs.
Semi-Automatic Case TapersPallet Stretch Wrap Turntables
Optimax®case tapers offer integrated carton sealing within an
existing packaging line or stand-alone system. With minimum
set-up and consistent sealing, these machines are manufactured
to the highest standards, suitable for continued industrial use.
ENVIRONMENTALLY
Air Pillow Void Fill SystemsCardboard Shredders
An efficient means of creating void fill material on demand.
®
Prior to use, air pillow film rolls require minimal storage space
and are less prone to settling or movement during transit than
many conventional void fill materials. Deflation of pillows after
use minimises waste volume.
RESPONSIBLE
ALTERNATIVE
Optimax®Warranty
All Optimax products come with a 12 months parts or return
to base warranty as standard.
Extended warranty options are also available, please ask your
authorised Optimax
®
distributor for more details.
For more information on the range of Optimax
packaging equipment please contact your
authorised Optimax®distributor.
®
9

The Optimax®brand is a global
standard that encapsulates the very
best packaging equipment, innovation,
engineering and consumables available
to the packaging professional.
Optimax®offers a comprehensive technical advice service and training
programme to ensure you maximise the full operating potential of your
®
Optimax
packaging equipment.
®
Our highly trained technical team and
European network of authorised distributors
can offer training either on-site or at an
®
Optimax
training centre.
10

OPTIMUM QUALITY MAXIMUM RELIABILITY
TM
The Optimax®aftersales service offers
complete peace of mind via our technical
service centre, highly trained technicians and
comprehensive parts and spares operation.
To ensure your Optimax®packaging
®
equipment is maintained to the highest
®
operating standards, the Optimax
technical
service centre provides full technical support
and service for our distinctive and evolving
product range.
In addition to our large stock holding of spare parts, we
have many years of experience in packaging equipment
service and repair, which help to minimise the downtime in
your packaging operation.
TMS300 OPERATING INSTRUCTIONS
Please contact your authorised Optimax®distributor for more information on the
®
Optimax
range of training and aftersales maintenance and service packages.
11

®
Certificate of Conformity
TMS300
We certify that the abovementioned product meets the requirements stipulated by:
2006/42/EC Machinery Directive
The above mentioned product meets the following standards and guidelines:
EN 415-8:2008
©Packaging Brands Ltd
TMS300 Operating Instructions 08.2016
Re-order code: LIT-MAN031
No part of this publication may be reproduced or
transmitted in any form or by any means without the
express written authorisation of Packaging Brands Ltd.
Optimax® is a registered trademark of Packaging Brands Ltd.
Ecopax™ is a trademark of Packaging Brands Ltd.
For more information on Optimax®Strapping Machines and
the Optimax
your preferred or appointed distributor please call
0333 005 9603 or email optimax@packagingbrands.eu.com
®
Packaging Equipment range and to find
 Loading...